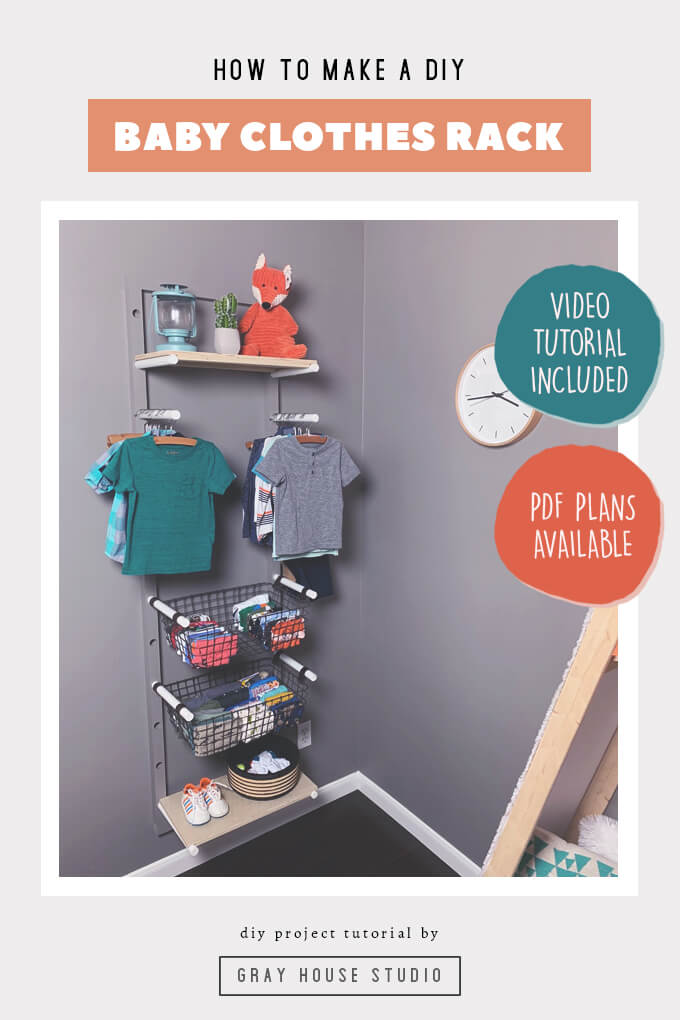
We built a wall-mounted baby clothes rack to hang and store clothes in our nursery to make up for the lack of closet in this room. You can buy the PDF plans for our DIY Baby Clothes Rack in our shop.
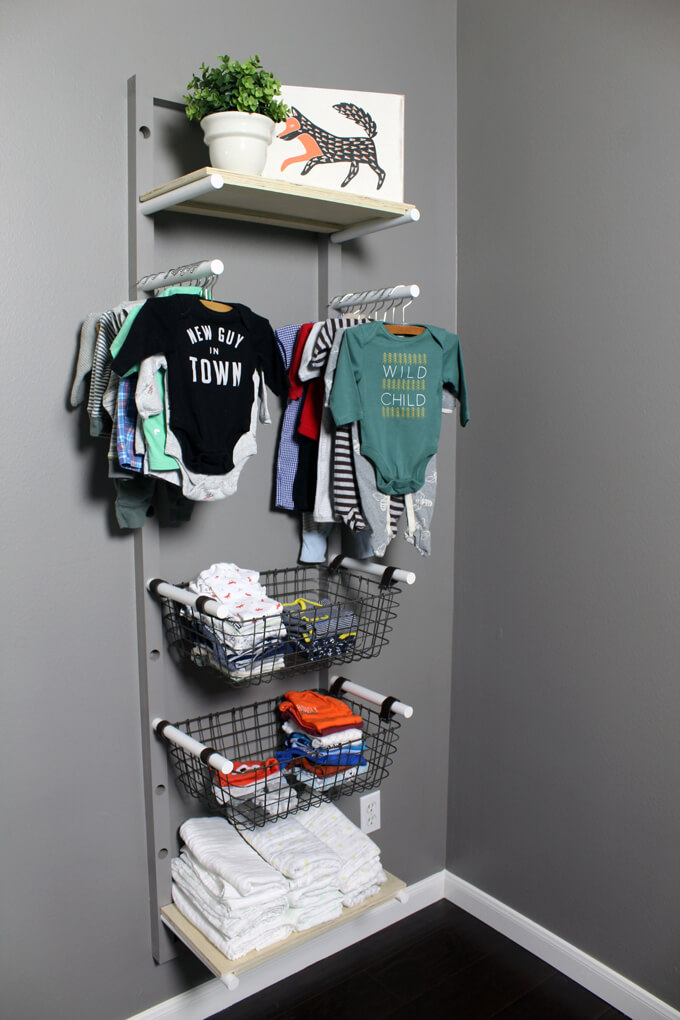
You know the proverb, “necessity is the mother of invention”? Well, Brent and I found ourselves needing to apply this saying to our baby clothes storage situation in the nursery.
The problem: The nursery does not have a closet therefore there was no designated space to store and organize baby clothes.
I can’t tell you how many hours I would sit in the nursery and just stare at the wall we designated for clothes storage and try and brainstorm ideas for how to store the clothes.
I was frustrated because I knew I wanted something specific, I just didn’t know what that something was.
We could have used a dresser but with the crib, changing table and a wood reading nook tent we are building, we didn’t have room for anymore large furniture.
I spent hours searching for ideas everywhere but everything I could find would take up too much floor real estate.
I had two criteria in mind: I didn’t want it to take up a lot of space and I wanted it to look like a display you would see in a store since the clothes were going to be out in the open and not behind closet doors.
Then, I came across an image of dowel rods holding a sack of potatoes and a light bulb went off. Seriously, inspiration can come from the strangest of places.
Since starting Gray House Studio I have come a long way in my ability to visualize designs and concepts and the fact that I could see a baby clothes rack from this idea makes me pretty proud.
I explained my vision to Brent and he executed my idea perfectly and even threw in a few other great suggestions because he is awesome like that and thus our wall-mounted baby clothes rack was made!
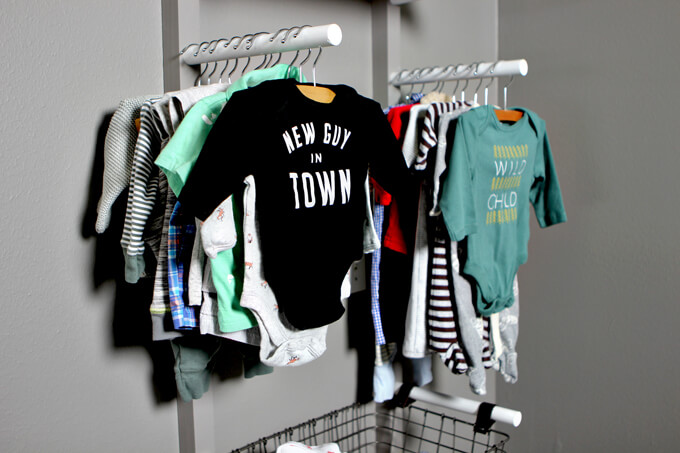
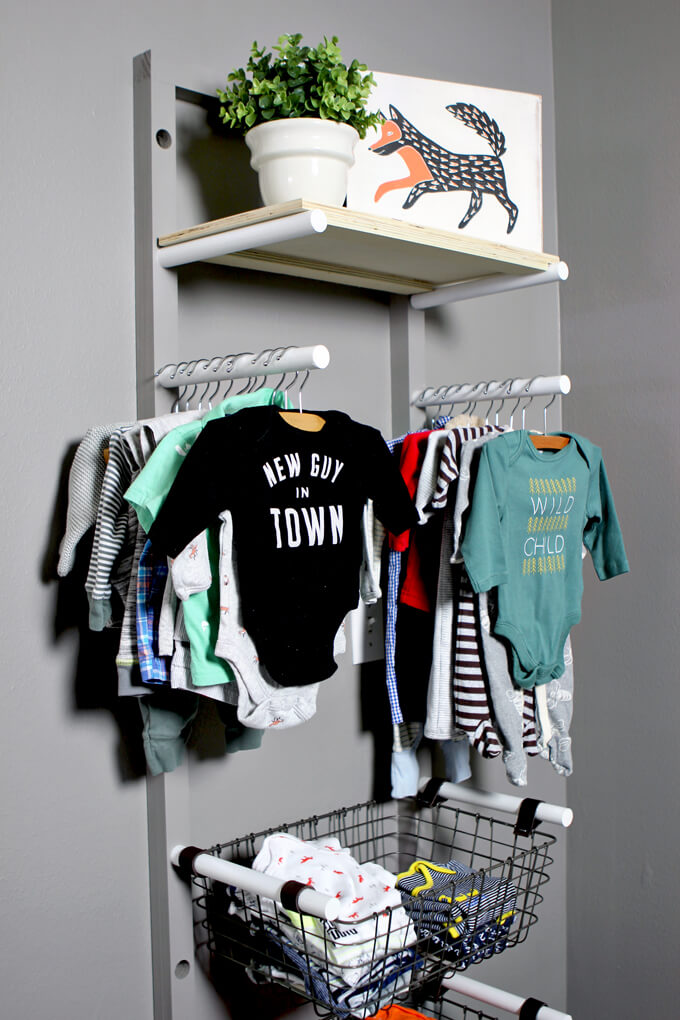
On the top dowel rods are hanging shirts, pants and some of my favorite onesies.
I ordered wood hangers to make it look more like a display. Plus, is there anything cuter than baby wood hangers? They are so tiny!
We purchased these metal wire baskets from Target.
We bought them first so we could build the width of the baby clothes rack frame around them so they would fit perfectly.
They had gold handles which were not the style we were going for and would not hang on the dowel rods anyway so Brent removed them.
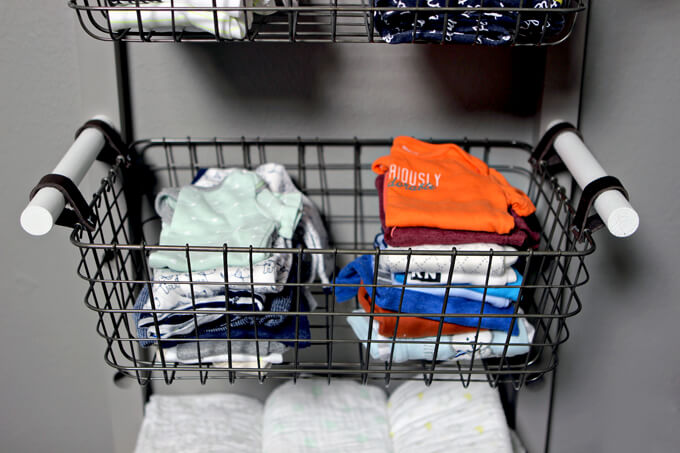
Brent had the great idea to create leather straps out of some leather scraps to hang the baskets on the dowel rods. This worked really well and tied the look to the nursery wall storage bar on the opposite wall.
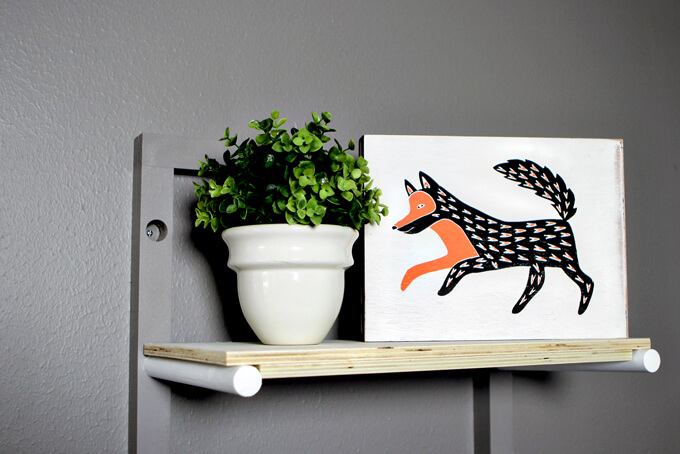
We added a shelf at the top to add a few decor items. I stole the fox artwork from the gym shelves but it fits with this room better anyway because we are incorporating little foxes here and there throughout the room.
To see how we built our baby clothes rack, check out the video or follow along with the steps below.
How We Made Our Baby Clothes Rack
SUPPLIES
- Our DIY Baby Clothes Rack Plans
- (2)Wire Baskets
- Baby Clothes Hangers
- (2) Pine 2×2″s
- (2) Round poplar dowels (48-in L x 1-in dia)
- Titebond-3 Ultimate Wood Glue
- 1 ½” Finishing nails
- 3” Decking screws
- Sherwin-Williams ProClassic® Waterbased Paint in Dovetail
- Sherwin-Williams ProClassic® Waterbased Paint in Bright White
- Heavy leather scraps
- Embroidery floss
- Miter saw
- Framing square
- Drill press
- 1” Forstner bit
- Nail gun
- Nap roller + small paintbrush
- Rubber mallet
- Drill
- Level
FYI: This post contains a few affiliate links to products we used to make this project. Gray House Studio does receive commissions for sales from these links but at no extra cost to you. We appreciate you supporting this site. Read our privacy and disclosure policy. You can also easily shop our recommended products here.
PROJECT PLANS
Get our Baby Clothes Rack Plans
When you purchase our DIY wood baby clothes rack plans you get a PDF with a detailed materials list, a cut list, exact dimensions for each piece, building instructions – all for only $7. We appreciate you supporting Gray House Studio!
TUTORIAL VIDEO
STEPS
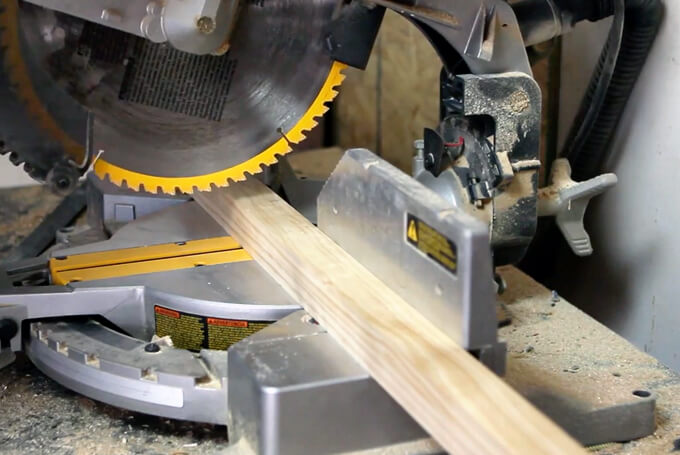
1 To start the baby clothes rack, we used our miter saw to cut two pine 2×2”s into four pieces. Two long pieces for the sides of the rack and two short pieces for the top and bottom of the rack.
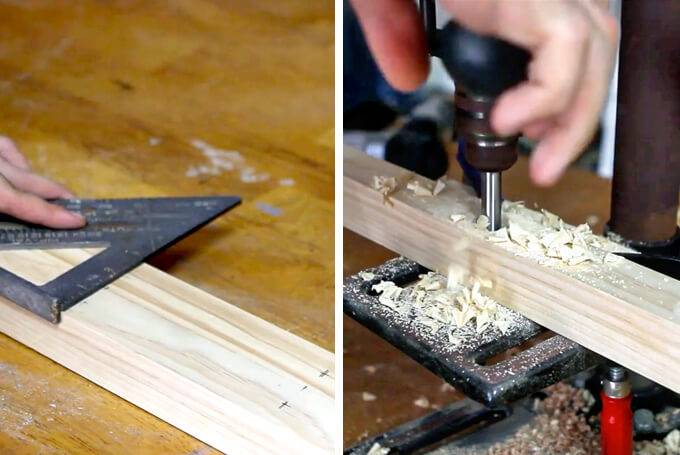
2 On the two side pieces we used a framing square to make marks six inches apart where we needed to make the holes for our dowel rods.
We used a drill press with a 1” forstner bit to drill the holes in the side pieces but stopped each hole ¼” shy of going all the way through the board.
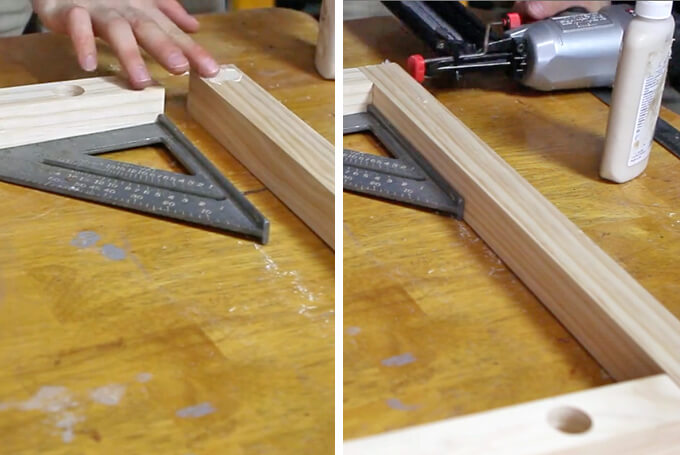
3 Next, we attached the four pieces of the frame together using wood glue and 1 ½” finishing nails.
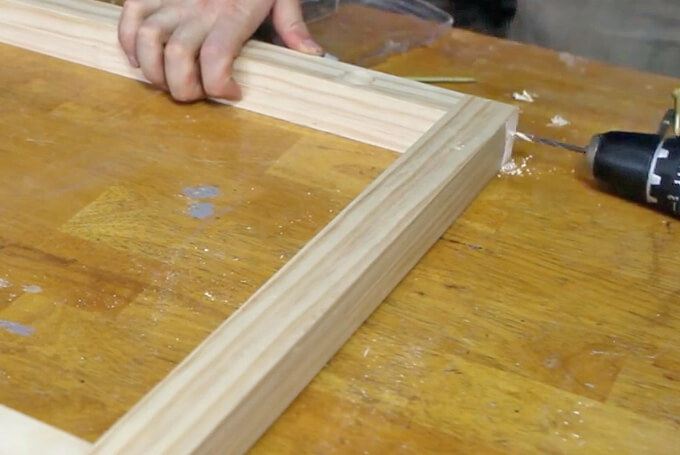
4 To provide extra strength and support, we came back and drilled pilot holes and secured the pieces of the frame together using 3” decking screws.
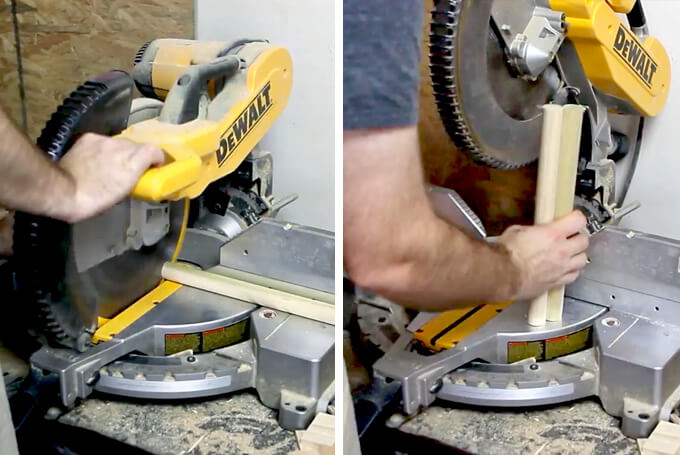
5 Once the frame was assembled we took our two dowel rods and cut them down to 12” pieces using the miter saw.
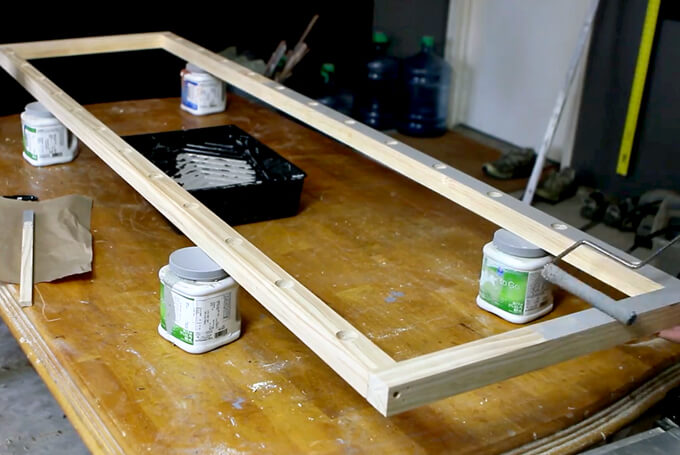
6 We used a roller to paint the frame of the baby clothes rack with Sherwin-Williams ProClassic® waterbased paint in Dovetail, the same color as the wall in the nursery.
We used a smaller paintbrush to paint in the holes of the frame.
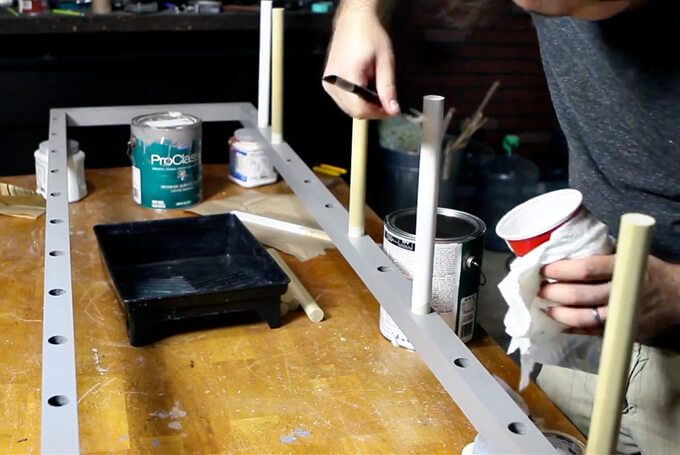
7 Then we painted all the dowel rods with Sherwin-Williams ProClassic® waterbased paint in Bright White with a smaller paintbrush.
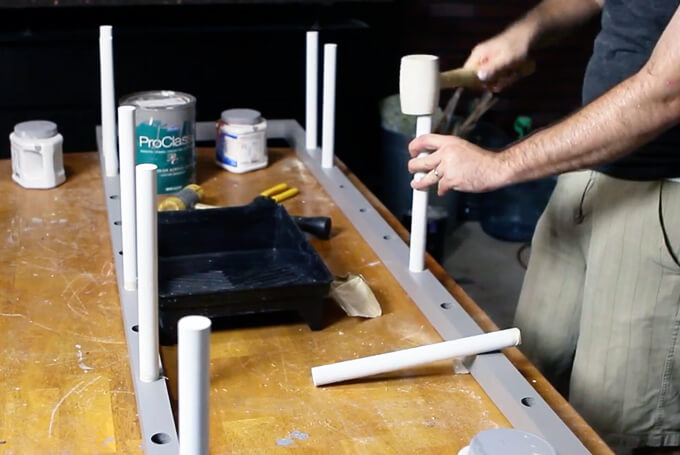
8 We inserted the dowel rods into the holes of the clothes rack frame with a few taps of a rubber mallet.
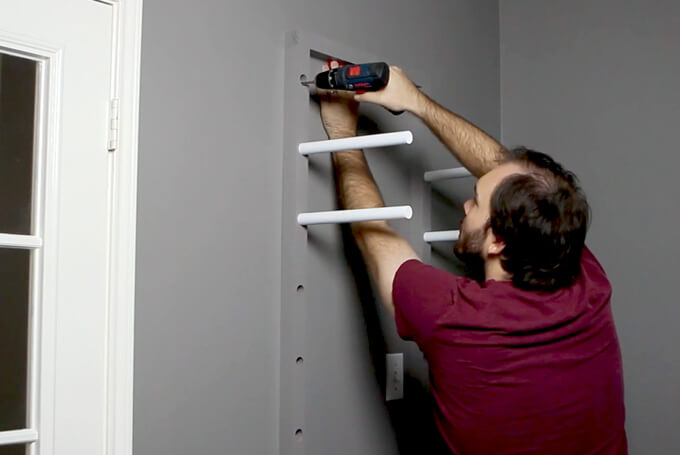
9 We installed the frame in the nursery by using a drill to screw the rack into the wall studs and used a level to make sure it was straight on the wall.
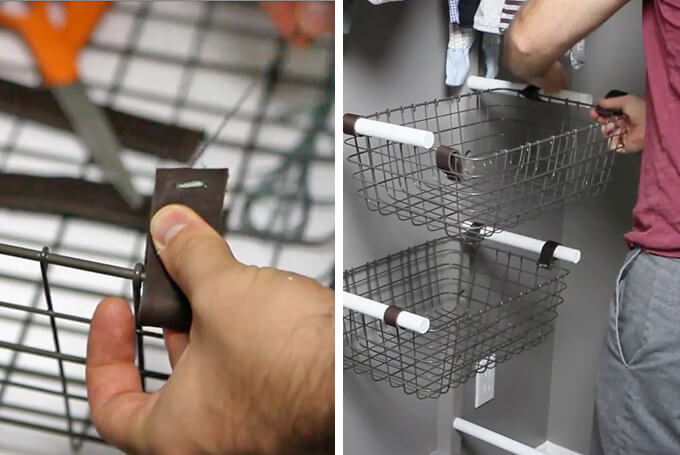
10 Finally, we removed the handles that came on the baskets and used embroidery floss to sew 1” wide leather loops out of leather scraps onto the metal baskets so they would hang from the dowel rods.
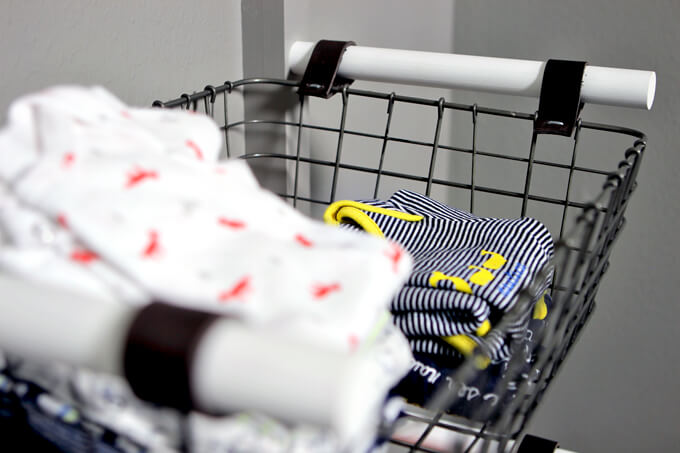
The metal baskets work really well.
They are the perfect depth for storing lots of onesies, hats, socks, etc. and are really easy to grab but still look nice and organized.
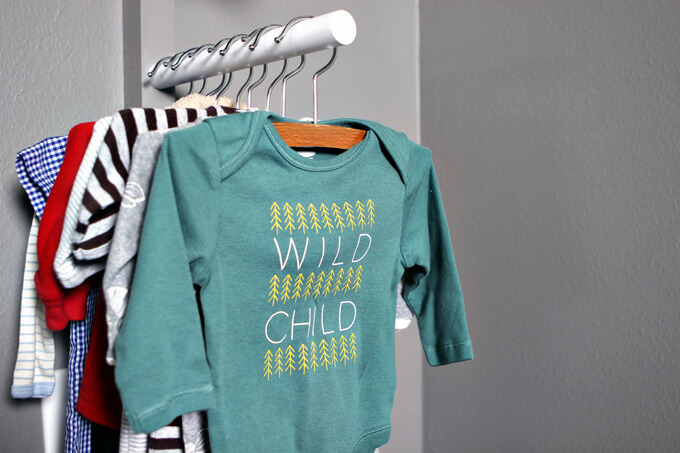
I purchased wood baby hangers because I thought wood hangers would look nicer out in the open.
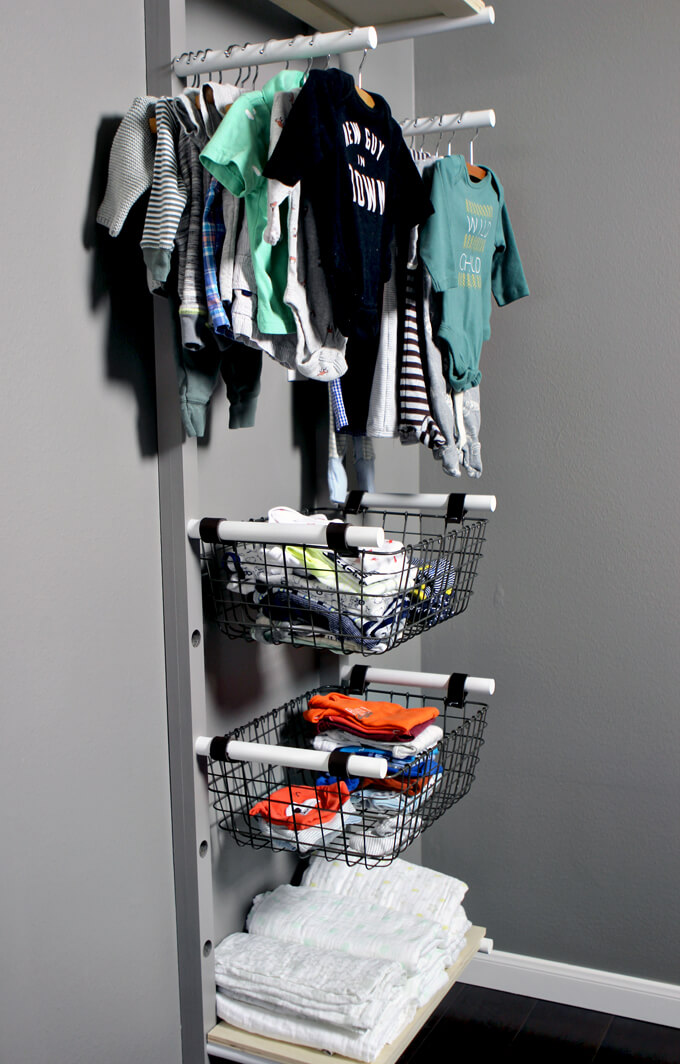
We will probably store shoes on the bottom shelf once he has shoes but for now it is holding extra blankets.
I love all of the nursery projects we have made so far but the baby clothes rack is definitely one of my favorites because I think it is unique and Brent really made my idea come to life.
By being vertical and hanging on the wall it takes up no floor space but has plenty of storage space to keep baby clothes organized.
Plus, it looks nice enough to be out in the open displaying clothes.
PIN IT FOR LATER




Are you finding that the dowels are strong enough to support the hanging basket? Did you glue them or just push in? I am wondering if they would tent to come out if too much weight?
Hi Jan,
Yep. The dowel rods are not glued but were hammered in nice and tight. They aren’t going in anywhere. We have had the baskets hanging on them for about two years now and they are still nice and secure. 🙂
Hi Amy; your baby clothes rack really have me attracted to it. it is looking so unique and from where I am sitting; it looks like a space savior.Dorcas
Ah! Thank you! We have a tiny nursery with no closet… this looks like the perfect solution!