We have begun our master bedroom closet makeover. Our first project was to make and install a DIY dark shiplap wall.
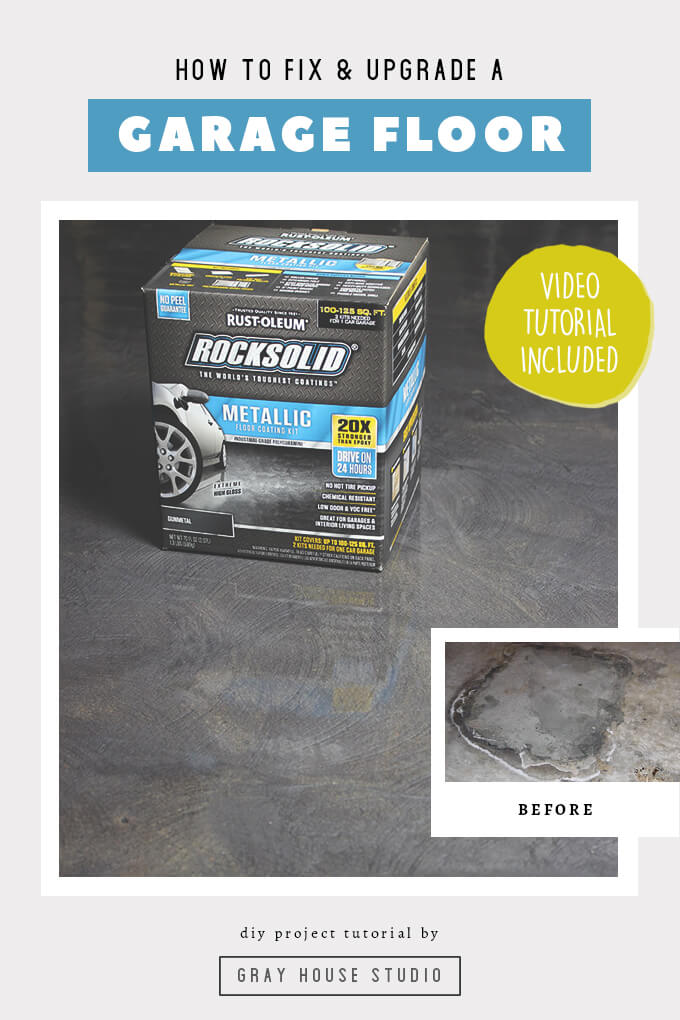
Garage Floor Coating with Rust-Oleum ROCKSOLID
The floor in our garage was a disaster when we purchased our house but with Rust-Oleum’s RockSolid products, we were able to repair and apply a beautiful garage floor coating.
Where is the last place you would want to prance around barefoot in your home? Probably the garage, right? If your garage floor is anything like ours was, it’s just plain gross. It was dirty and there was sawdust everywhere because of all woodworking projects.
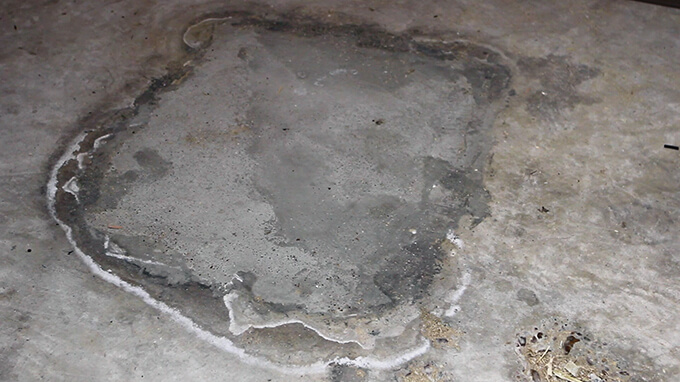
It was a beast to clean because we had these huge craters in the middle of the garage due to past foundation work on our home. The large holes collected debris and threatened a sprained ankle. It was a mess.
We spend quite a bit of time in our garage using it as a shop for our DIY projects so we really want to transform the space into a place that is inviting and inspiring and a snazzy garage floor coating was just what we needed to revive our old nasty concrete floor.
Rust-Oleum was nice enough to send over their RockSolid garage floor coating kit for us to try out. After repairing the concrete floor (see ya later crater) and applying the concrete floor coating, we were impressed and happy with the results! If your floor is as bad as ours, it will be time consuming and require labor but the products make the process easy and uncomplicated.
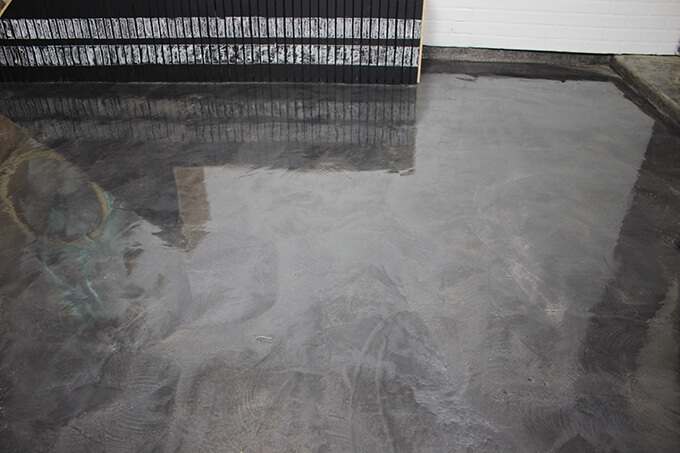
The metallic finish is mesmerizing and worth the work because not only does the garage floor coating make the garage look beautiful it makes it ridiculously easy to keep clean. Now I feel 100% comfortable dancing around on this beautiful floor barefoot.
How to Prep a Garage Floor and Apply Epoxy
SUPPLIES
- Cement Patcher
- Rust-Oleum RockSolid Moisture Stop
- Rust-Oleum RockSolid Fast Patch
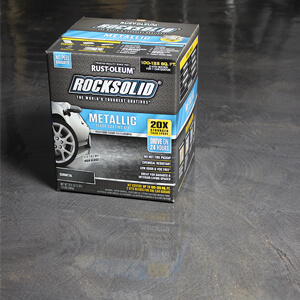
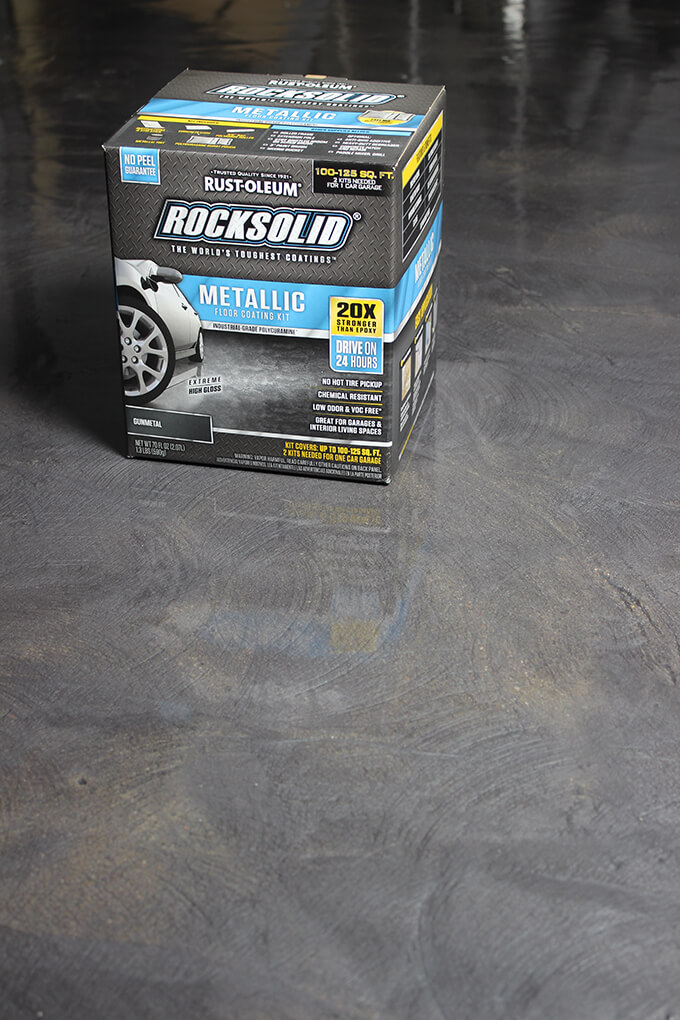
- Rust-Oleum RockSolid Gunmetal Metallic Garage Floor Kit
- Painters Tape
- Mallet
- Cold Chisel
- Shop-Vac
- Bucket
- Spray Bottle
- Finishing Trowel
- Concrete Grinder
- Backpack Sprayer
- Squeegee
- Putty Knife
- Drill
- Paddle Mixer Bit
- Paint Roller w/ Handle Extension
- Paint Brush
- Gloves
- 220 Grit Sand Paper
FYI: This post contains a few affiliate links to products we used to make this project. Gray House Studio does receive commissions for sales from these links but at no extra cost to you. We appreciate you supporting this site. Read our privacy and disclosure policy. You can also easily shop our recommended products here.
TUTORIAL VIDEO
[yotuwp type=”videos” id=”tDS2QVGkDxE” title=”off” description=”off” player=”width=590&modestbranding=0&showinfo=0″]
Subscribe to our YouTube Channel
Like our video? Subscribe and help us reach our goal of 100k subscribers.
I’ll hand it over to Brent now to explain the floor coating process because I got out of all the work on this project. I had my own labor intensive project – taking care of a newborn! Since it was a two person job my dad was nice enough to sub in for me and give Brent a helping hand. Yes, the other person in the video is my dad, not me. Pregnancy changed my body but not THAT much.
STEPS
Part 1: Repairing the Concrete Slab
1. Before applying any of the garage floor coating products there were a few large craters that needed to be filled with concrete.
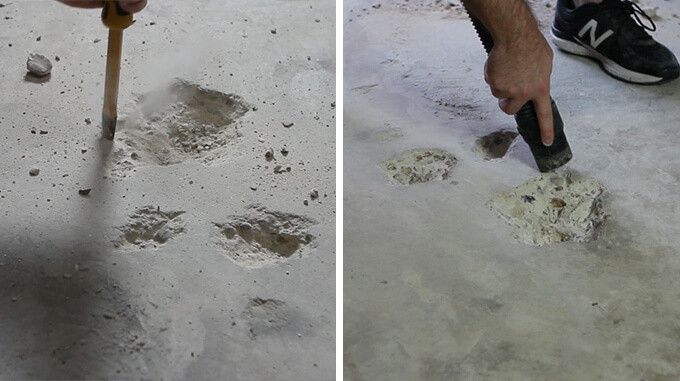
We used a mallet and cold chisel to square the edges of the craters to be 1/2″ deep. This allowed the edges of the cement patcher to be applied thick and avoid chipping.
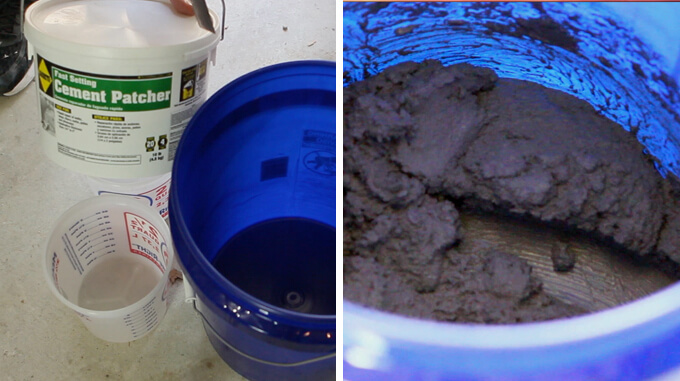
2. We followed the instructions on the cement patcher product.
To mix it up we added water to the powder mix. The concrete mixed to a thicker consistency than I expected.
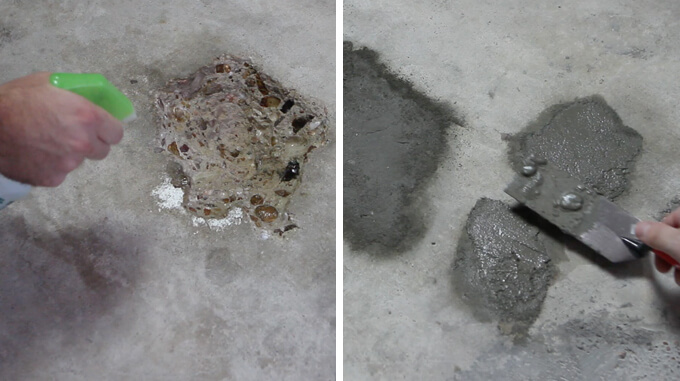
3. Using a spray bottle, we wet each crater so the cement patcher would adhere to it.
After filling each hole, we used a finishing trowel to smooth the surface.
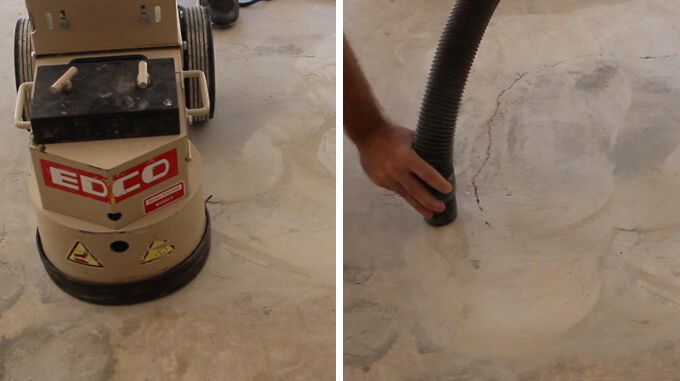
4. To level the slab, we rented a concrete grinder from a home improvement store.
We started grinding down all the high spots. This also revealed the cracks around the foundation repair that needed to be patched before applying the concrete floor coating.
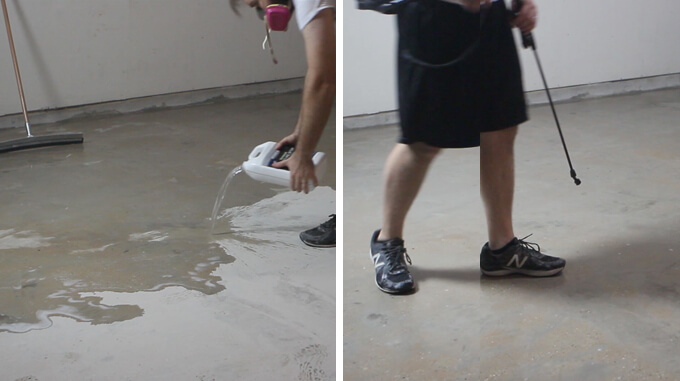
5. After leveling the entire floor surface, we sealed the floor with Rust-Oleum’s RockSolid Moisture Stop.
The moisture stop product created a barrier within the concrete by filling the pours within the slab.
Once the entire slab was saturated, I misted the surface with water to keep it wet for 45 minutes. After the floor dried, I rinsed it with water and scrubbed it to remove any efflorescence from the surface.
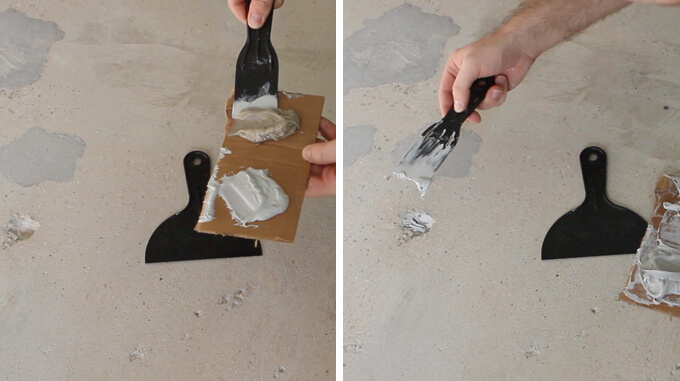
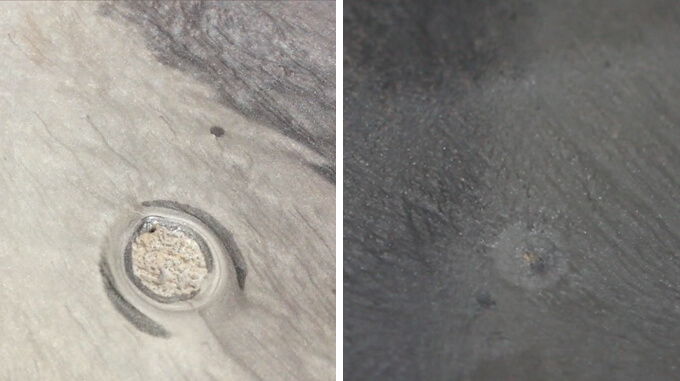
6. The floor took about two days to dry out before we repaired any of the cracks and small divots with Rust-Oleum’s Fast Patch product.
We mixed equal parts A and B of the fast patch mix and spread it over the surface with a puddy knife.
The divots deeper than 1/2″ took 2 applications.
Part 2: Applying Rust-Oleum RockSolid Floor Coating
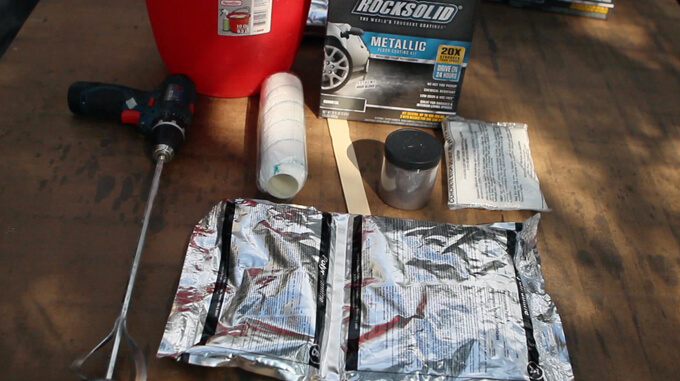
Almost everything comes in the box to apply the RockSolid floor coating.
The only additional supplies needed was the:
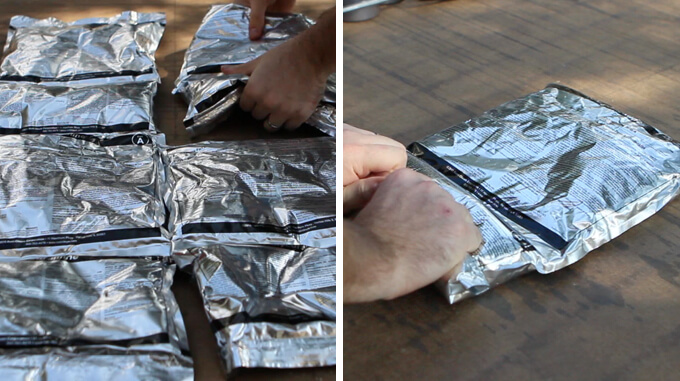
7. After setting out all the bags of coating we checked that that there were no clumps and then started by mixing one bag.
The two part product mixed in the bag by rolling side B into side A breaking the seam in the middle. We really like this feature because it allows the product to mix without introducing air. This allowed for a slightly longer working time.
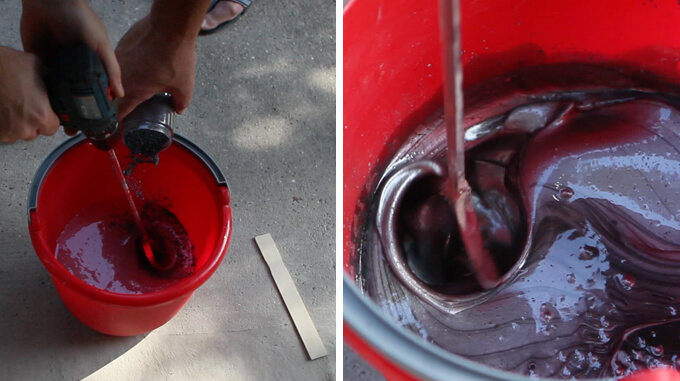
8. We shook/mixed the product in the bag for three minutes before cutting it open and pouring it into a bucket. Then, we used a paddle mixer and drill to mix the metallic tint into the clear coating.
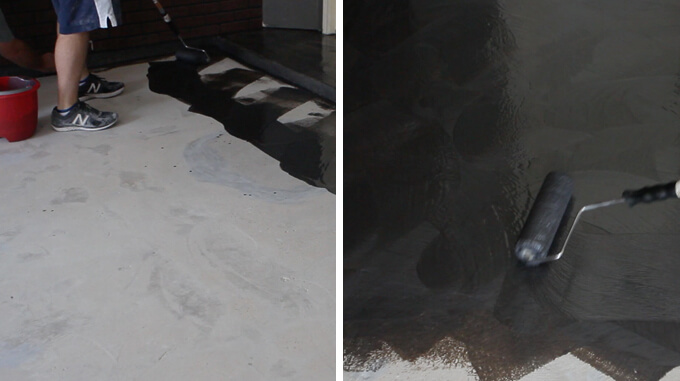
9. We used a paintbrush to apply the coating along the wall and rolled everything else.
The application is definitely a two person job. Luckily, Courtney’s dad came over to help since Courtney was tied up with our two week old son.
After spreading the product evenly using a M and W roll pattern, I came back with the a href=”https://amzn.to/32xucHt” target=”_blank”>roller and swirled the coating. We continued across the garage floor section by section mixing each kit as needed.
10. Grinding the floor did open some large pin holes in the floor that created a few bubbles during the application process.
We took a gamble and popped the bubbles. Luckily, all of the bubbles we popped leveled out and dried smooth.
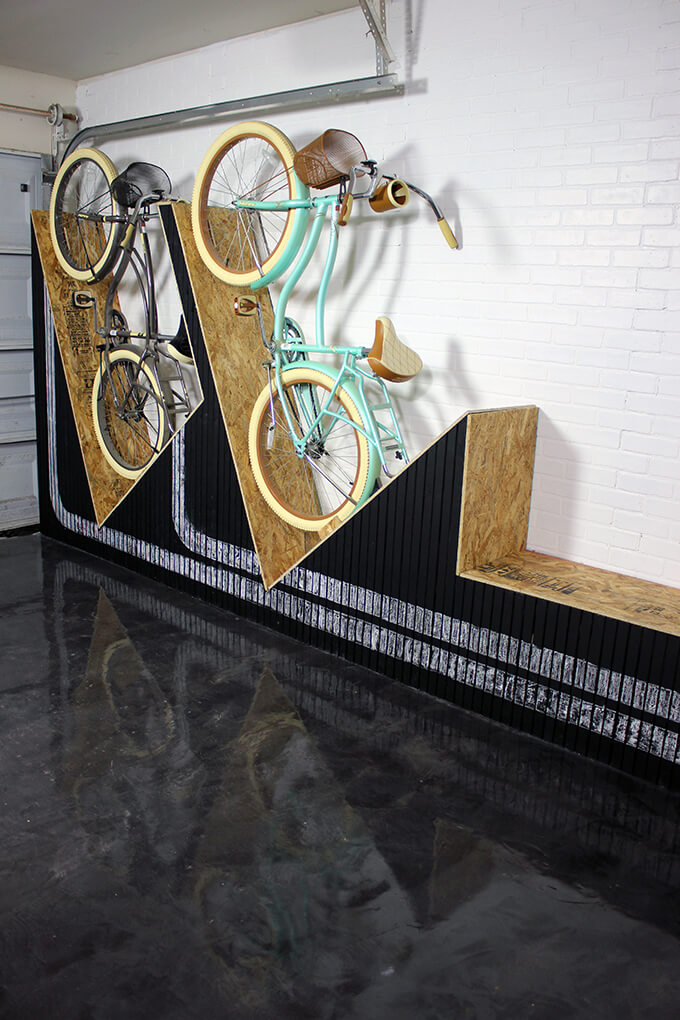
I am really impressed with the work Brent and my dad did on the garage floor. Once it had all dried and the garage was empty, I happily danced around barefoot to show my approval of a job well done. I know it isn’t safe to work in the garage without shoes, but at least I could if I wanted to now and not end up with layers of dirt stuck to my feet.
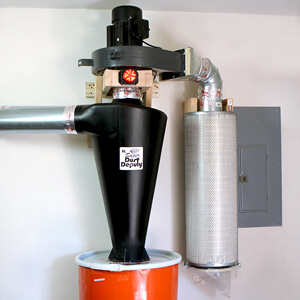
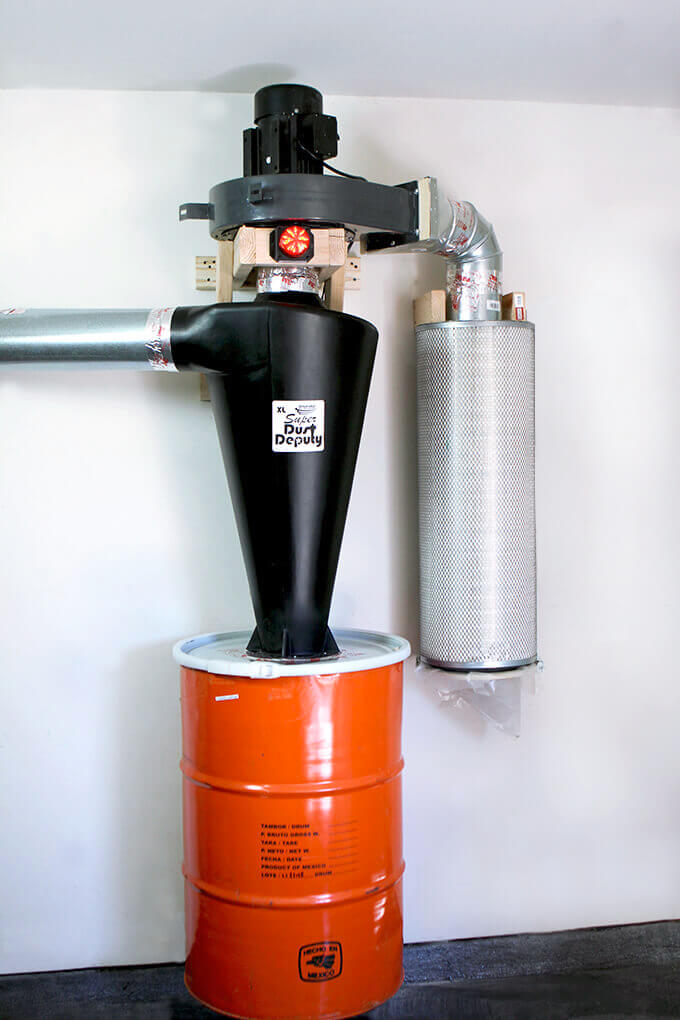
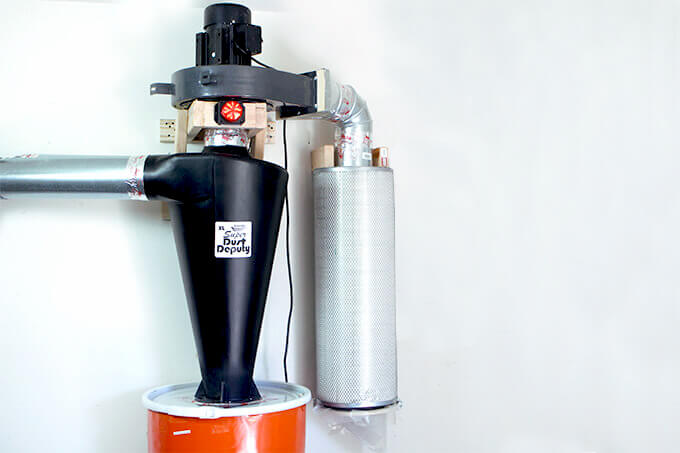
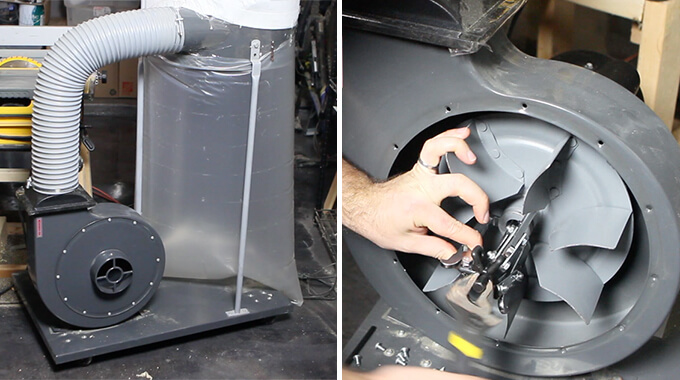
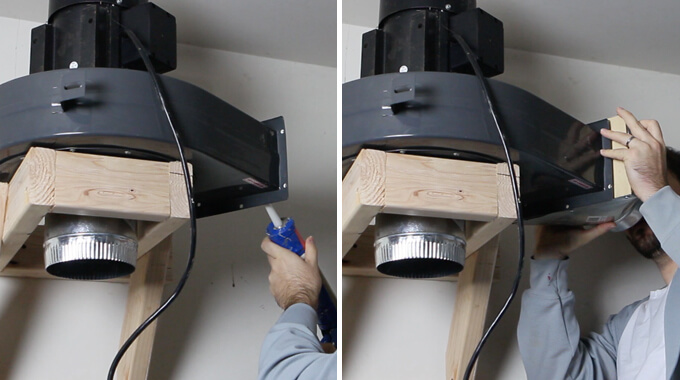
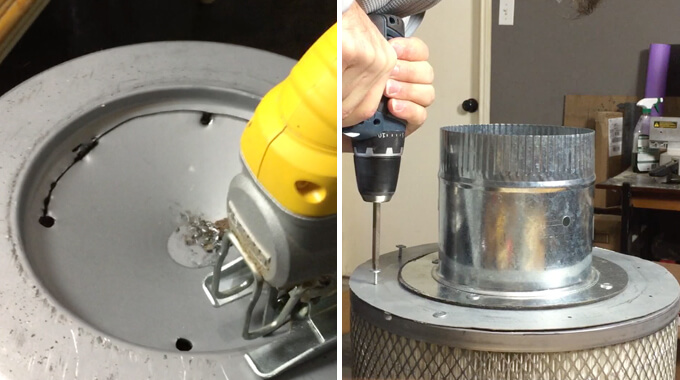
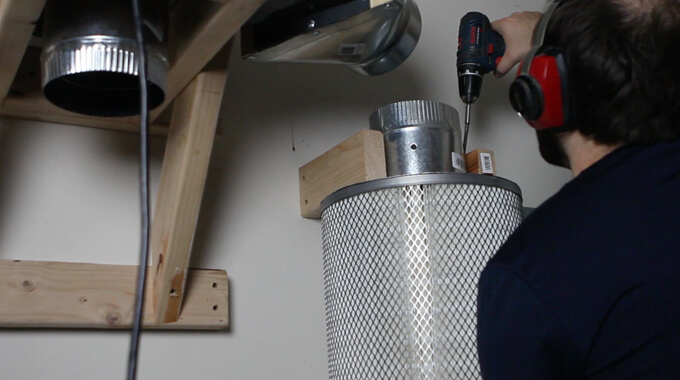
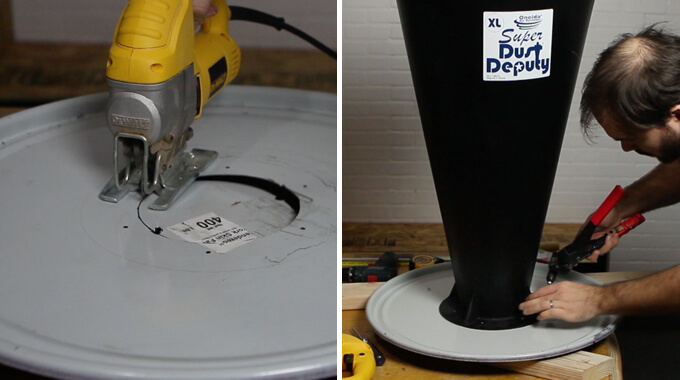
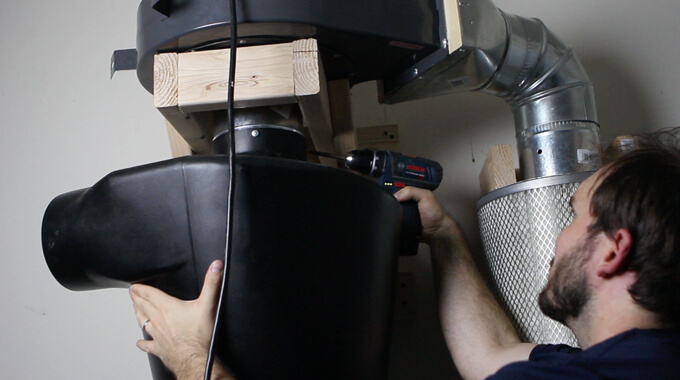
Thanks to the new garage floor coating and the dust collector Brent modified, our garage floor has never looked and felt so nice. You wouldn’t even know we create tons of messes in this space because now it is a breeze to clean and we actually want to keep it clean.
PIN FOR LATER