In this how-to woodworking tutorial we are sharing how to build a drawer and how to install a drawer.
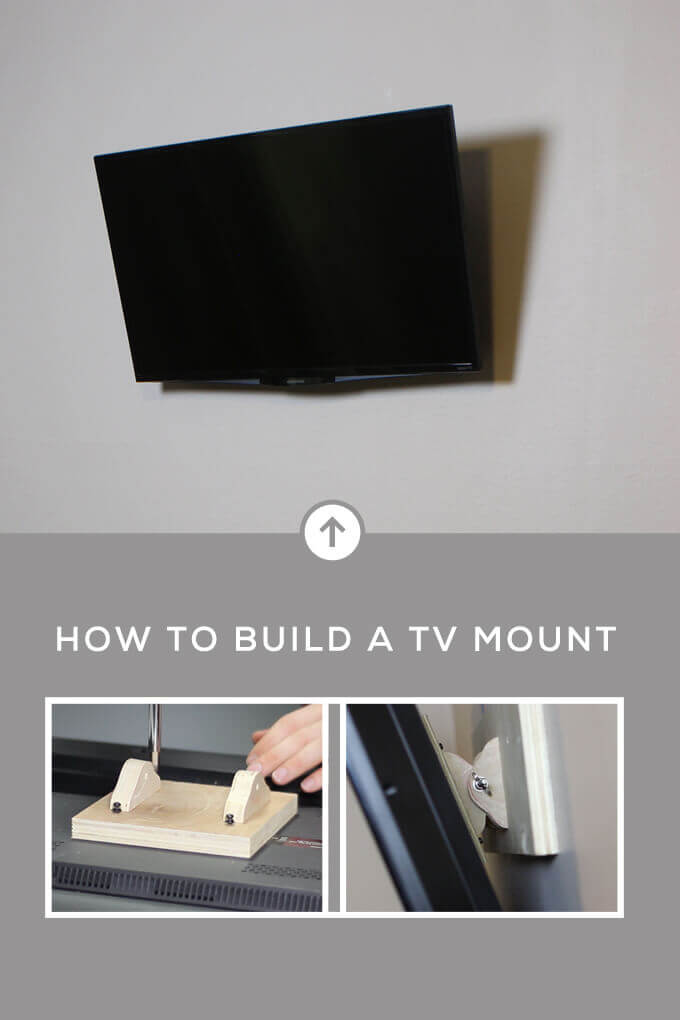
How To Build A TV Wall Mount
Check out how to build a tv wall mount out of wood.
It seems as though every year TVs are getting lighter and less expensive so when we were working on our guest bedroom makeover we decided to say goodbye to my 10 year old monster of a 32″ silver TV from college that was sitting in that room and replace it with a new lighter model.
We didn’t have enough space for a TV console in the bedroom so we knew we were going to have to mount the TV on the wall and now that TVs are thinner and lighter, it actually makes it easier and less stressful to get them up on the wall.
We thought it would be fun to try our hand at building our own tv wall mount of wood. After thinking about it, what goes into a TV mount isn’t that complicated, so we decided to make our own out of wood for way cheaper and are sharing how to build a TV wall mount.
In this tutorial Brent shows how to make one for a 32″ TV since that is the size of the TV we were mounting. If you decide to build you own, you might have to adjust the sizes of the pieces you cut, accordingly.
How to Build a TV Wall Mount
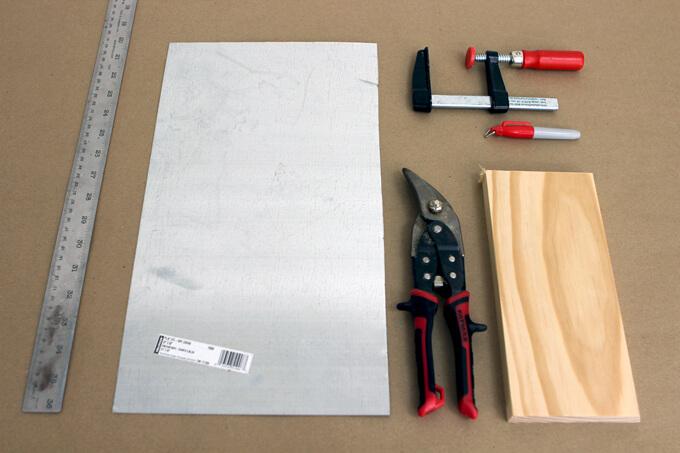
SUPPLIES
Shop the products we used for this project in one place.
- Screwdriver
- 3/4″ Plywood
- Drill Press
- 1/8″ Drill Bit
- Jig Saw
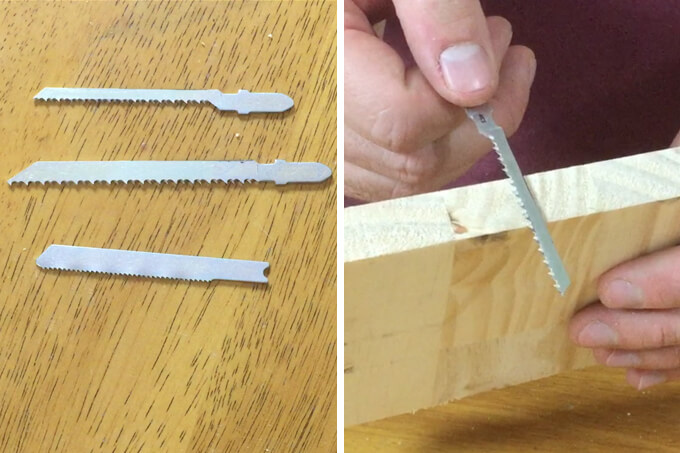
- Jig Saw Blade
- 2″ Long Carriage Bolt
- 1/4″ Chisel
- Wood Glue
- Bar Clamps
- Drill
- 1/4″ Wing Nuts
- 1-1/2″Screws
- Stud Finder
- 2-1/2″ Screws
FYI: This post contains affiliate links to products we used and liked for our wood tv wall mount. As an Amazon Associate Gray House Studio earns from qualifying purchases. This is at no extra cost to you. We appreciate you supporting this site. Read our privacy and disclosure policy.
TUTORIAL VIDEO
[yotuwp type=”videos” id=”mY79RiZpo_I” title=”off” description=”off” player=”width=590&modestbranding=0&showinfo=0″]
Subscribe to our YouTube Channel
Like our video? Please subscribe and help us reach our goal of 100k subscribers.
STEPS
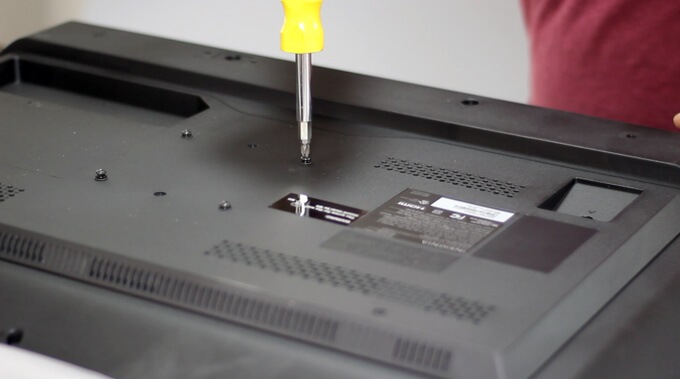
1. Our TV came with screws in the mounting holes so the first thing we did was to remove the screws with a screwdriver.
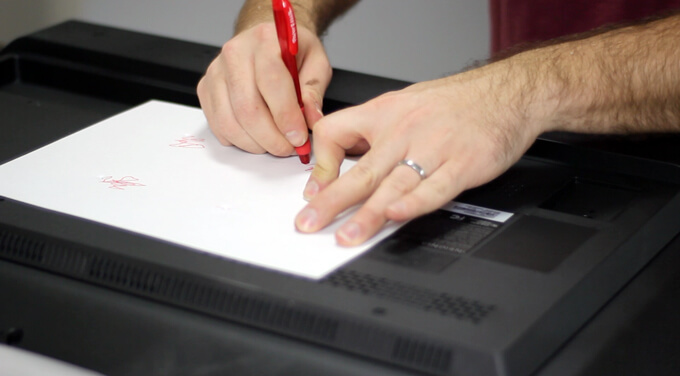
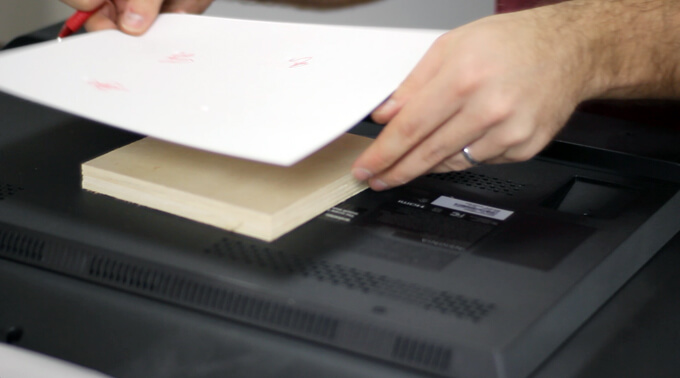
2. We used a piece of paper and pen to poke holes in the paper to make a template for transferring the mounting holes to a block of wood.
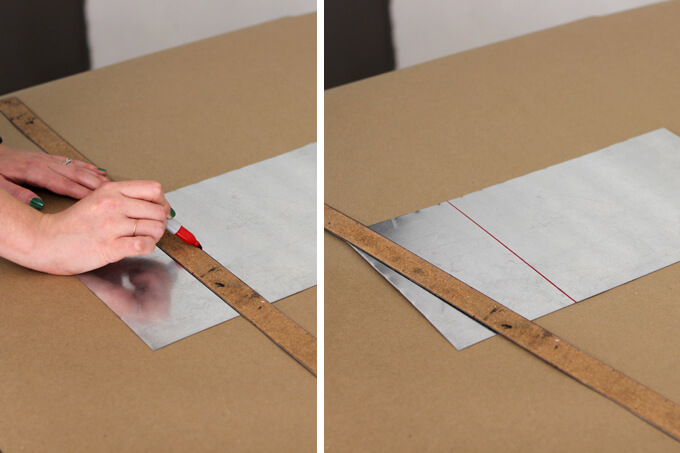
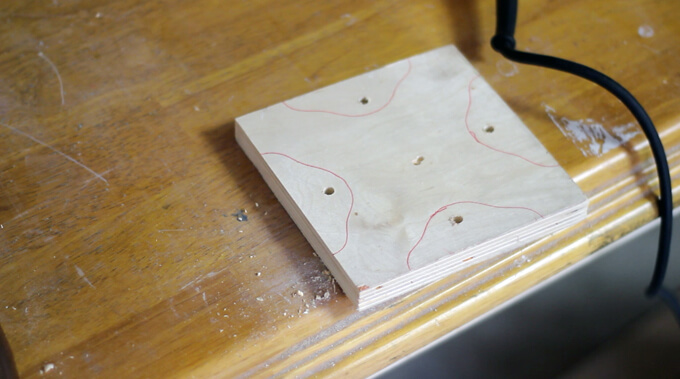
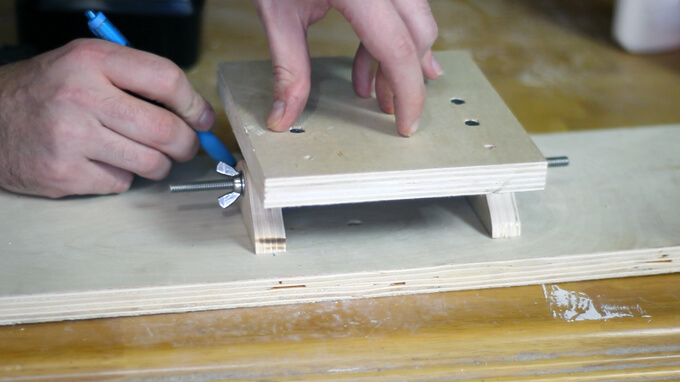
3. Once the holes were poked in the paper for each mounting hole, we marked the hole positions on a piece of plywood. We used a piece of 3/4 inch plywood.
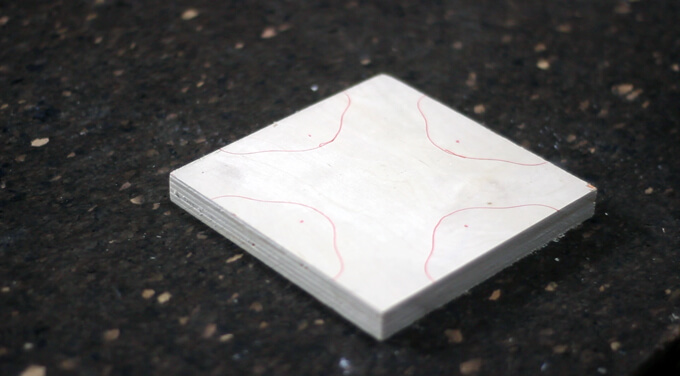
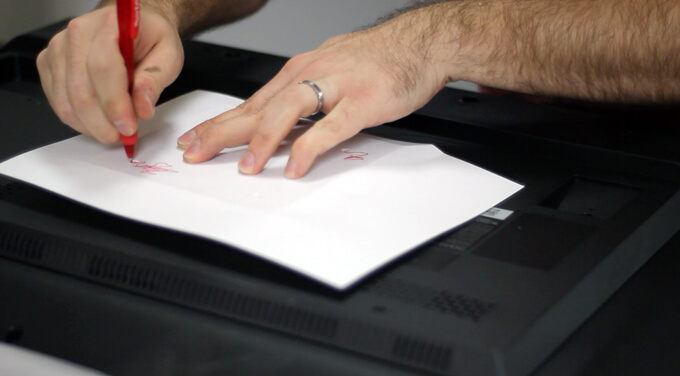
4. The mounting bracket has two hinges comprised of four identical semicircular pieces with a hole in the center.
We made this template and then traced these pieces on another piece of plywood like the one we used in the previous step.
Our hinge template is available to download here.
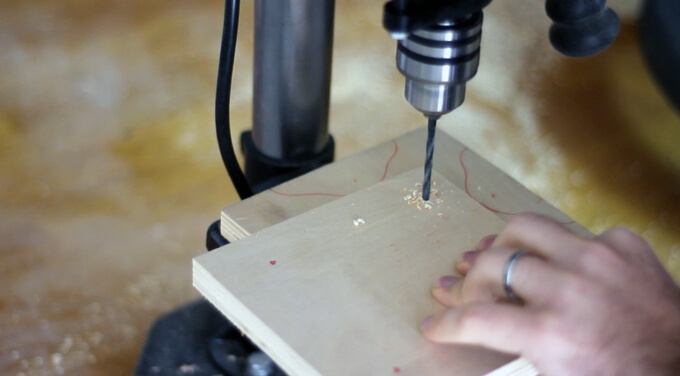
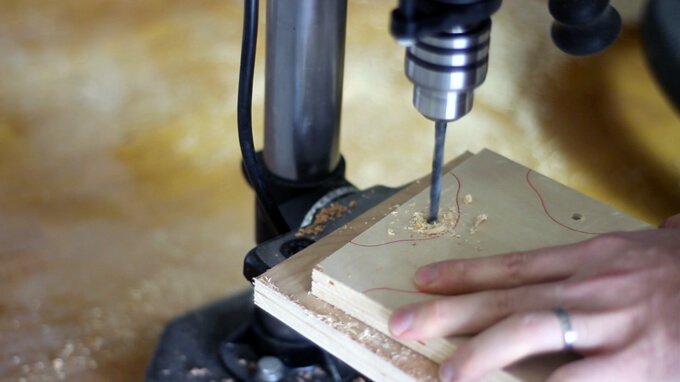
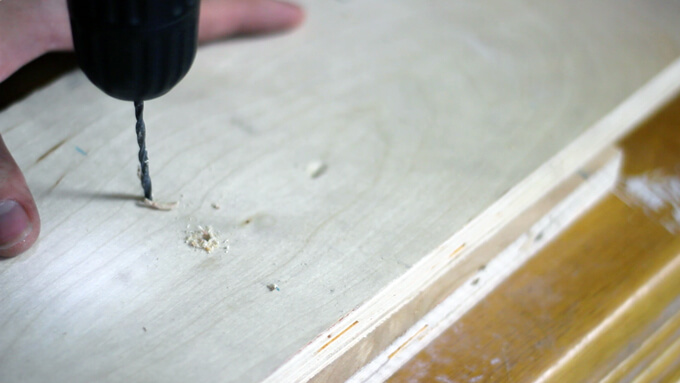
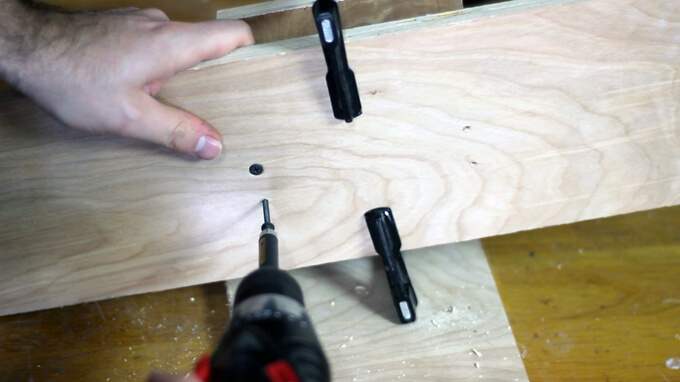
5. Next, using a 1/8 inch drill bit on a drill press, we drilled four holes in the board that mounts to the TV.
This is the board we marked on in the third step.
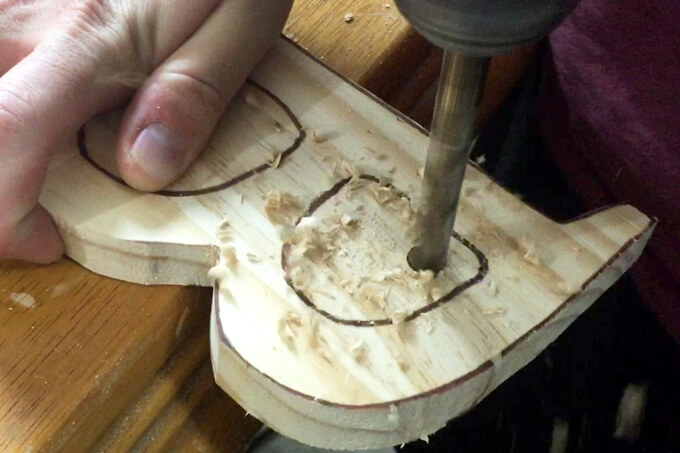
6. Using a 1/4 inch drill bit we drilled holes in the center of the hinge mounting brackets. These are the pieces we traced in the fourth step.
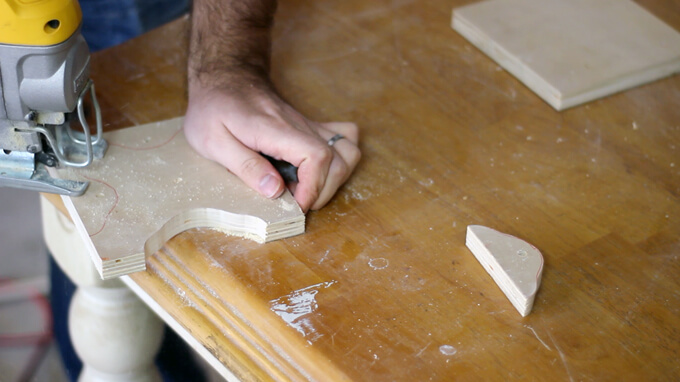
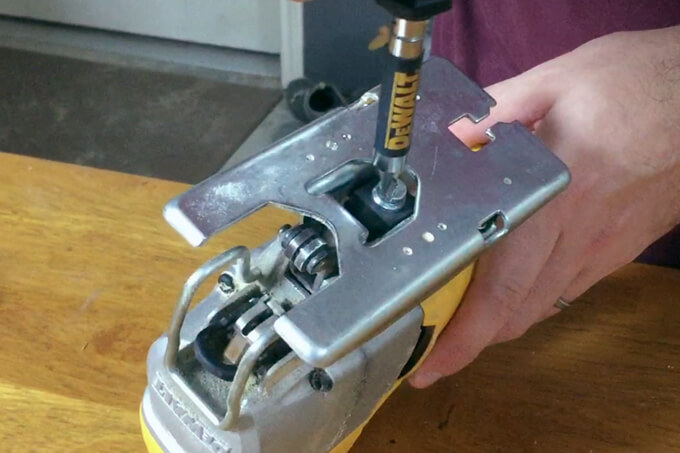
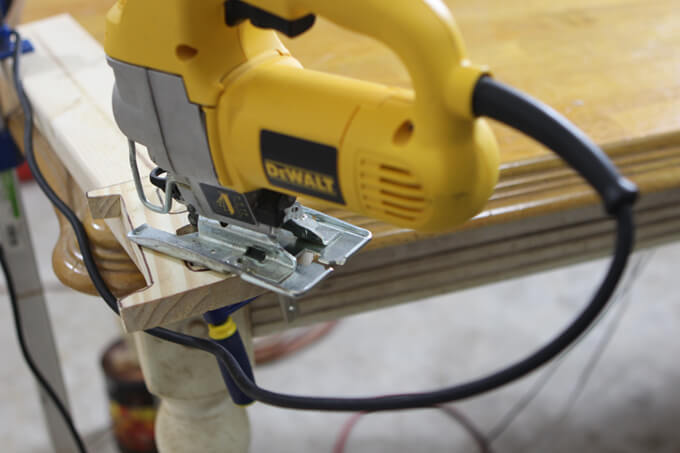
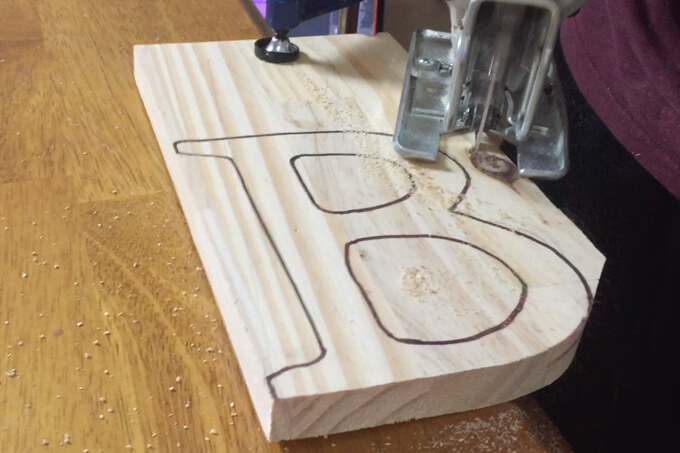
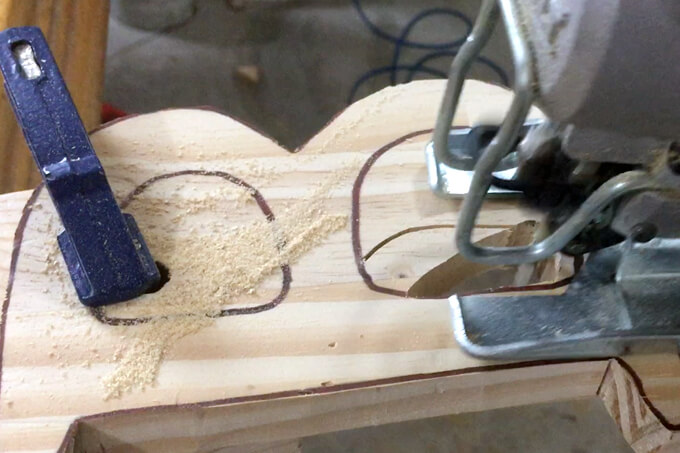
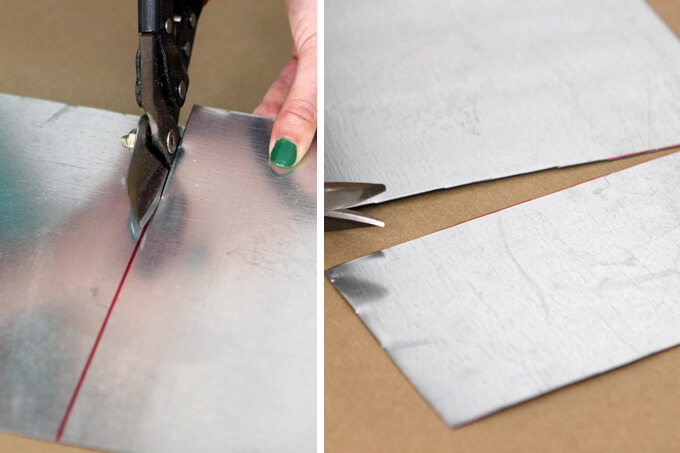
7. To cut the four hinge pieces out we used a jigsaw with a scroll cut blade.
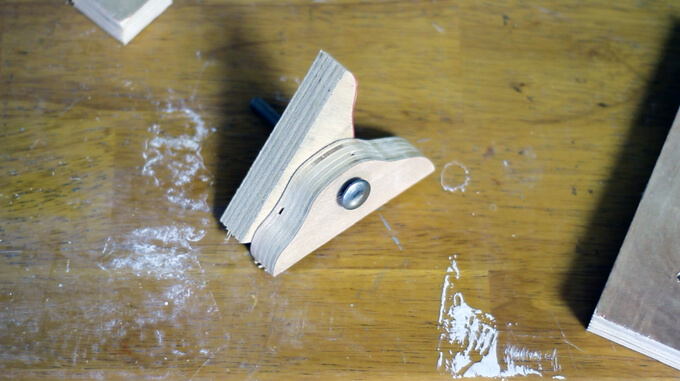
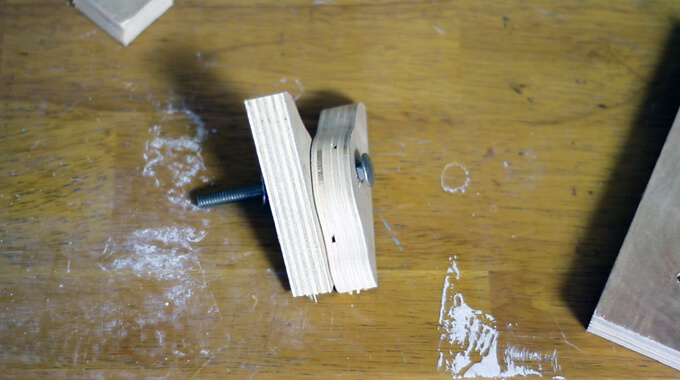
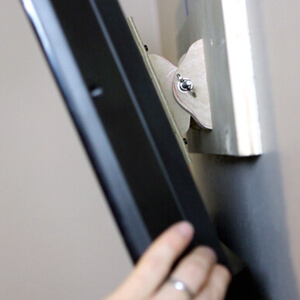
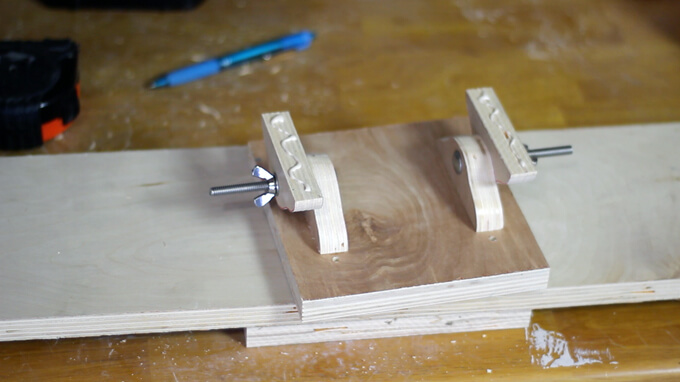
8. We used a 2 inch long carriage bolt to hold each of the two hinges together.
But as you can see in the second picture, the square neck prevents the head of the bolt from sitting flush with the surface of the hinge.
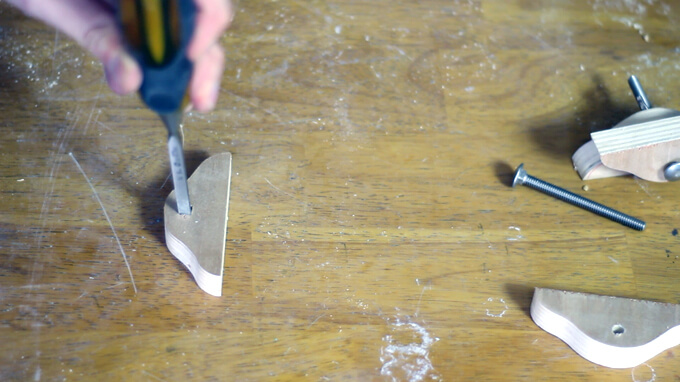
9. To fix that issue, we used a 1/4 inch chisel to square off each hole on the side of the hinge with the head of the bolt.
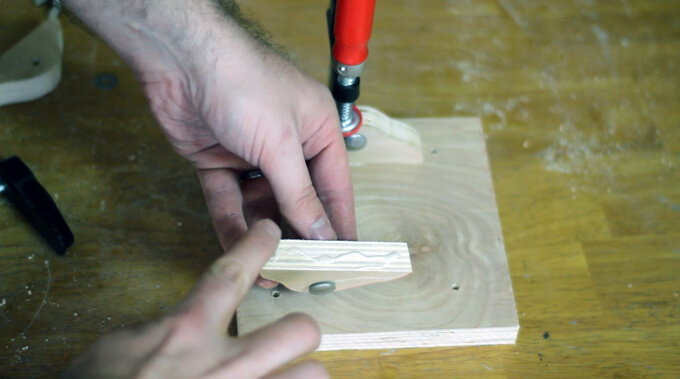
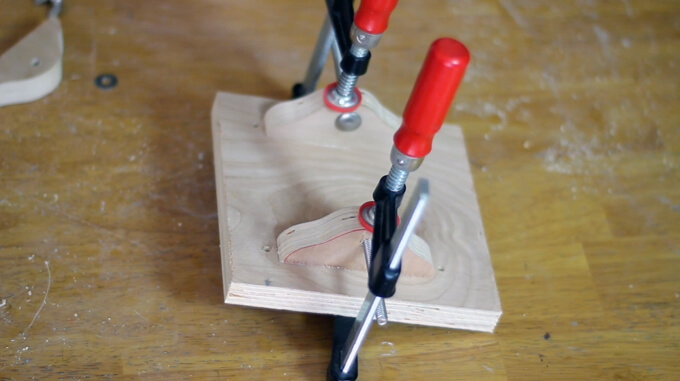
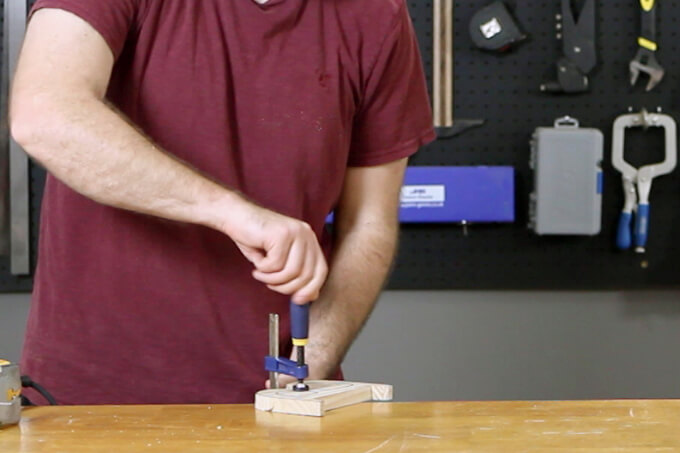
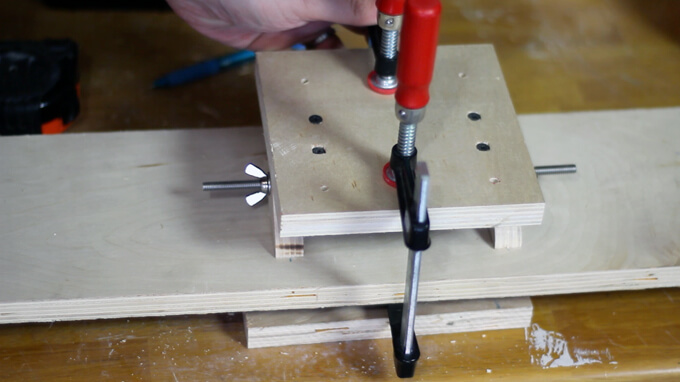
10. Next, we mounted the two hinge pieces located on the head side of the bolt to the mounting plate with the four holes in it. We added wood glue and clamps to hold both pieces centered between the holes.
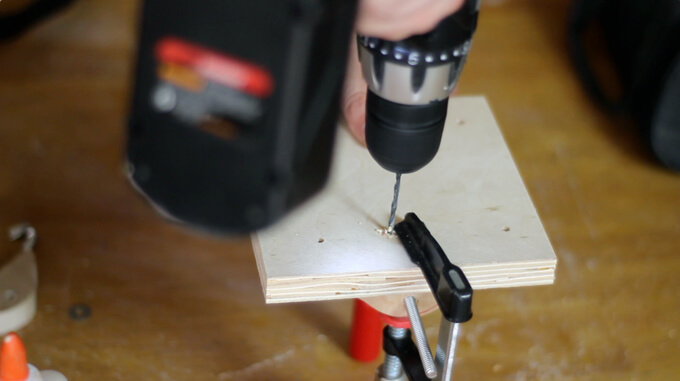
11. First, we use our drill pilot holes for each screw.
12. Then we secured the hinge pieces with the screws.
13. To help align the other side of the hinges, we slid the other pieces over the carriage bolts and tightened them with wing nuts.
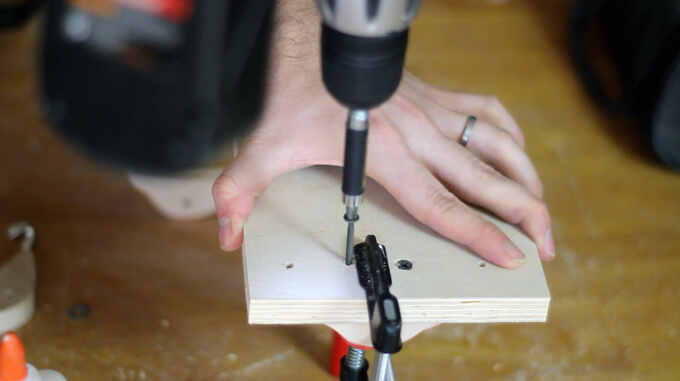
14. Then we marked the center point of each side of the hinges on the wide mounting board that we were going to screw into the wall.
15. We used those marks to drill pilot holes for the mounting screws.
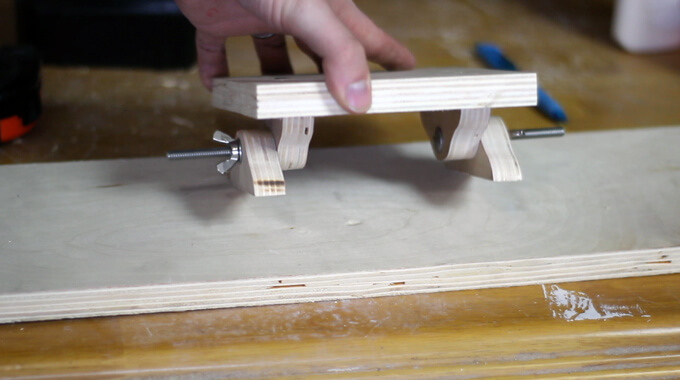
16. We added wood glue to the hinges and clamped them to the large board.
17. Then we secured it with 1 1/2 inch screws.
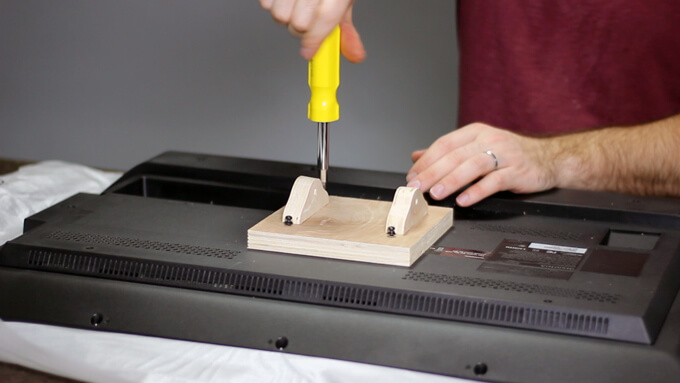
18. We removed the two carriage bolts and separated the two sides of the mount.
We then attached the mount to the TV using 1 1/2 inch screws. Our TV uses M8 screws.
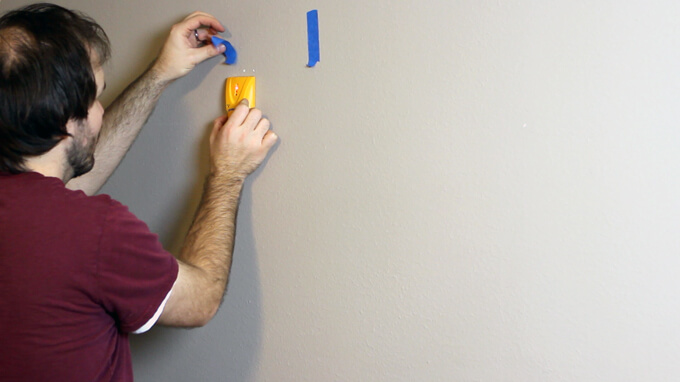
19. Before mounting the TV, we located the studs with a stud finder.
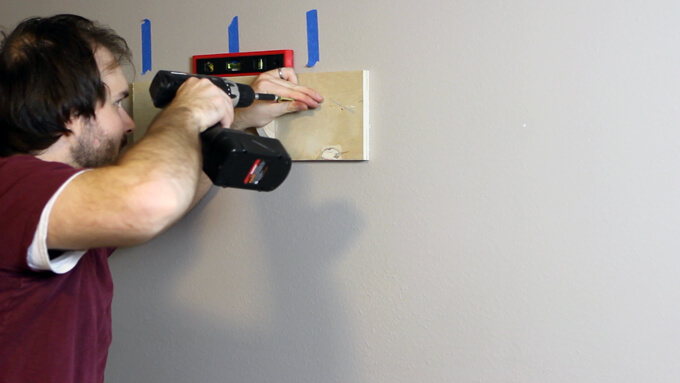
20. Then we anchored the mount to at least two studs with 2 1/2 inch screws.
We used a level to make sure our mount was straight.
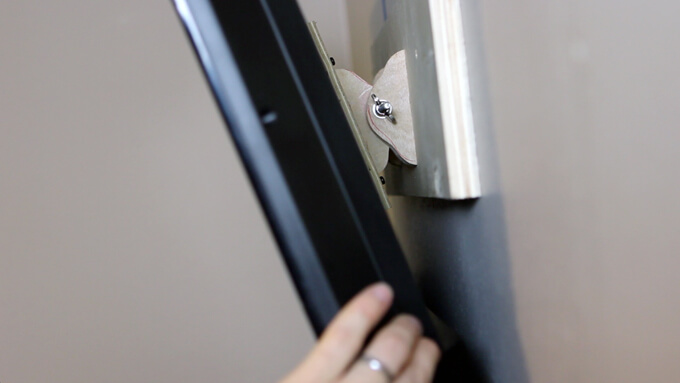
21. Finally, we mounted the TV by lining up the holes in the hinge and securing them with the carriage bolts and wing nuts.
We are really happy with how our mount turned out and how it securely holds the TV to the wall. Plus, you can hardly tell the mount is even there. I love how little this project cost us so I could use the money on more important things for our guest bedroom makeover, like lamps and a new chair.
If you have any questions on how to build a TV wall mount, feel free to leave them in the comments section below.
PIN IT FOR LATER