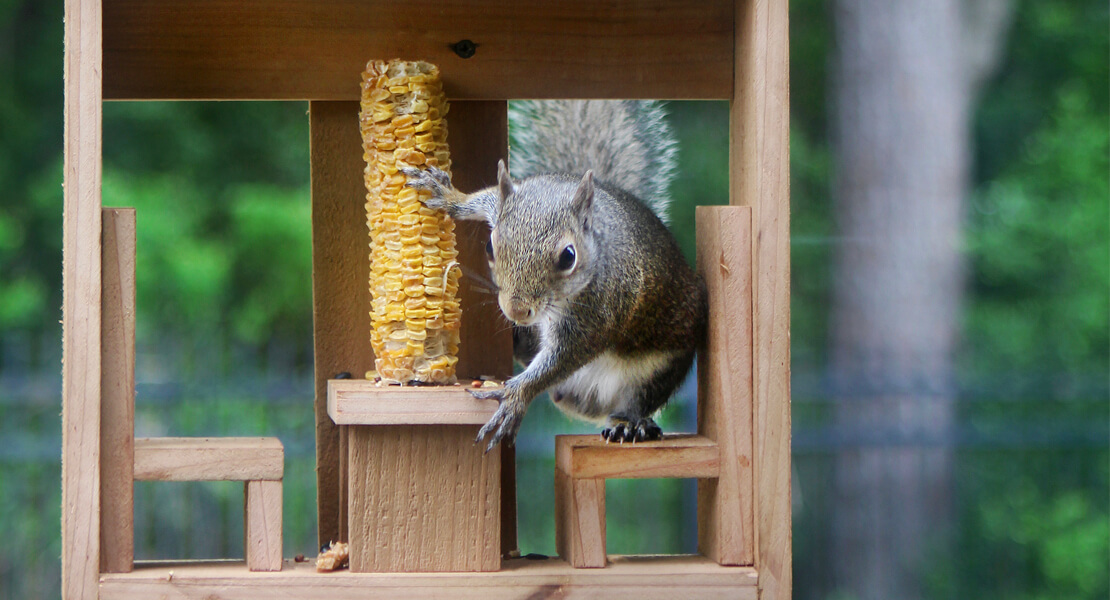
Want to make the squirrels in your neighborhood go nuts!? Build them this super simple squirrel corn cob feeder and treat them to some fine dining. We have the building plans for you! Continue Reading “Corn Cob Squirrel Feeder”
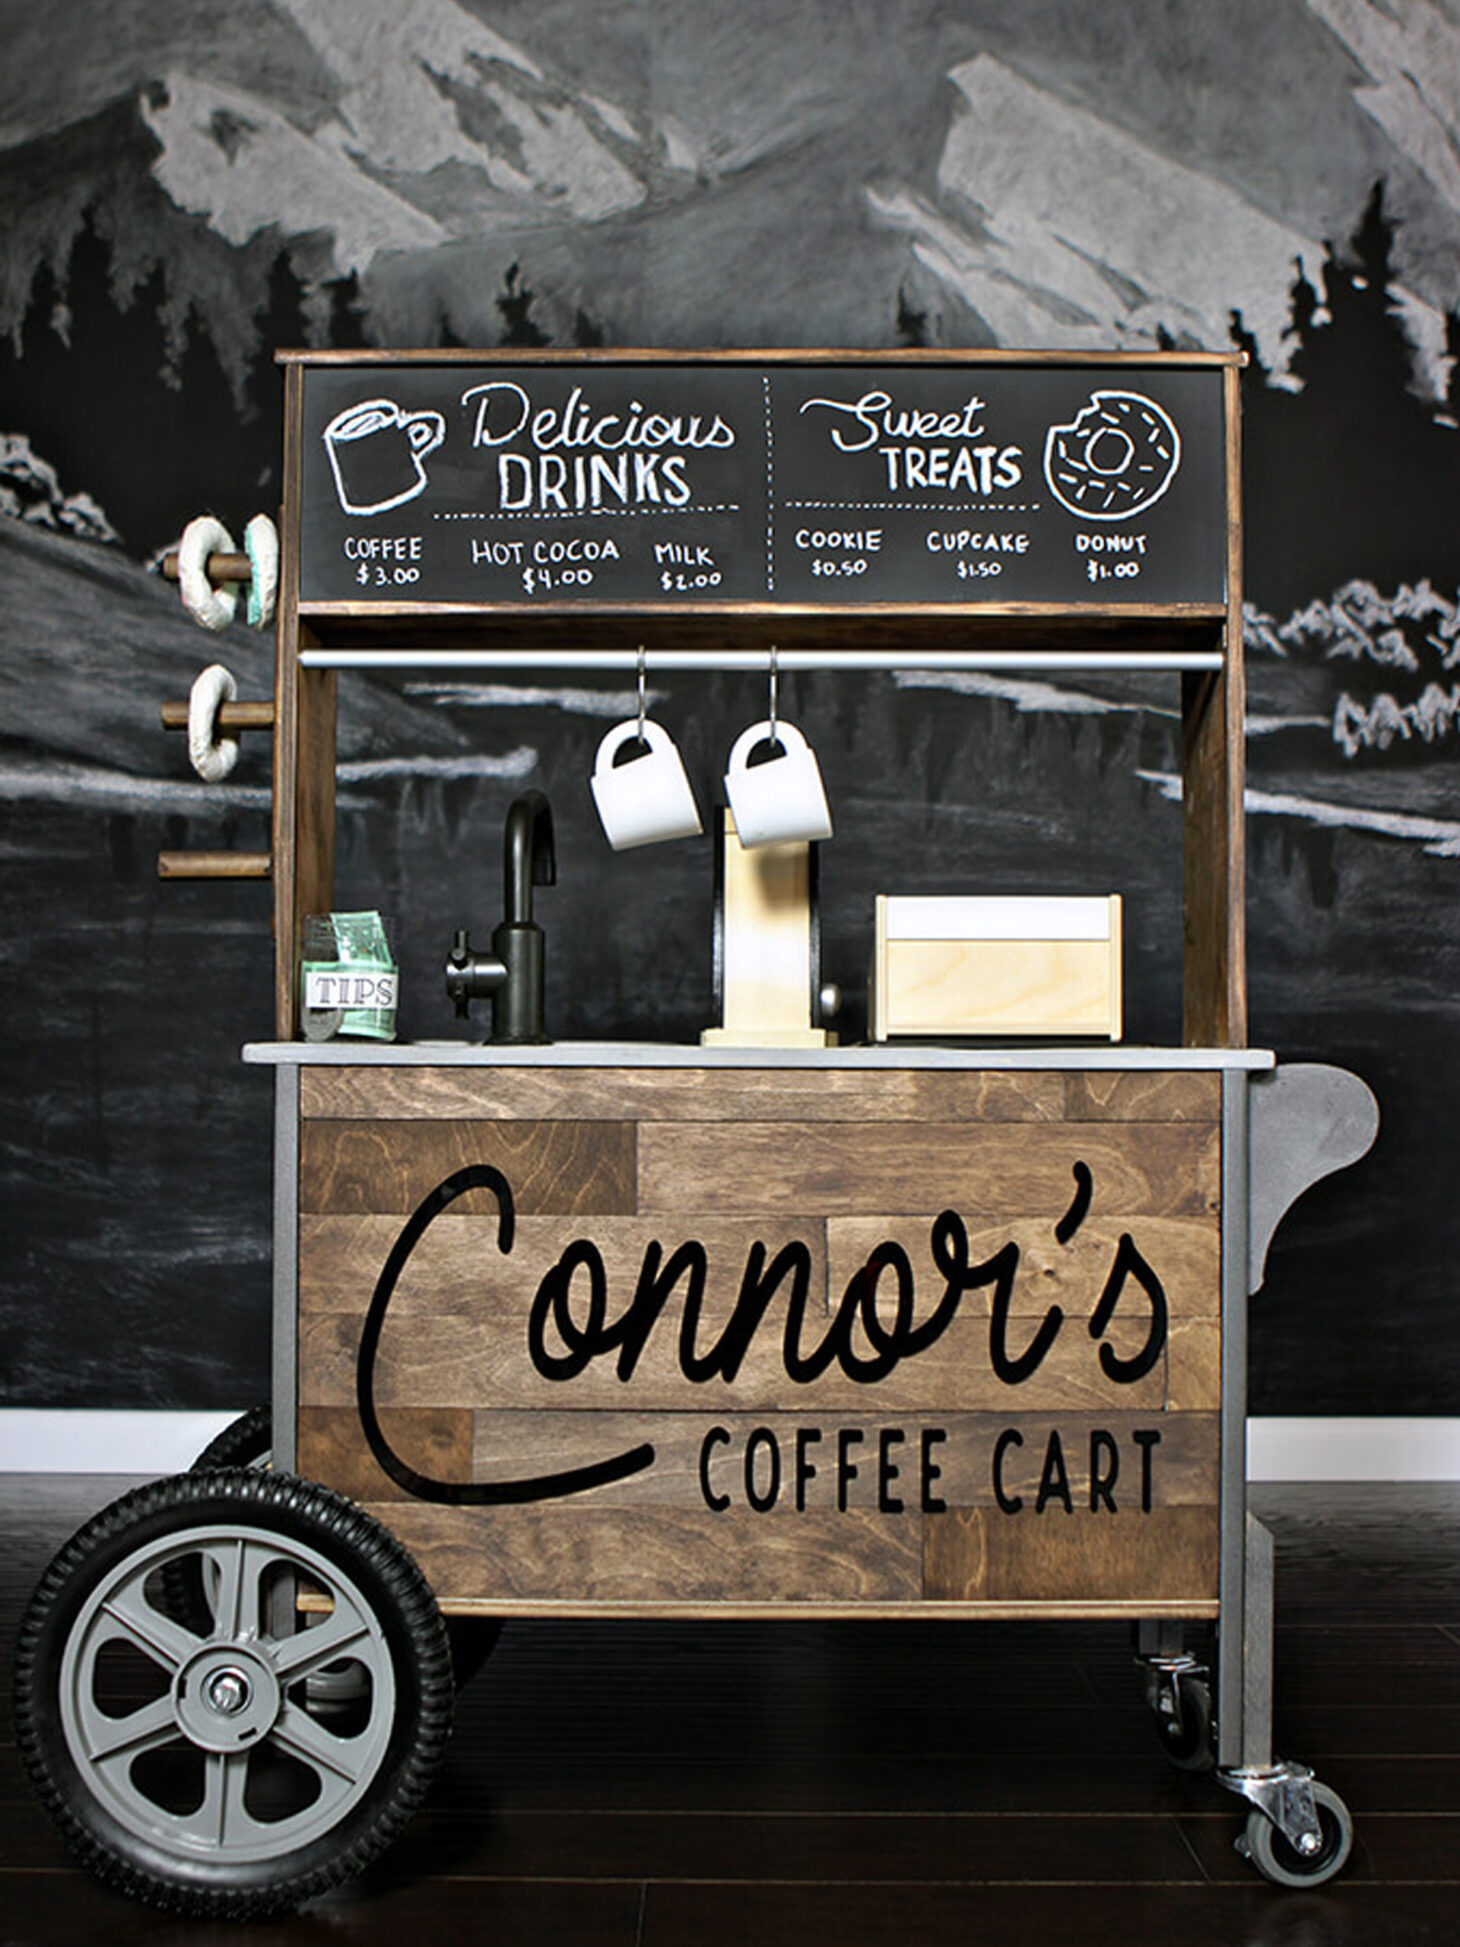
For this DIY transformation we did our own version of an IKEA play kitchen hack. Scroll down to see how we transformed the DUKTIG toy kitchen from IKEA into a toddler size coffee cart for pretend play. Continue Reading “IKEA Play Kitchen Hack – Play Coffee Cart”
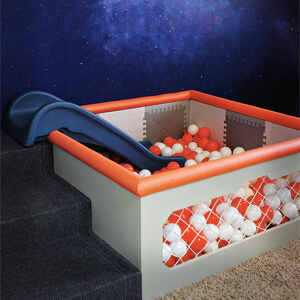
If we have learned anything about little kids it is they love plastic balls and the more there are, the better. So in the spirit of making toddler dreams come true around here we built a DIY ball pit with a slide and stairs out of plywood for our son’s spaceship themed playroom.
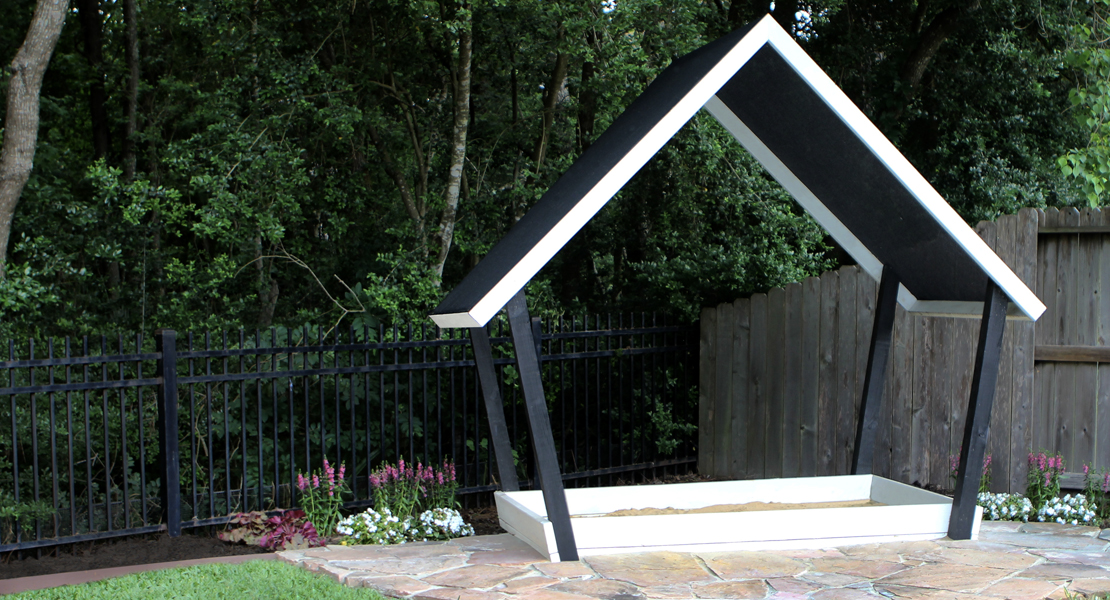
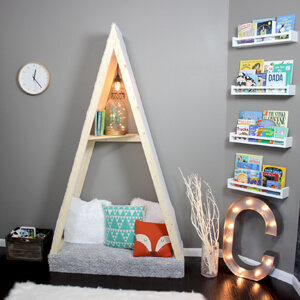
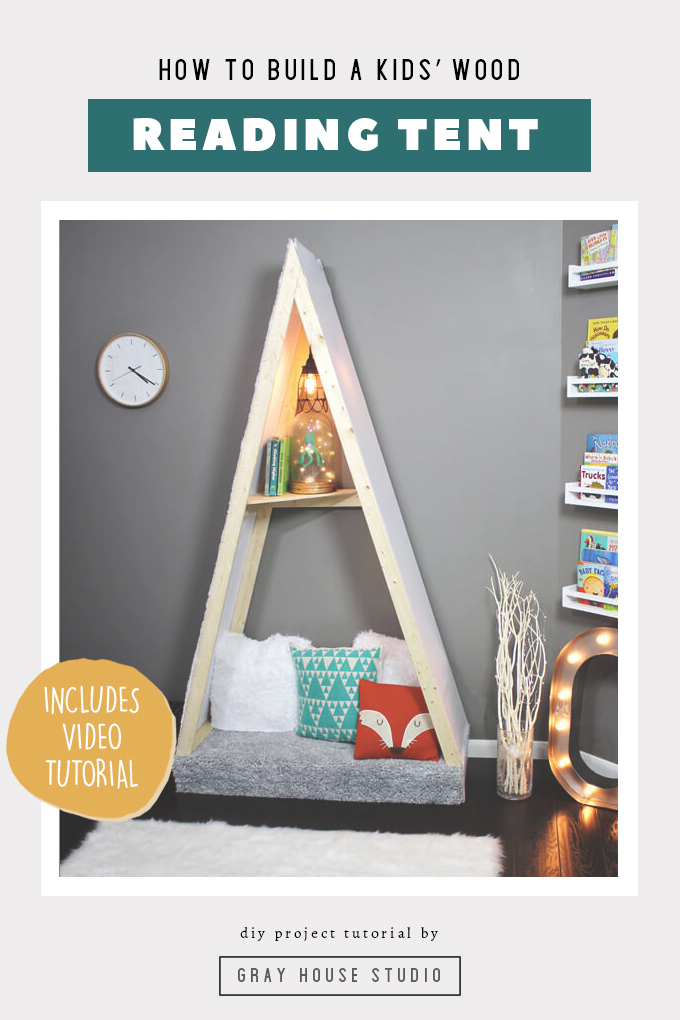
Check out how we we built our son a kid’s reading nook tent made out of wood and canvas for his modern outdoor nursery.
We have been hard at work making an outdoor modern nursery over the last few months for our baby boy. We wanted to transform the room so that when he gets older he feels like he is being transported to a space of whimsy and adventure that will encourage his imagination to run wild.
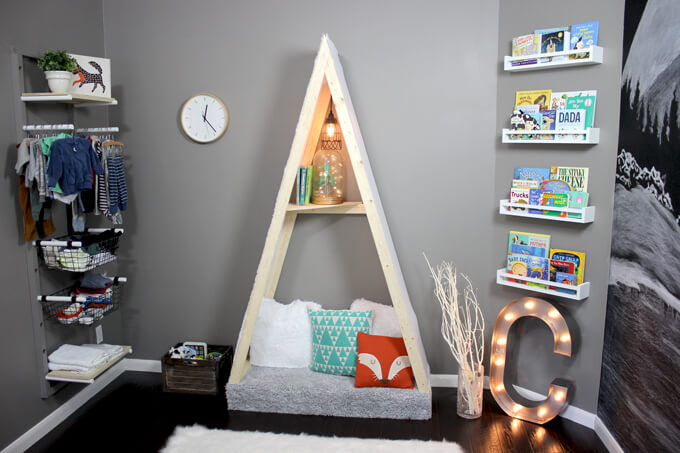
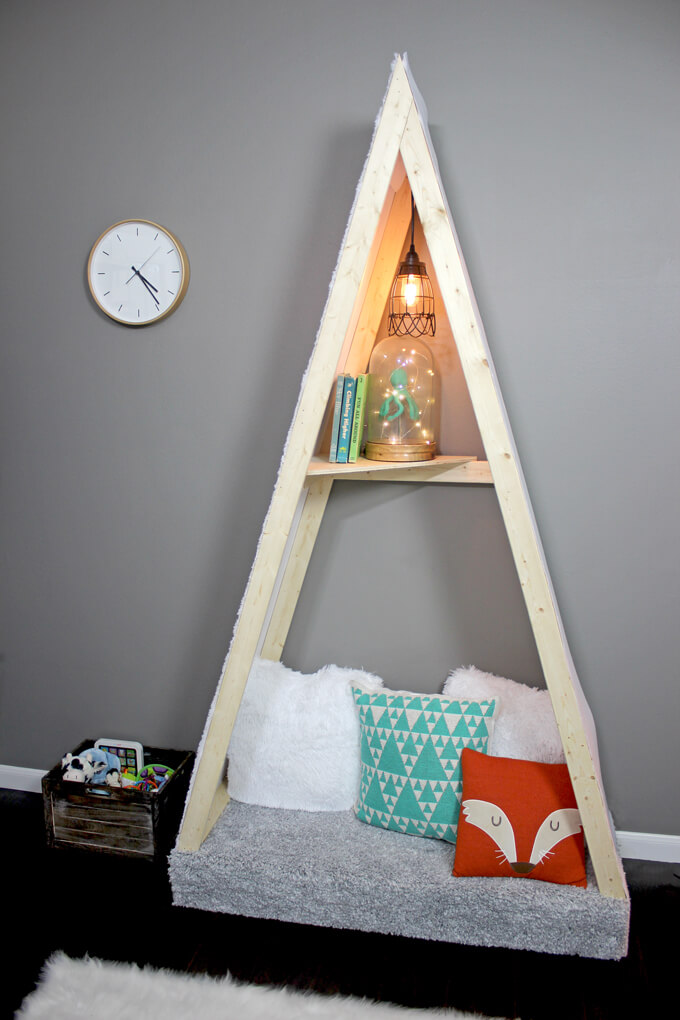
One project that Brent and I were really excited about creating was a kid’s reading nook tent that would be a centerpiece in the room.
Even though he is just a newborn and the tent is more of a decor piece right now, we wanted the room to be able to grow with him and create a fun spot he could curl up in and we can read together and play pretend. Because you can’t go on an outdoor adventure without a tent!
Update: This piece turned out to be more special than we had hoped. When our son was one and first learning to walk he pulled himself up onto the base of his wood tent, sat down on it and then stood up and start walking!
FYI: This post contains affiliate links to materials and tools we used to make our Kid’s Reading Nook Tent as well as the pieces we used to decorate it. As an Amazon Associate Gray House Studio earns from qualifying purchases. This is at no extra cost to you. We appreciate you supporting this site. Read our privacy and disclosure policy.
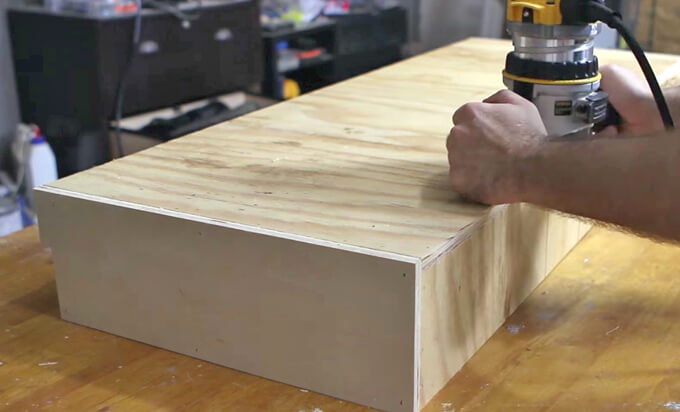
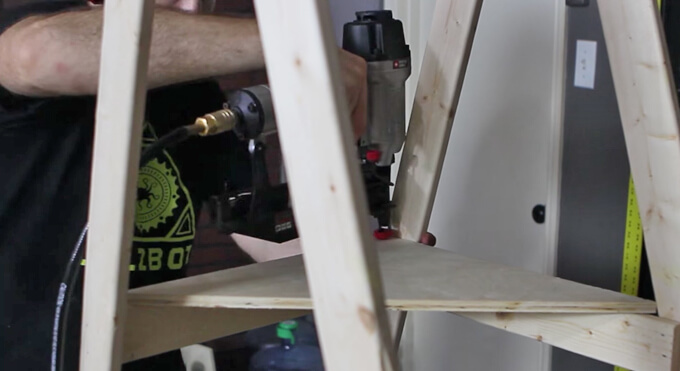
5. Next, he used a 1/2” round over bit on a router to remove the sharp edges from the corner of the platform.
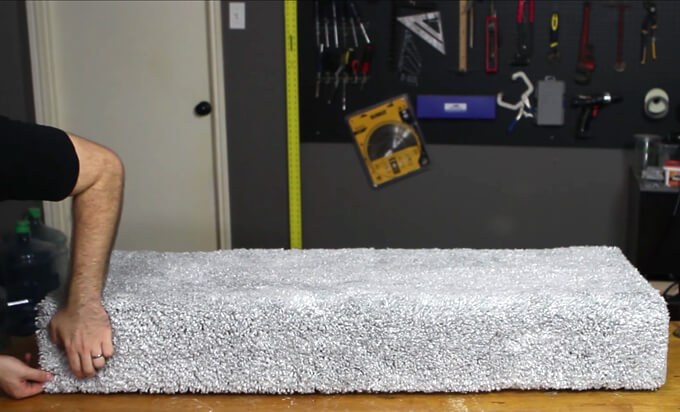
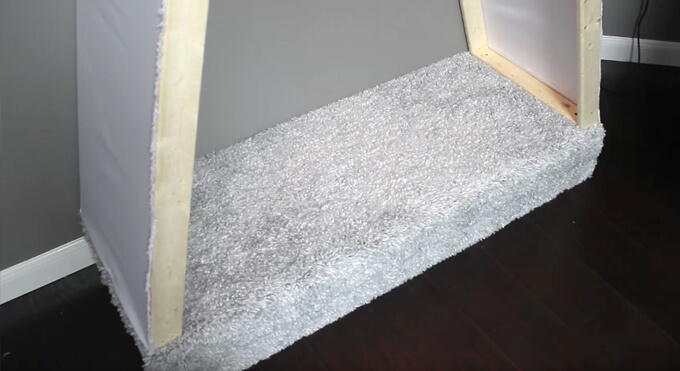
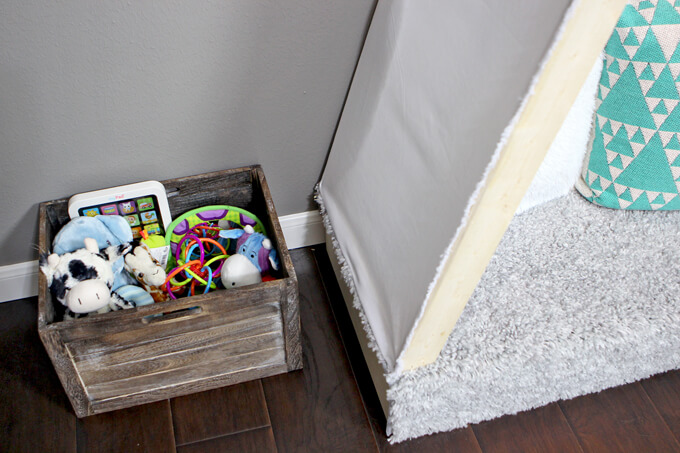
We found a shag rug (here is a similar one) at Target that was 48” wide which made it perfect for this project. We didn’t even have to cut it.
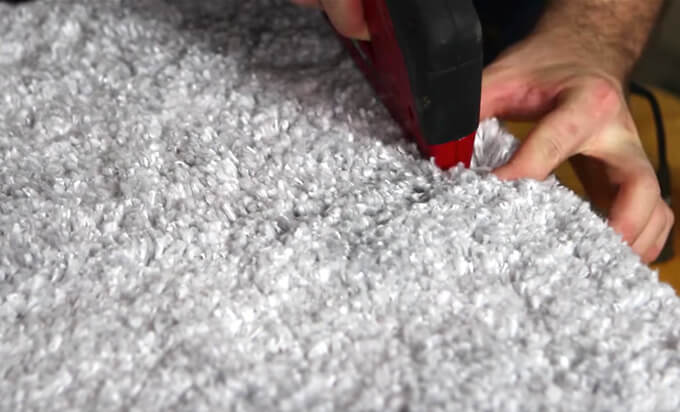
6. To attach the carpet he parted the bristles and stapled in between them with a staple gun.
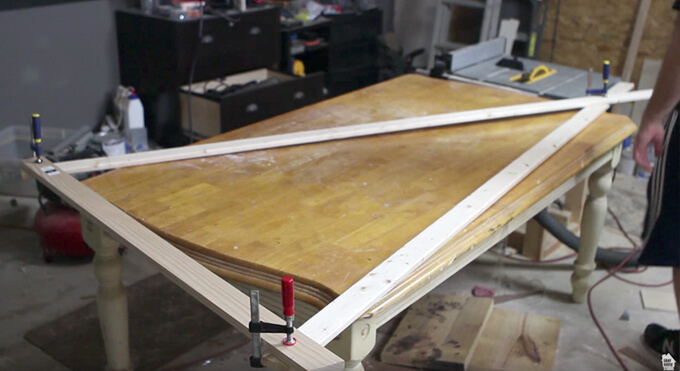
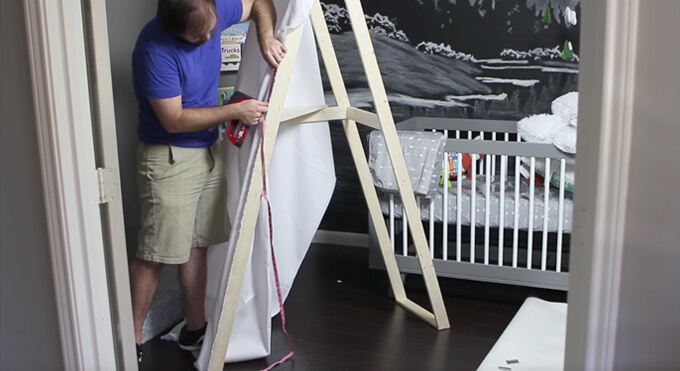
7. To find the correct angles of the frame Brent used clamps to attach a 48” piece to the uprights and marked where to cut the boards.
Be sure to measure both upright boards if one is longer than the other then the peak of the tent will be off center. Both of the uprights should be the exact same length.
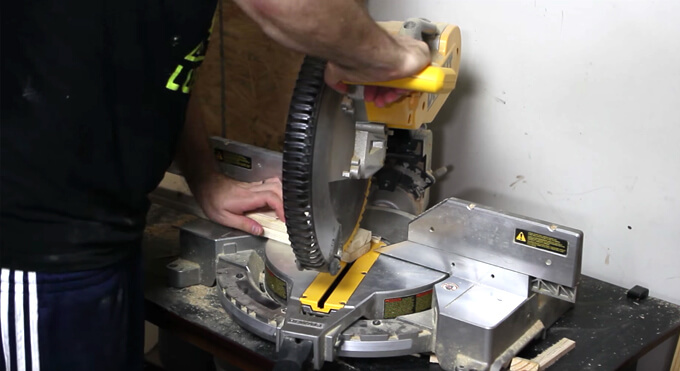
8. He used a miter saw to cut our boards to be 7ft. tall.
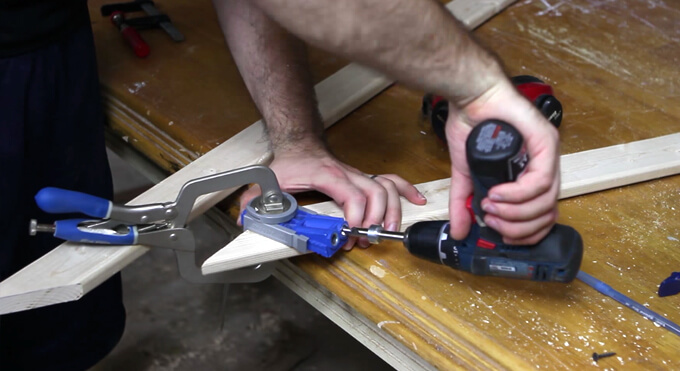
9. To attach the peaks of the frame together Brent used the Kreg Jig Pocket Hole System to make two pocket holes.
10. Then, he drilled in two screws into the pocket holes.
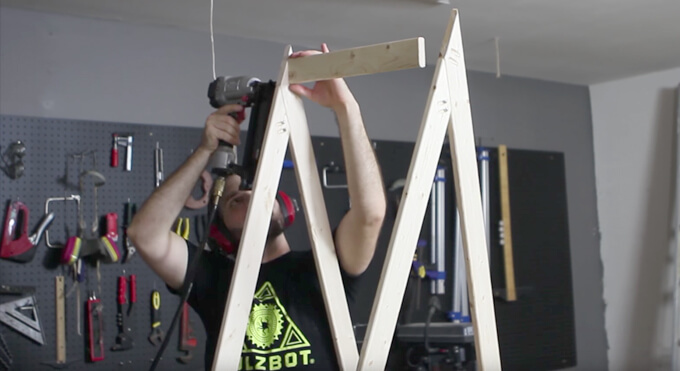
11. After turning both of the frames so the pocket holes faced backwards, he connected them with a 1×3 board using my nail gun.
The frames should be the same depth as the platform. Ours was 20” deep so the top frame measured 20” deep once they were connected with the top board.
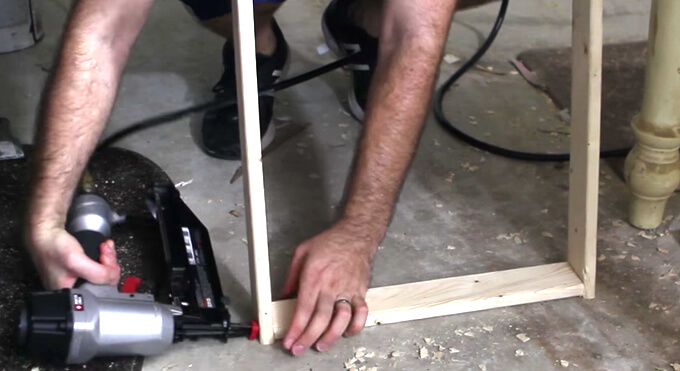
12. Brent used the nail gun to attach two additional 1×3 boards at the bottom of each side of the frame.
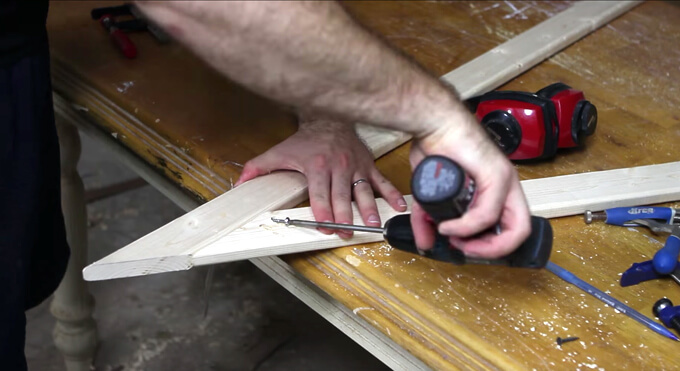
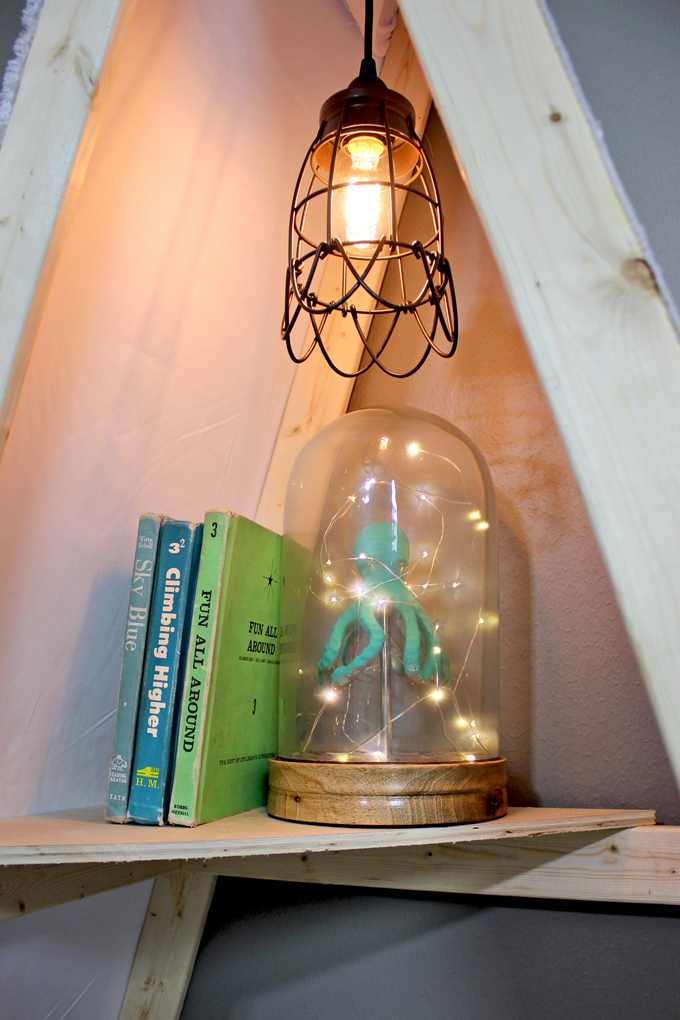
13. To add some interest to the tent we decided to add a triangle shelf midway up.
To build the shelf Brent attached a back brace and a side brace. Then attached a triangle shelf to the top of the braces with a href=”https://amzn.to/2Je7qwY” target=”_blank”>wood glue and a nail gun.
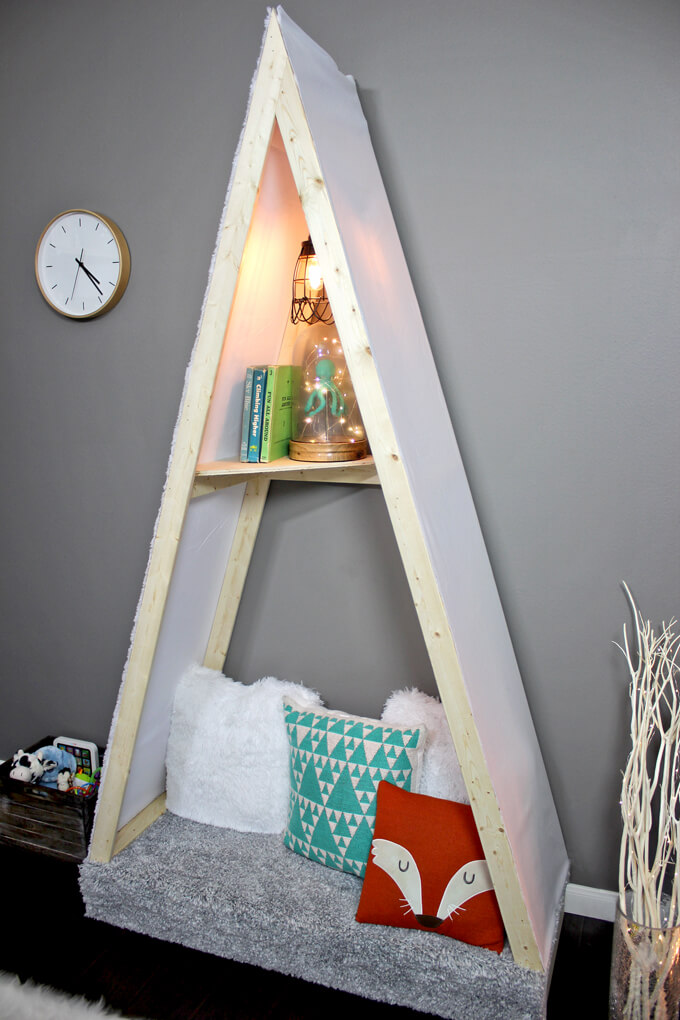
14. After moving the frame into the room, Brent attached the canvas fabric to the sides.
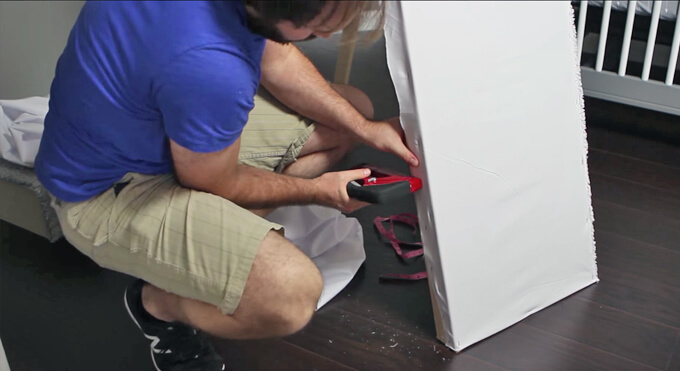
He used the factory edge of the canvas on the front side of the frame and used a staple gun to attach it to the frame in 6” intervals.
15. Then Brent attached and concealed the not so great looking side on the back.
We picked some quirky elements to decorate the kid’s tent.
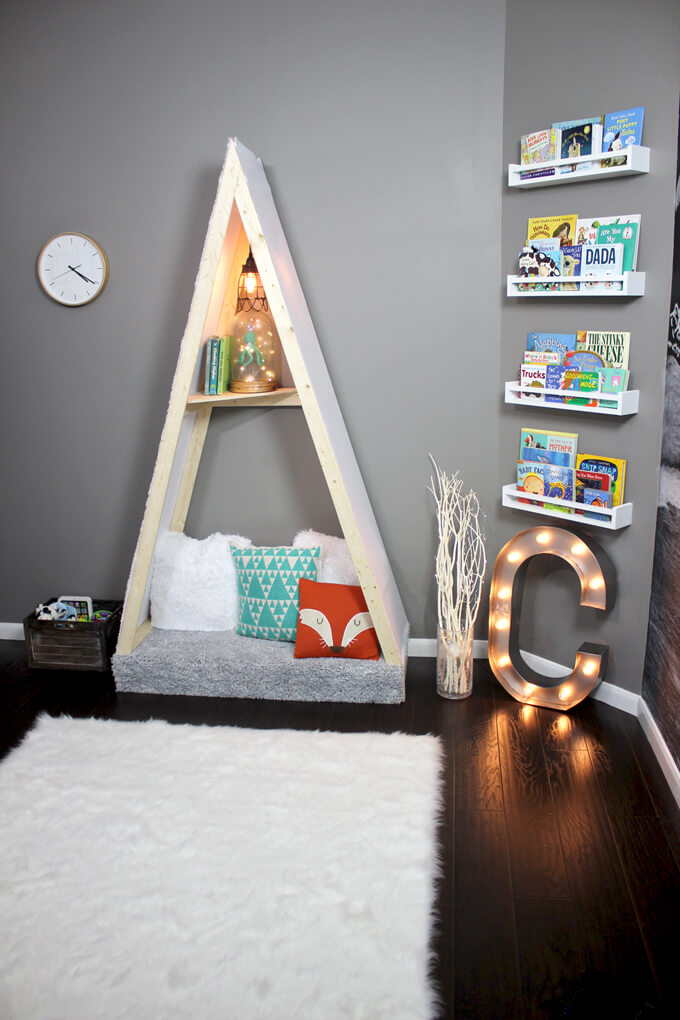
We picked out this octopus sculpture in a glass dome and spray painted it turquoise and added string lights to up the whimsy factor.
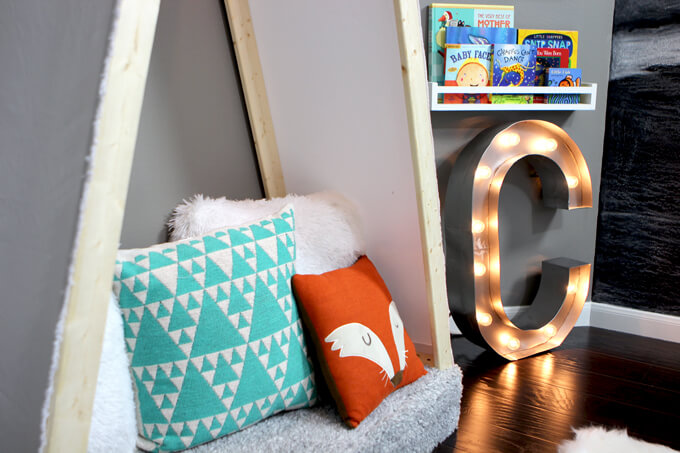
To make it cozy we picked up several pillows to add variety in color and texture to our kid’s reading nook tent. The fox pillow is my favorite.
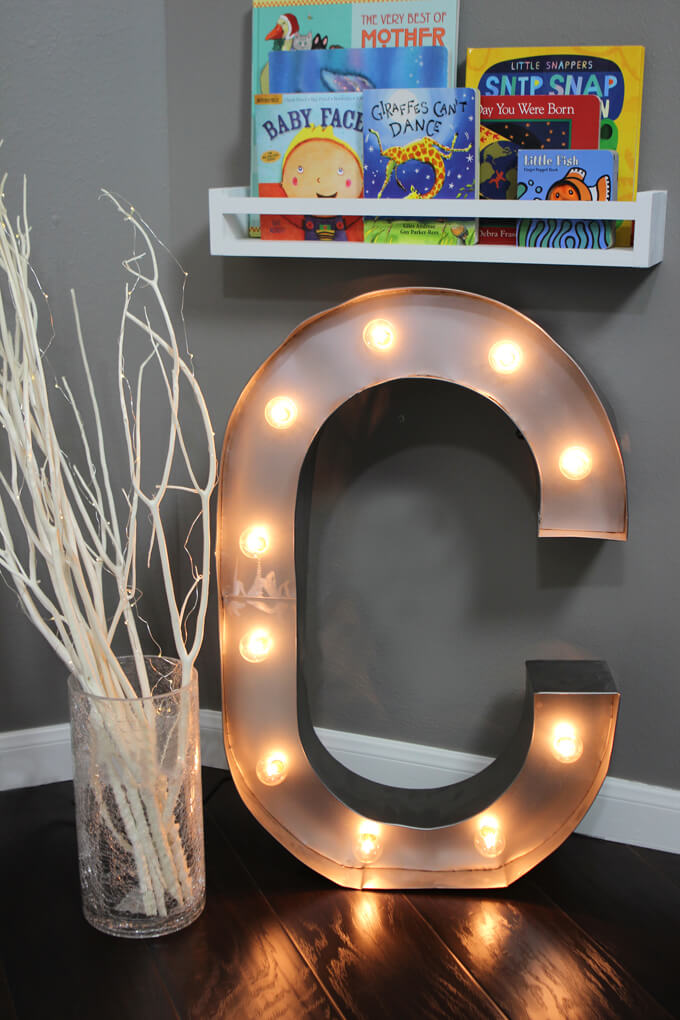
How fun is this marquee letter? This huge “C” is for Connor. We wrapped the white branches with more of the LED string lights to add a little magical touch to the reading nook area.
Once Connor is able to start being mobile, we will have to move these items to higher ground, but for now they fill up this space next to the tent nicely and add a playful touch.
While our son might not be able to read for awhile, Brent and I are ourselves are looking forward to sitting in the space, holding him and reading to him.
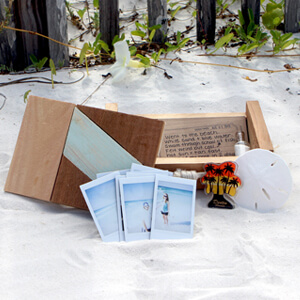
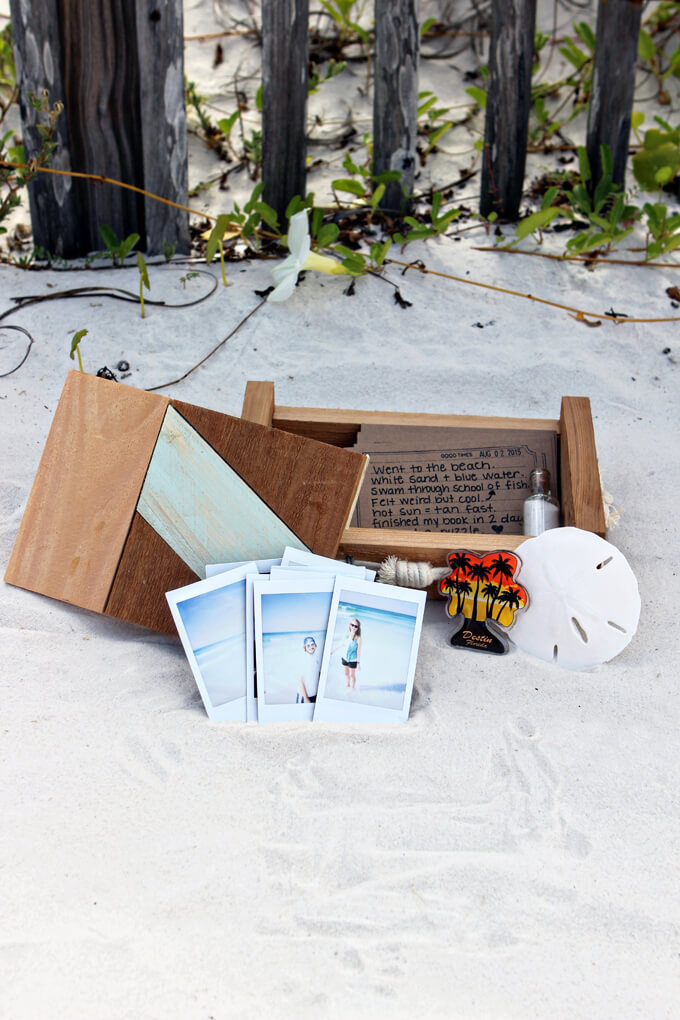
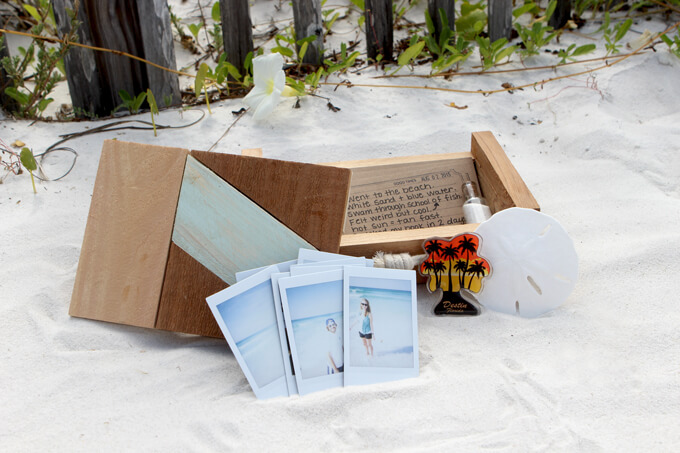
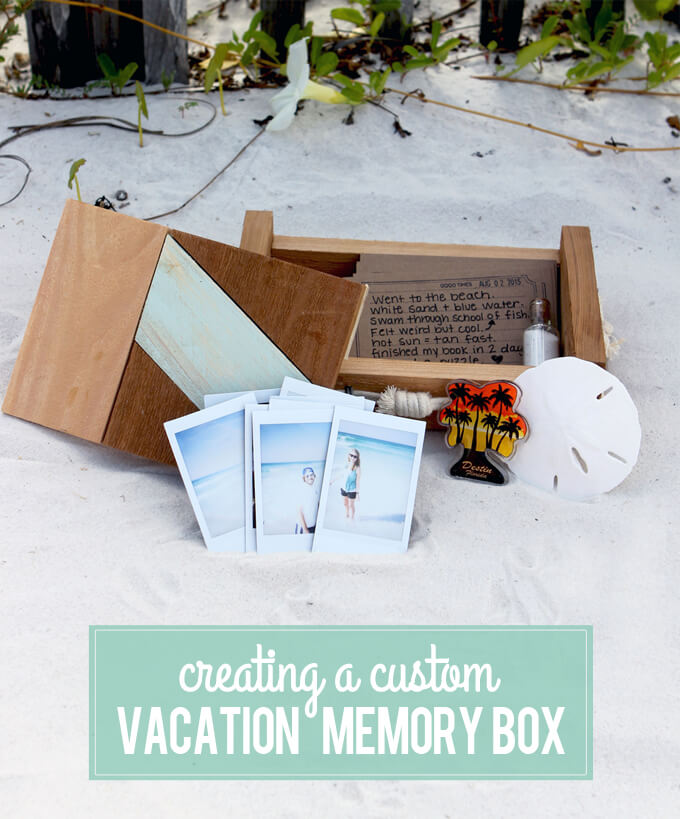
We built a custom DIY memory box to fill with photos and mementos from our vacation.
Hello from Destin! We are bringing you this week’s Gray House Studio project from the beach in sunny Florida where we are currently on vacation. One of my favorite aspects of a vacation is preserving memories whether that is through photos or significant physical keepsakes. Today we are sharing how we created a custom vacation memory box and the items we have been adding to it this week.
I know there is that whole living in the moment movement but I am one who likes to live life through a lens. If you are anything like me when you come home from sight seeing you have hundreds of photos from your adventure. But hundreds of photos can get overwhelming to sort through so most of the times these photos tend to get lost in a folder on the desktop.
And if I am not careful, all of those items I collected that were so meaningful at the time will end up misplaced somewhere in the house (if they make if out of my suitcase).
I wanted a unique way to preserve our trips so that our experience was paired down to a few notecards, photographs and mementos that symbolized our favorite moments.
So Brent and I came up with the idea of creating small boxes designed specifically so that we could take them on our adventures with us to store all of our keepsakes that would also look really nice sitting on a shelf once we got home.
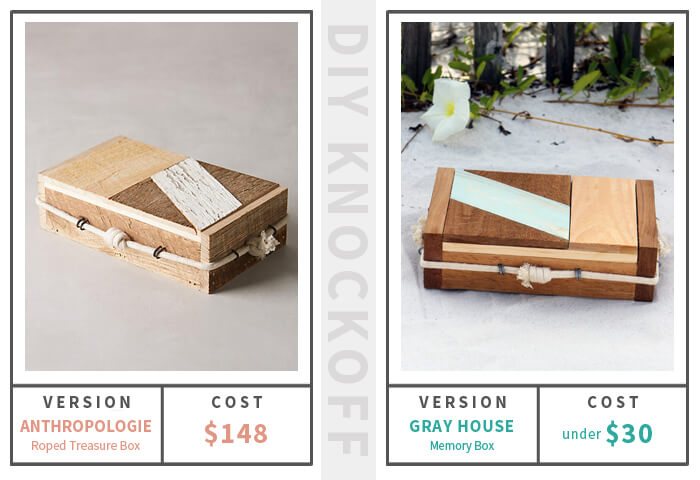
DIY KNOCKOFF
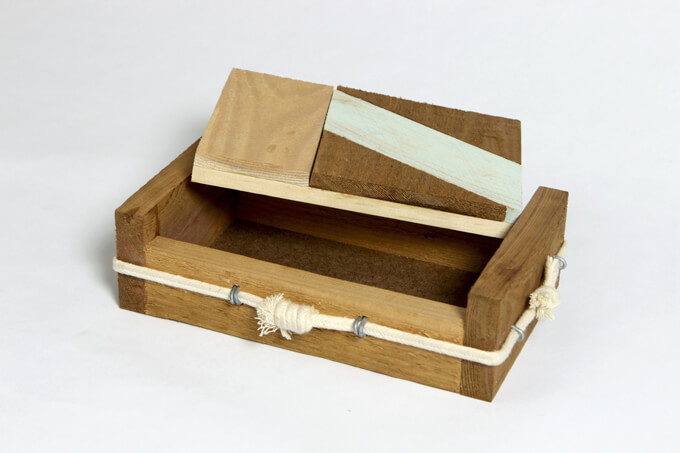
While I was browsing Anthropologie’s website, looking at all the things we can’t afford, I stumbled upon the Roped Treasure Box (on the left). I fell in love with the design of it but the price tag, which was $148.00, um not so much. I knew the style would fit perfectly with our vision for our beach DIY memory box so Brent and I put our heads together and made our own version for less than $30.00!
VIDEO TUTORIAL
To see new DIY videos on Thursdays, be sure to subscribe to our channel ⇾
How we Built Our DIY Memory Box
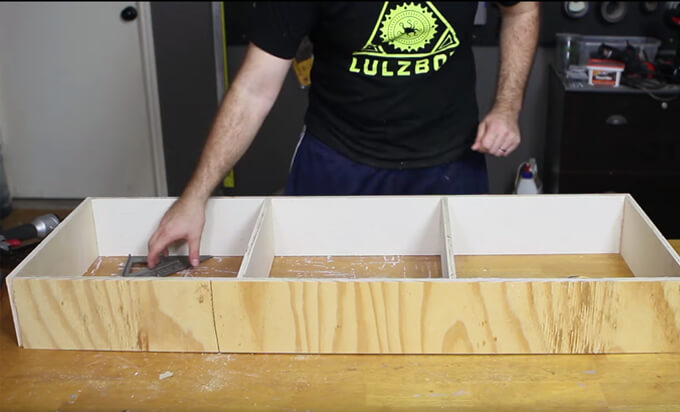
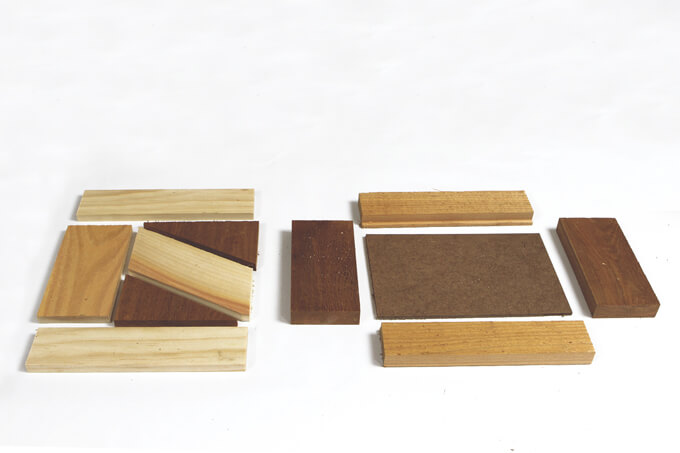
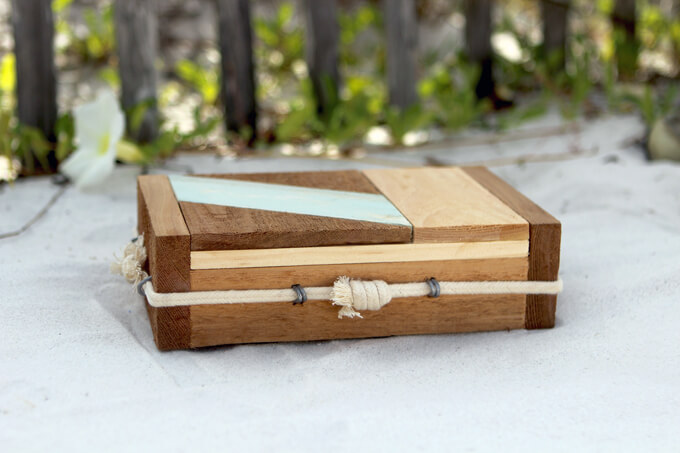
1. First, we constructed the box out of cedar planks typically used for privacy fences. We searched through the piles at the hardware store to find planks of three different shades: dark, medium and light.
For the bottom of the box we used a scrap piece of masonite. Brent was able to figure out what size each piece needed to be by using the dimensions of the roped treasure box. If you are interested in making your own memory box, stay tuned we will be sharing our plans for this box in another post soon.
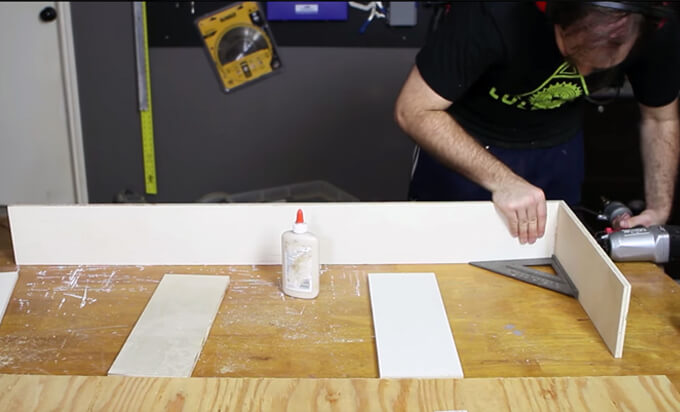
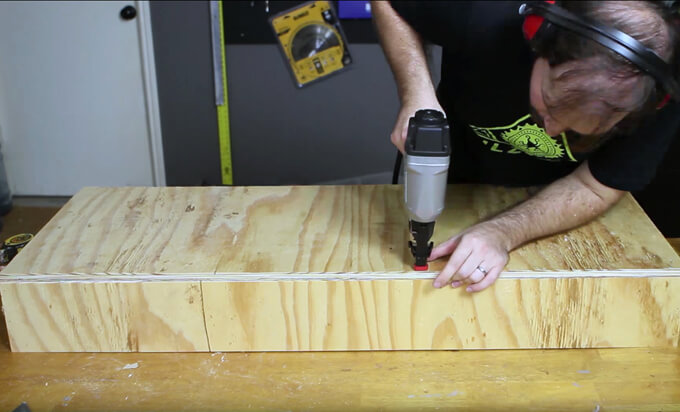
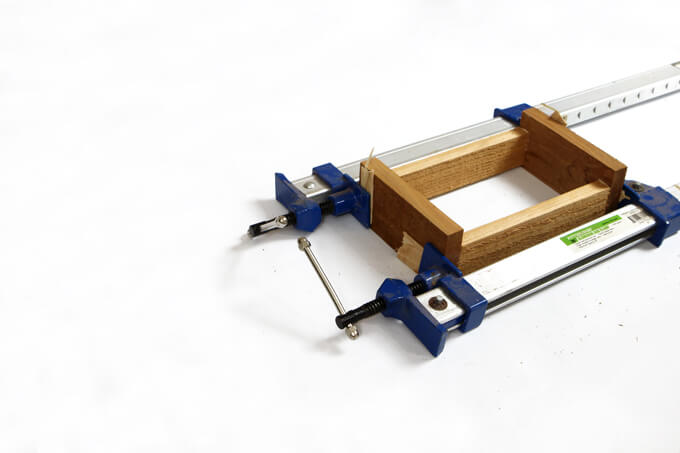
2. We used wood glue and finishing nails to assemble the box. Then used clamps to hold the box together while it dried.
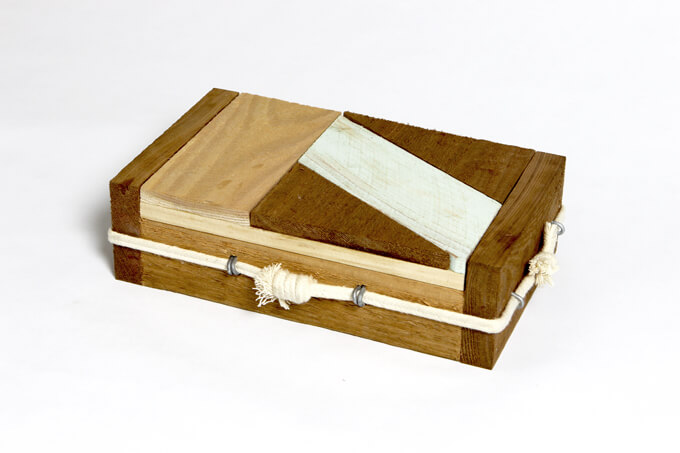
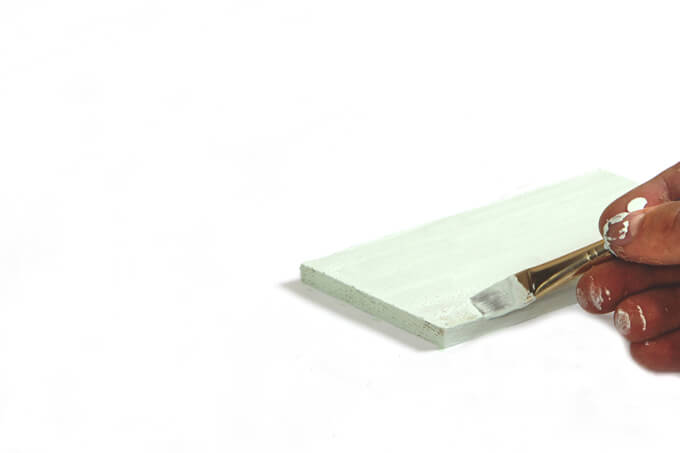
3. For the diagonal piece of wood in the top of the box we painted it with some leftover “Slow Green” paint from Sherwin Williams. Then we distressed it with sand paper.
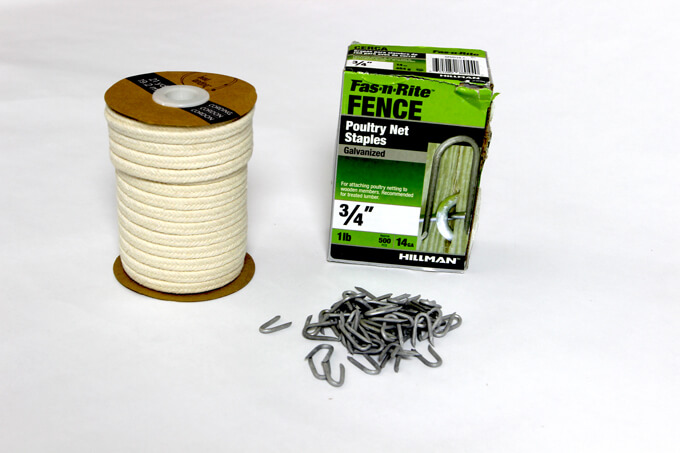
4. To accent the box we cut sections of cotton rope that we bought from a craft store and tied it together using knots. We attached the rope to the box using Poultry Net Staples.
The box was fairly easy to make and certainly worth saving over $100. Plus, we got to customize the color and style to look exactly how we wanted. Once our box was finished it was ready to go to the beach and collect memories!
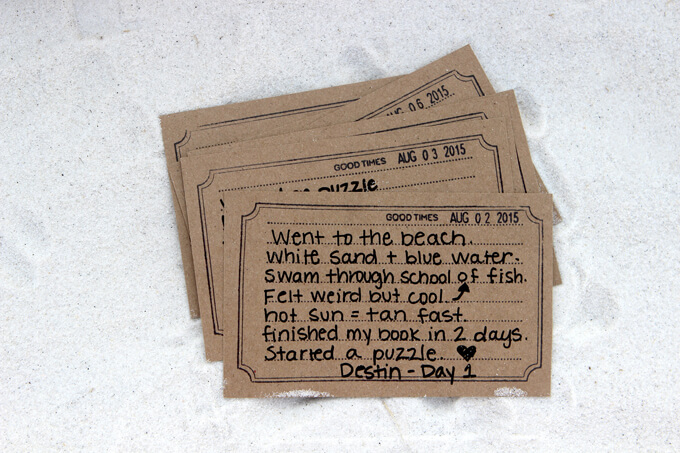
5. Before we left Brent and I made these notecards using Kraft paper tags that we cut the ends off to make into a rectangle, a stamp with lines and a date stamp. Each night before I go to bed I like to jot down an abbreviated list of the highlights of the day so when I grab the box off the shelf months from now it will jog my memory any of the experiences I may have forgotten.
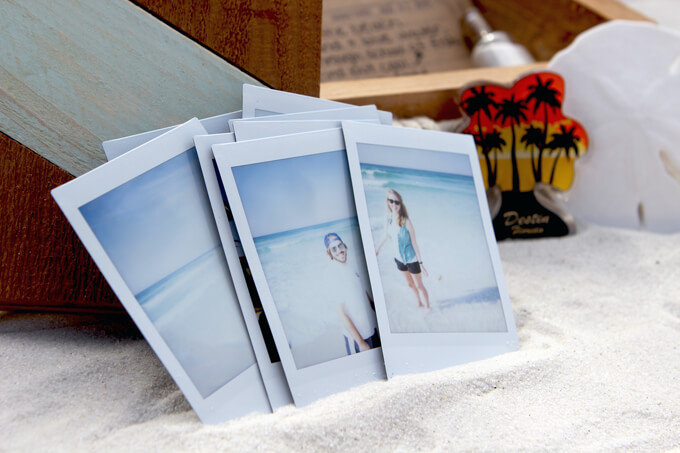
We used our new Instax Mini 8 camera to take a few instant photos reminiscent of the classic Polaroid photos to store in our box but we could also print out our favorite 15-20 photos from the vacation to store in the memory box. So when our friends or family ask about our trip, we can pull out our unique vacation memory box and they can get this big picture of our trip without having to sit through a hundred-photo narrated slide show.
Our DIY memory box has forced us to be intentional with the souvenirs we collect because we can only fit so much “treasure” in our small box. We try and find things that best represent our favorite experiences. For example, on this trip while swimming in the ocean we stumbled upon a live sand dollar.
Neither of us have never seen a live sand dollar before. It was brown and we could see it “breathing”. So we scooped it up with some sand and water in a bucket and observed it move along the sand and burry itself for a long time. We even named our pet sand dollar, George. We watched him for a few hours but we felt guilty about taking George from his natural habitat so we released him back into the ocean.
Since we couldn’t actually keep the live sand dollar in our box, we bought a souvenir sand dollar to help us remember our George.
We love how our DIY memory box turned out so much so that we will make one for each vacation we go on from now on. We would love to craft each one so the design specifically fits with the location of our trip and we can have a collection of interesting boxes displayed on our library shelves.