This past year I received an iPad for Christmas. I was a little late to the iPad party which is funny considering a large part of my day job is to design websites to fit on tablets. Okay, first world problems here but I was having difficulty with using the iPad for work while it was laying flat on the desk. I have to consistently check the tablet and then look back at my computer to code the design and I thought if I could have the iPad propped up at eye level that would be a huge help and streamline the process. I mentioned the idea to Brent and thus building an iPad stand went onto our project to-do list.
Brent and I’s design planning sessions are quickly becoming my favorite part of projects, mostly because they often take place when food is involved (we have had quite a few concept drawings start on paper napkins) but also because it is fun to bounce ideas back and forth and dream big for our projects.
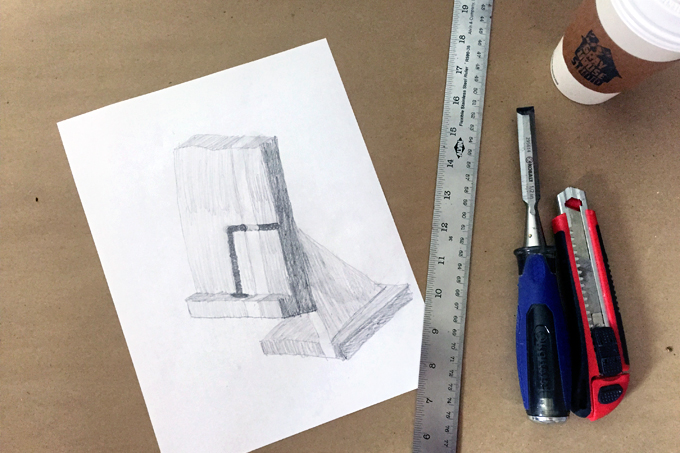
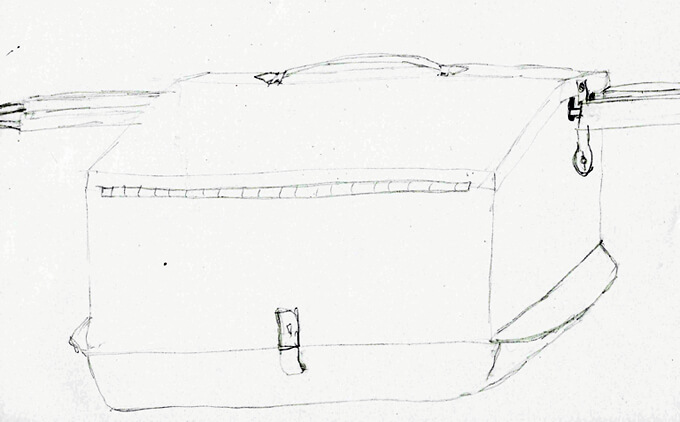
I described to Brent the features that I thought would be really helpful to incorporate into the iPad stand. Brent sketched it up and added a few additional design elements that I thought were genius! We were really excited with the design we brainstormed and were looking forward to starting the project soon.
A few weeks ago we were near downtown shopping and on a whim decided to stop in New Living, a local green home furnishings store in Houston that sells a variety of eco-friendly products from organic mattresses to non-toxic finishes. We were really excited that Jeff, one of the co-founders, happened to be in the store that day and we got to meet with him, learn about the store’s vision and even got to tour their workshop. One of the really cool things about New Living is they work with local artisans to build custom home furnishings from locally sourced materials for the store.
We got to talking about our upcoming projects and when we mentioned we were looking forward to building a custom wood iPad stand he asked if we would be open to making one for the store. We quickly answered yes and were ecstatic to trade an iPad stand for the opportunity to work with some really cool wood and to try out the non-toxic finishes they offer.
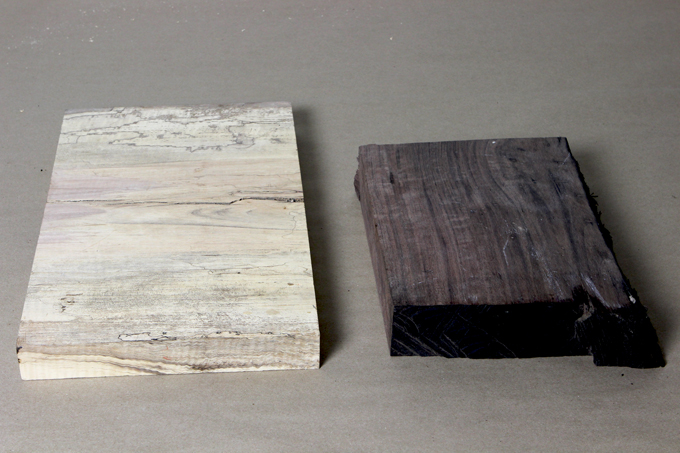
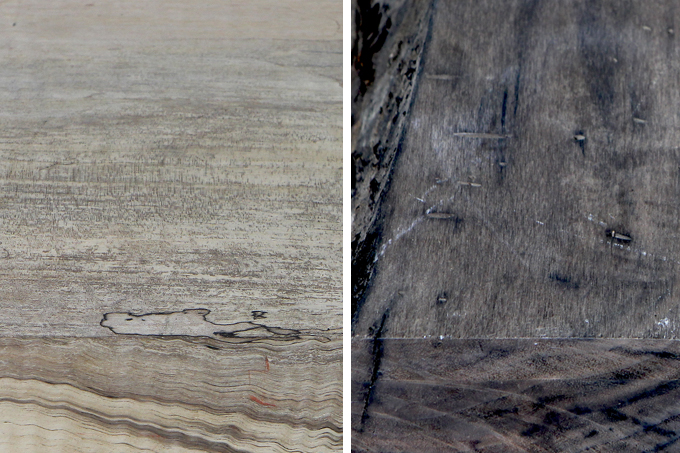
^^^ Left: Pecan // Right: Walnut
How to Build a Wood iPad Stand Video
To see more of our DIY project & tutorial videos, subscribe to our channel ⇾
How We Built Our Custom Wood iPad Stand
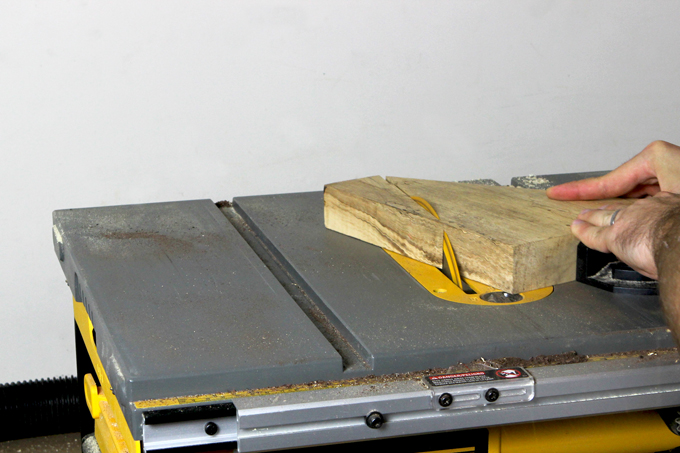
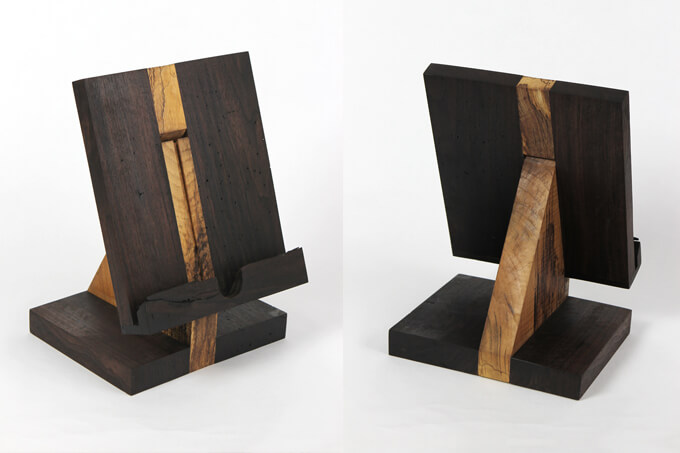
^^^ We started by cutting all the pieces we needed to build the iPad stand. In this picture we are cutting the vertical support. We designed it so the piece of pecan wood is sandwiched between the two pieces of walnut.
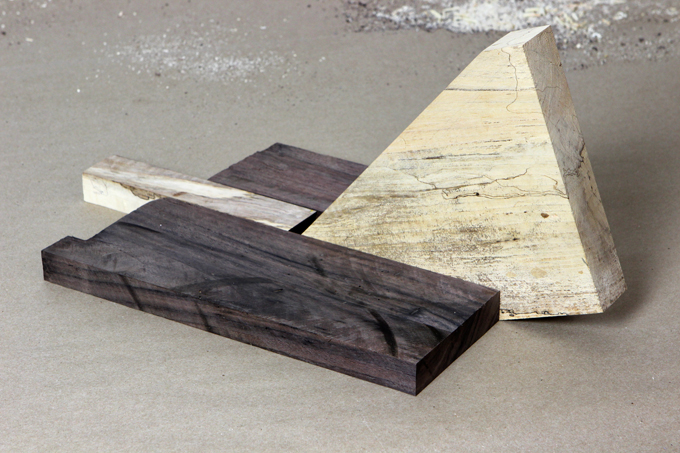
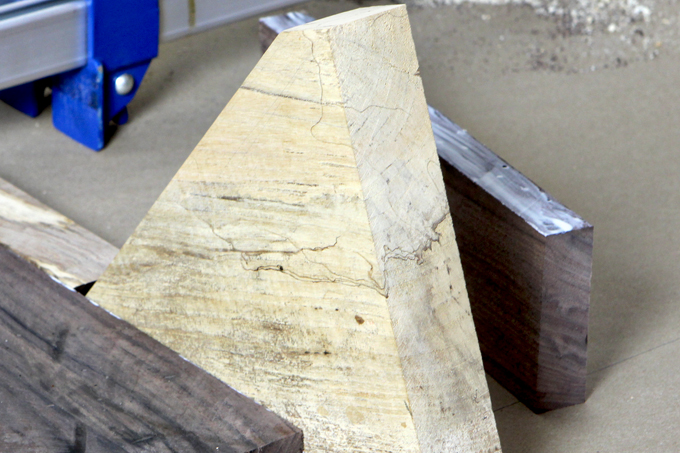
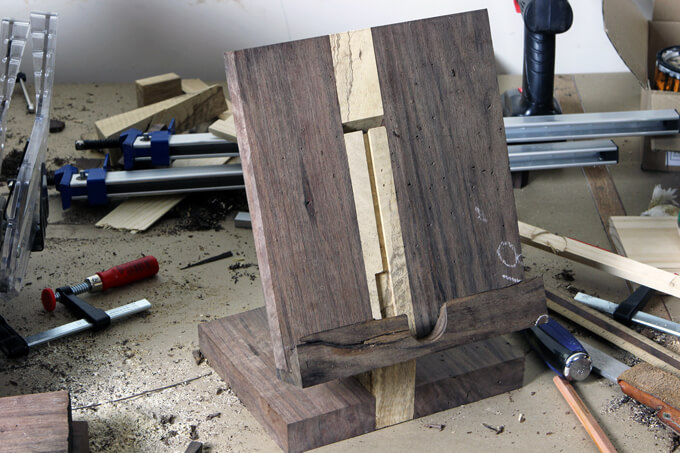
^^^ Before we glued the pieces together, we assembled it to make sure everything fit as we had planned. As you can see, the top of the stand is uneven. This was not a problem because we cut it with the table saw after it was glued together.
^^^ We cleaned the surface of the wood and the used a brush to apply wood glue that created a strong bond.
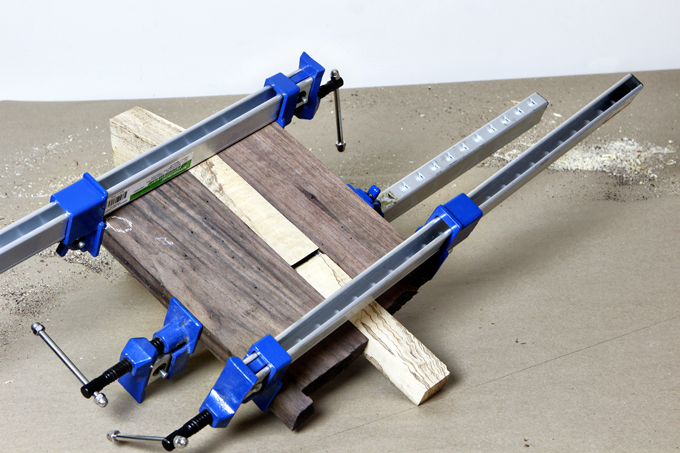
^^^ Once we had the glue applied, we immediately wiped off any excess with a damp paper towel to make sure none dried on the surface. That could cause discoloration once the finish was applied. Then, we clamped the boards together and let the glue set.
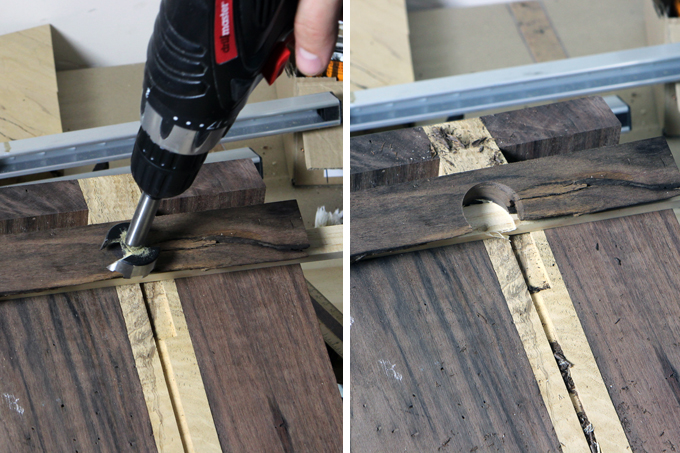
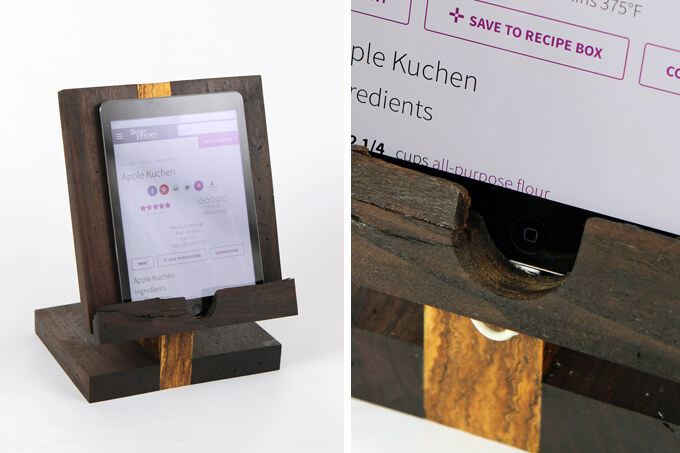
^^^ One feature we wanted to incorporate was to create a hole in the wood stand to access the home button on the iPad. To create this we drilled a 1″ hole through the live edge lip.
^^^ The next step was to sand the stand.
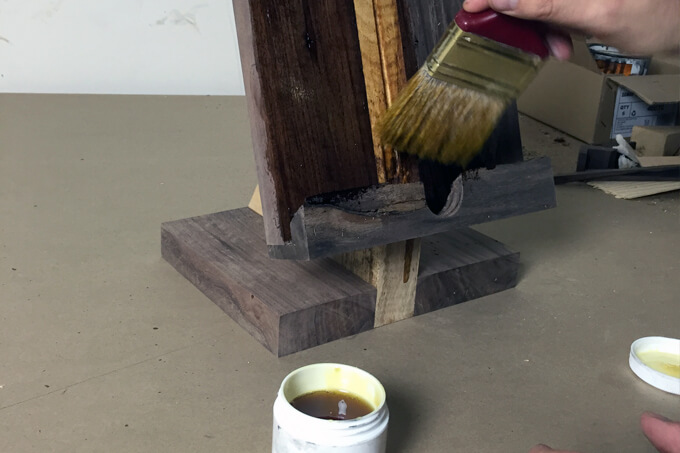
^^^ The beauty of using walnut is there is no need to stain the wood. We applied a single layer of non-toxic transparent finish.
Custom Wood iPad Stand Features
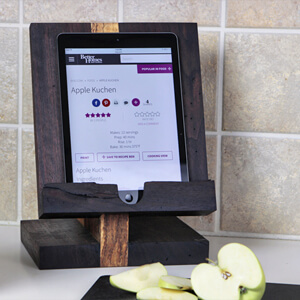
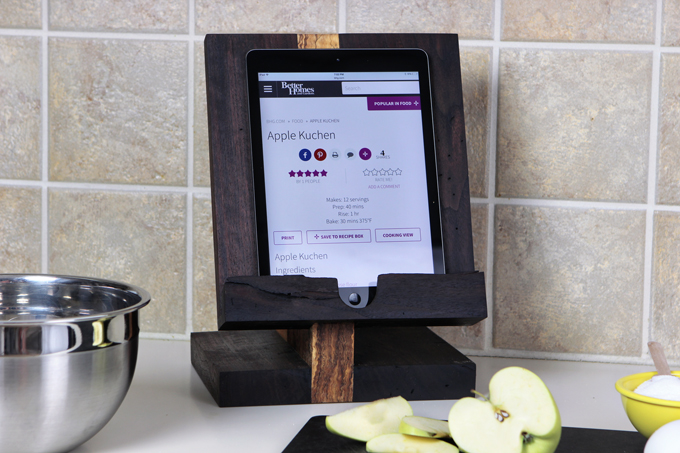
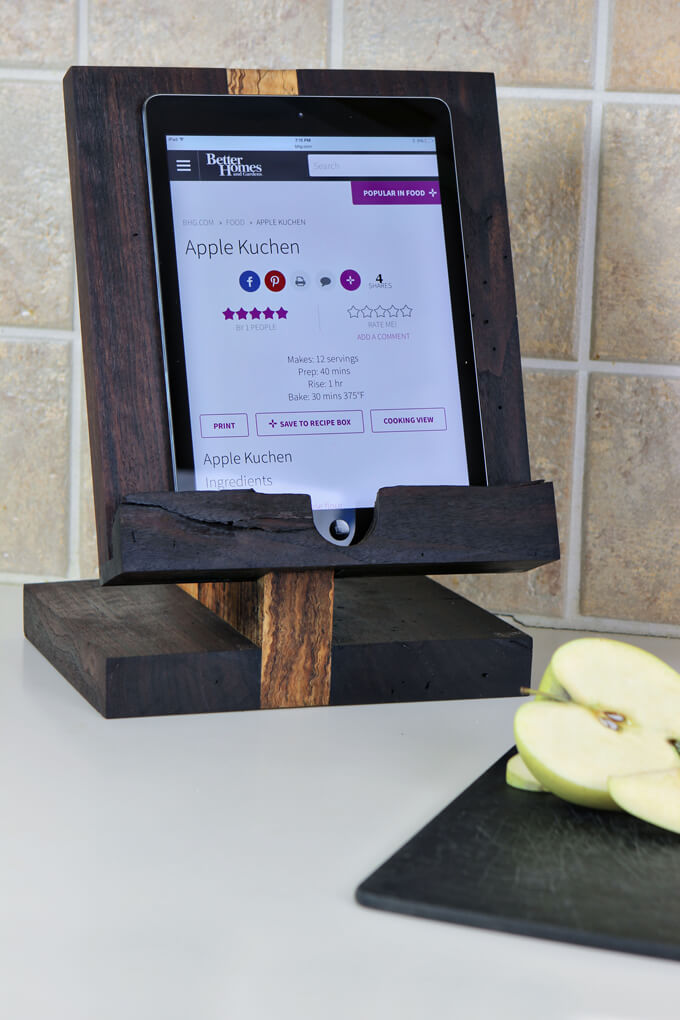
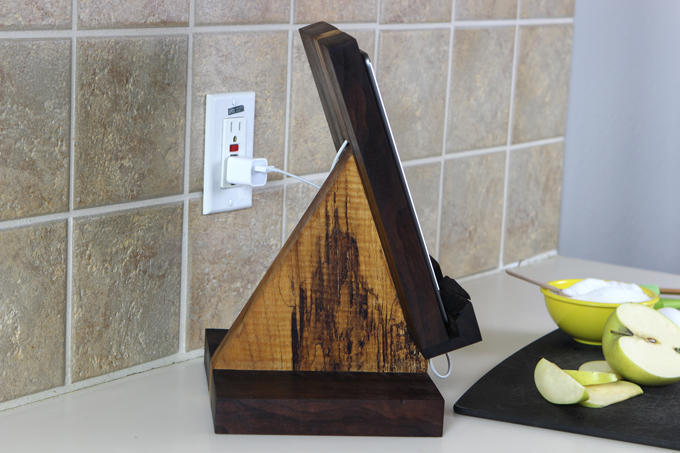
^^^ Here is our finished wood iPad stand. It is made of walnut and pecan wood and fits a normal sized iPad.
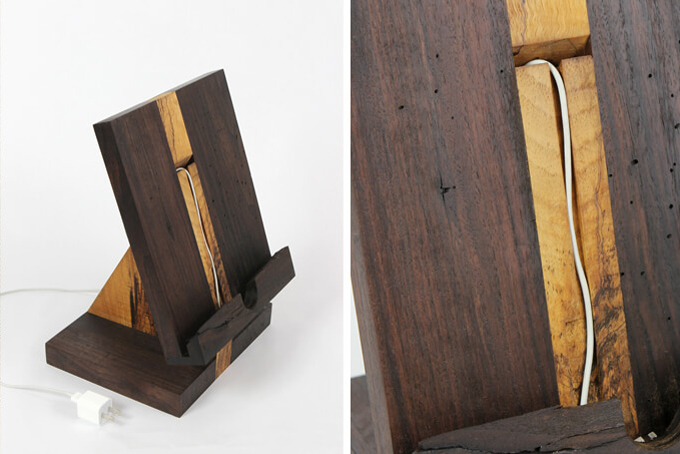
^^^ We made it so it has a cut out in the back and an inset in the front so the charging cord can run through the back, down the inset and come out through the bottom. Brent came up with this idea and I love it because the iPad lays flat against the stand whether it is plugged in charging or not.
^^^ We also created a cut out so the home button is easily accessible.
After we built it, I spent the next few nights testing it out (you know just to make sure it worked) and found that iPad stands are really useful in lots of rooms. I used it in my office for work, in the kitchen for displaying recipes and I put it on my nightstand in the bedroom as a safe place to store it while it charged. I am thinking I need one for every room now!
Last Friday we dropped it off at New Living and I must admit I was a little sad to see it go because I had grown kind of attached to it while testing it out. However, we are so excited that it has a fun new home at the New Living store. If you are in Houston and in The Heights area be sure to stop by the store and check out our iPad stand and all the impressive handmade furniture they offer.
Next up on the list is for us to create more iPad stands! We are pumped to build more stands to use throughout our house. I am excited to make a unique one for each room. If you are interested in making you own, stay tuned because we will be offering a how-to for this project and plans coming up soon!
How we built a handmade grill supplies box for both of our dads for Father’s Day gifts to store and organize their grill tools and supplies.
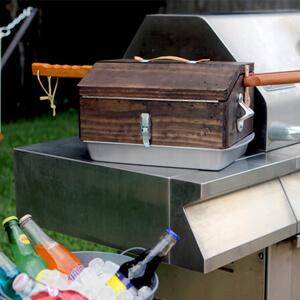
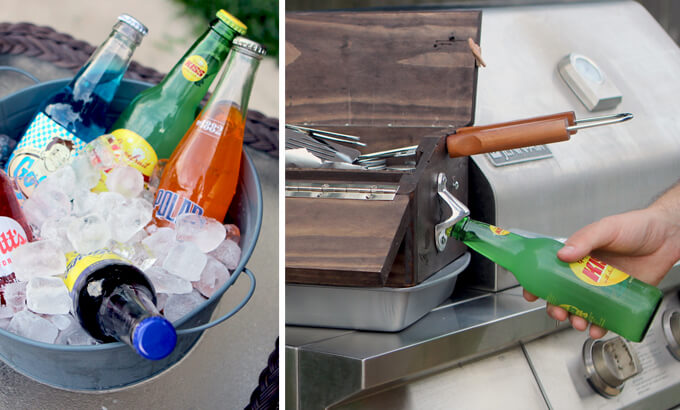
Summer is right around the corner and that means pool parties, grilling, and Father’s Day are fast approaching! This year we crafted a handmade Father’s Day gift for the dads in our lives that love to cook out on the grill. We designed and built our own custom handmade grill supplies box.
Over the years I started to notice that my dad always had to take multiple trips in and out of the house to collect all of the supplies he needed for the grill. I saw this as a bit of a hassle because my dad loves hosting summer pool parties but he was spending a lot of his time running inside to grab a plate, seasonings or a spatula rather than enjoying the party with his guests.
We thought it would be really handy if there were a simple wood box to store grilling utensils, seasonings, foil, a pan and even a bottle opener in one easy to carry container. It was actually harder than we thought to find what we were envisioning this box would look like.
There are a plethora of tackle boxes for fishing gear out there and a wide variety of toolboxes for organizing and storing tools but it turns out storage containers for grill supplies are not really a thing. If they are, we could’t find them.
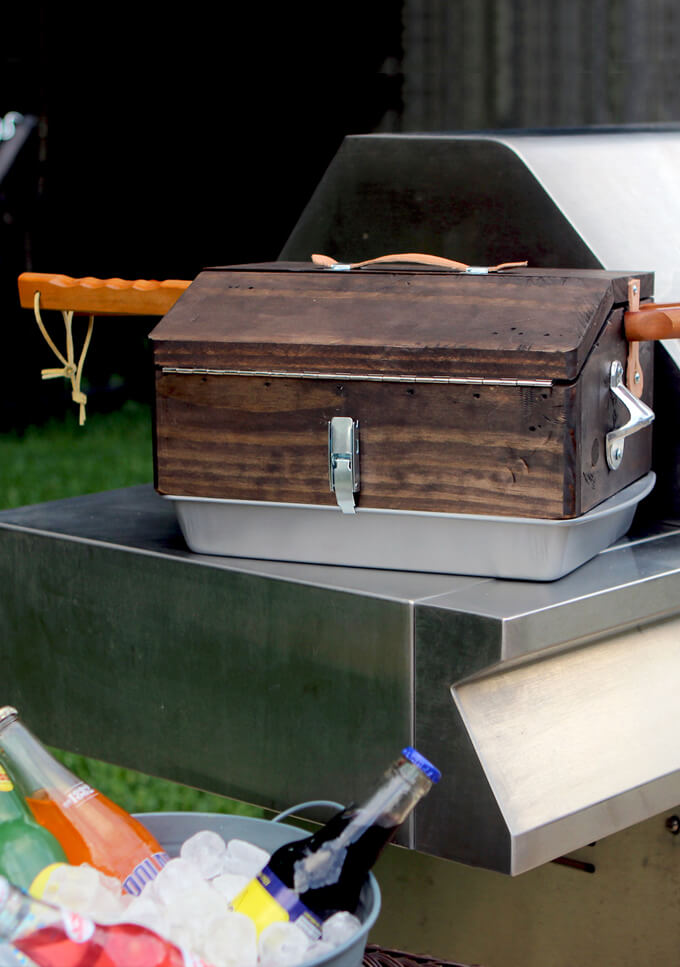
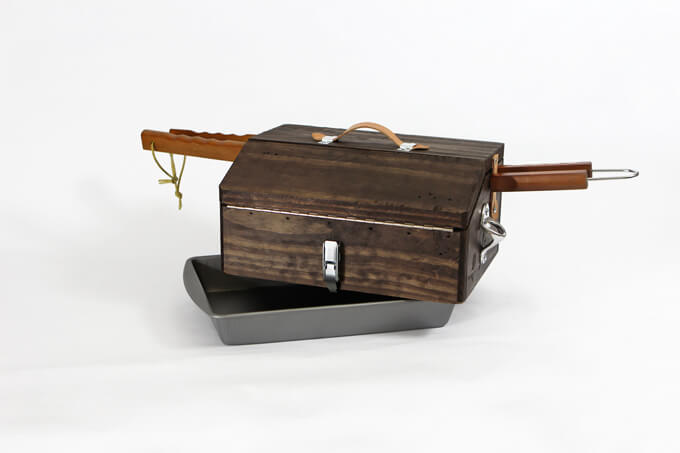
So we made our own. This was really fun because we could design it to look and function however we thought would best fit a griller’s needs. We modeled the exterior of our grill box after a vintage toolbox but needed to adapt the inside to fit the shape of the grill utensils and supplies.
VIDEO TUTORIAL
To see new DIY videos on Thursdays, be sure to subscribe to our channel ⇾
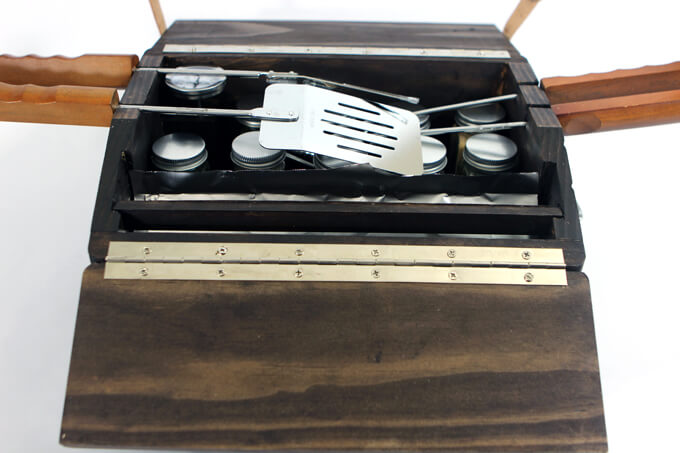
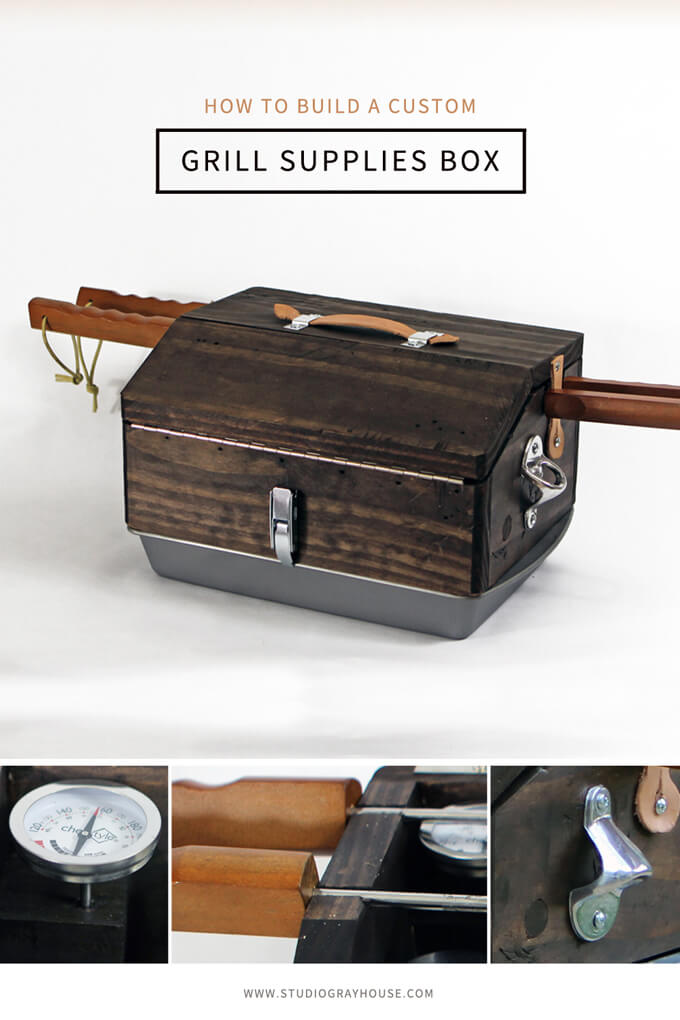
HANDMADE GRILL SUPPLIES BOX FEATURES
THE GRILL SUPPLIES BOX INCLUDES:
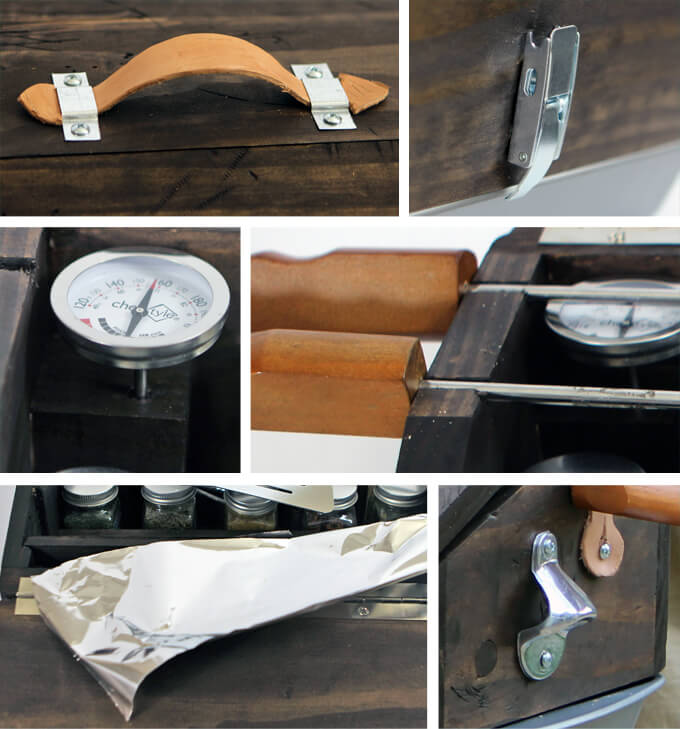
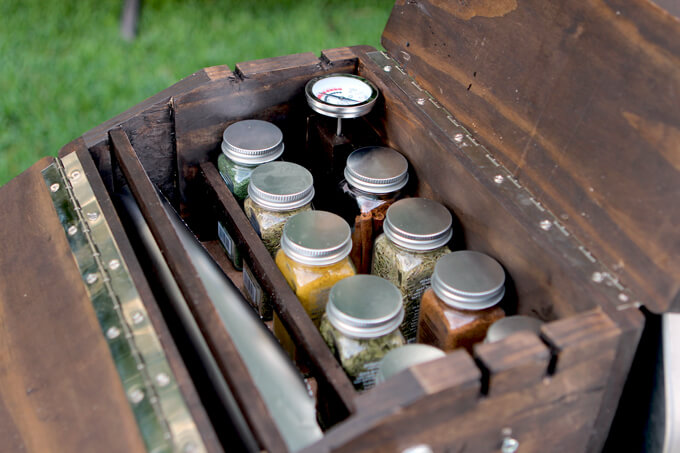
slots for tongs, spatula and grilling fork, plenty of space for a variety of seasonings, a bottle opener on the side of the box, roll of aluminum foil on a dowel rod and mounted metal tear strip for easy cutting, a special opening to store a meat thermometer and a pan attached to the bottom of the box.
My favorite part (which was Brent’s idea) is how we added hinges on the front and back of the box so a normal sized baking pan could attach to the bottom. This way they always have a plate to carry all their grilled items at their fingertips.
All they have to do is rip off a piece of foil from inside the box; line the pan with it and they are ready to go serve all the delicious items they cooked up!
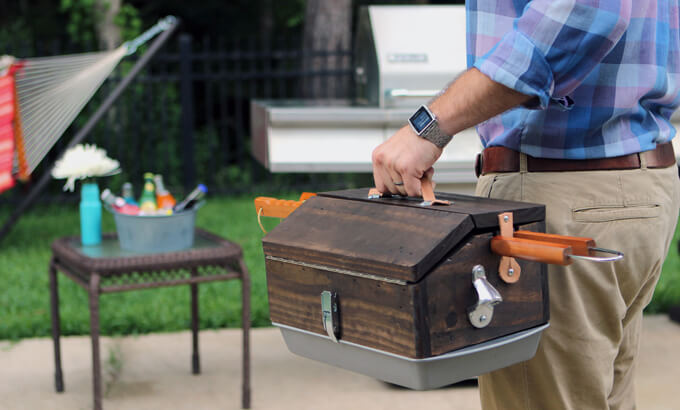
We wanted to build a sturdy box for our dads that could be a practical spot for them to store all their grill supplies and an easy way to carry it all out to the grill. That way they can spend more time outside enjoying the party with friends and family rather than running around trying to gather all their grilling necessities.
A host should have a good time at their own party!
The cool thing about the grill supplies box is whether they are just walking to the grill in their own backyard or taking it on a camping trip, they can be sure their supplies will fit nice and neat and will be readily accessible.
Brent and I hope our handmade Father’s day gift makes our dads’ lives just a little bit easier because after all they have done for us, it is the least we can do.
PIN THIS PROJECT
PROJECT FEATURED ON DOMINO.COM
We were excited and honored to have our handmade grill supplies box and the story behind this Father’s Day gift featured on domino.com. Click the read story link below to learn more about this project.
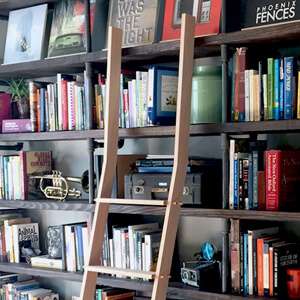
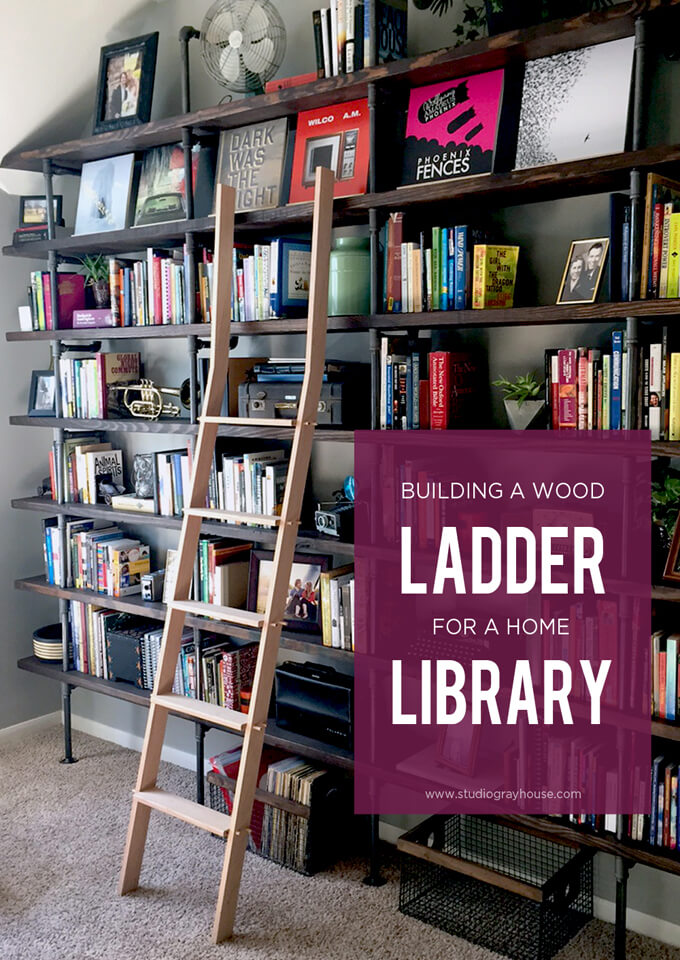
We are sharing how we built a DIY ladder for our home library to reach the top shelves of our large wall of industrial shelves.
Hey, Brent here. I’ve never said this out loud before but since the internet is the safest place to share your deepest and darkest secrets, I feel comfortable expressing that I fell in love with libraries after watching Beauty and the Beast. I can’t speak for Courtney but I think you would be hard pressed to find someone who wasn’t inspired to create their own library after watching the feelings of joy sweep across Belle’s face as she explored the Beast’s library only moments after being abducted.
So I got to thinking that it would only stand to reason that a guest that would willingly visit our home might be even more impressed to find a large library in our entryway.
A couple of months ago we shared how we turned our formal dining room into a library by building floor to ceiling bookshelves. We had a lot of positive feedback on our library shelves but two of the most common questions we received were, “What about a ladder?” and “How do you reach the top shelf?”
When we found out Better Homes and Gardens was coming to our home to photograph our library, it was finally the kick in the pants we needed to build a ladder for the bookshelves. Courtney and I have always been on the same page when it came to wanting a ladder for the library so it was awesome to finally make our dream a reality.
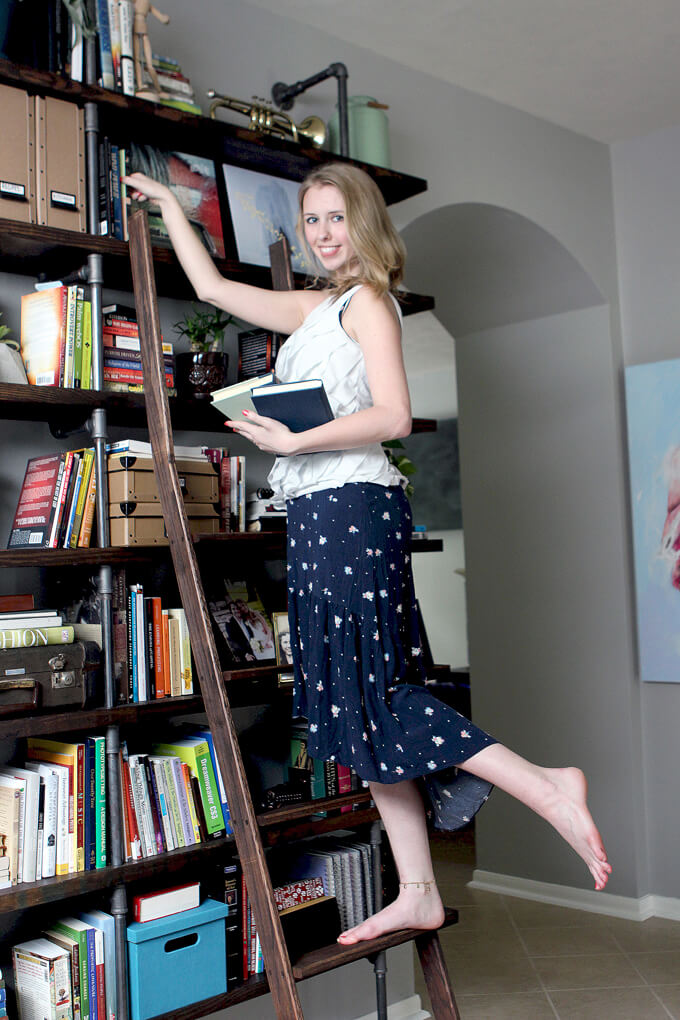
Here is the finished DIY ladder with my beauty. Isn’t the resemblance uncanny? Believe it or not I didn’t even have to kidnap her to get her to agree to this photo.
How to Build a DIY Ladder for Library Shelves
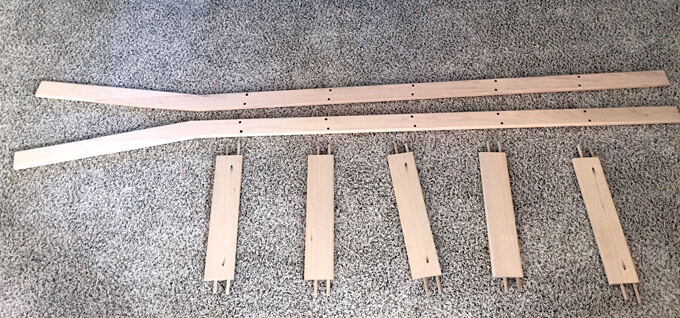
1. The design for our DIY ladder is fairly simple. We built it so each rung of the ladder has two dowel rods that extend through the vertical supports. Every other step screws into the vertical supports locking everything in place.
2. The top quarter of the ladder was cut at an angle and glued back together to create a bend. This allows the steps of the ladder to sit at a comfortable incline without extending too far away from the bookshelf.
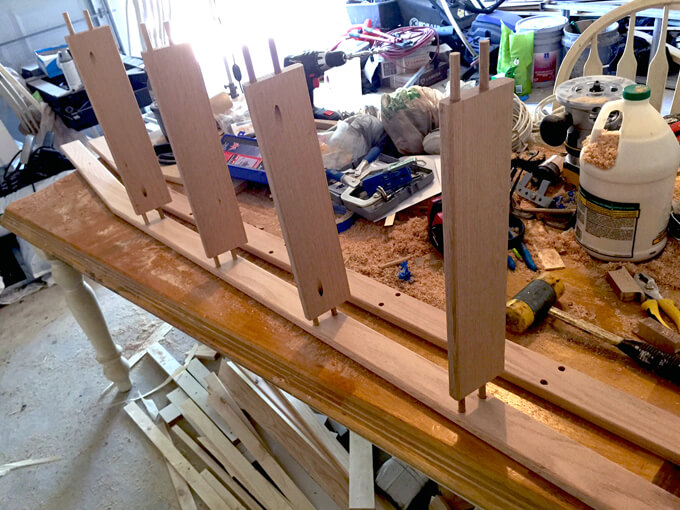
3. Here is a candid behind the scenes photo of the ladder building process in the garage. Notice the extreme lack of organization that is happening in the background.
This is a realistic shot of what it looks like when you rush to build something between the very few hours of getting home from work and going to bed.
As the project progressed the pile of tools and leftover supplies grew larger and larger because cleaning during a project is not on my list of priorities. The pro to this approach is every tool in your garage is within hands reach.
The con is within reach usually means on the floor or some other inconvenient location for walking.
4. Once the ladder was assembled I got to be the first to test it. I didn’t get a photo of this part because the stakes were really high and I was afraid I might shed a few tears if anything went wrong.
I only had one shot and two days to get the ladder designed and built so it not only looked nice but was also functional and safe for the photoshoot.
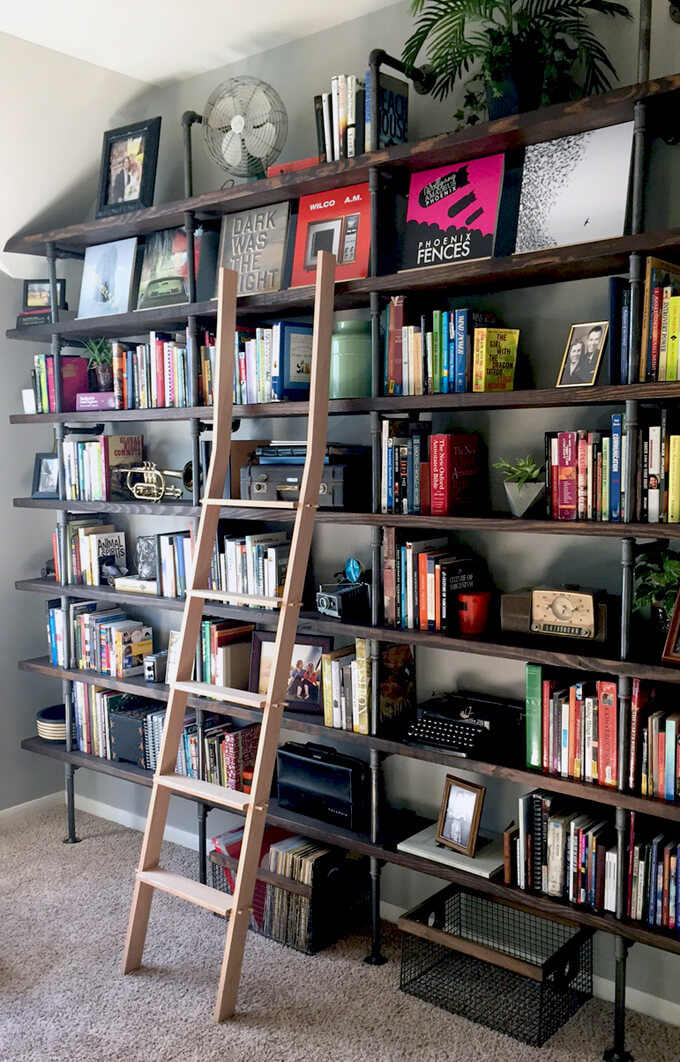
Our first thoughts were to make a rolling ladder but then we decided that we would rather the ladder have a minimal design as to not take too much away from the shelves. Since the style of the ladder we built makes it light weight, it is easy to pick up and move to the spot we need to reach.
It is functional and adds character without overwhelming the already large and heavily occupied space. This decision ended up saving us quite a bit of money and the total cost to build the ladder came out to be about $60.
Our library is far from complete but getting closer with each project we finish. The ladder is a perfect addition to our bookshelves and one of our favorite parts of our library.
Don’t forget to check out how we built our large wall of industrial shelves.