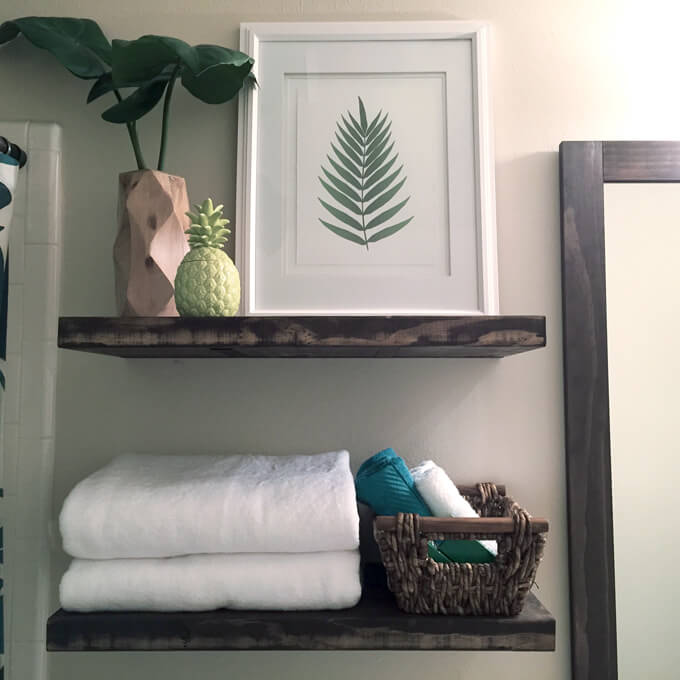
For this simple and versatile DIY decor project tutorial we will show how we made a custom sized framed chalkboard to hang above our coffee bar.

I think it is safe to say large chalkboards have long since moved from being a staple item in classrooms to being a staple item in coffee shops. When looking for inspiration for our coffee bar, we looked at the interior design of lots of coffee shops (both in photos and in person). One of the common design choices we noticed is to utilize large chalkboards to display menus or art.
Having large chalkboards in the home is now becoming more popular as well to keep track of schedules or chores, weekly menu planning or allowing kids to conveniently express their creativity by having a place to draw on the wall (without actually drawing on the wall).
I love this idea because I always had a chalkboard hanging on my wall in my room when I was growing up. I loved to force er… I mean ask my little brother and his friends to play school with me. I was always the teacher of course.
We knew a chalkboard was a necessity for our breakfast nook to capture an authentic coffee bar feel. We just had to decide what form our chalkboard would take. When it came down to it we couldn’t make the commitment to painting the entire wall or even part of the wall with chalkboard paint since we just painted it gray. All the chalkboards we found to purchase were either not big enough or way too expensive.
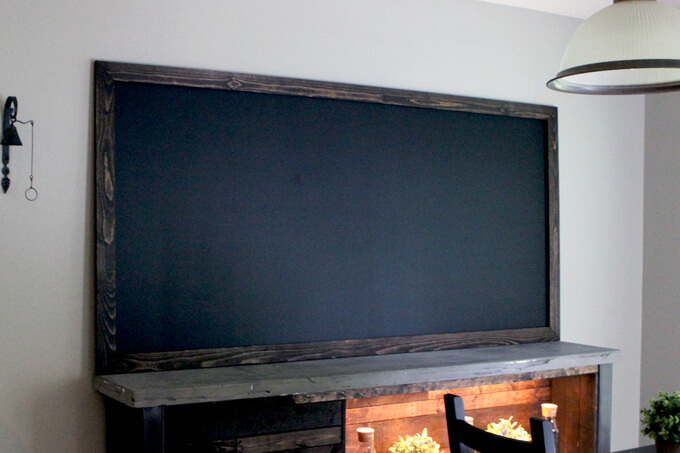
We decided to create our own 7 foot framed chalkboard. This was the best solution for us because we could make it the exact length of the coffee bar, it would fill up the large wall and we could customize the frame to match the wood on the bar.
How To Make a DIY Framed Chalkboard
STEPS
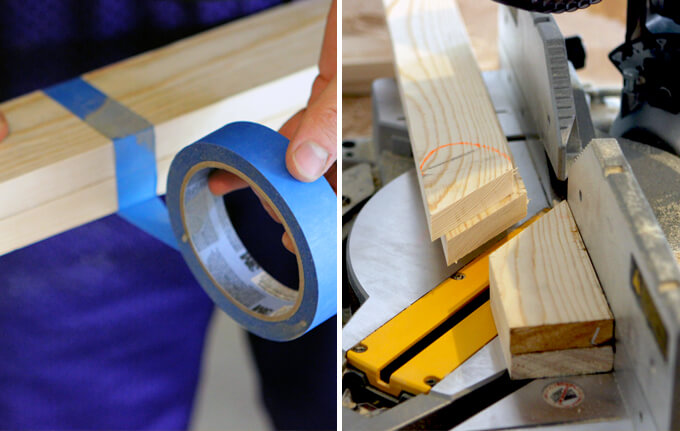
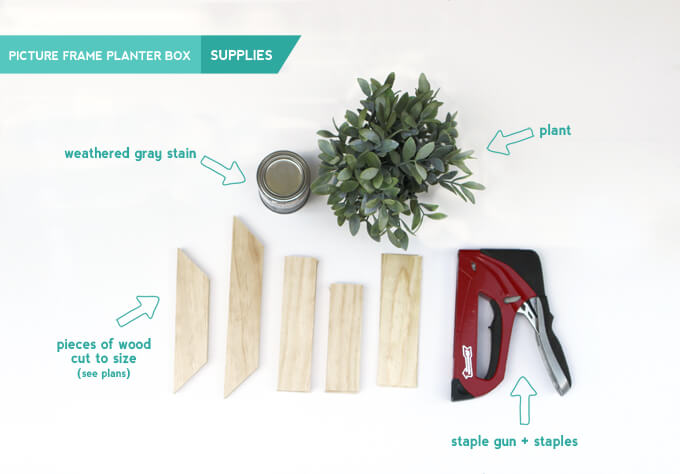
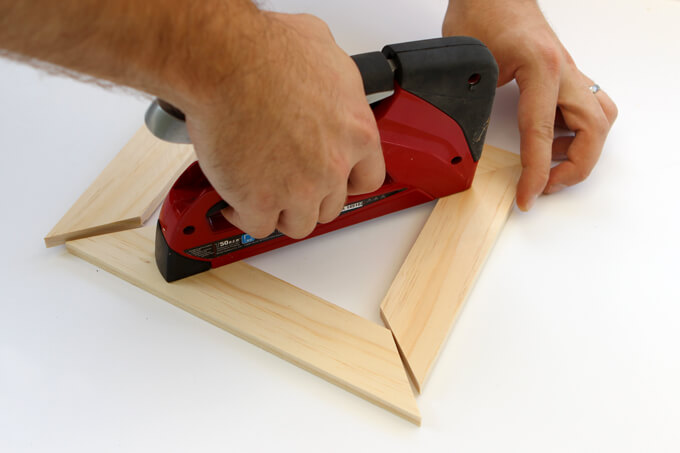
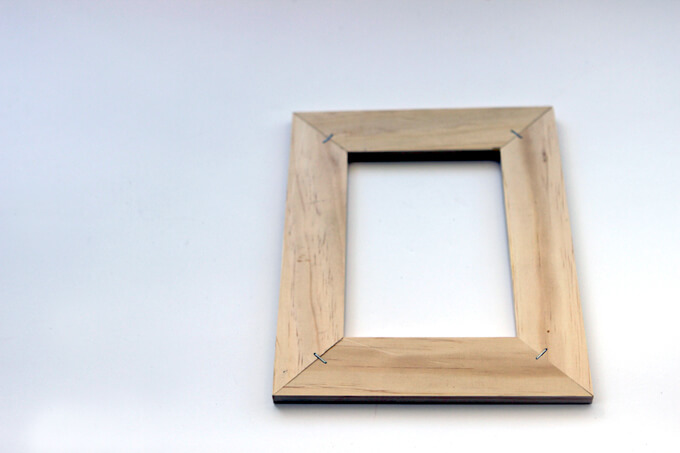
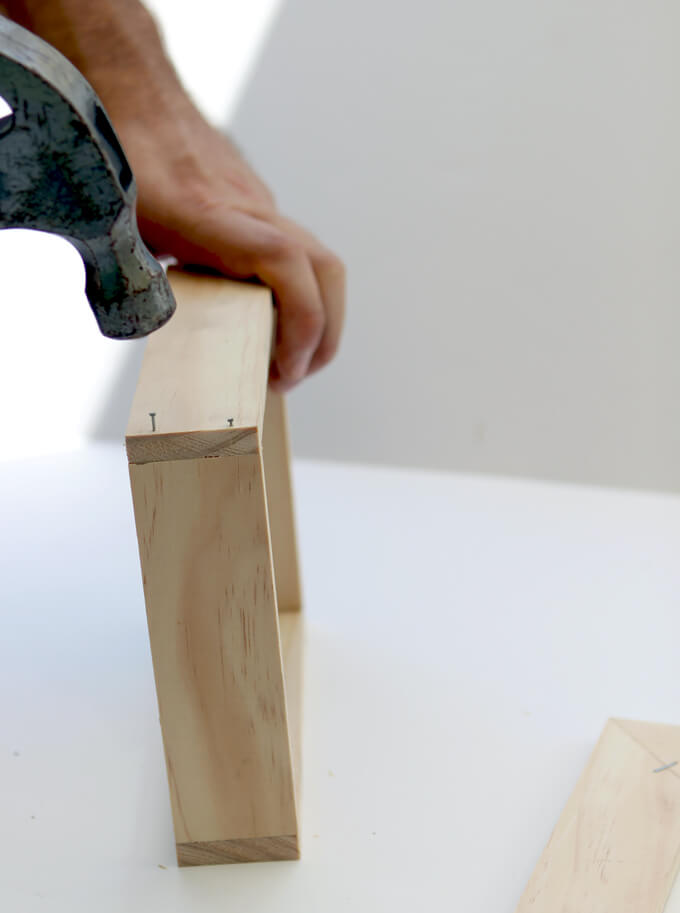
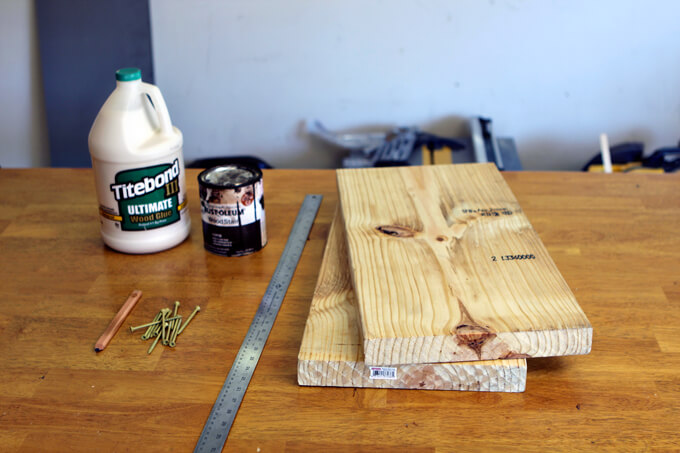
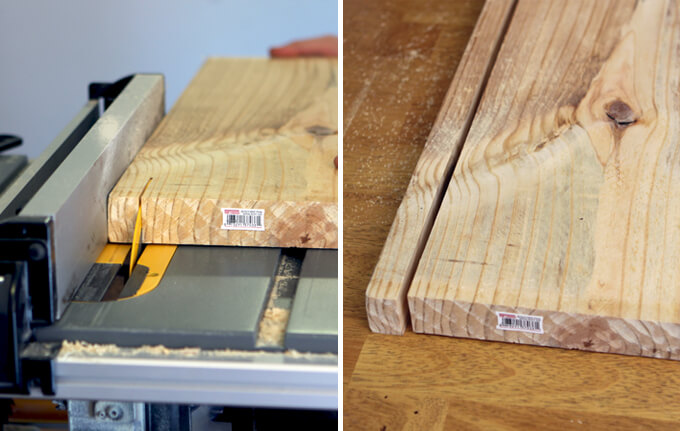
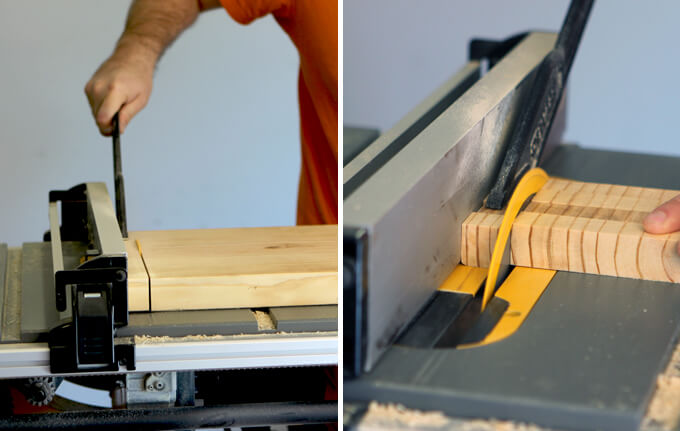
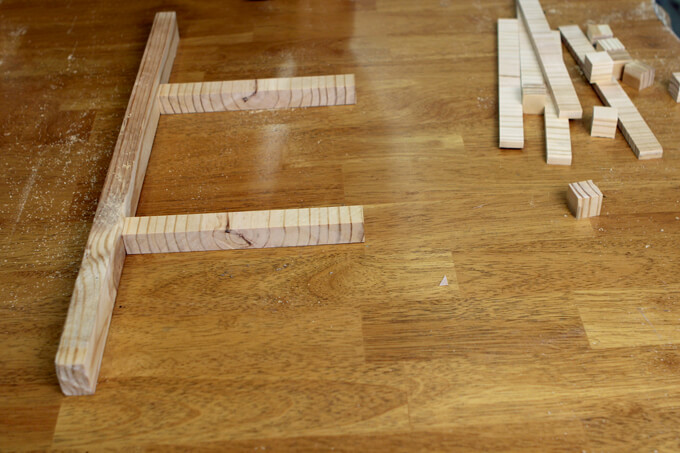
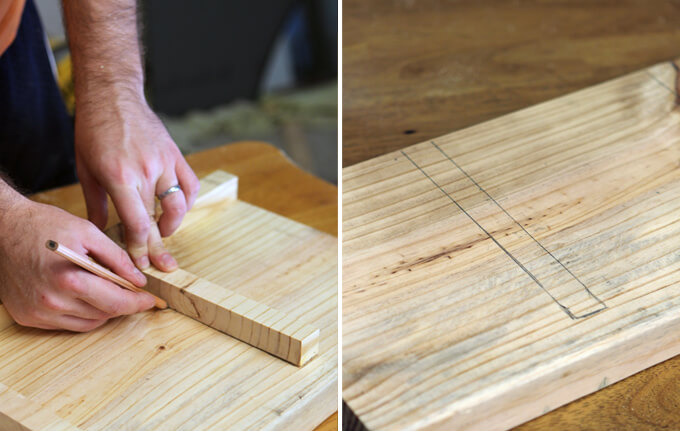
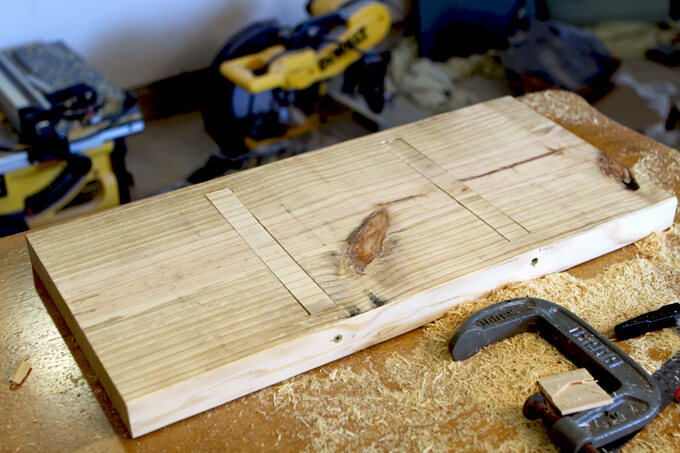
1. The first step was to make our frame. We used painters tape to tape together two of the pine boards that would be on the opposite sides of the frame together.
We taped the two longer horizontal pieces together and then taped the two shorter vertical pieces together.
This allowed us to make one cut through two boards and guaranteed that the matching sides of the frame would be the exact same size. We made our cuts with our miter saw.
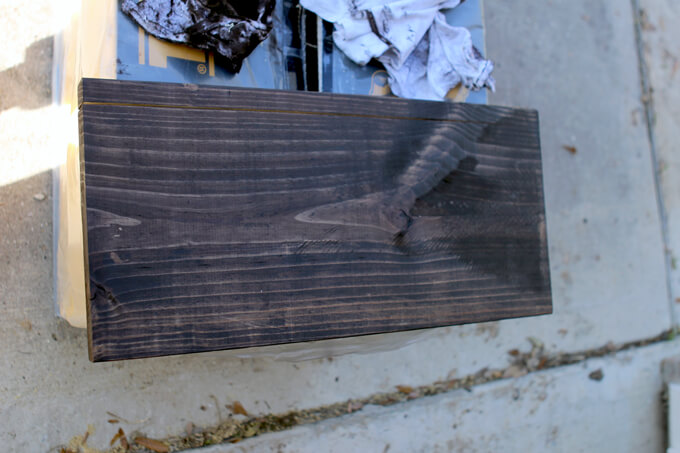
After we cut the four pieces for the frame, we stained the boards with a Kona stain to match the wood on the coffee bar.
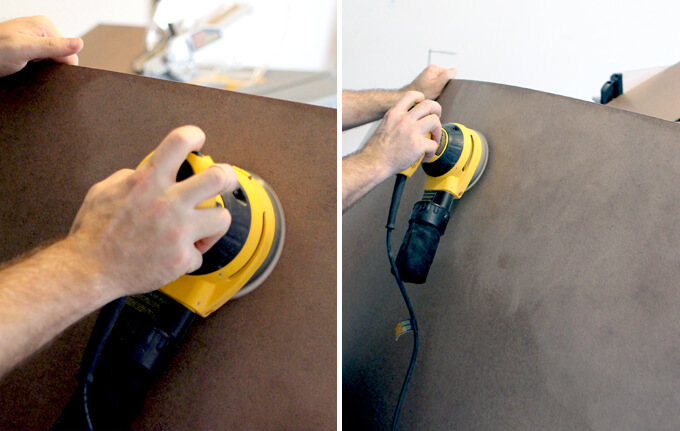
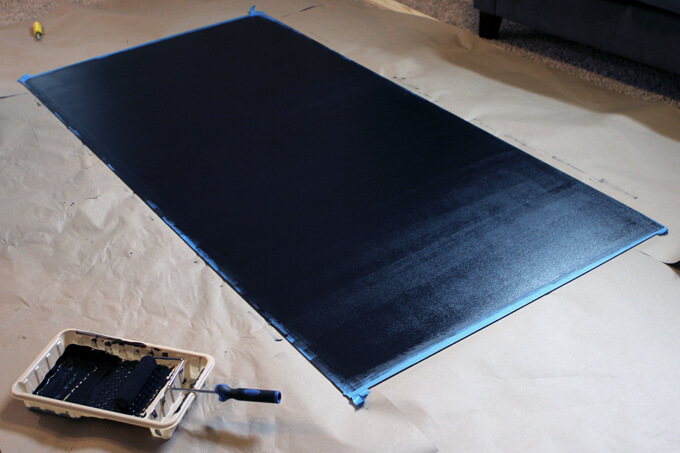
2. For the chalkboard surface we used a piece of 4 ft. x 8 ft. hardboard tempered panel.
We chose to use this material because it was really cheap (less than $10 for a 4ft. x 8ft. piece) and it has a smooth finish.
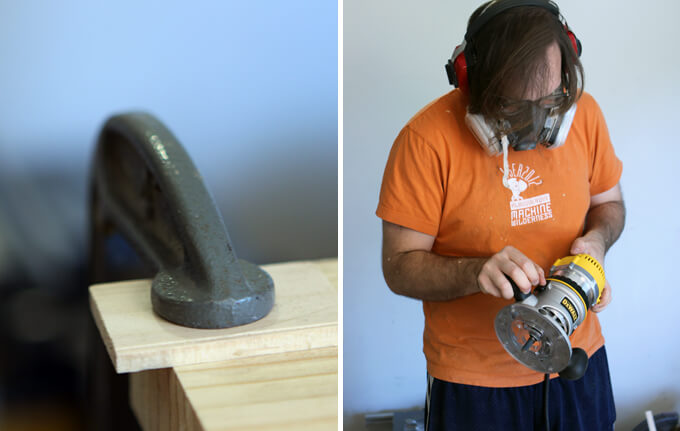
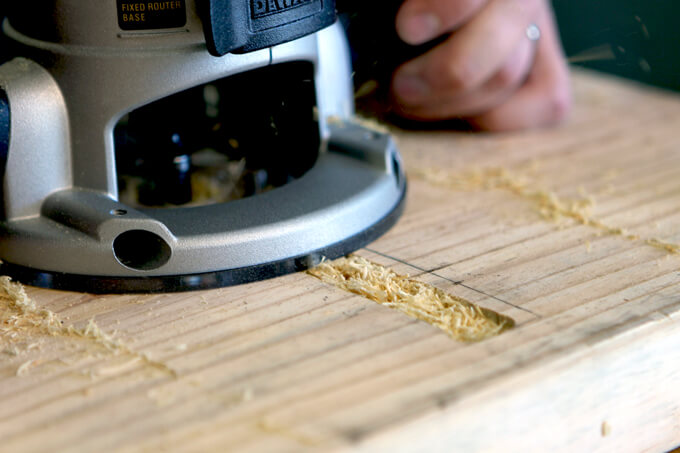
However, with no prep the chalkboard paint would most likely flake off the board. To prevent this, we sanded the entire surface with 120 grit orbit sand paper on our orbital sander.
It provides enough tooth for the paint to have something to grab but it does not make it too rough where the paint surface would look scratchy or bumpy.
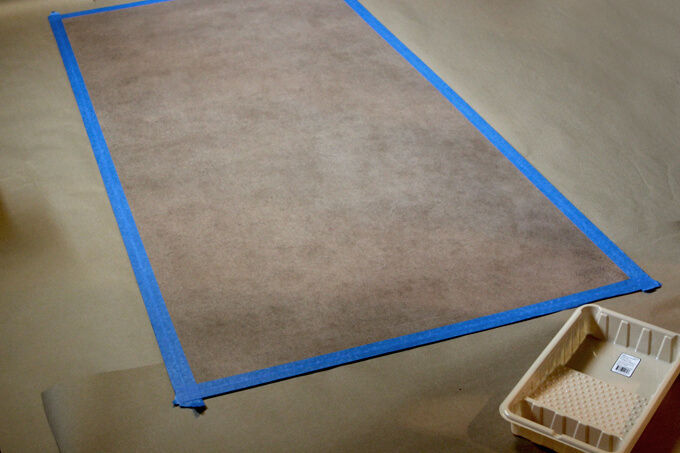
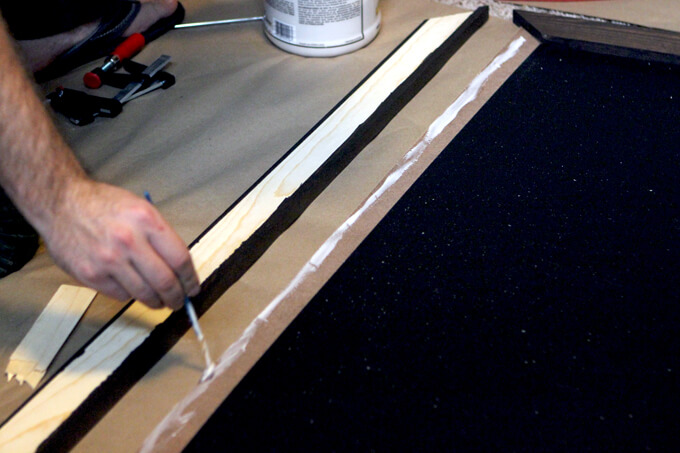
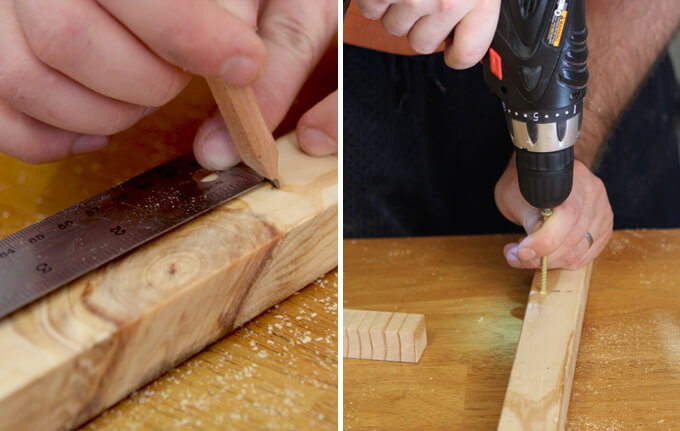
3. We planned to glue the frame to the chalkboard with wood glue so we taped off an area of the board with painters tape before we applied the paint.
We knew the glue wouldn’t adhere well to the chalkboard paint so we needed to make sure we still had an area of the original board to attach the frame.
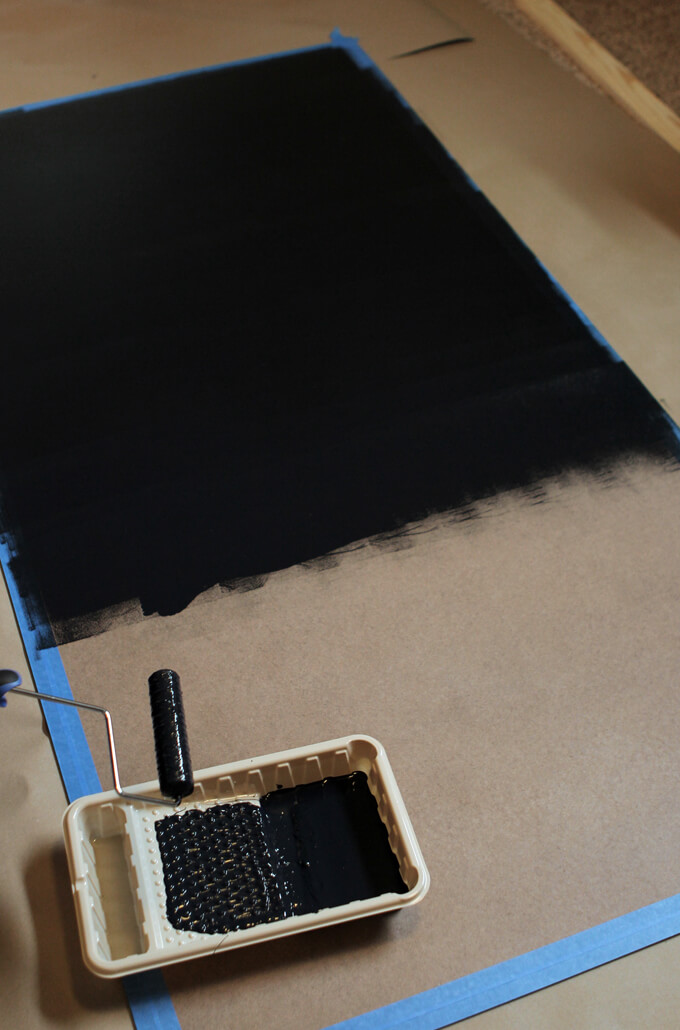
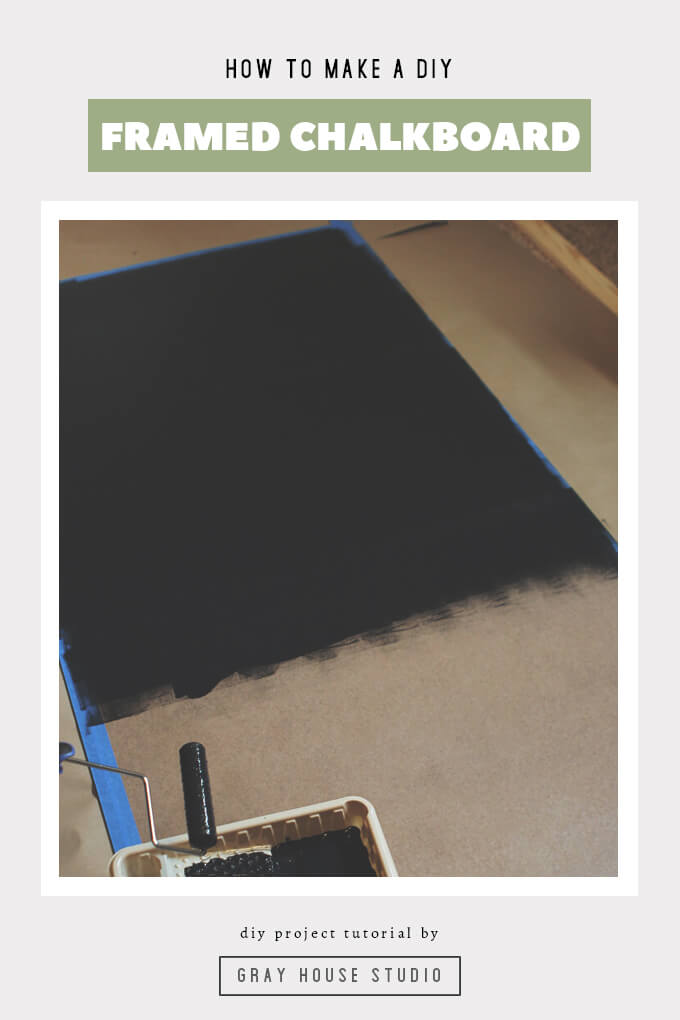
4. To apply the chalkboard paint we poured it into a plastic tray liner and used a foam roller to apply the paint to the board.
It worked really well to create a smooth finish. It took us two coats to ensure that all areas where completely and evenly covered.
5. After we finished painting the board, we let it dry for awhile.
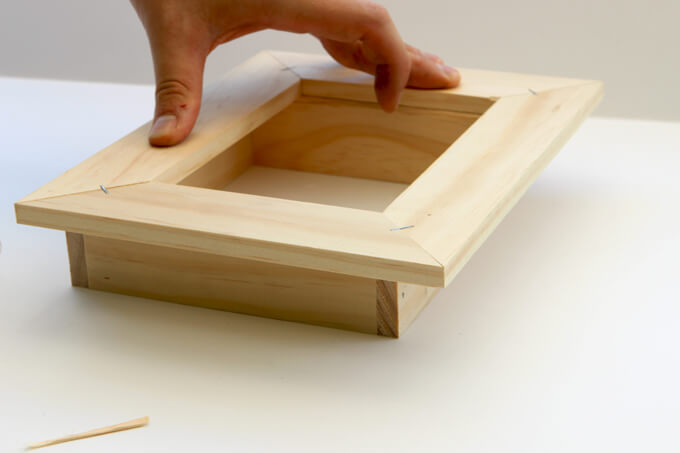
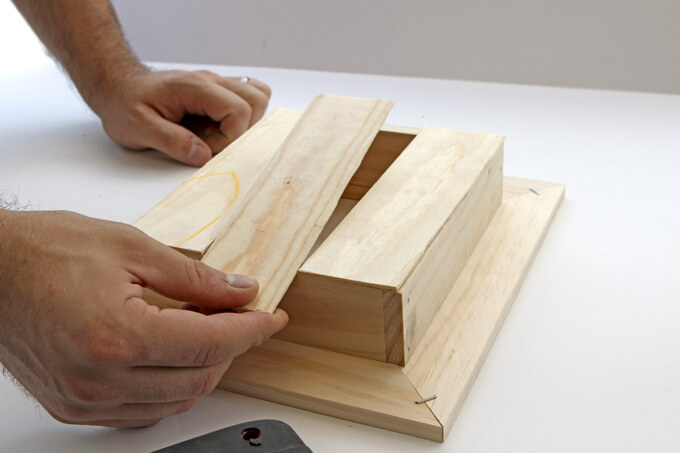
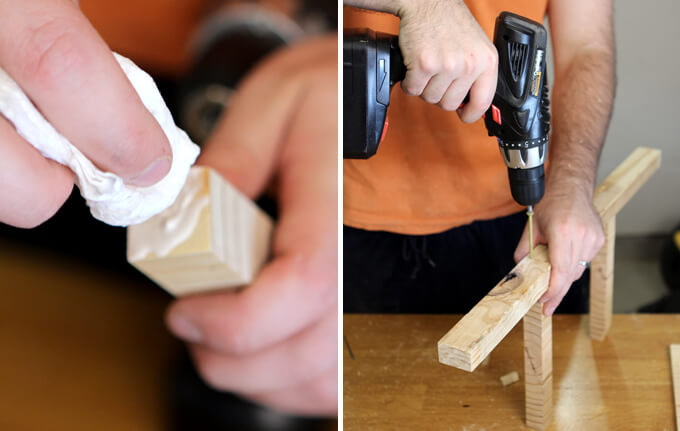
6. When it came time to attach the pieces of the frame to the board, we pulled off the tape and applied wood glue to the unpainted area of the board.
To avoid applying too much glue and having the glue squeeze out from under the frame onto the chalkboard surface, we applied the glue sparingly with a small paintbrush.
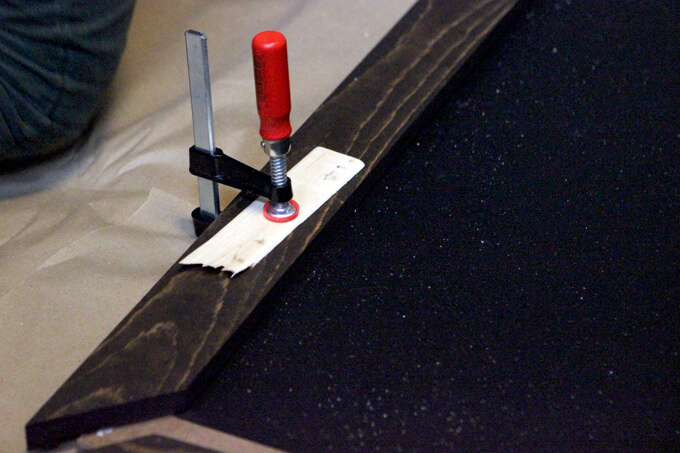
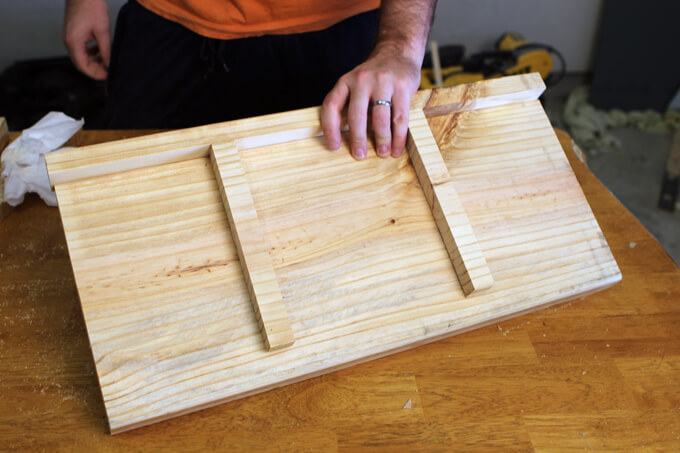
7. After the glue was applied to one side, we used small clamps to hold the piece of the frame to the chalkboard while they dried.
The pressure of the clamp can mess up the finish of the wood so as always we place a piece of scrap wood between the clamp and the frame.
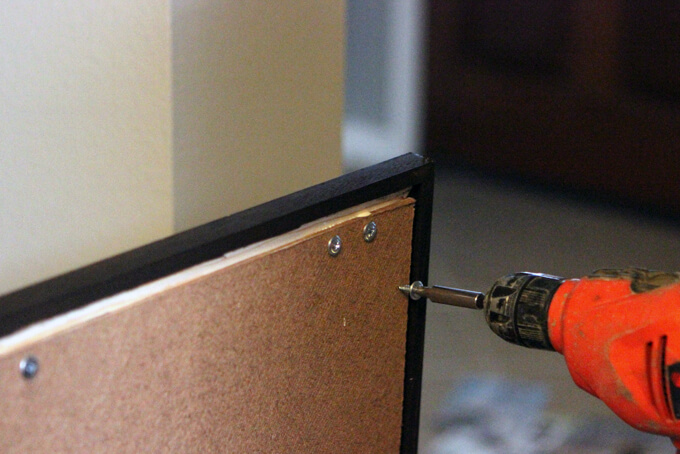
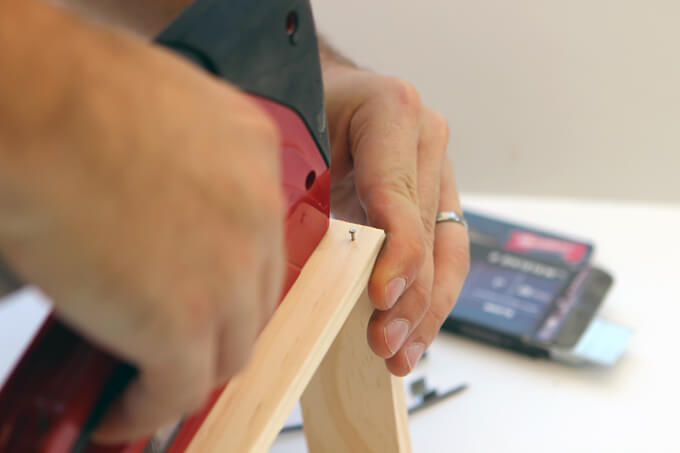
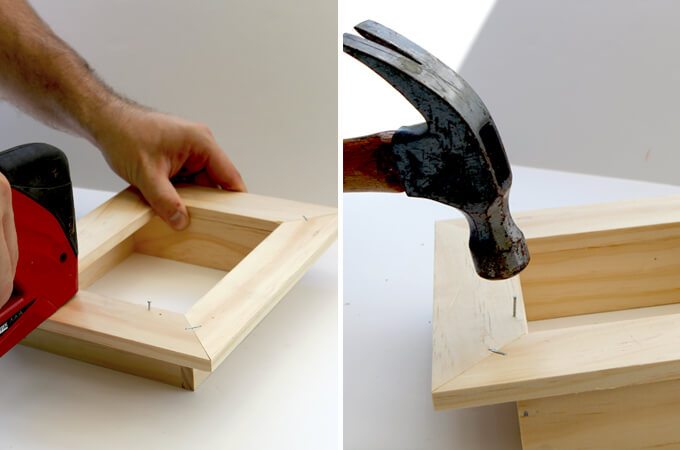
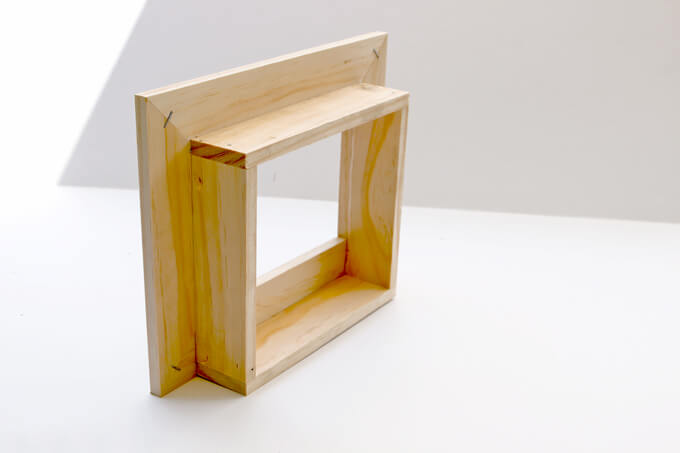
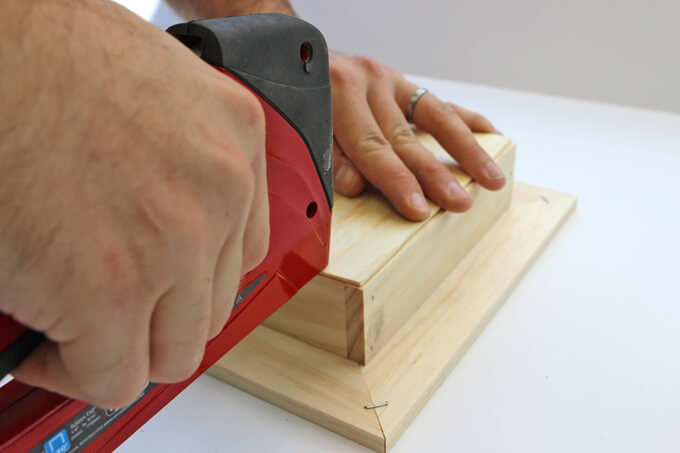
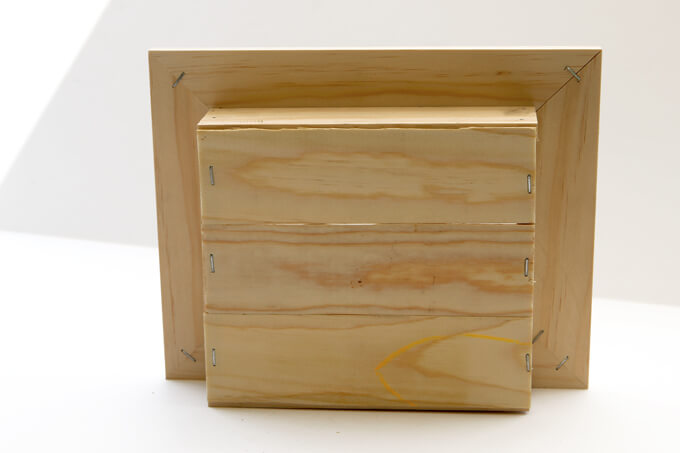
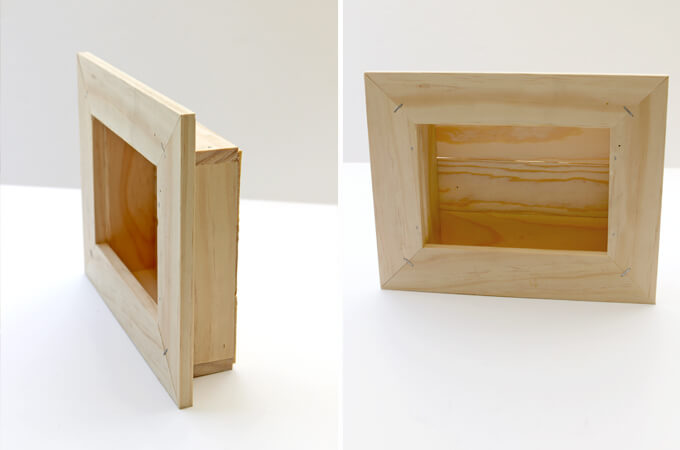
8. Once the frame was clamped to the board we attached the pieces of the frame together and the frame to the board with our drill and screws.
This provided extra strength to the bond and made sure everything was nice and secure.
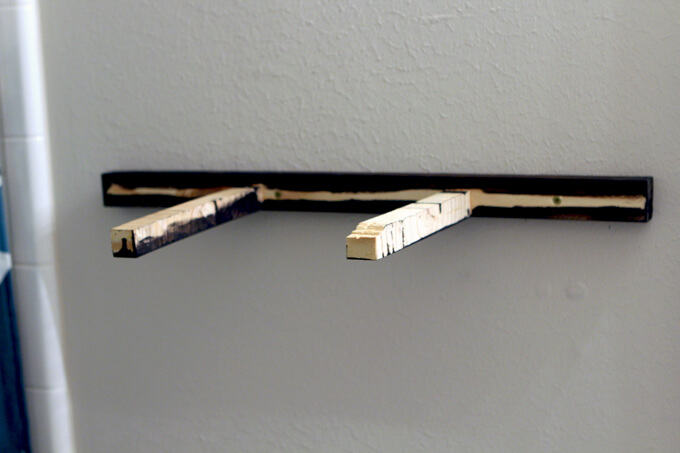
9. After we completed our framed chalkboard we added D-Ring hangers to the back and hung it above our coffee bar.
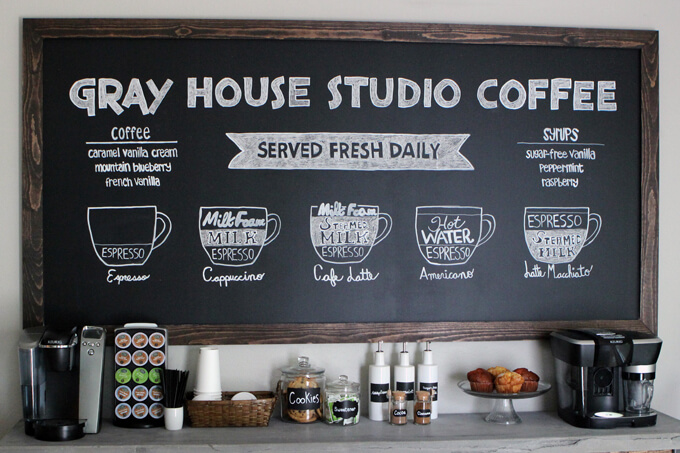
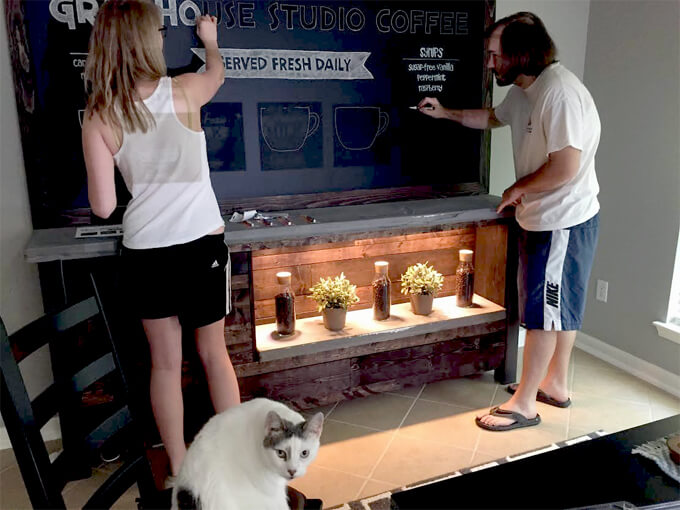
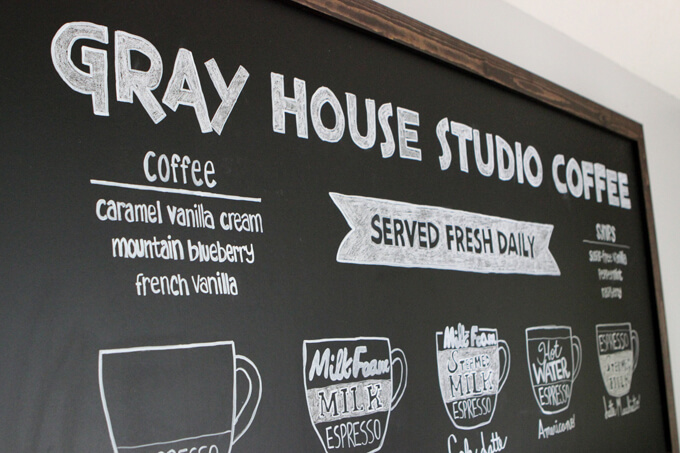
10. I designed our chalkboard art in PhotoShop first. I have pretty good handwriting but it was going to be nearly impossible with the scale of the chalkboard to make everything straight and scaled evenly.
I wanted the design to be personalized but also fairly minimal and clean. We worked in some common coffee shop phrases like “Served Fresh Daily”.
But I am thinking about adding our additional slogan, “At Gray House Studio Coffee, it’s not made until you make it yourself”. I printed out a copy of our design as reference.
Then we used a projector to display the graphic we designed on the computer onto the chalkboard to trace. I would recommend doing this in a dark room or at night but since we were in a bit of a rush I did most of the tracing in the middle of the day with the sun shining through the windows so it was really hard to see what I was tracing.
Loading Preview…
Powered by Creative Market
If you are looking for graphics you can use on your home coffee bar chalkboard, Creative Market has a lot to choose from! They are my favorite source to buy fonts and graphics for my DIY framed chalkboard designs.
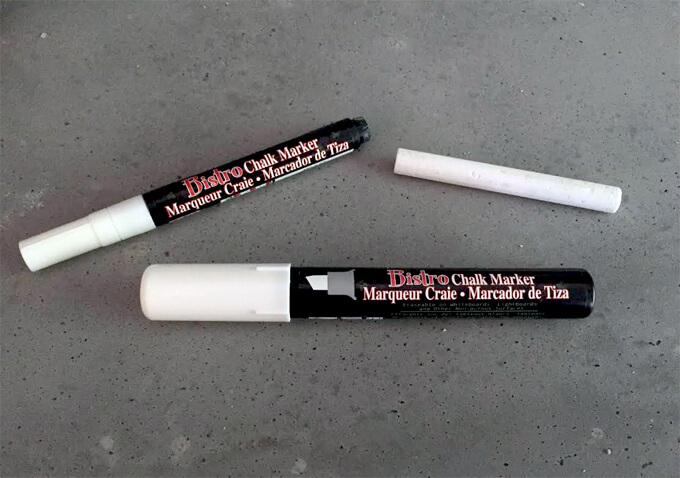
12. We used these Bistro chalk markers and they wrote nice and smooth. The fat tip one works really well for outlining because it makes for smooth, thick lines that you have quite a bit of control over.
I used the thin one for smaller details and smaller text where I wanted to trace over the words several times to make the letters thicker giving it a shaded appearance.
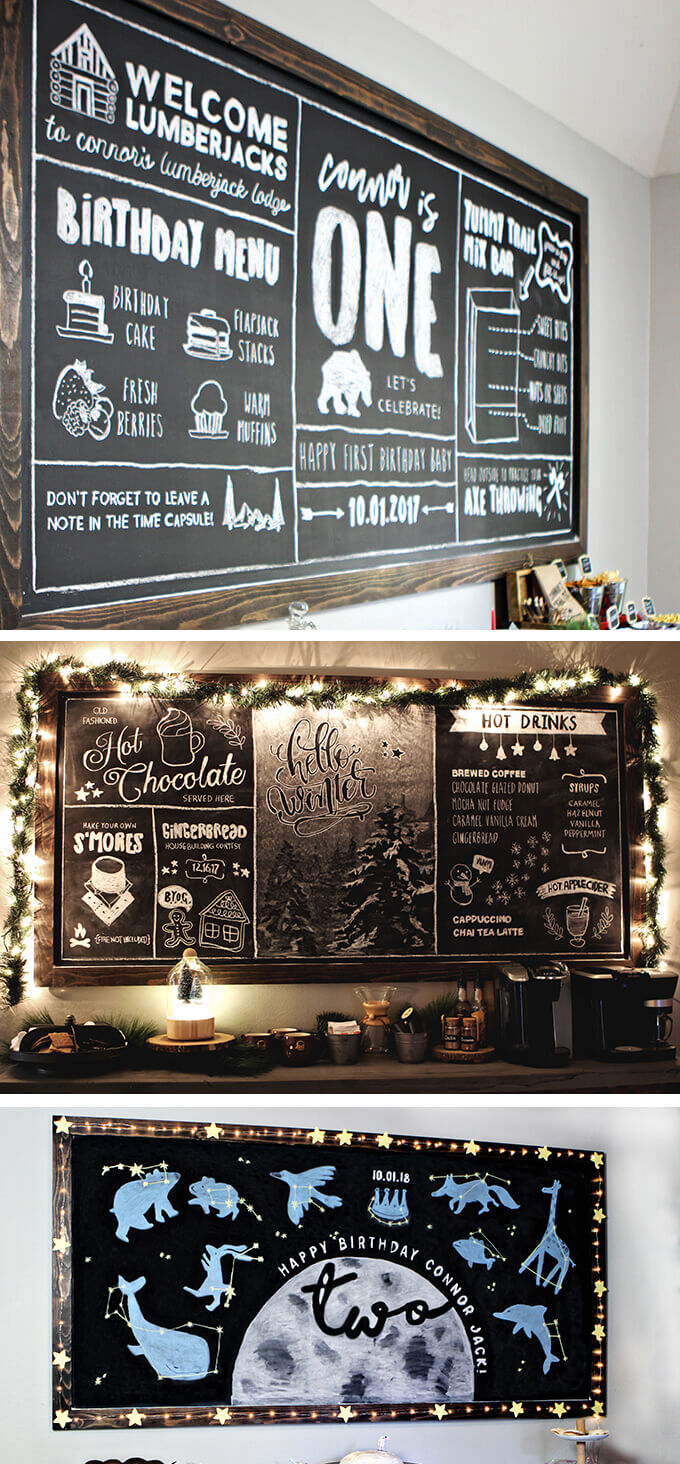
We used regular chalk to do all the shading. Regular chalk gives it gives it an authentic old fashioned chalkboard feel.
UPDATE: We left our chalkboard design for over two years and the chalk marker was pretty much impossible to get off. We had to eventually repaint a new coat of chalkboard paint over it.
I am not sure if that is because the chalkboard markers are meant to be more permanent or because we left it on there too long but while they wrote nice and smooth, I didn’t want to have to repaint the chalkboard after every design.
So now when we create a new design for our DIY framed chalkboard we use Anti-Dust chalk and a pencil sharpener to sharpen the chalk to a point so it is easier to trace.
There is nothing wrong with the chalk markers. If you clean your board off regularly or are looking for more of a permanent solution that won’t wipe off easily when you brush up against it, chalk markers might be the way to go.
However, this is our preferred method now when we redesign our chalkboard because the chalk wipes off very easily but by sharpening the chalk you have more control over the smaller details.
A large framed chalkboard is a fun element to incorporate into the home.
Whether they are intended to be functional, as art or both they bring personality to a room. They are especially perfect for home coffee bars to create that cozy and eclectic coffee bar feel.
We love creating our own framed chalkboard because it really allowed us to get creative both in the size and the appearance of the chalkboard. Having the framed chalkboard span the entire wall of our breakfast nook really catches our guests attention and makes it one of our favorite spaces in our home.
PIN FOR LATER