Check out how we chose and installed our new nursery flooring and follow along as we share how we pulled up gross old carpet and replaced it with nice laminate flooring.
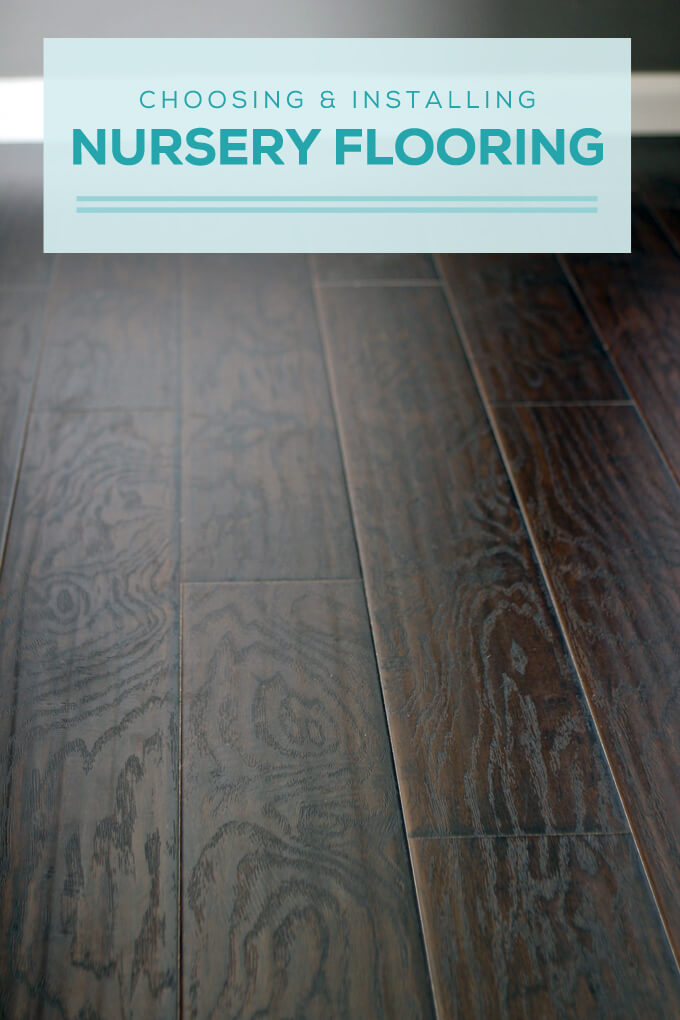
Just a heads up, be prepared for tons of nursery project posts coming up soon as we furiously work to finish all the projects on our list for our nursery before the end of September.
It seemed like we had plenty of time to get the nursery together and now as I am entering into my eighth month of being pregnant, it feels as if time is speeding up and things are starting to get real. Our little Gray House intern will be here before we know it and we still have quite a few projects to get done.
Every time someone asks Brent if we are ready he always smiles and says, “Well, we have a crib and we will just pick up a few diapers on the way home from the hospital.” The typical reaction is one of panic for us which he gets great enjoyment out of teasing them and seeing their concerned faces.
While it is true, we don’t have any diapers yet and very few other baby supplies (don’t worry, we will get there soon I promise), our nursery does have brand new floors that turned out awesome so that is progress! Priorities, right?!
Nursery Flooring Video
In the video below we show how we removed the carpet, leveled the concrete slab, pulled up the baseboards and laid down the new laminate flooring to transform our nursery flooring.
To see new DIY videos on Thursdays, be sure to subscribe to our channel ⇾
Nursery Floor Transformation
We started our first project of replacing the nursery floors the first week of July but it was quite time consuming and labor intensive so it took about three weeks to complete which meant no other nursery projects could really take place during that time.
We have been wanting to replace the tan carpet and tan tile in our house FOR FOREVER. But due to the large amount of work or large amount of money it would take to pay someone else to do the work, we are waiting to go down that road at a later time.
However, I did not want to have old carpet in the nursery for cleanliness and design reasons so we decided that the nursery would be our test room for laying down new floors. In a perfect house we would just pull up the carpet and lay down the new flooring, easy peasy, right? Not in our house.
The slab in our house is far from perfect so we had a few obstacles to get through along the way. This is one of those projects where you wish you could just snap your fingers and it be done immediately but all the hard work paid off because the nursery flooring turned out great and these new floors will make a huge difference in how the room turns out.
STEP 1: PULL UP OLD CARPET
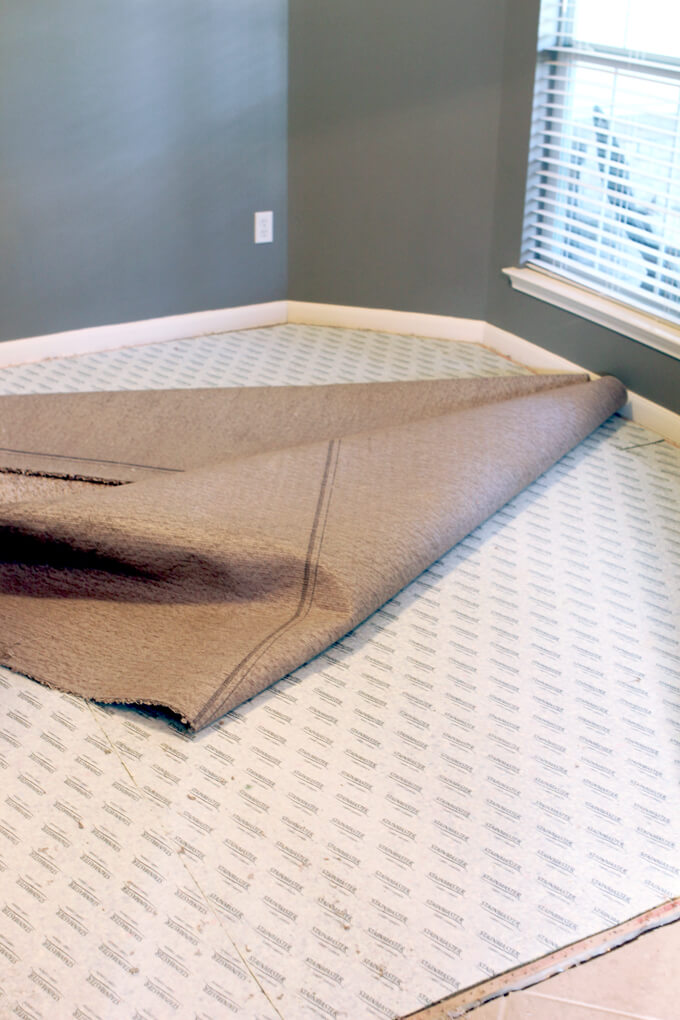
First things first we needed to pull up the old carpet. I’m not sure why but I get super nervous when it comes to pulling up the carpet because there is not turning back even though we had already purchased the laminate flooring so we had technically already committed.
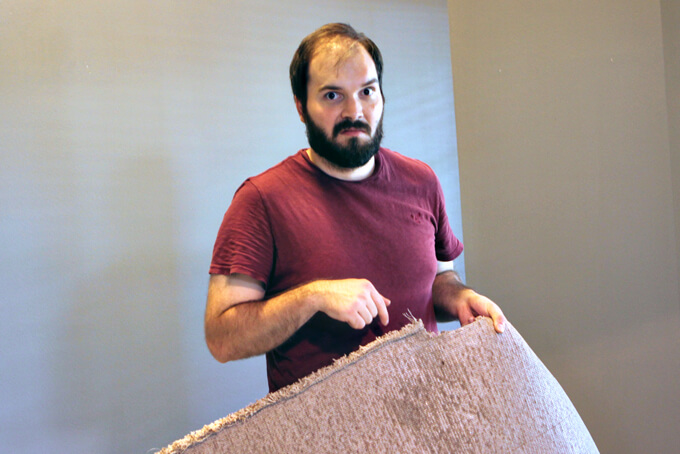
It’s always a nice gross surprise to find old stains that you have no idea what they are from because they were there before you moved in. Just another reason why we were super glad to say goodbye to the carpet in this room.
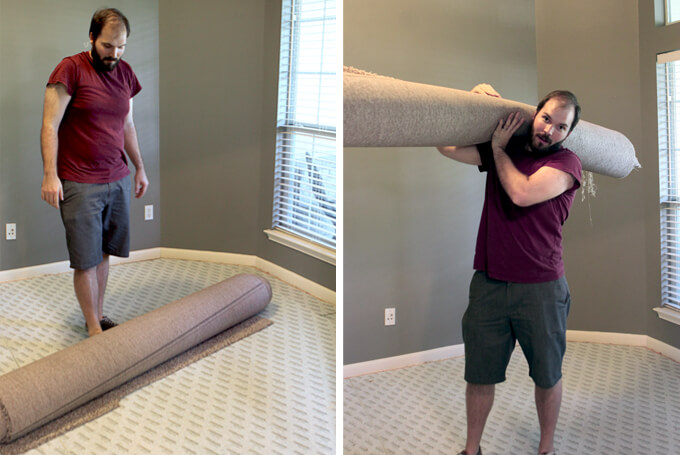
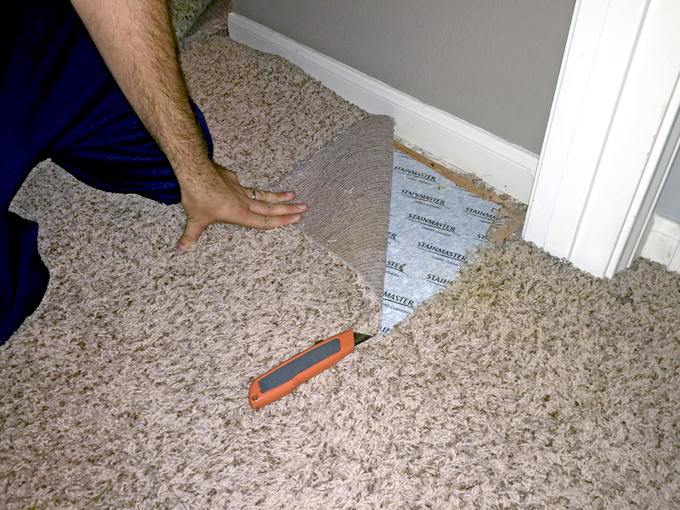
Out with the old! Brent cut the carpet down the middle to create two rolls that would be easier to move out of the room. We timed it with trash day so the old carpet would be out of our way immediately. It was so nice to say goodbye to that old tan carpet. See ya never!
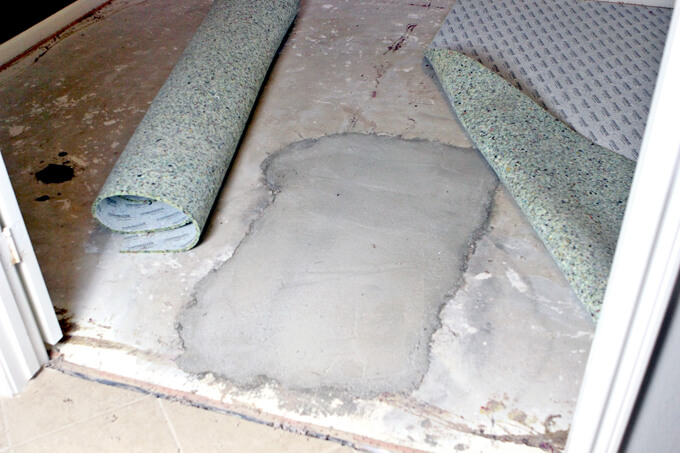
We knew that the slab under the carpet was going to be uneven because we could feel a dip when we walked in the door but we had no idea exactly what was waiting for us under the carpet. After we pulled it up we were greeted by this monstrosity that would have to be leveled before we could lay the floors.
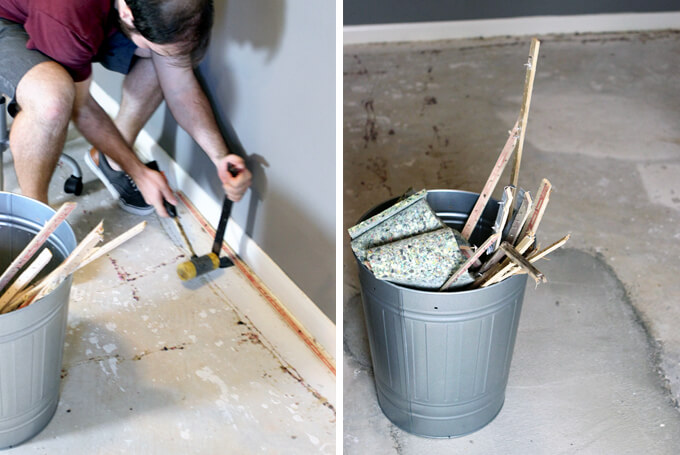
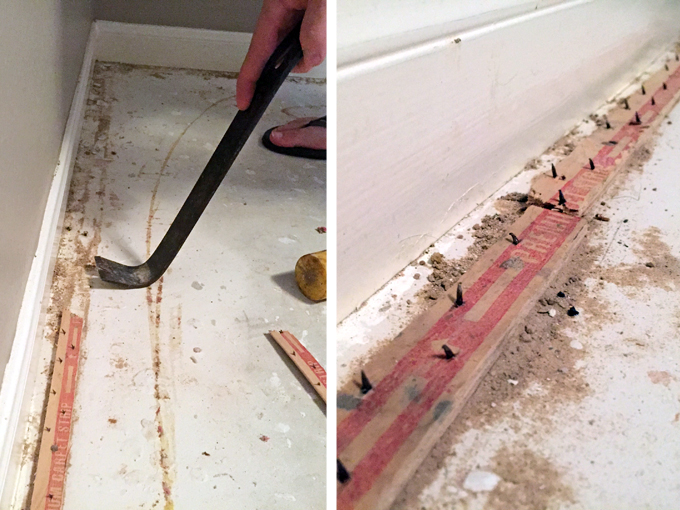
The final step was to pull up all of the carpet tack strips which is time consuming, boring, and probably Brent’s least favorite aspect of working on the floor. We also swept the floor to get rid of remaining debris.
STEP 2: GRIND THE CONCRETE SLAB
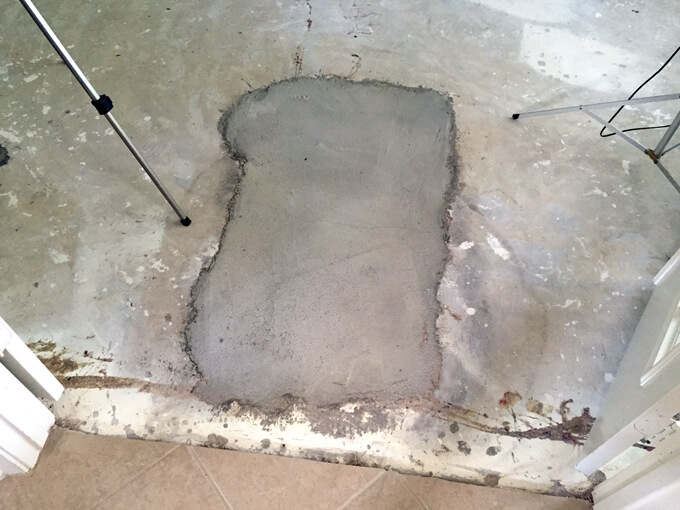
Once the carpet was out and gone, it was time to deal with the concrete slab underneath. The flooring in this room was far from level due to foundation work that was done before we moved into the house.
They didn’t exactly do a top notch job of making sure the concrete was level before they put the new flooring back down.
Which left a mess for us to try and repair because we wanted it to be as level as possible to make sure the new flooring we put down was as flat and would not feel like it was moving under your feet.
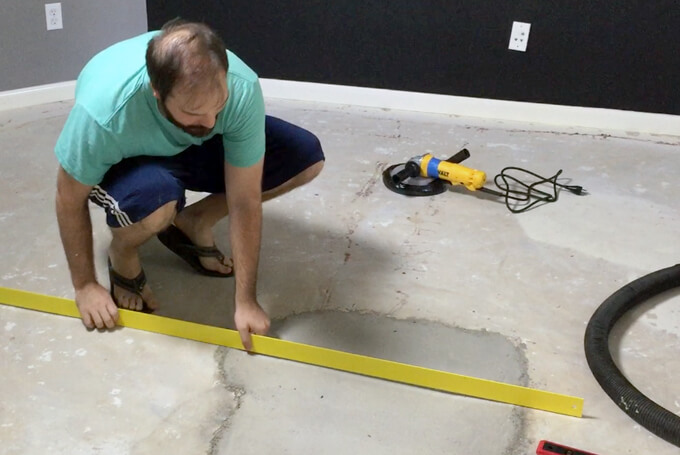
The large, obvious spot in the front of the room was too low.
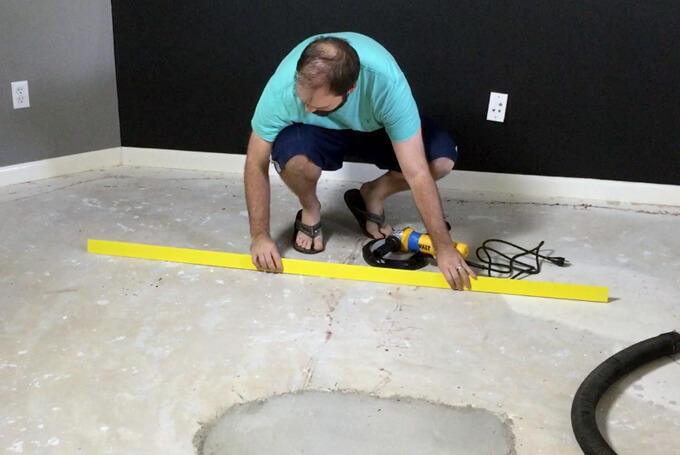
There was also an area in the back of the room that was too high.
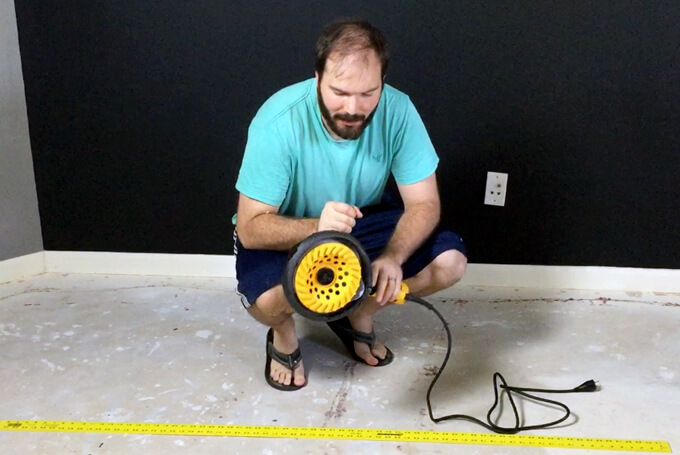
Brent needed to grind down the concrete in the high spots. To do this he used an angle grinder with a diamond blade.
To try and keep the concrete dust to a minimum, he created his own DIY grinder vacuum attachment for under $5. Check out the video below to see how he made it.
Make a DIY Grinder Vacuum Attachment for Concrete Grinding
To see new DIY videos on Thursdays, be sure to subscribe to our channel ⇾
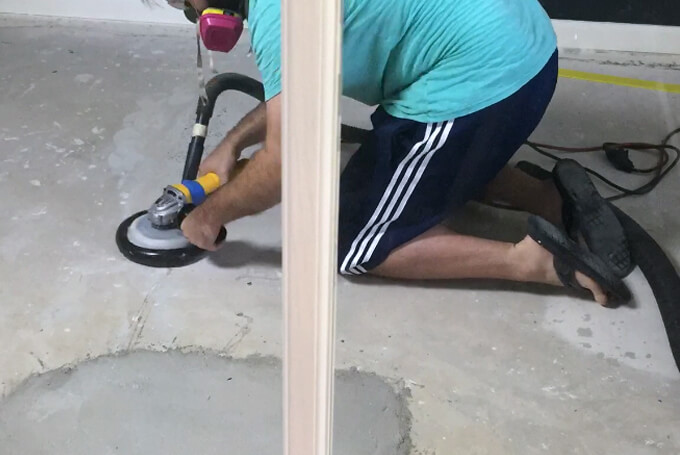
As Brent went to work grinding the high spots of the concrete, his DIY grinder vacuum attachment worked perfectly. It suctioned to the ground eliminating the amount of dust floating around.
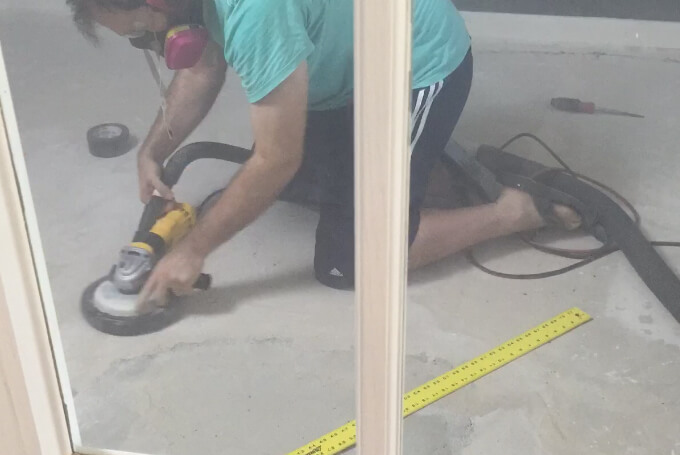
However, while I watched him work through the doors I noticed that the room was getting foggier and foggier which meant the concrete dust was escaping.
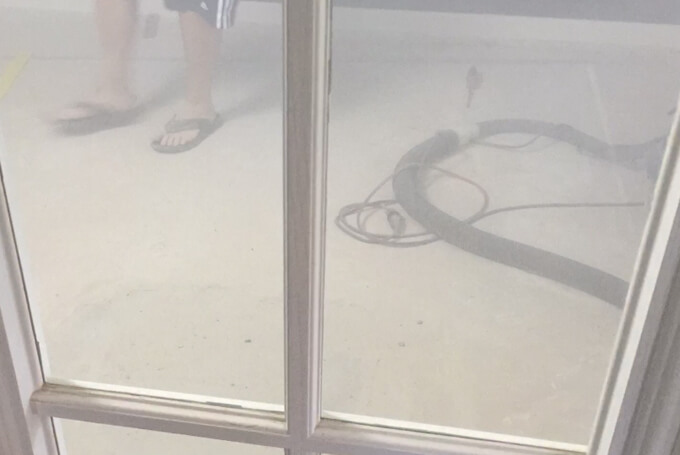
When he was done the room looked like this, exactly what we DIDN’T want to happen. Oops.
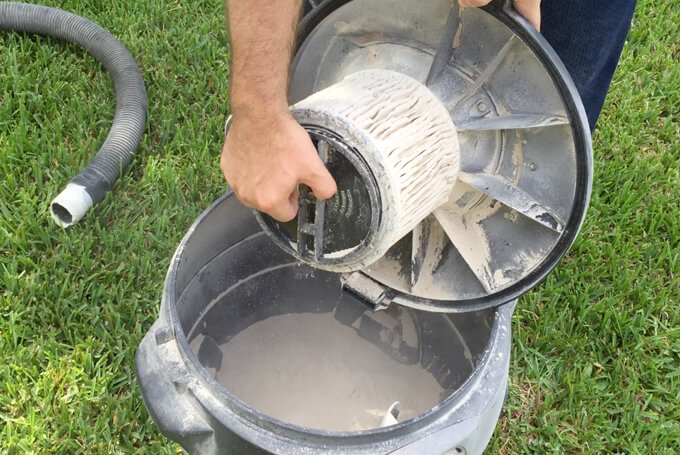
It turns out that his DIY grinder vacuum attachment worked just fine. The problem was with the shop vacuum.
The filter got clogged which lead to all the dust getting stuck in the hose which meant everything that got sucked up was coming right back out once he lifted the grinder.
We learned to stop mid way and clean out the vacuum. Even though this step didn’t go as smoothly as hoped, Brent still did collect a large majority of the concrete dust. DIY-ing is all about trial and error.
STEP 3: LEVEL THE CONCRETE
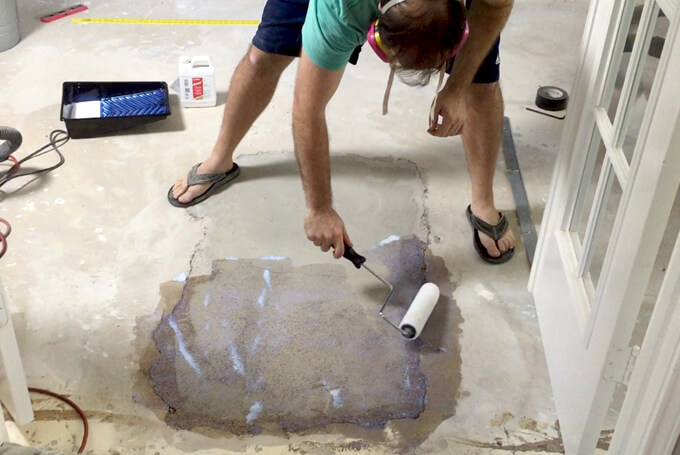
After the concrete was level in the back, it was time to tackle the low spot in the front. To do this we first rolled down an indoor primer. We used MAPEI White Indoor Primer.
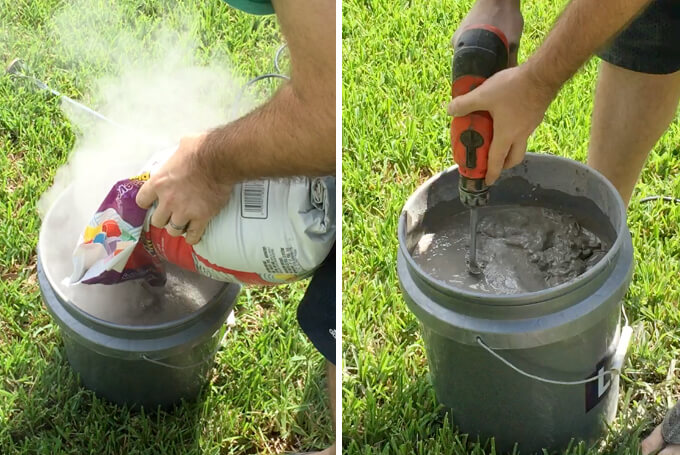
Next, we mixed up a bag of self-leveler. We choose to go with MAPEI Gray and Silver Indoor Leveler.
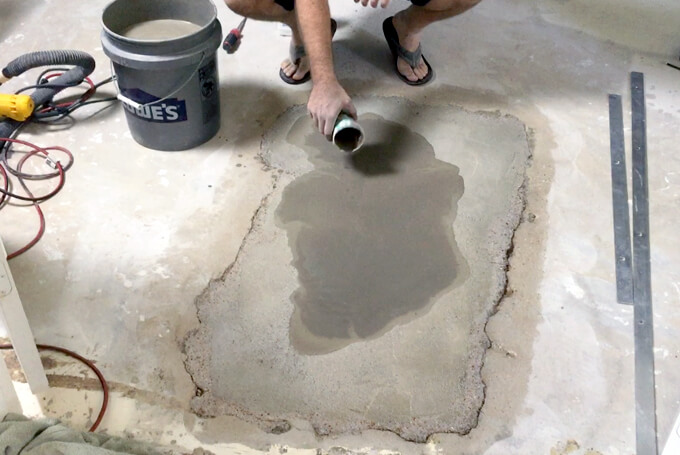
We used a plastic cup to spread the leveler out over the low spots. But we both thought it looked REALLY thin and the consistency was watery.
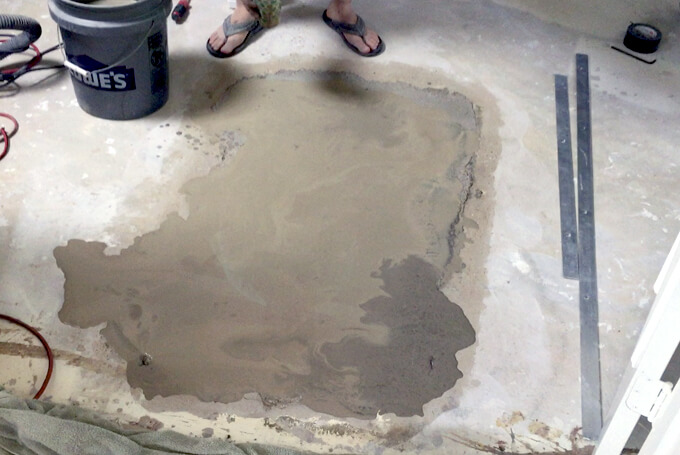
It was supposed to take 24 hours to level but it took about a day or two. And while it did even out pretty well considering how bad the concrete was in this area, it still needed a little more help.
Brent mixed up another batch and that is when he realized that he got the ratio of water to mix incorrect the first time because he misread quart for gallon. Ha. Oops.
It wasn’t a big deal but it should not look as thin as it does in the photos above. The second batch was the correct consistency and worked like a charm to get our concrete level and ready for the new nursery flooring.
We still waited a few more days to make sure it was completely dry.
STEP 4: REMOVE THE BASEBOARDS
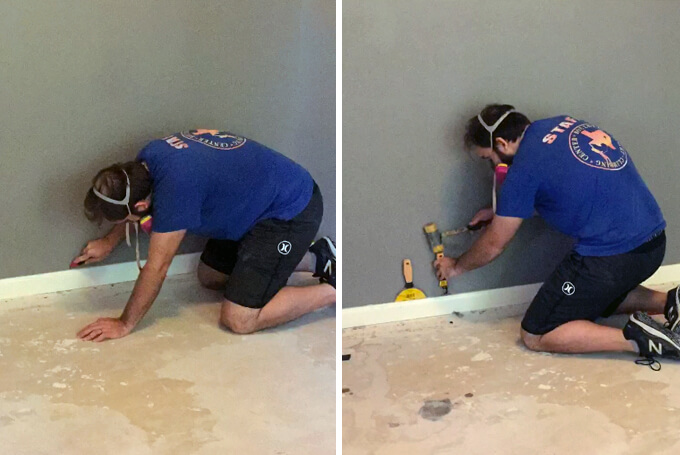
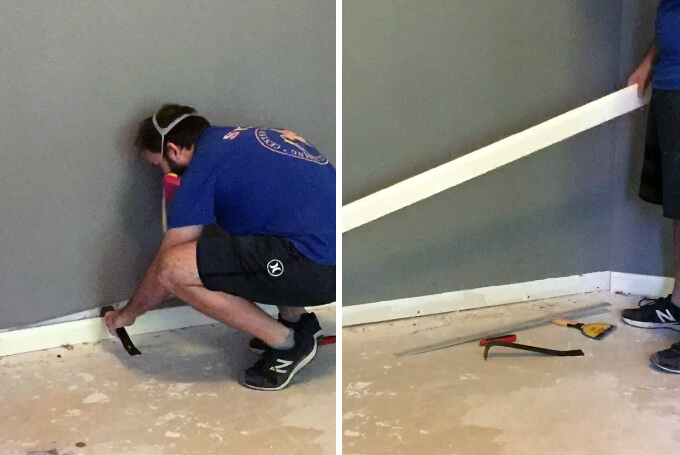
We went back and forth on what to do with the baseboards. After watching some reassuring tutorials on YouTube, we decided that it would be easy enough to remove them in a way that we could reuse them.
Brent was able to remove all of our baseboards in perfect condition which meant we would save money by using our same baseboards and not have to add quarter round.
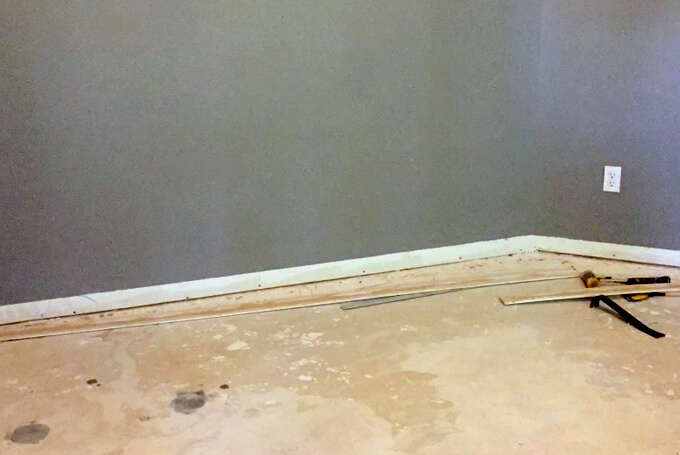
While they were off from the wall, thanks to my dad’s help, we were able to give the baseboards a complete refresh. Brent sanded them down and my dad put a fresh coat of white paint on them making them look brand new once they went back up on the wall.
STEP 5: INSTALL THE NEW FLOORING
When it came time to choose the nursery flooring we decided to give laminate flooring a try. We wanted the look of real hardwood floors but for the price of well, laminate.
We did a lot of comparing and contrasting of different types and brands of laminate flooring.
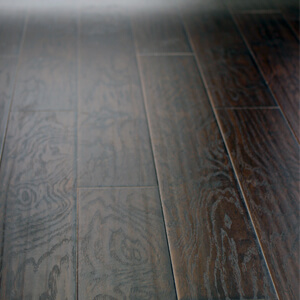
Ultimately, we chose Select Surfaces Laminate Flooring in Brazilian Coffee*. What we like about this particular flooring is the color, texture, that the pieces click together for an easy install, and the thick padding underneath that helps prevent it from feeling hollow. Plus, the cost fit our budget.
*This post contains an affiliate link. You can read our disclosure policy here.
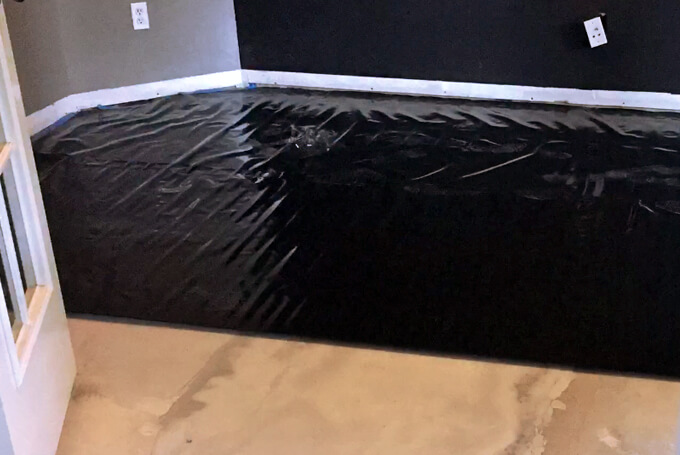
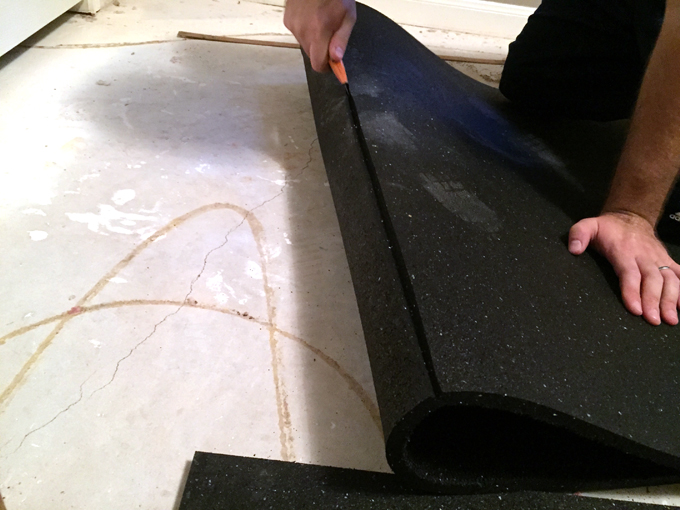
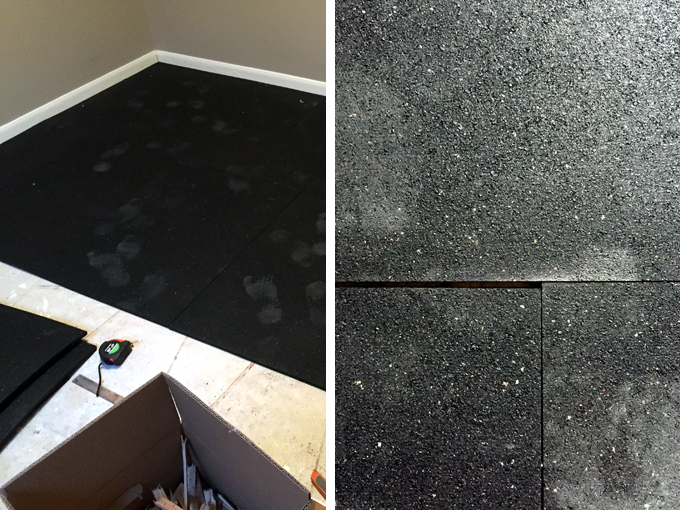
Finally, the day came to lay down our new flooring! First, we laid down a 6 mm flooring underlayment to act as a moisture barrier for the concrete subfloor. We overlapped each row by at least a foot.
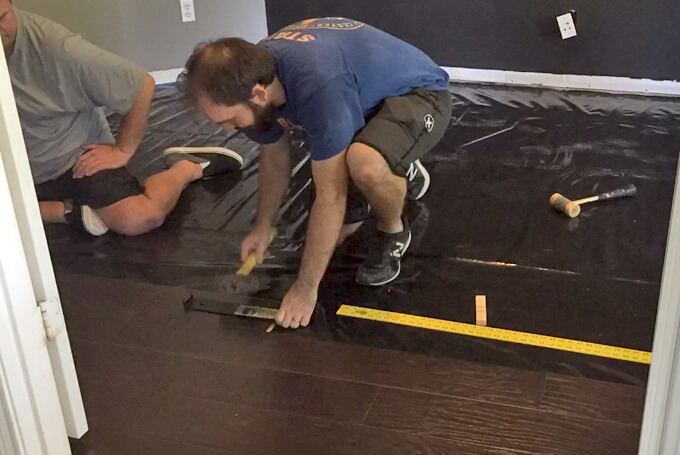
A huge thanks to my dad for coming to help with the nursery flooring. I feel bad when I can’t contribute to a project as much as I would like.
Being eight months pregnant and recently finding out I am anemic, my energy levels are pretty low these days so I am very grateful my dad stepped in and was able to assist Brent.
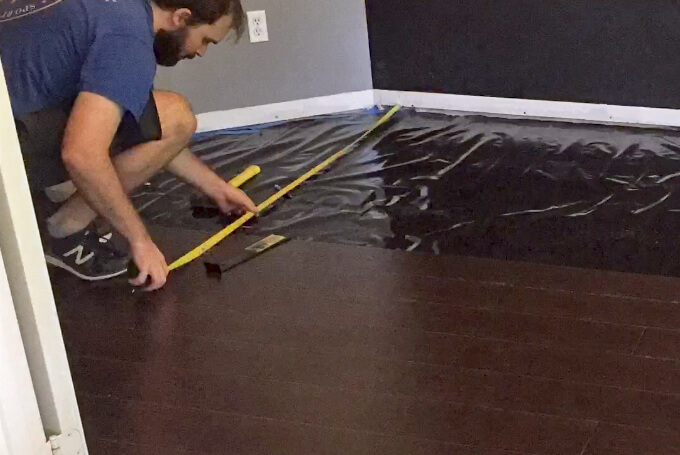
The flooring when down really easily. The only thing they had to do was to cut the first and last piece of each row and then click it all together.
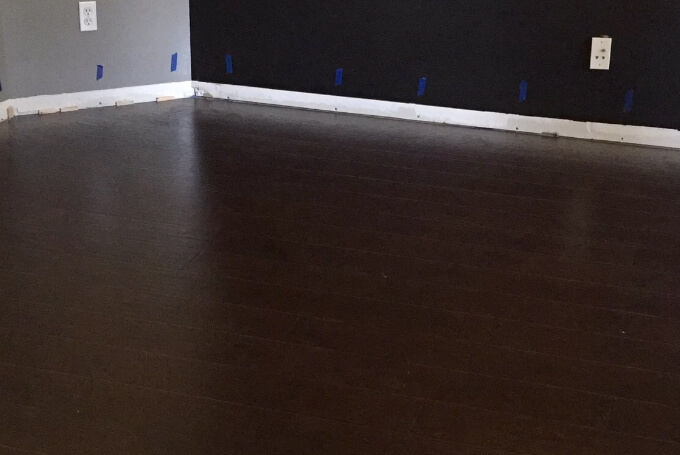
They got in a rhythm and knocked out the whole room in one day, including having to run back across town and get one more package of flooring.
Another lesson we learned, always get one more package than suggested. This room was a little tricky because of the angles of the back wall.
STEP 6: PUT BACK BASEBOARDS
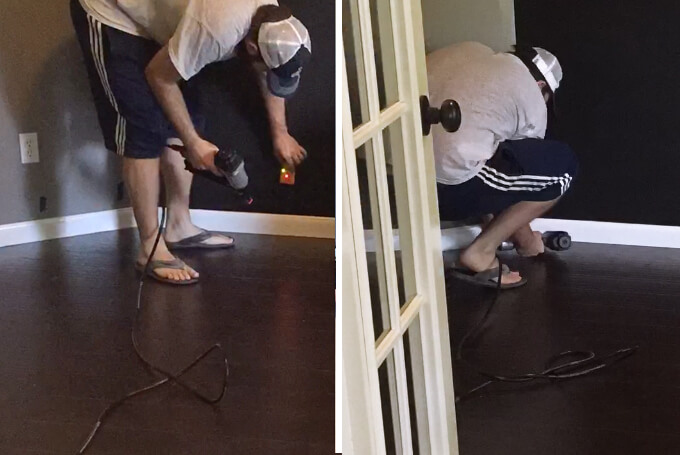
After the baseboards were painted and dried, we used two inch finishing nails to secure the baseboards back to the wall studs.
Before & After
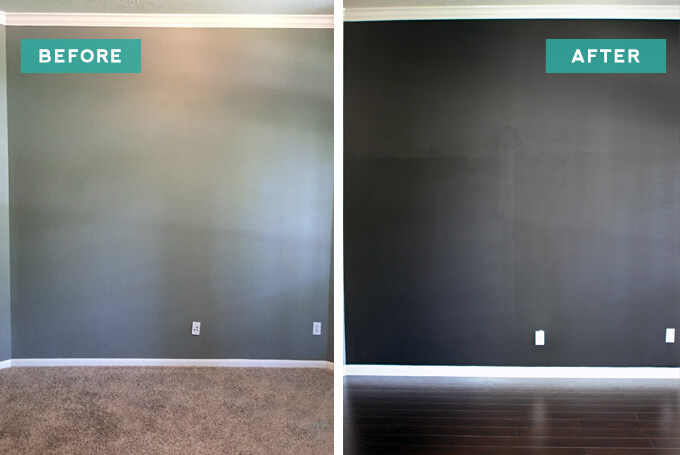
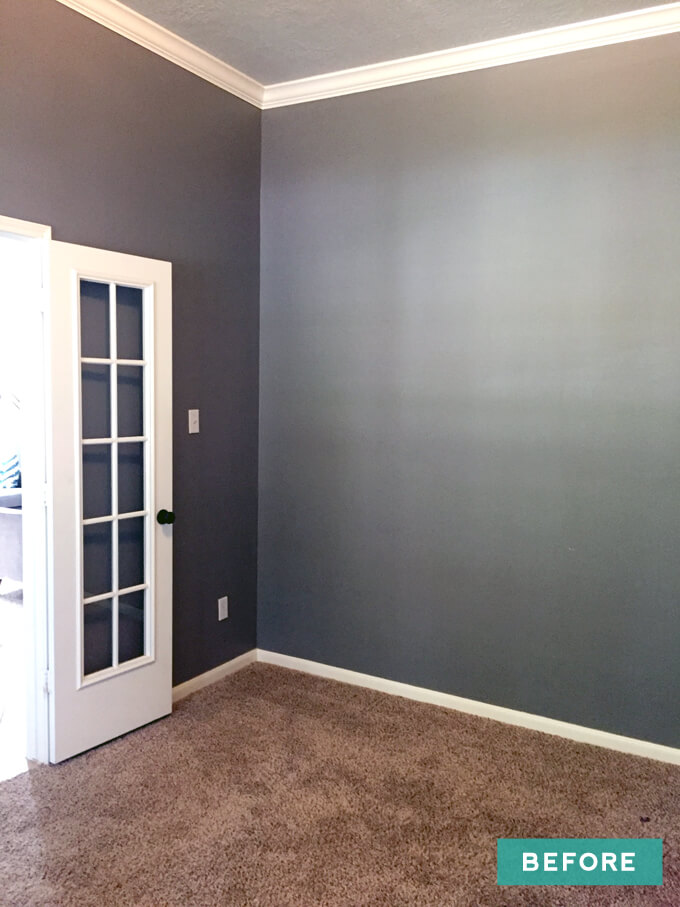
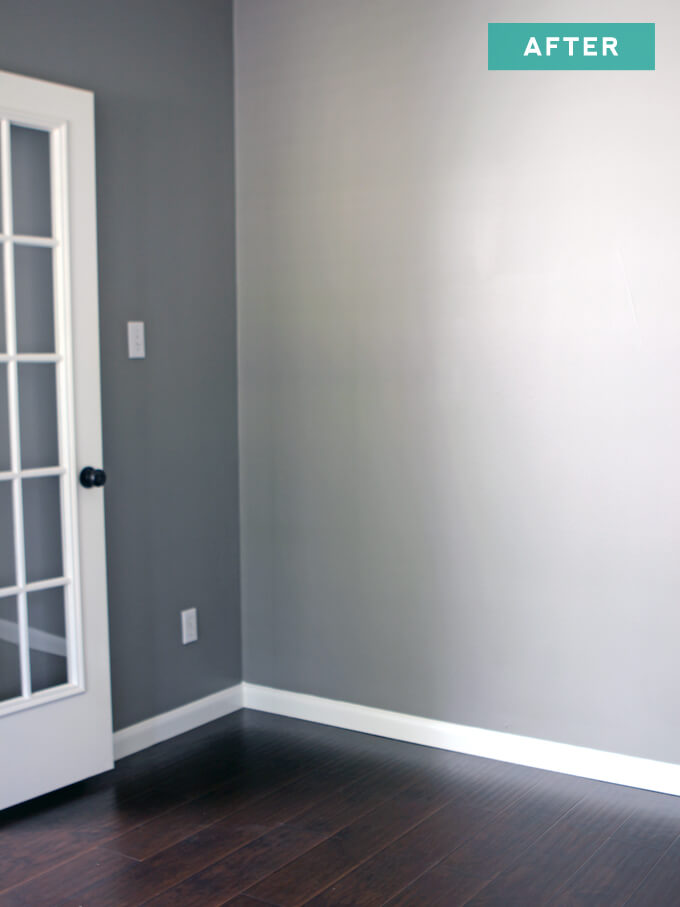
Above is our nursery flooring transformation. We said goodbye to tan carpet and hello to dark laminate flooring. You may also have noticed that the back wall color changed as well.
After we pulled the carpet up but before we installed the floors, we took the opportunity to paint the accent wall with chalkboard paint.
Brent is working on an AMAZING chalk art mural for this wall so we will share more about this project soon.
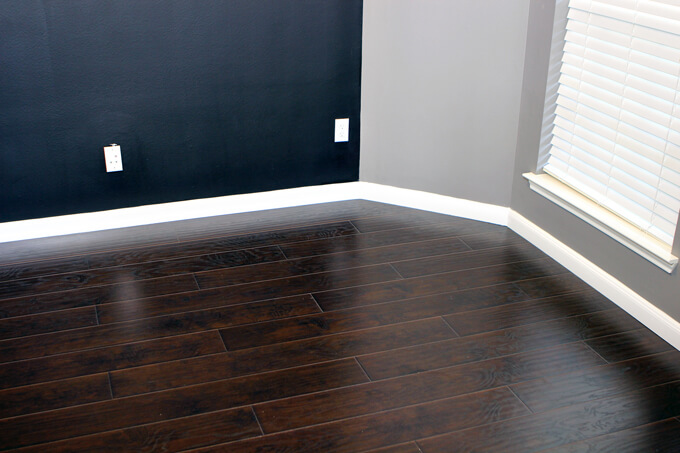
We are extremely pleased with our flooring choice and how everything came together. It was a lot of labor intensive work and required trial and error and patience but having new nursery flooring is definitely worth it.
I have a big fluffy rug that I plan on laying down in the middle of the room and our gray crib really pops against the floors.
This project was the largest nursery project on our list and having it done is a big accomplishment and step towards finishing the nursery. Having this step done will get the ball rolling faster on all of our other projects as well.
The only downside is now we want this flooring throughout the whole house. But that is another project for a much later day.

