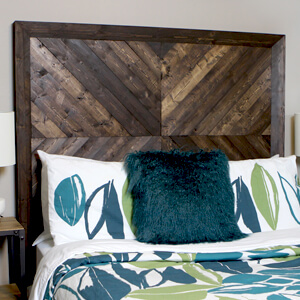
We built a DIY headboard inspired by the Alexa bed from West Elm for under $50 for our guest bedroom makeover.
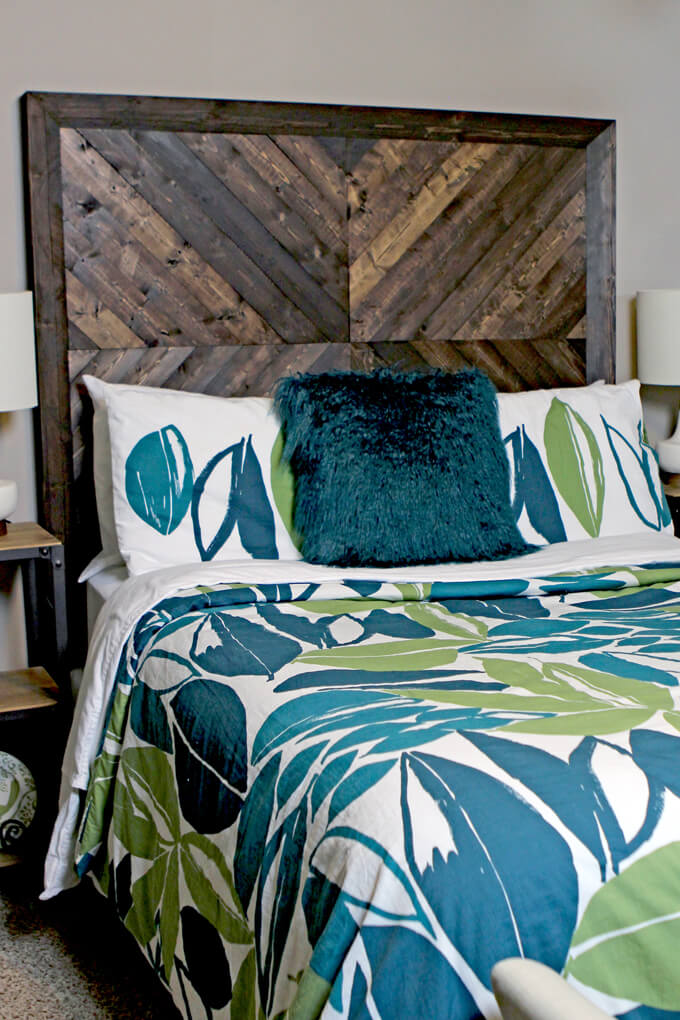
We are excited to share one of our latest DIY projects, the DIY headboard for under $50 we made for our guest room bed.
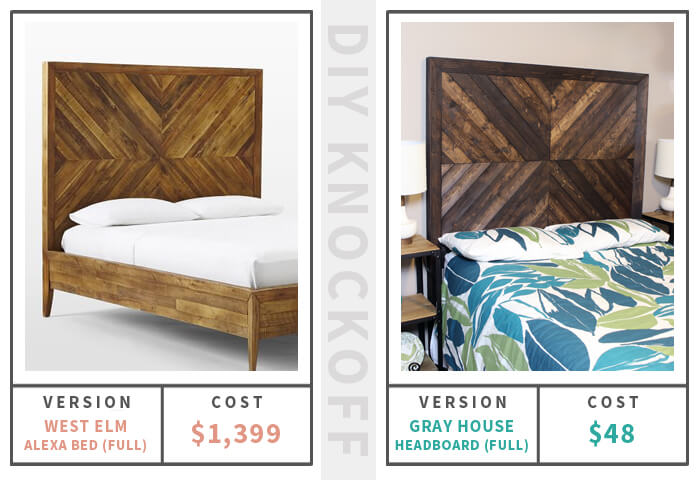
Courtney really liked the Alexa bed from West Elm but that bed was way over our budget for the entire room let alone just the bed. So in an effort to get the look we wanted without the price tag, we built our own version of the headboard on the Alexa bed for only $50.
Our comforter covers the bed frame so we didn’t find it necessary to build a new matching bed frame right away but the way we attached our new headboard to our existing frame leaves us open to building a new matching bed frame in the future.
Keep scrolling down to see the steps as well as the materials and tools necessary to make a DIY version of the headboard on the Alexa bed from West Elm for only $50.

How To Build A DIY Headboard
SUPPLIES
Shop the products we used for this project in one place.
- 2″ x 4″ Whitewood
- 1″×4″ Pine Furring Strip
- Wood Glue
- FClamps
- Miter Saw
- Table Saw
- Drill
- Kreg Jig R3 Pocket Hole Jig System
- Pegboard
- 1/2″ Panhead Screws
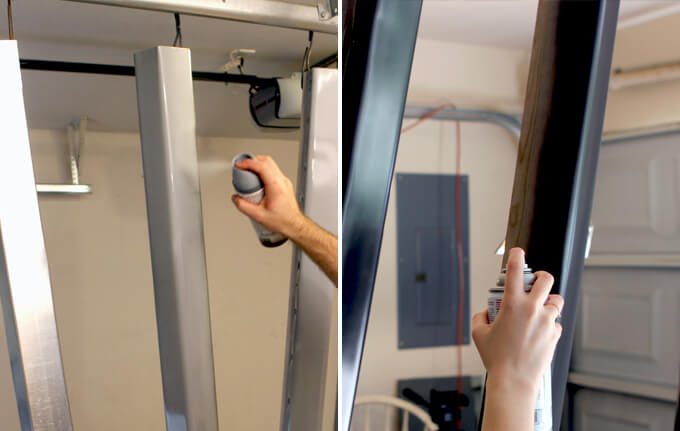
- Rust-Oleum Wood Stain, Kona
FYI: This post contains a few affiliate links to products we used to make this project. Gray House Studio does receive commissions for sales from these links but at no extra cost to you. We appreciate you supporting this site. Read our privacy and disclosure policy. You can also easily shop our recommended products here.
TUTORIAL VIDEO
Subscribe to our YouTube Channel
Like our video? Subscribe and help us reach our goal of 100k subscribers.
STEPS
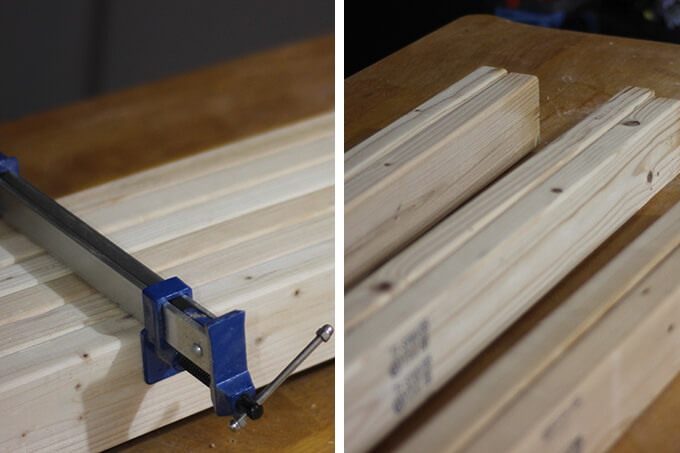
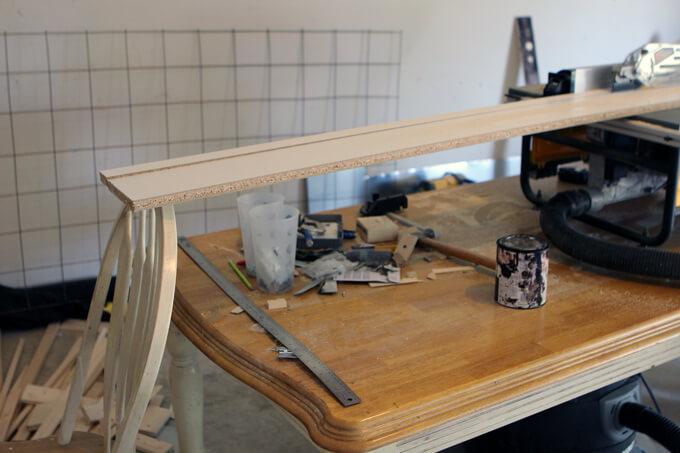
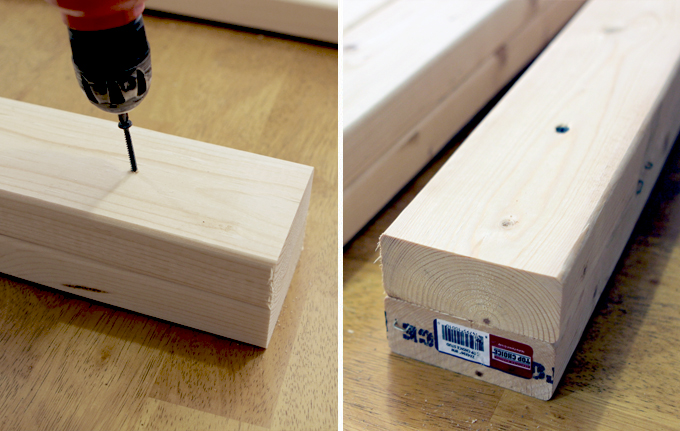
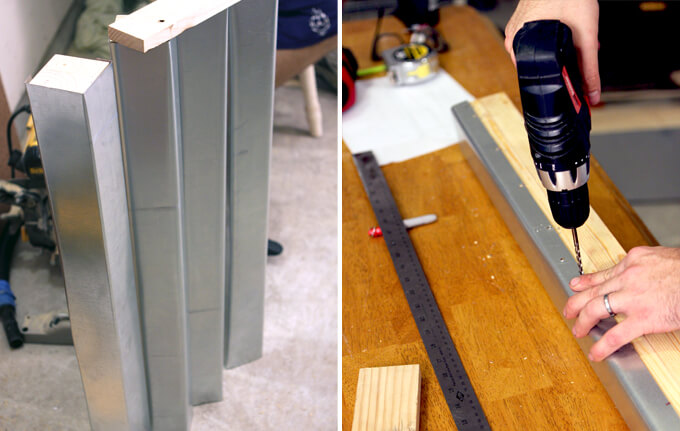
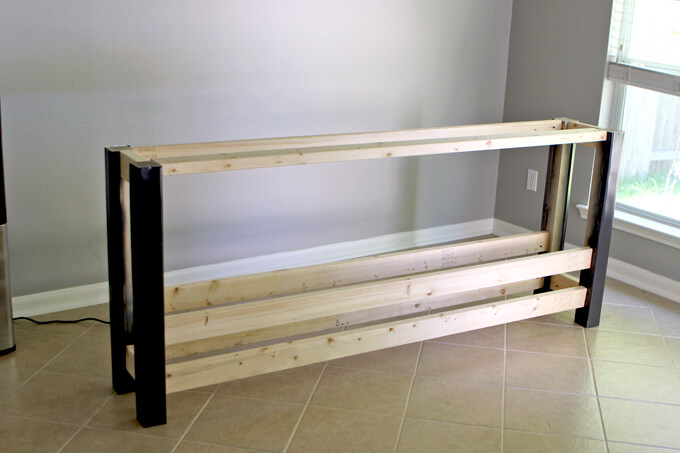
1. To save money we glued two 2x4s together for the legs and top board of the frame instead of buying 4x4s.
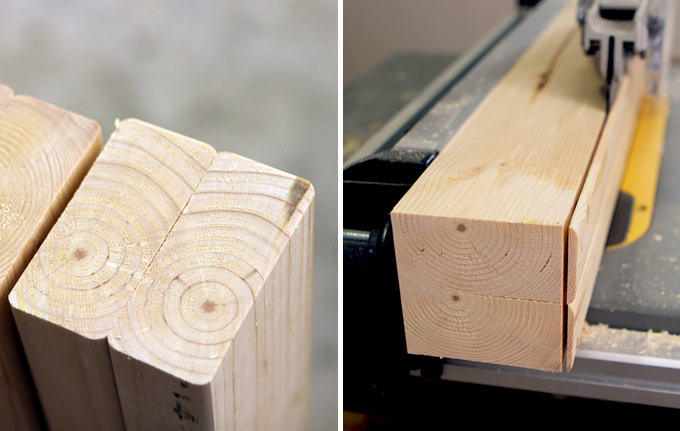
Once the wood glue dried we cut the boards down to length with the miter saw. Then cut them to three inches square with the table saw.
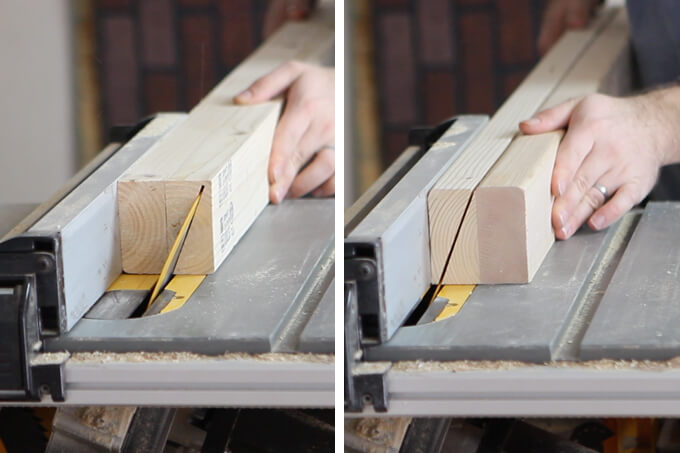
2. With all the boards cut to the correct size, we set the table saw up to cut at a 22.5 degree angle which was the angle used to cut the angle on the face of the frame.
Our blade was not long enough to cut all the way though the board so we turned the board over to finish the other side of the cut.
3. The top of each leg and both sides of the top board were cut at a 45 degree angle to form a miter joint.
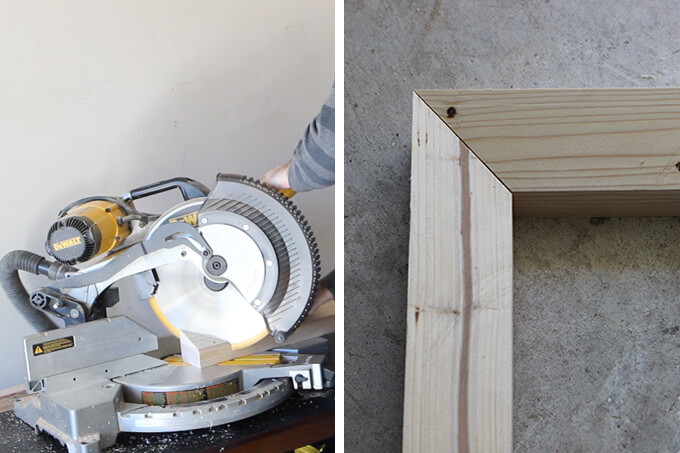
4. Next, we cut the supports and bottom leg pieces to allow the frame to attach to the bed.
The bottom leg pieces are cut from the excess board from the 22 1/2 degree cut.
This will offset the angle previously cut on the bottom of the legs so they are square with the bed frame when attaching.
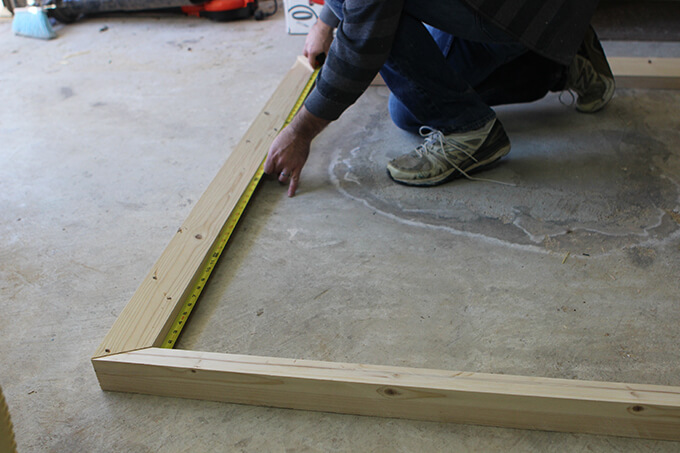
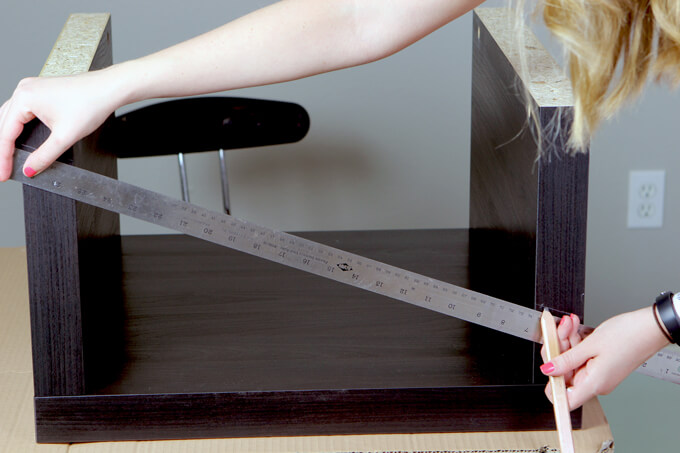
5. Before cutting the braces we measured the inside of the top of the frame so we would know how long to make the braces.
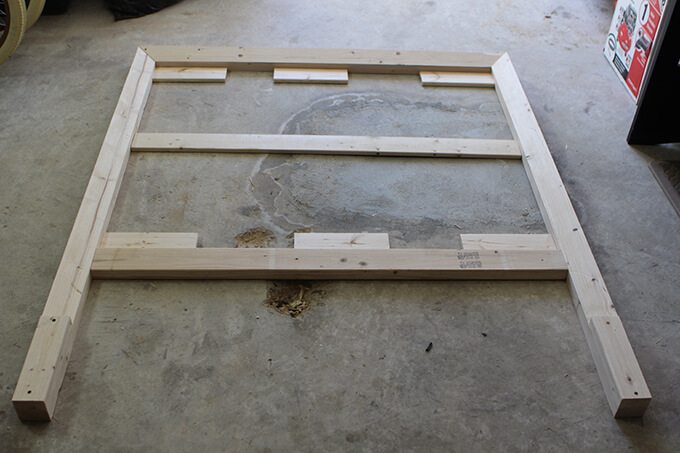
6. For the center brace and six small braces we used a 1×4 inch pine furring strip and for the bottom brace we used a 2×4.
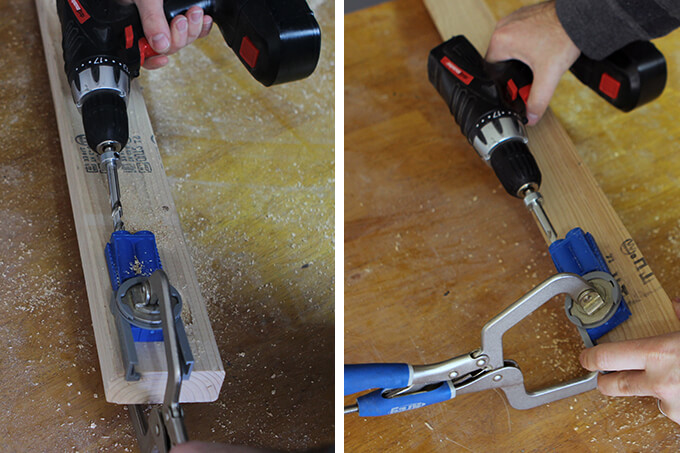
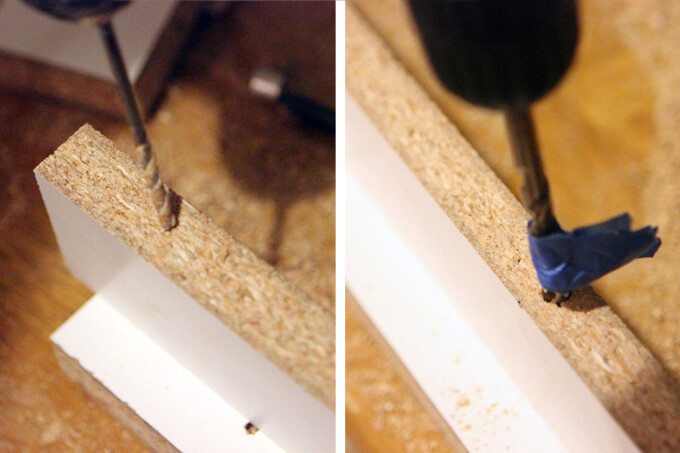
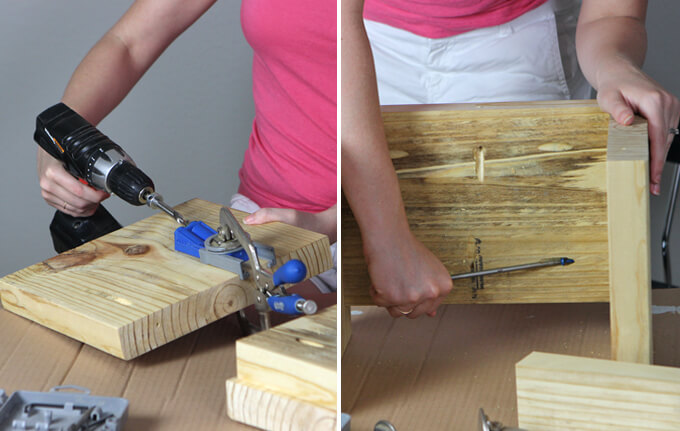
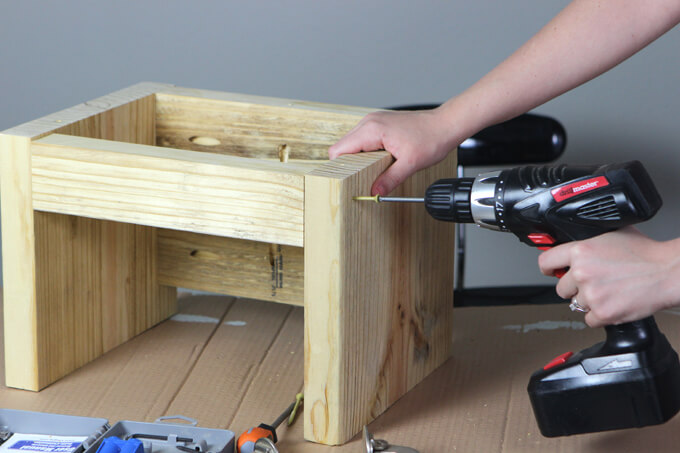
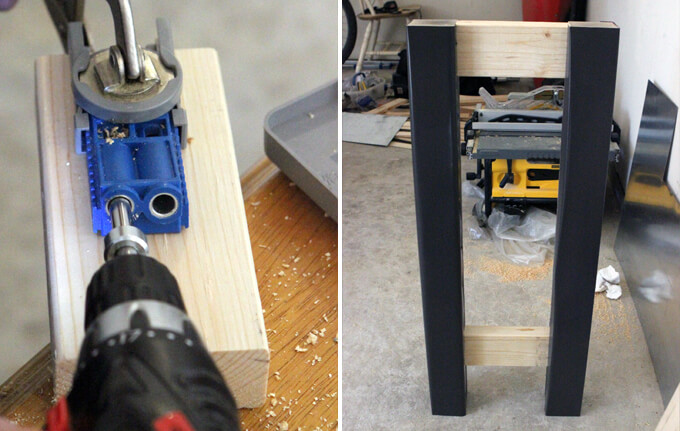
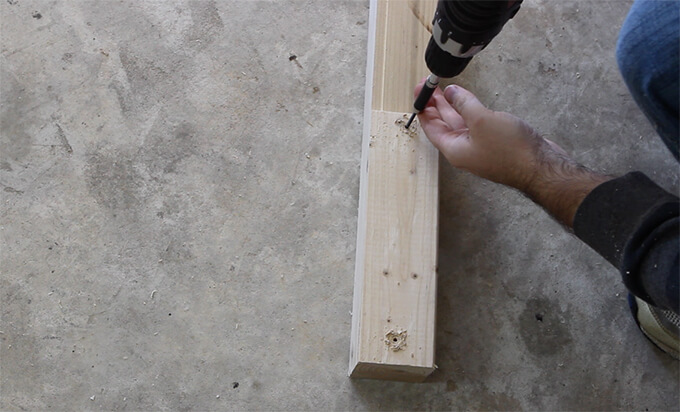
7. To attach all the boards together we used a drill and pocket hole screws and drilled pilot holes using a Kreg jig.
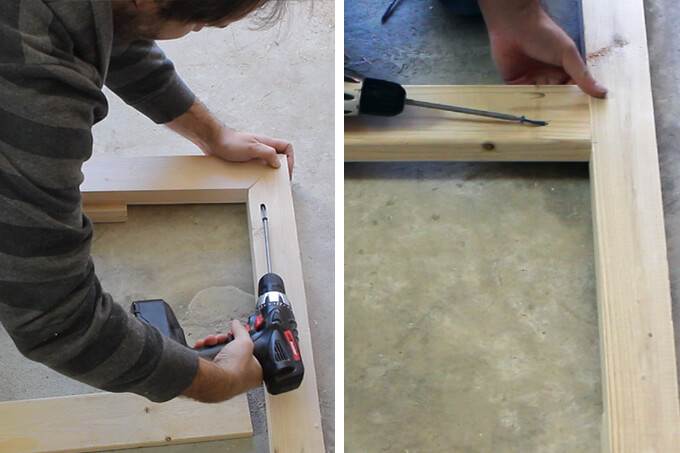
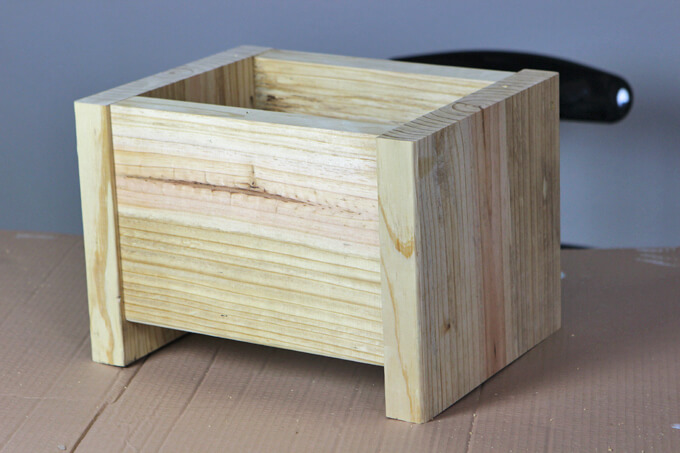
8. To start assembling the frame we secured the top corners of the frame with one pocket hole screw in the inside of each corner. Then added the bottom brace making sure all the pocket holes were on the back.
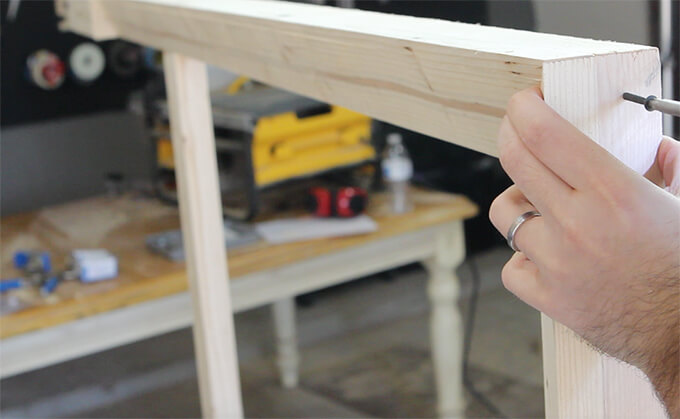
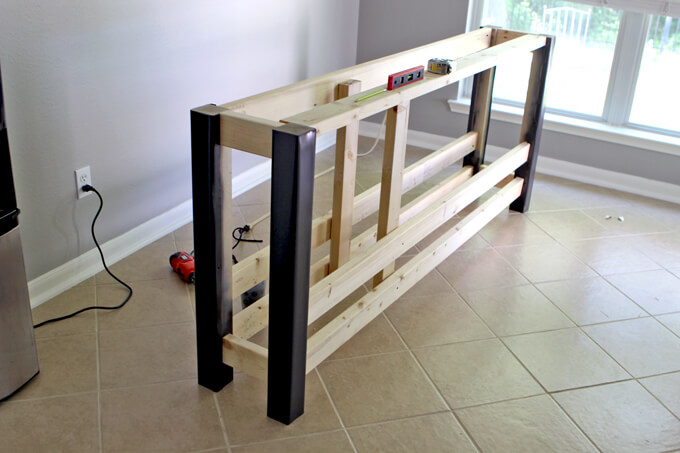
9. With the bottom brace attached, we stood the frame up and drilled pilot holes in the top of the headboard. Because the wood in the corner of each miter joint is thin, we couldn’t use pocket screws but since this headboard will be five and a half feet tall, these screws won’t be noticeable.
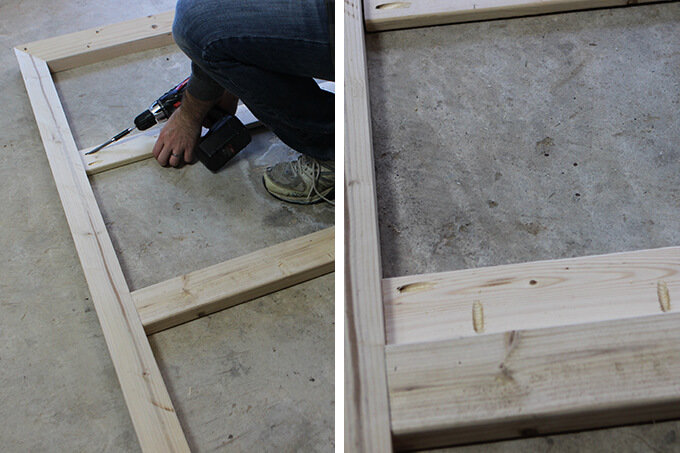
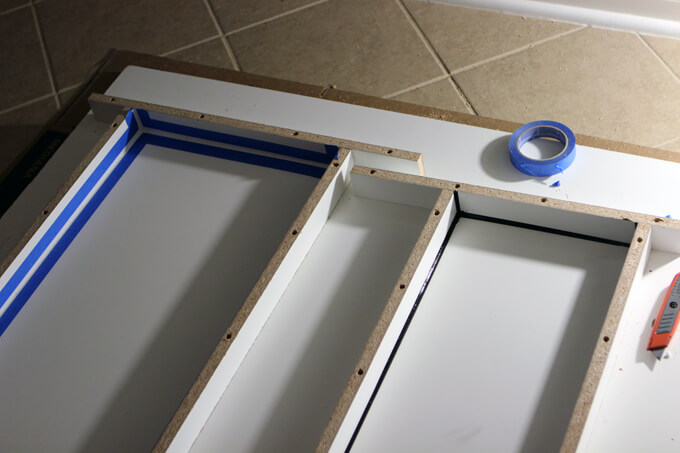
10. The 1×4 braces will be covered up so we were fine securing them to the frame with the pocket holes facing up. With the frame assembled we were ready to add the backing board to support the slats.
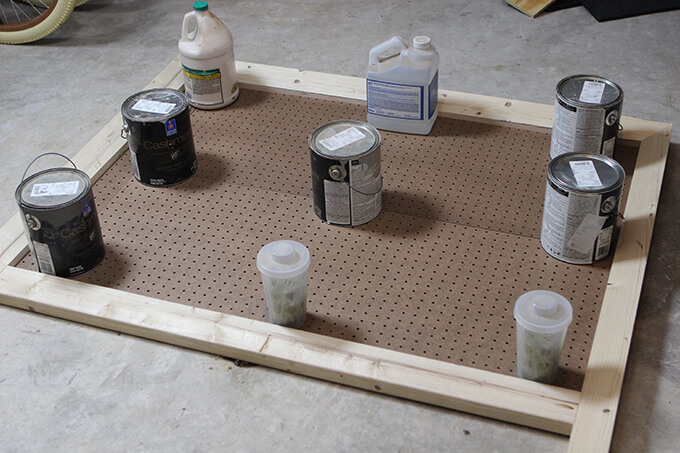
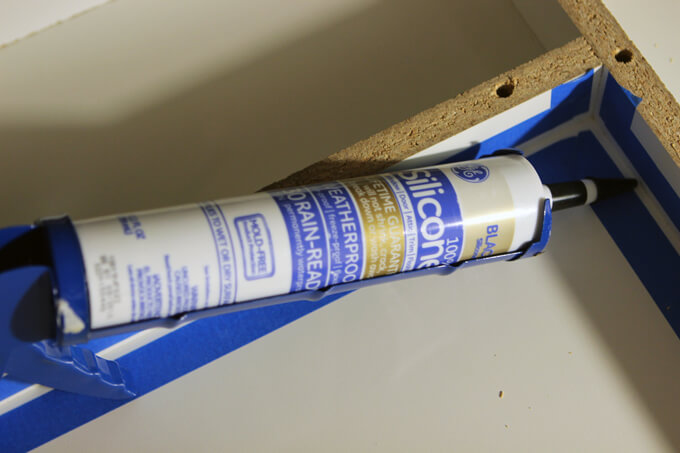
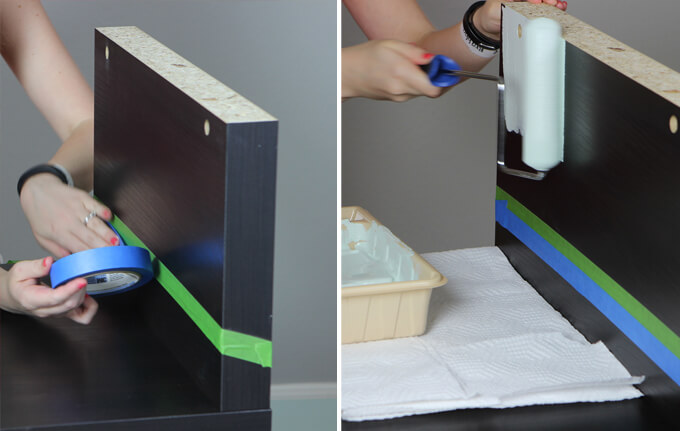
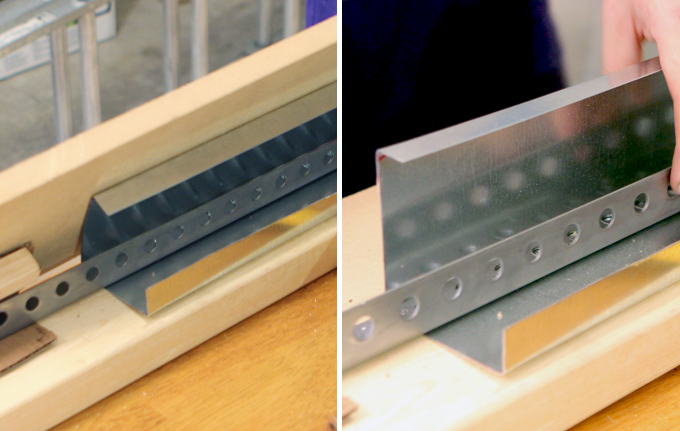
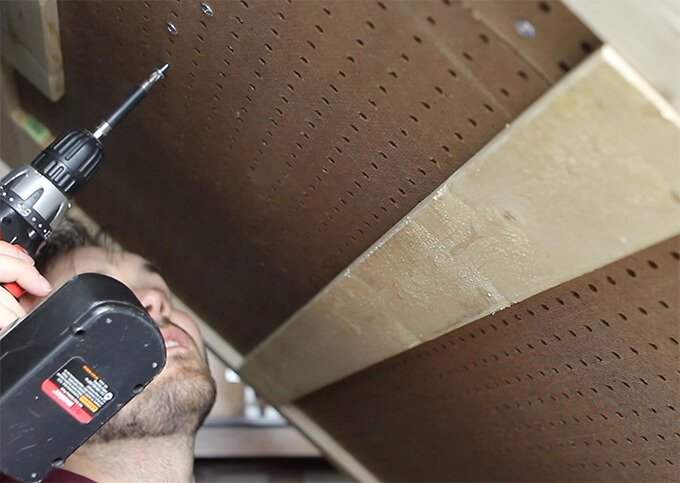
11. We chose to use pegboard as the backing board because it is cheap, durable and already has holes drilled in it.
We put wood glue on all the braces to attach the pegboard.
We used paint cans and various other heavy objects laying around the garage to hold the pegboard in place while the glue dried.
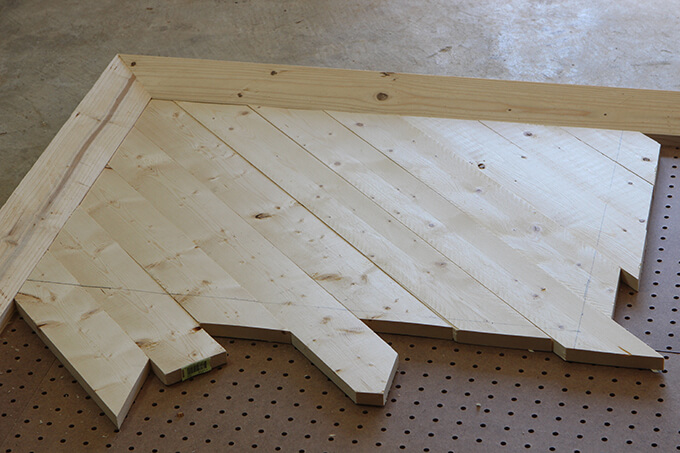
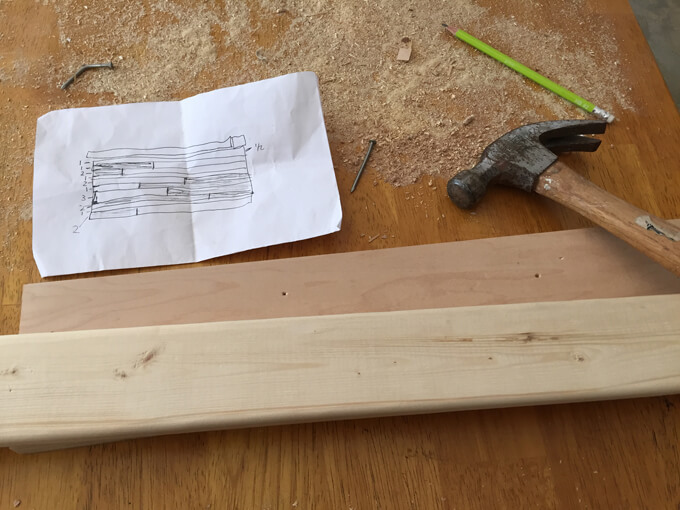
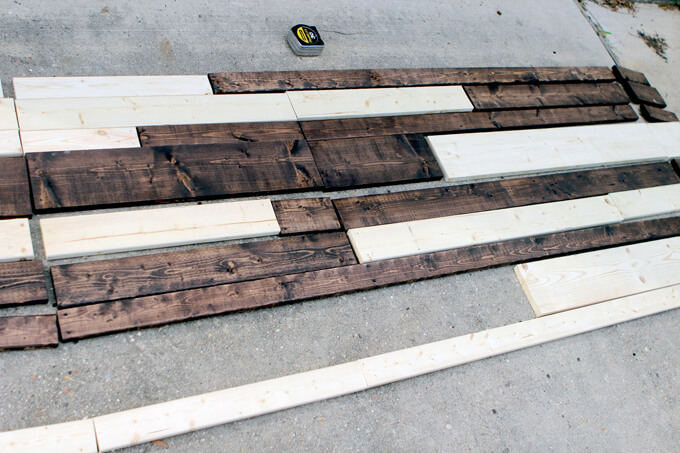
12. After the glue was dry we started laying out the 1×3 inch slats.
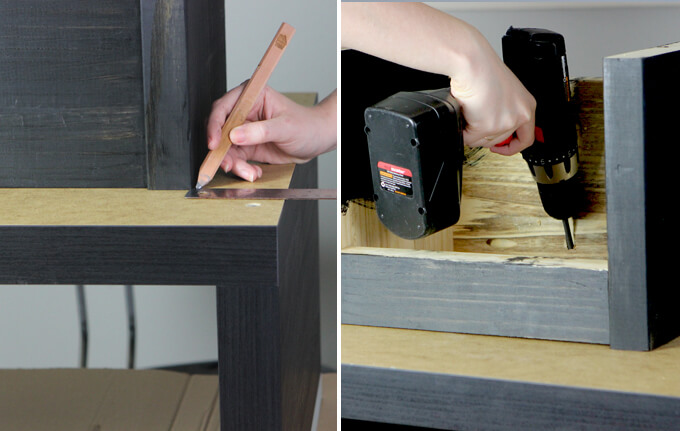
I worked on each quadrant separately and started by cutting the boards so they were slightly longer than needed and sat flush against the frame.
Then we used a measuring tape to mark the center of the headboard. We used a straight edge to draw a line where all the boards needed to be cut.
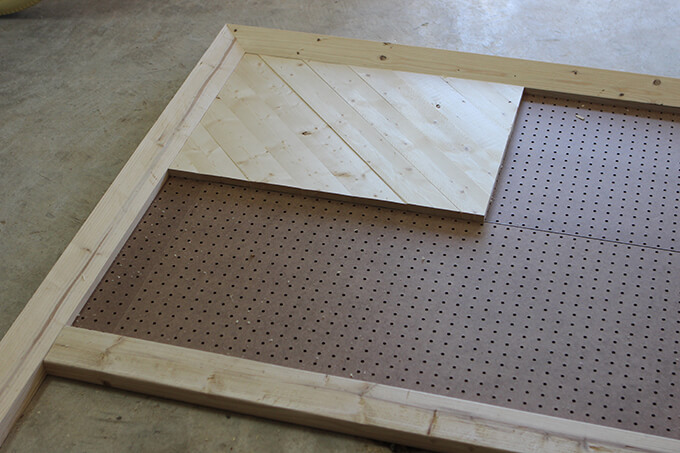
13. Then we did the same thing for the bottom of the boards. This made it very easy to make sure that all the boards were aligned perfect after being cut at a 45 degree angle on both sides.
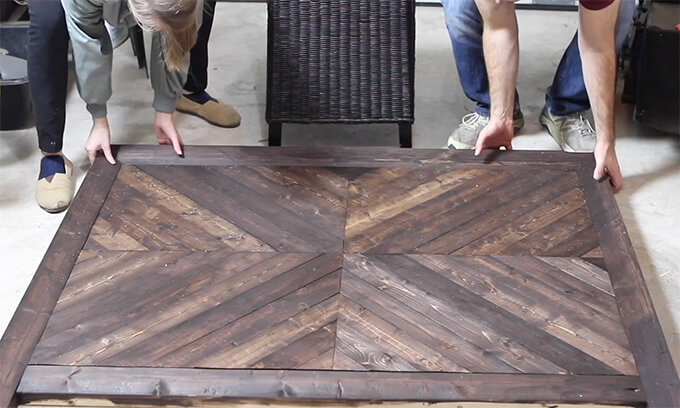
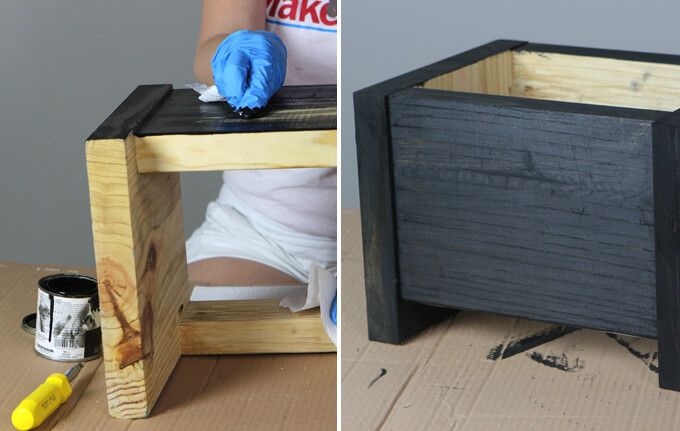
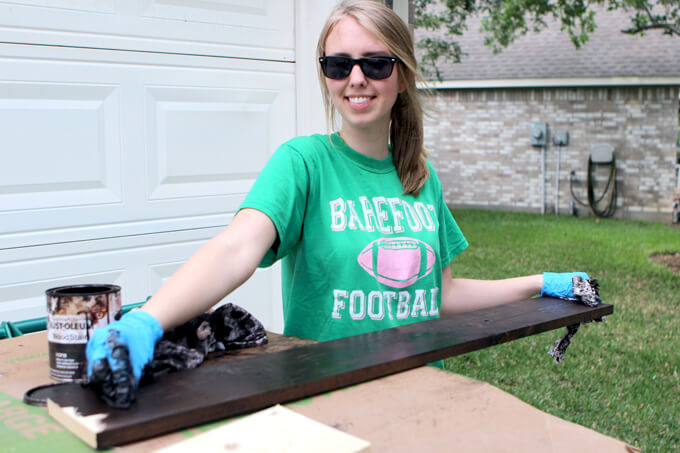
14. While I worked on cutting all the boards Courtney was hard at work staining all the boards with our favorite stain and there were a ton of boards.
She has a great eye for varying the darkness of the stain so it looks balanced yet random.
15. After the stain dried we set the slats back on the pegboard and propped the headboard up on a chair to secure them through the back with 1/2 inch panhead screws.
This is where the pegboard came in handy because I could see the edge of each slat and make sure I put all the screws in the right place and didn’t miss a slat.
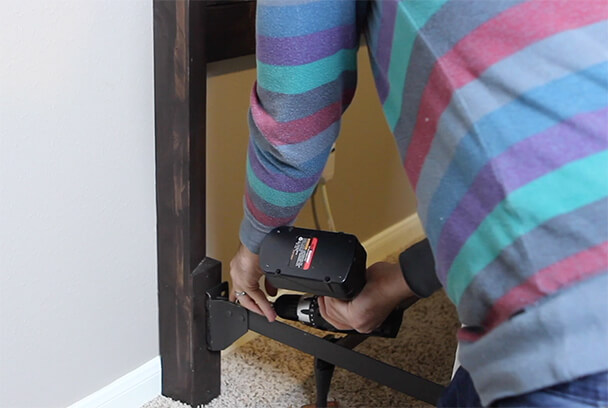
16 Finally, with everything attached, we carried the headboard into the guest room and attached it to the bed frame with two inch screws and large one inch washers.
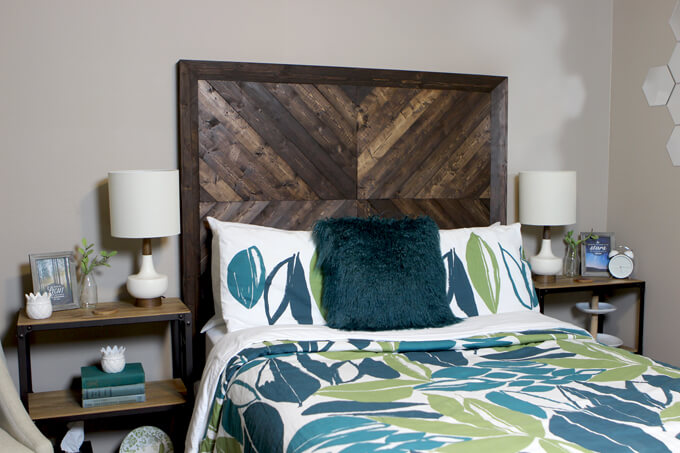
We are really happy with how this project turned out. Our DIY headboard knockoff looks very similar to its much more expensive counterpart but it didn’t blow the budget and we were able to customize it and use our favorite color stain so it matches the other projects in the room and house. Plus, it really upgrades our existing bed and was fun piece of furniture to build.
PIN FOR LATER
![]()