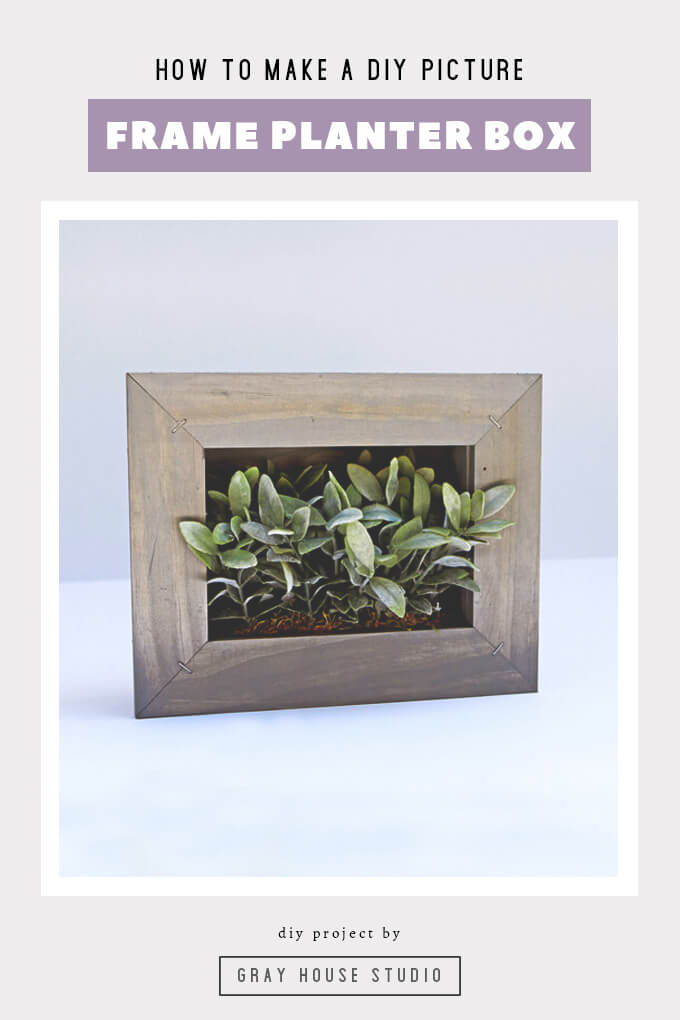
If you are looking for a special homemade gift or you just want to build one for your own home, we are sharing how we built picture frame planter boxes. Plus, free PDF of the plans to help you build!
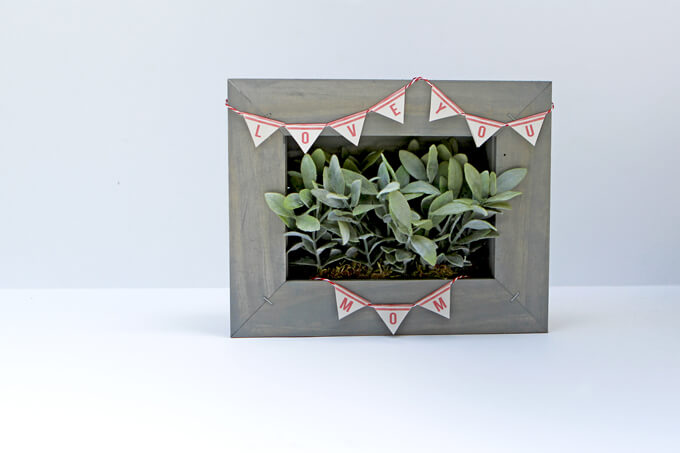
Brent bought me the cutest picture frame planter last year for our anniversary. It had two tiny succulents that were adorable. And wouldn’t you know I killed one right off the bat.
I am just horrible at keeping plants alive, even little succulents. But I would like to make it known that the other one is still hanging in there, it just looks very lonely.
Anyway, I liked that framed planter so much that I wanted two more so I could hang three in our bathroom (the only place I can keep plants alive).
But I could not find the one he bought anywhere. However after looking at it closer we realized that it would be pretty easy and inexpensive to just build them ourselves.
Then it hit me, I enjoyed getting that picture frame planter box so much as a gift last year that I thought it would make for a perfect Mother’s Day gift. Plus, by making them ourselves we can customize them for each mom.
How To Build a Picture Frame Planter Box
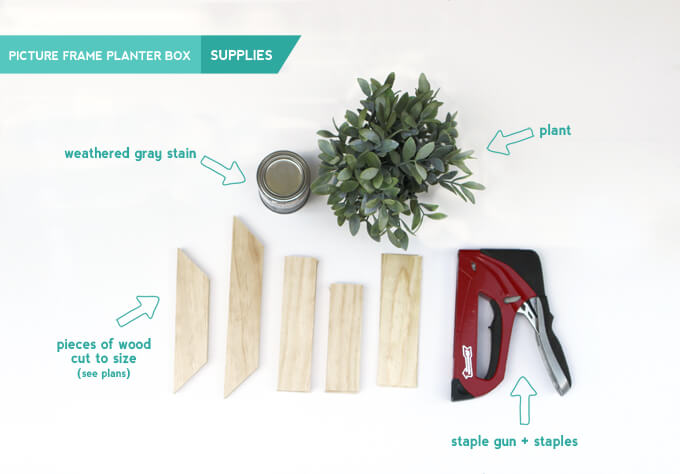
SUPPLIES
- Picture Frame Planter Box Plans
- Free “Love You Mom” Mini Banner PDF
- Select Pine
- Weathered Gray Stain or Paint/Stain of Choice
- Artificial Plant or Plant of Choice
- Staple Gun & Staples
- Hammer
STEPS
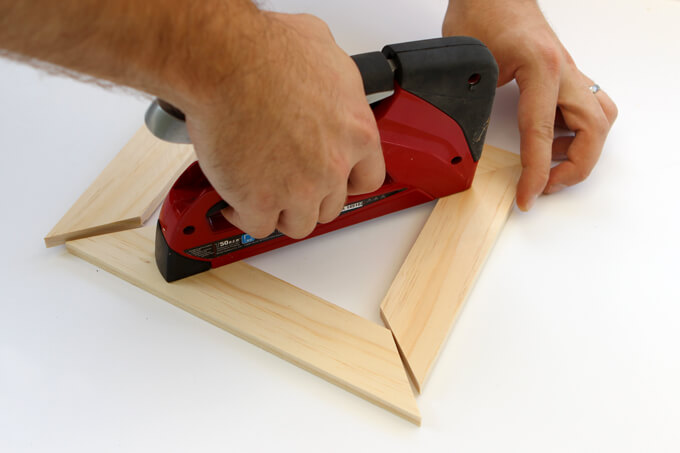
1. First we built the frame. We collected the four pieces of select pine we cut for the frame and pieced it together.
Then using the staple gun we stapled the pieces together at the joints to make the frame. We stapled each corner on both the front and back.
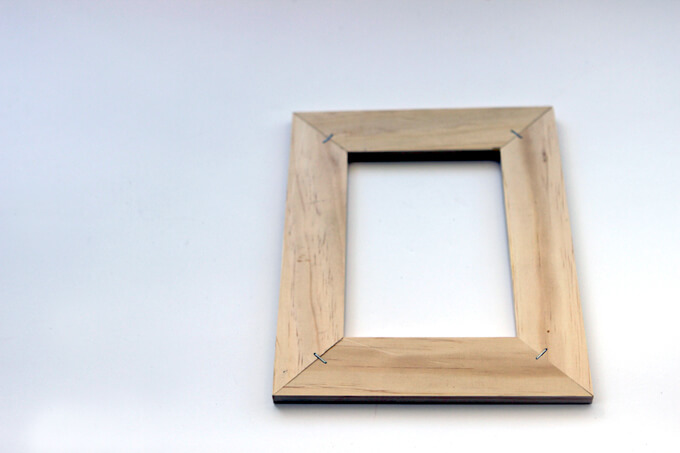
Here is the finished frame.
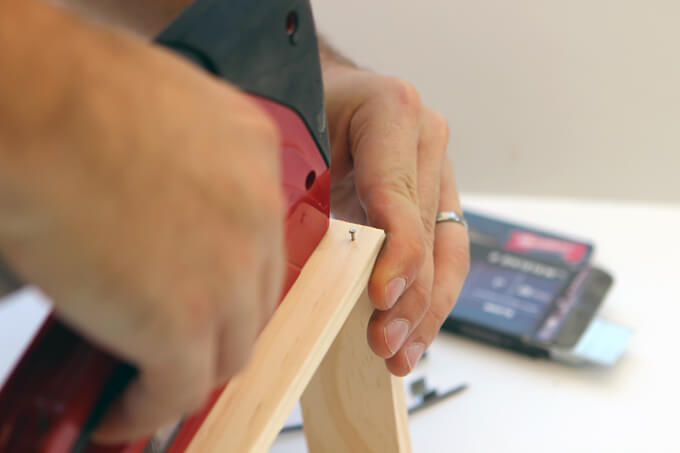
2. Next, we built the rim of the box. Our staple gun also uses finishing nails so we switched the staple gun over to finishing nails and nailed the sides of the box together.
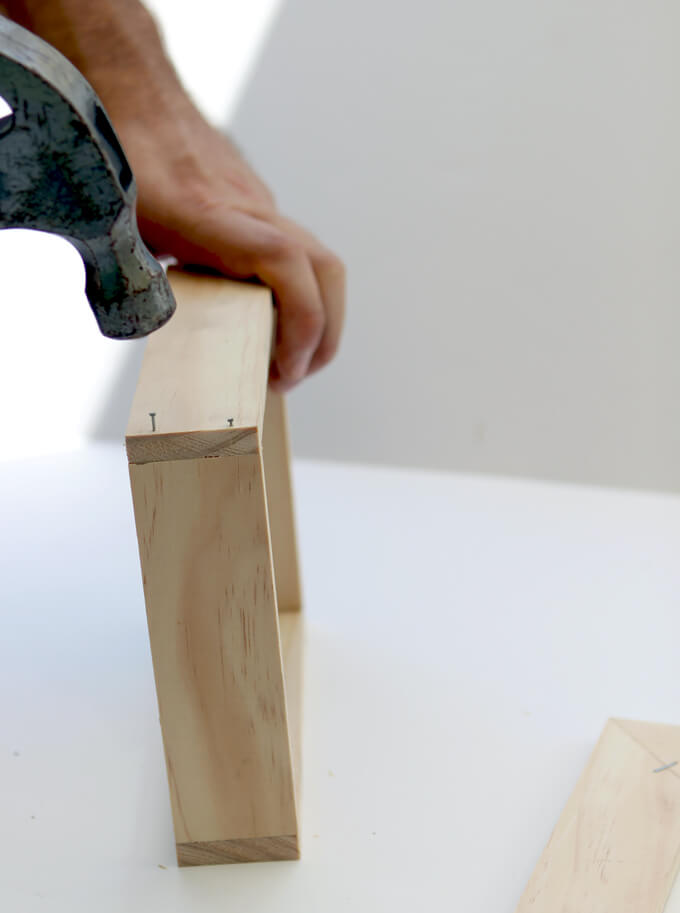
3. Although the staple gun is easy and convenient, it is not always powerful enough to go all the way through the boards but that is not a problem.
We just came back and used a hammer hammered the nails into the boards. If you are not using a staple gun, you can just hammer finishing nails into the boards.
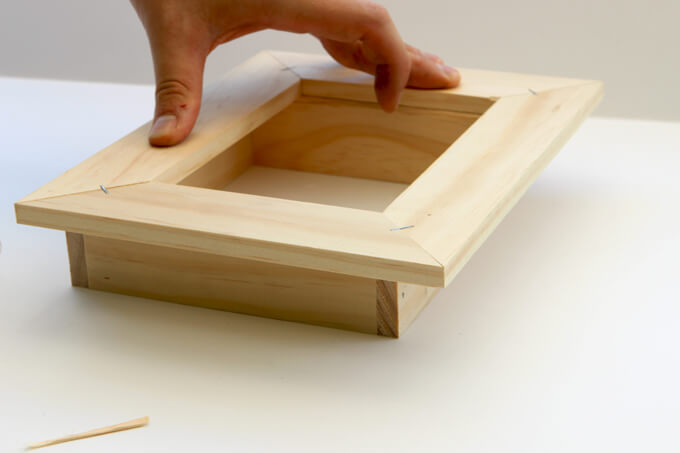
4. Once we assembled the rim of the box, we got ready to connect it to the frame. We lined up the bottom of the box with the bottom of the frame.
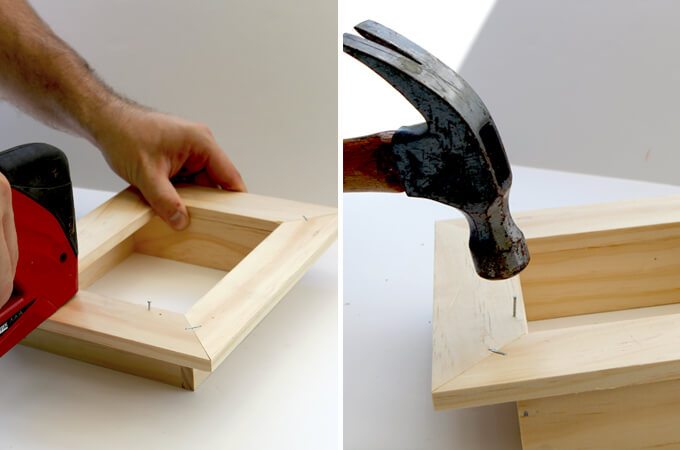
5. We nailed through the face of the frame into the rim of the box close to the inside of the frame.
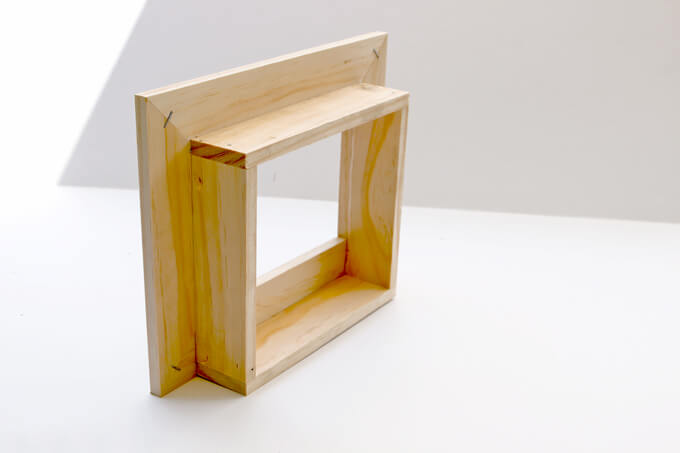
This is what the assembled frame and rim of the box looks like.
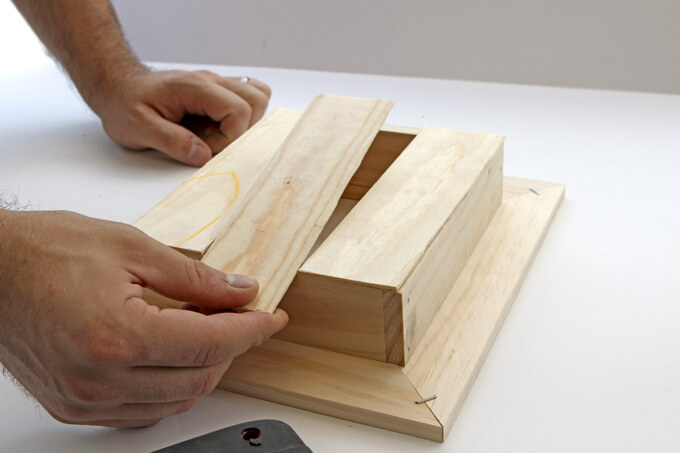
6. Next, we created the back of the box by attaching three thin slats of wood. You can also use one large piece as well.
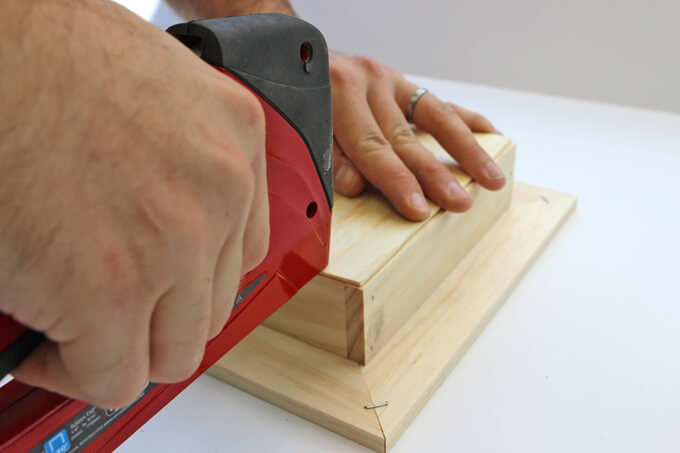
7. We secured the back slats to the rim of the box with a staple gun.
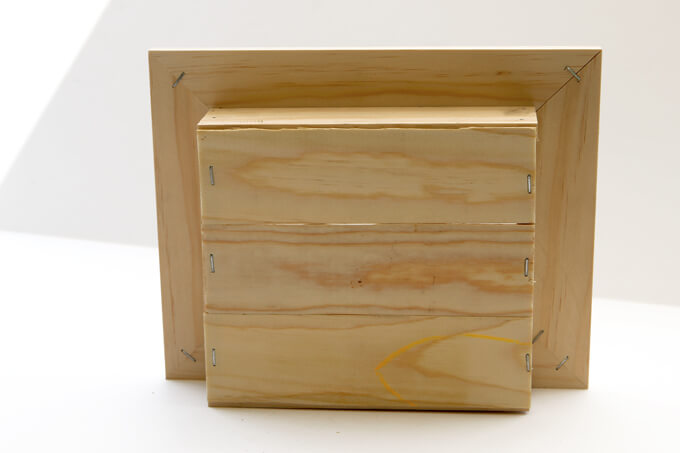
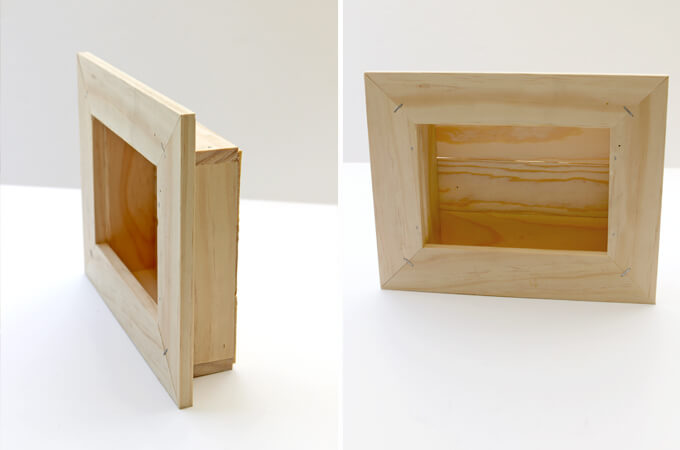
This is what the completed picture frame planter box looked like.
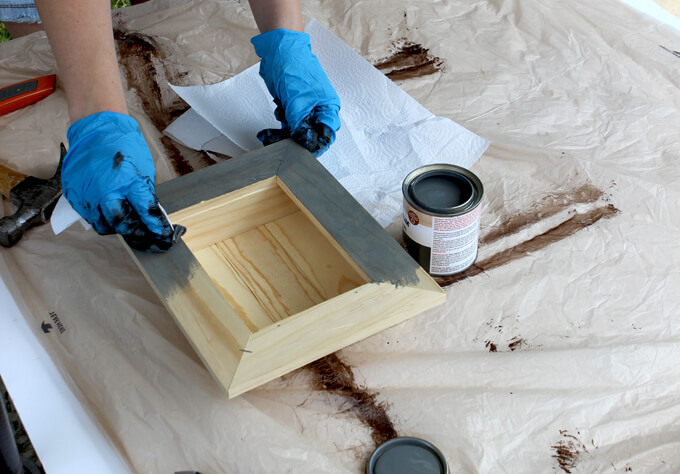
8. Next, we stained the box. We used a weathered gray stain but the possibilities are endless with what color stain or paint color you can choose depending on the style you are going for.
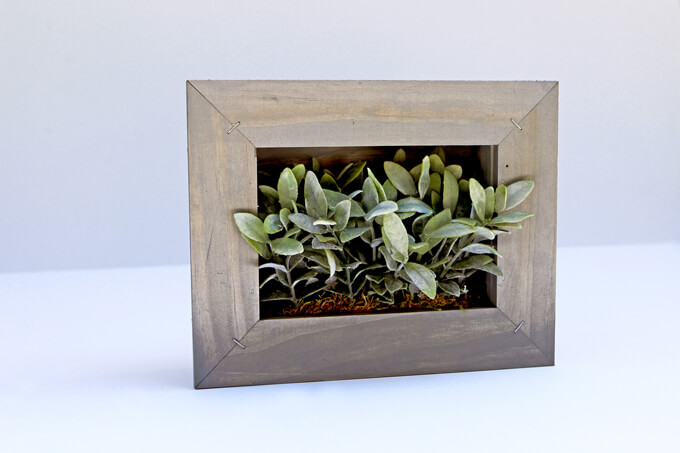
9. Once the planter box dried, we created our own simple artificial plant arrangement and added it the box. You can add your choice of live or artificial plants both would work great.
We love this planter because it is really versatile. You can set it on a table or attach picture frame hooks to the back and hang it up on a wall.
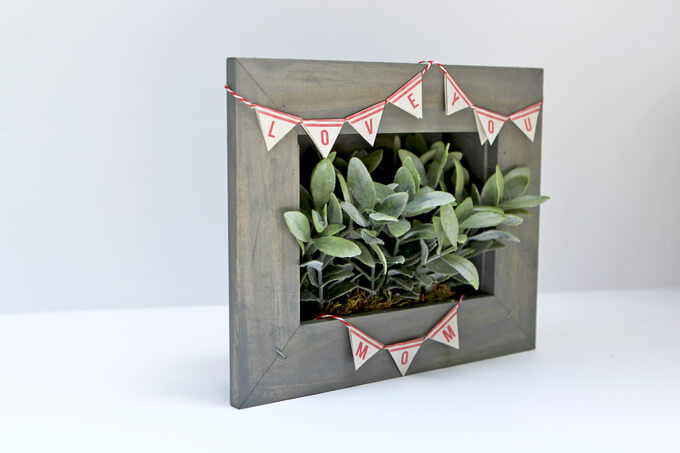
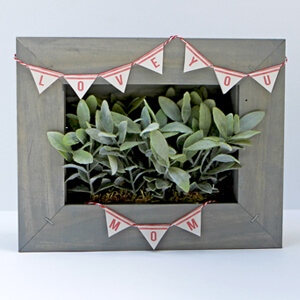
If you are keeping it for yourself, then you are done! But we took it a step further since we will be giving it as a Mother’s Day gift. We wanted to give it a festive touch so we made a little “Love You Mom” banner.
The picture frame planter box is a really simple project that only take about an hour to put together. It is completely customizable, versatile and chances are you have most of the supplies in your garage.
Whether you are making it for yourself or someone else, they make for an awesome decor piece.
PIN FOR LATER
