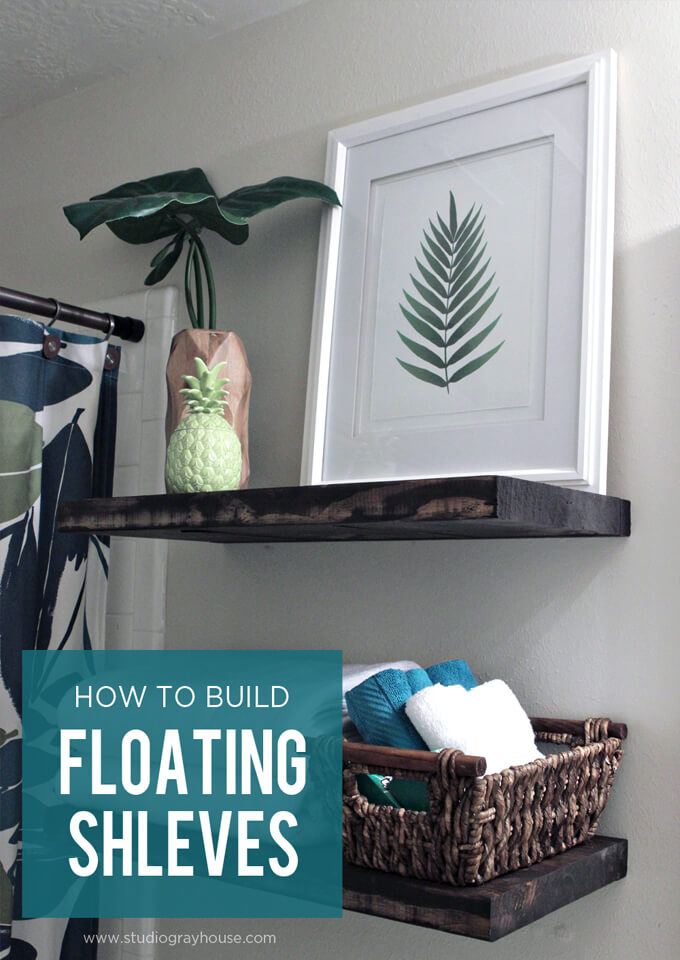
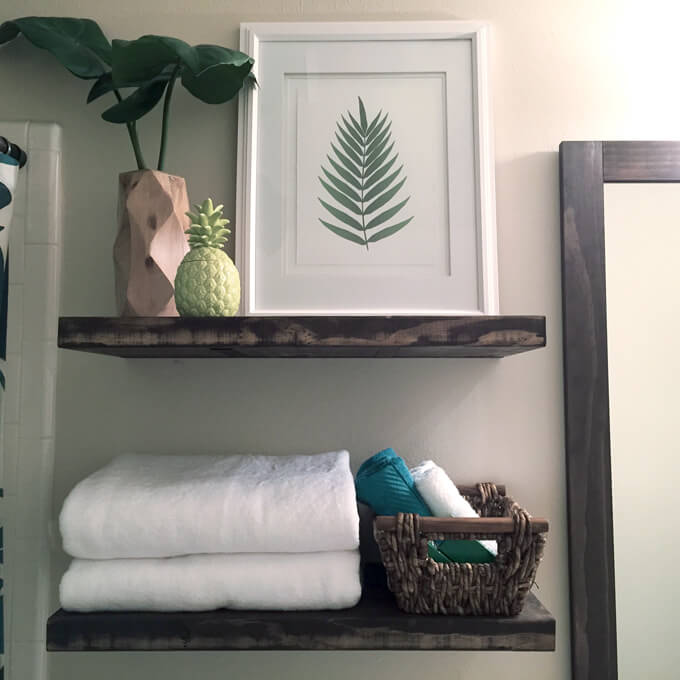
We built a pair of floating shelves to store towels and display decor in our guest bathroom.
Brent and I both took off this past Friday and it made me wish every week could include a three day weekend. It is amazing how much more we are able to both accomplish and relax with an extra day off. We didn’t have anything planned so we worked on checking a few smaller home renovation projects off our list. We managed to get two projects completed, buy supplies for a third project that we will work on today and shopped for new plants for our front flower beds and it is only early Sunday afternoon.
It has been a busy weekend but we were also able to have plenty of down time for dinner and frozen yogurt by the lake with family and enjoying one too many Girl Scout cookies while we lounged on the couch and made our way through several episodes of Bloodline on Netflix. That is one perk of living in the suburbs, it is not difficult in the slightest to get your hands on a box (or two) of Caramel deLites. They basically just show up on your doorstep.
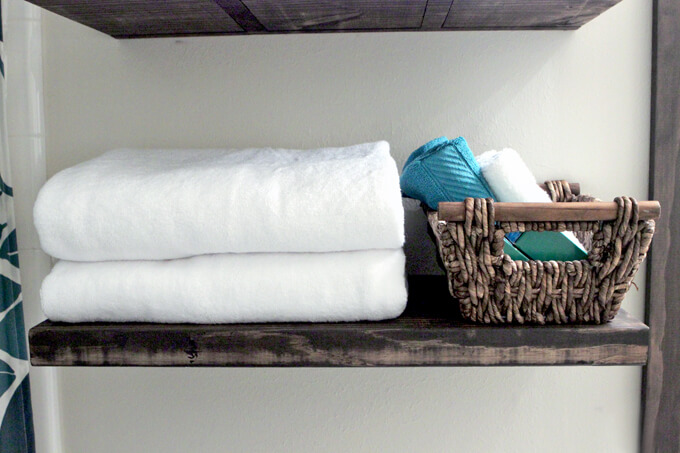
We are excited to have Brent’s parents come visit next weekend and want to get as much of the guest bathroom spruced up as we can before they arrive. Our first project this weekend was to build floating shelves next to the shower. We are really happy with how they turned out and how quickly they came together. Today we are sharing how we built our shelves in a few easy steps.
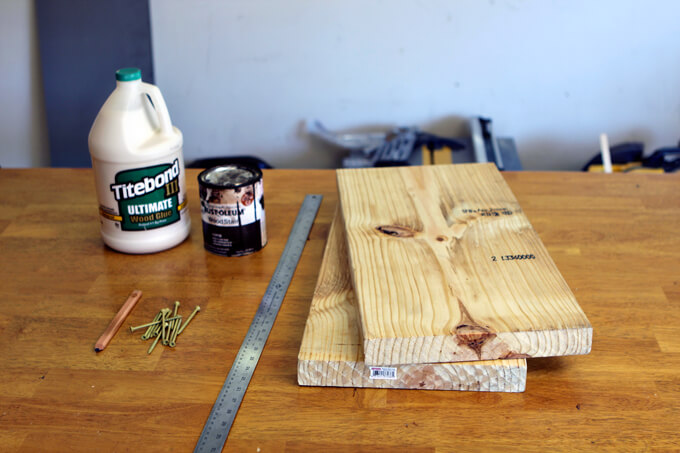
SUPPLIES
- (1) 2″ x 12″ Pine Board
- Wood Glue
- Wood Stain in Kona
- 3″ Deck Screws
- Table Saw
- Ruler
- Drill
- Clamps
- Router
How We Built our Floating Shelves
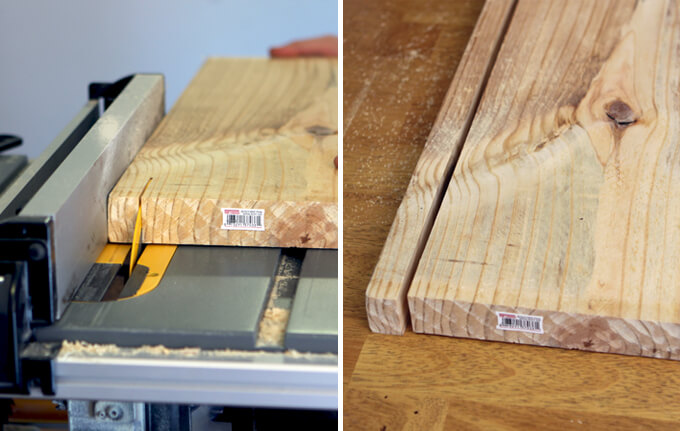
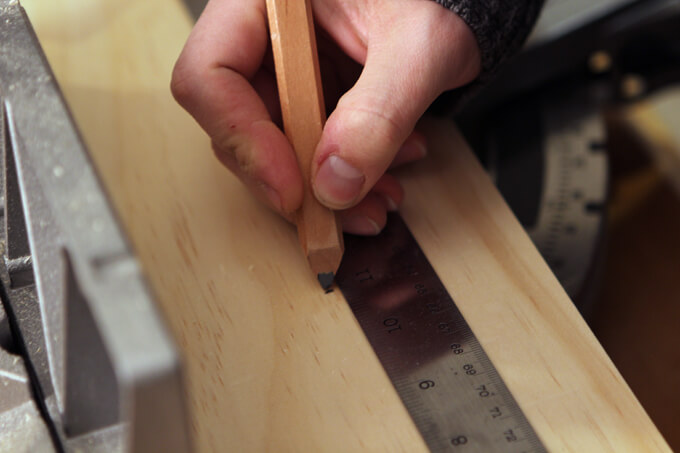
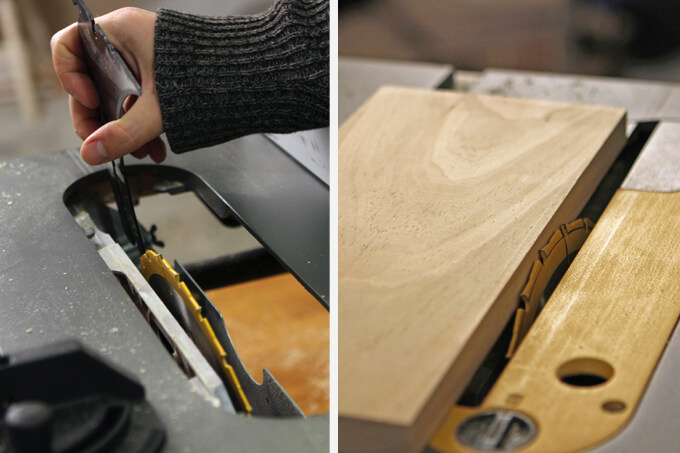
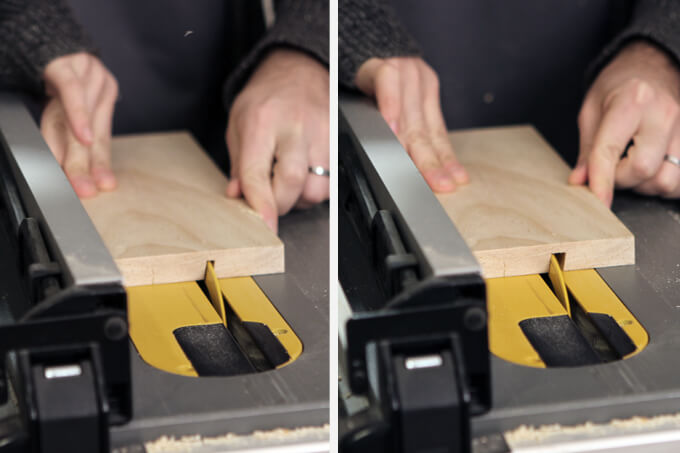
1. The first thing we did was to take our two pieces of pine (that we cut from the 2″ x 12″ to be the correct width for our space) and used a table saw cut off the back inch of the board. This created our bracket piece that we used to anchor the shelf into the wall. By cutting it off the back of the board it matched back up seamlessly with the front of the shelf.
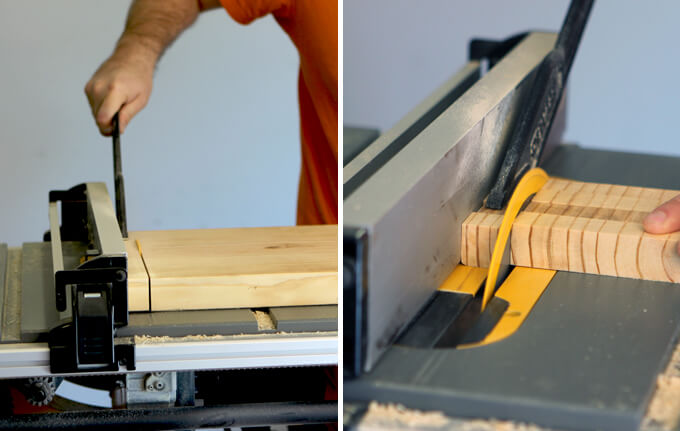
2. For the supports that connect to the bracket anchored into the wall, Brent cut 1″ x 1″ pieces from the left over piece of pine. These boards support the weight of the shelf.
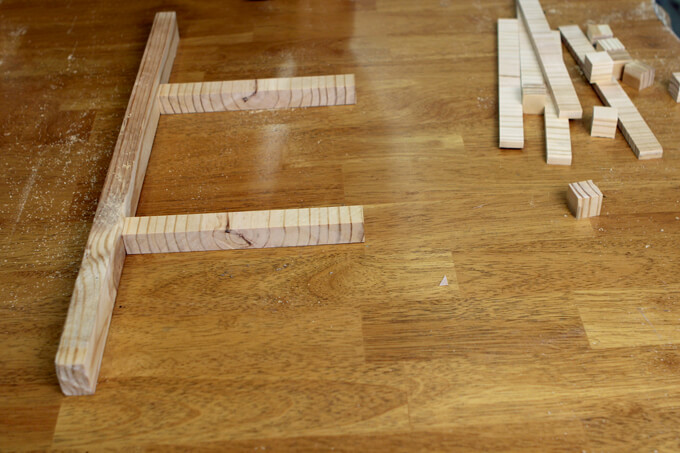
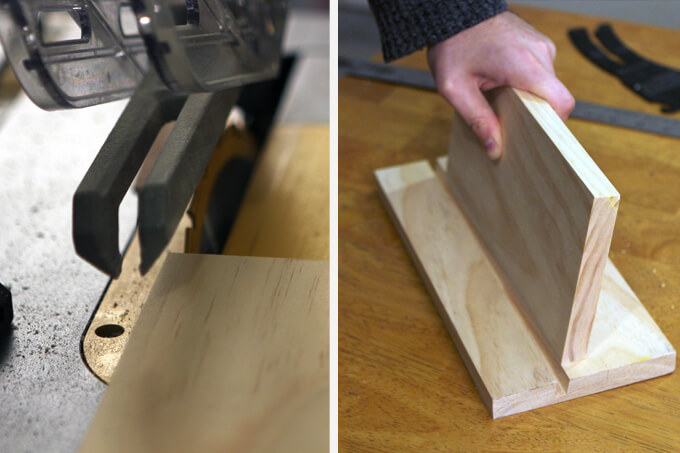
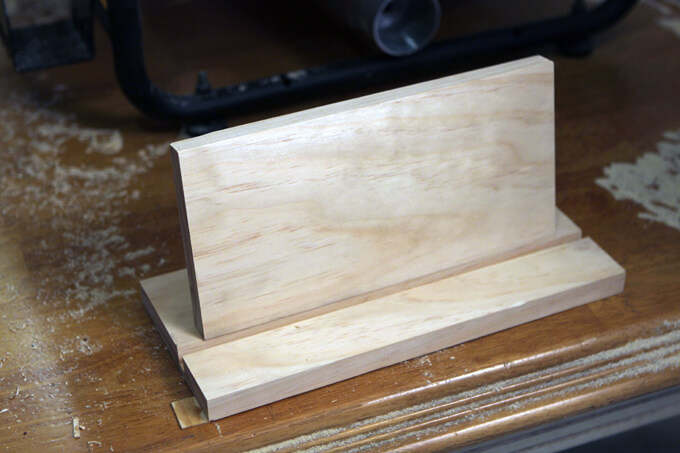
3. Then we laid out the three pieces of the bracket. This is how the completed bracket will look.
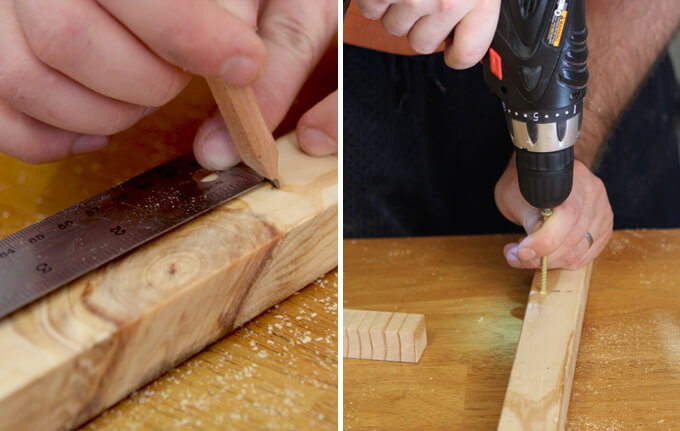
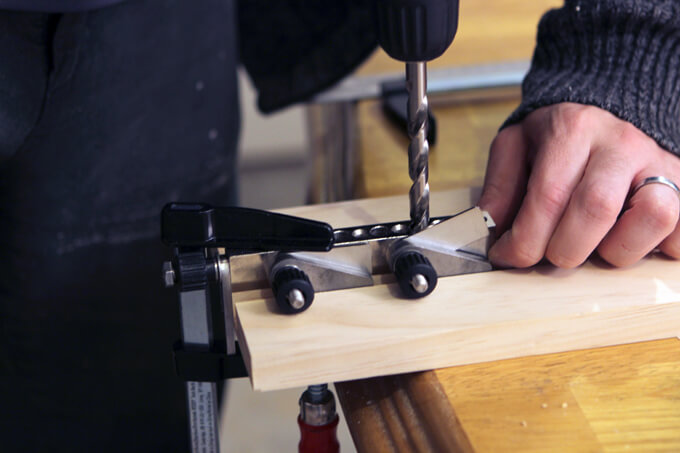
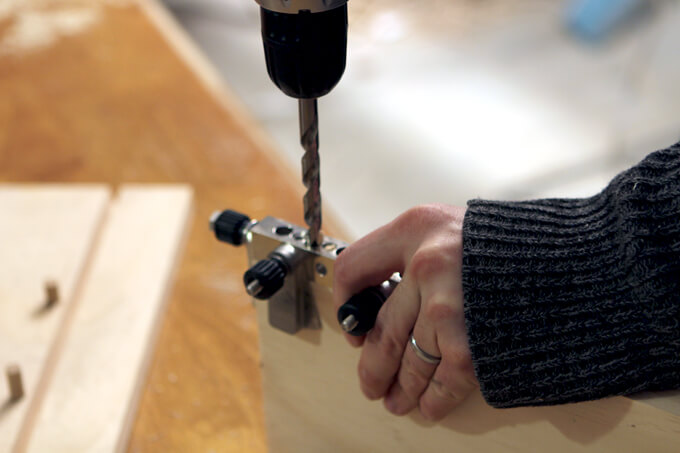
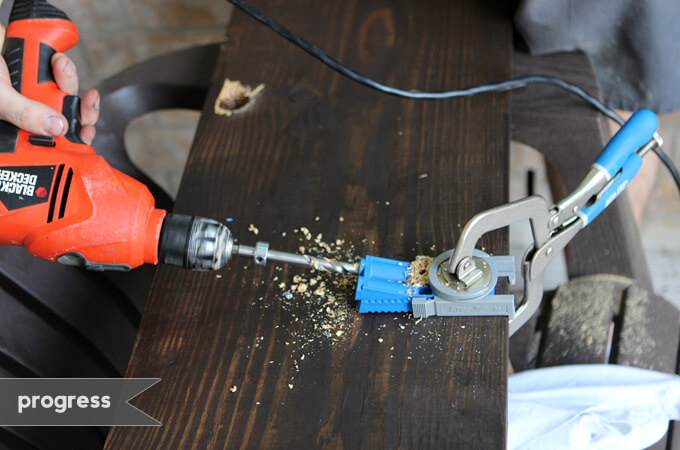
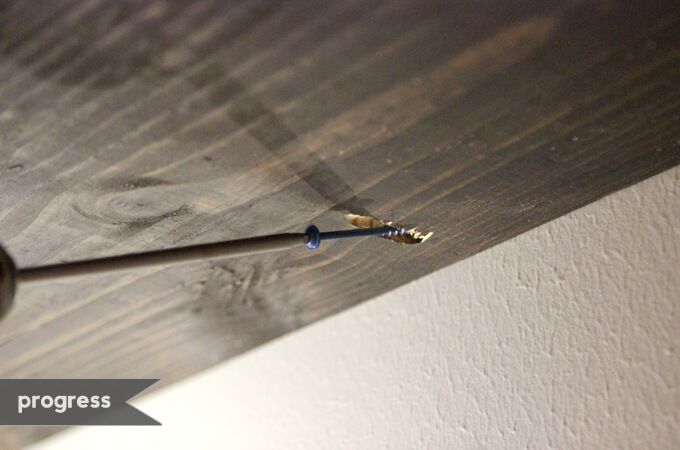
4. We used self tapping screws to connect the three pieces of the bracket together. Brent always tries to avoid screwing through any knots because when screwing into knots, that have a tendency to split. We know this from experience.
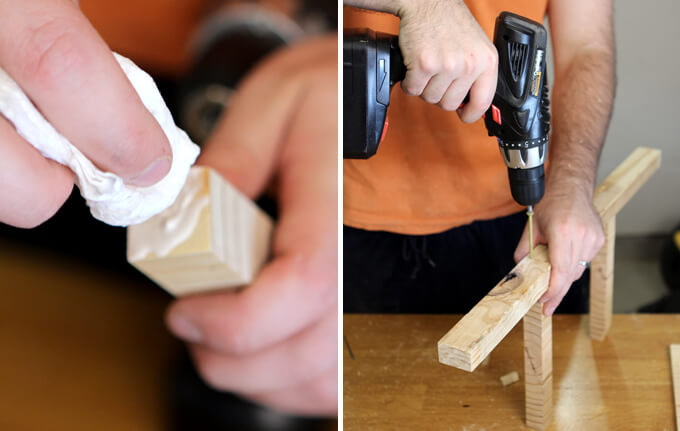
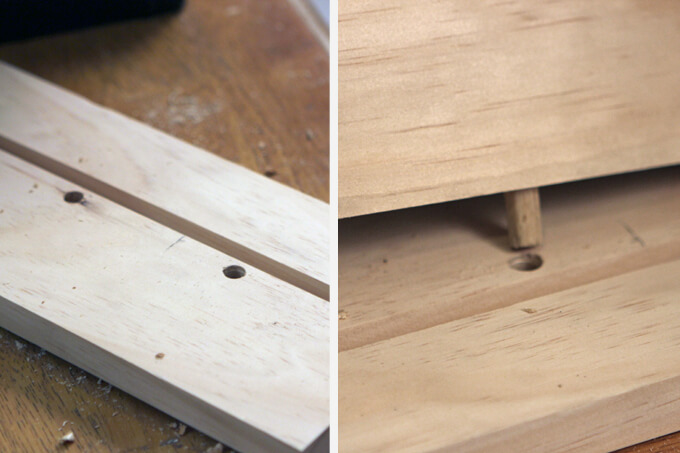
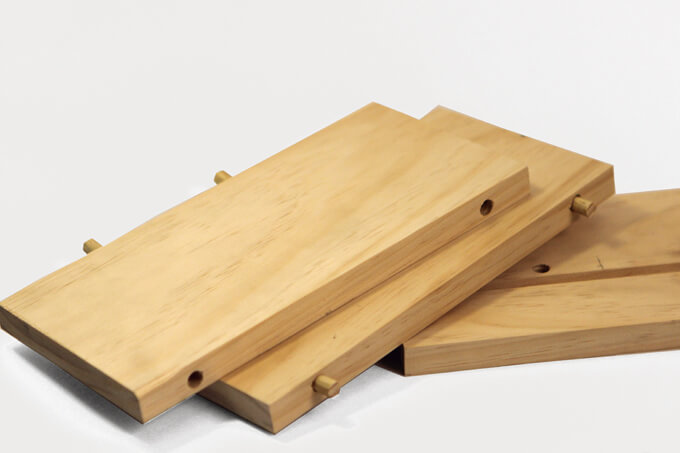
5. We dabbed some wood glue on the end of the two 1″ x 1″ boards that we then screwed into the back piece of the bracket to create strong joints so it would be nice and sturdy once it was assembled.
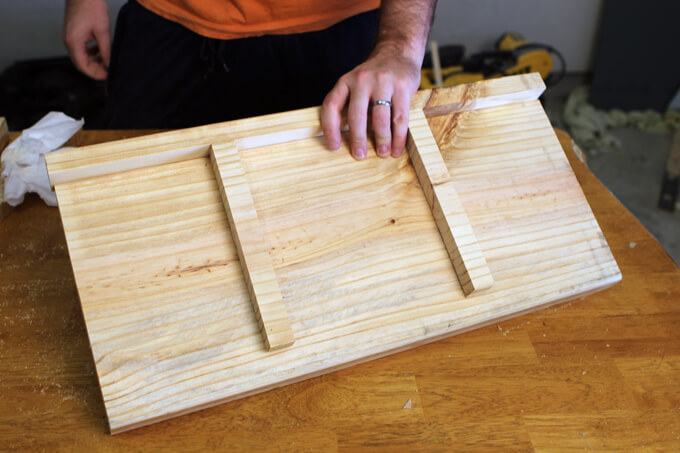
6. Now that we had our bracket assembled, we needed to remove slots from the bottom of the shelf to created a recessed area where the bracket could fit into the shelf.
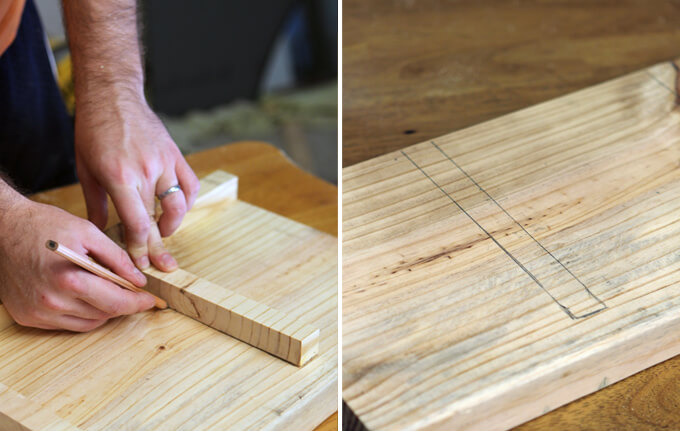
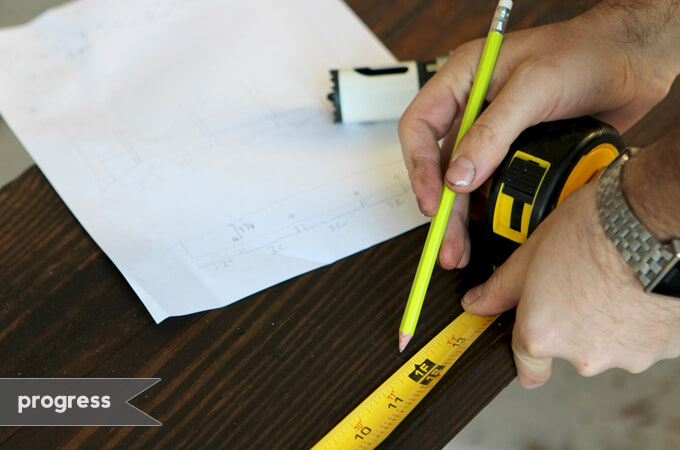
7. To determine the area of the shelf that needed to be removed for the brackets, we simply traced the outline of the bracket on the bottom of the shelf.
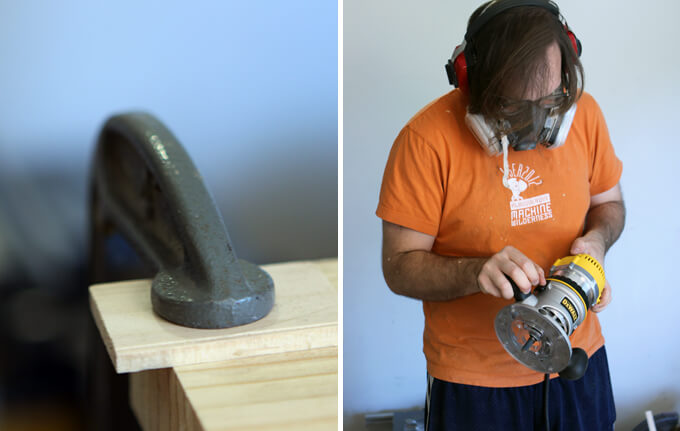
8. We then secured the board to our work space using clamps to make sure it would not move around once Brent started routing the slots. He set his router to be the correct depth and put on all his safety equipment to protect his face while working on this part.
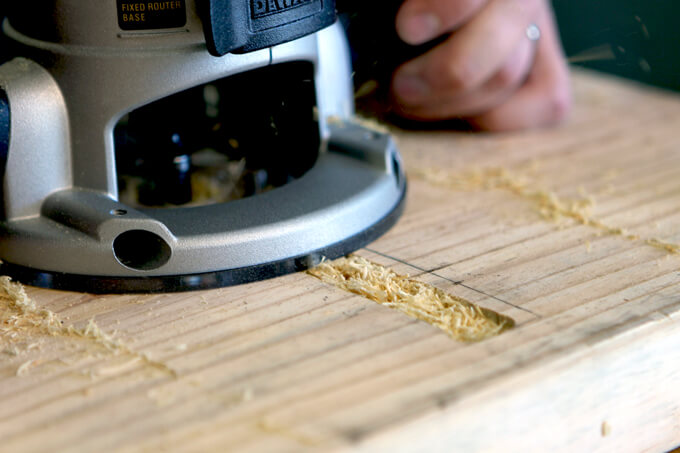
9. To route the slots, Brent used a half inch router bit. It took two passes to get enough of the material removed.
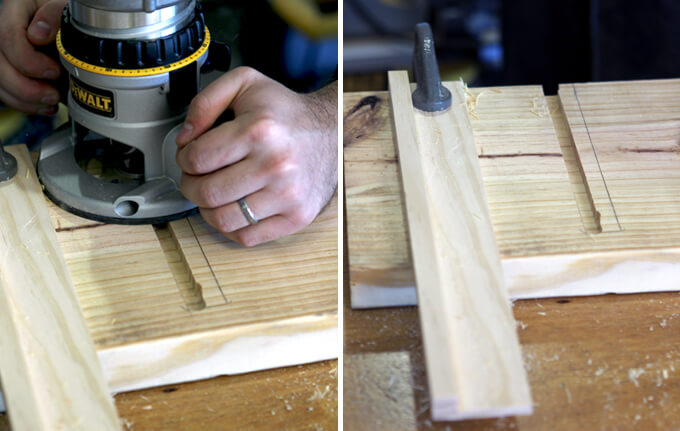
10. To route in a straight line, Brent used a piece of scrap board clamped to the shelf to guide the router. Once the first pass with the router was cut, he moved the scrap board over to guide the router again for the second cut.
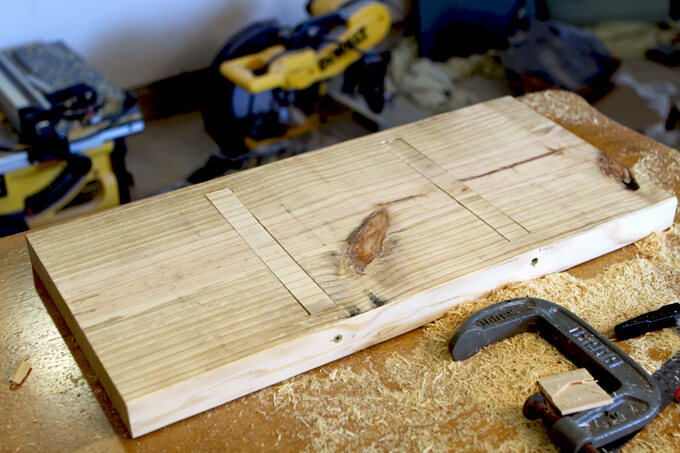
11. After Brent finished routing the slots from the bottom of the shelf, he test fit the bracket. It fit perfectly. We always do a happy dance when everything works and fits together correctly the first time. It is a very satisfying feeling.
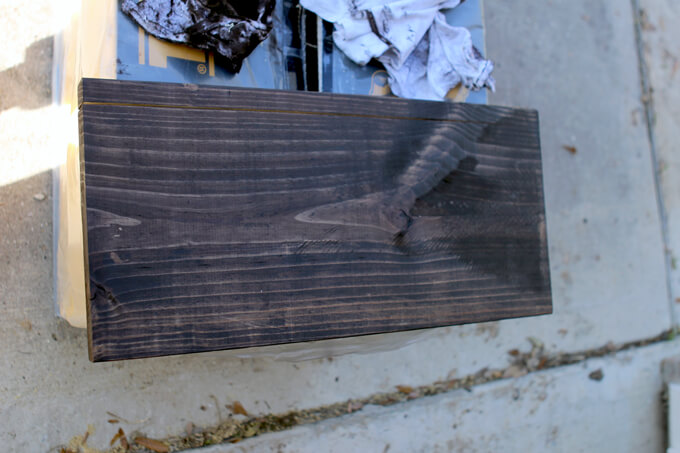
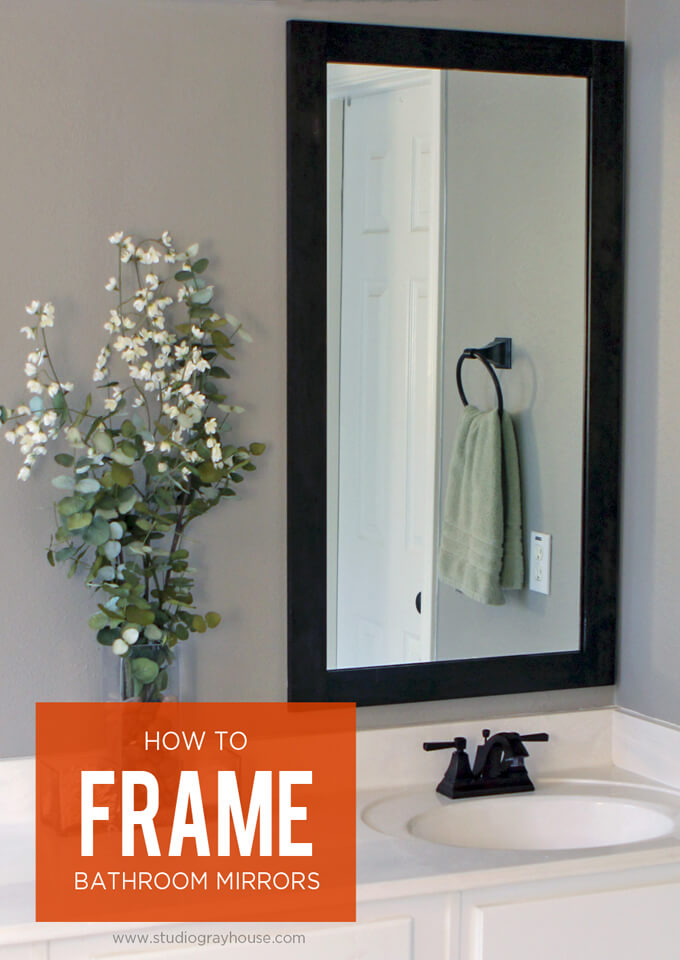
12. We used the same stain on the shelves as we used on the mirrors we framed in the previous project. The great thing about building your own furniture is you can stain everything to match.
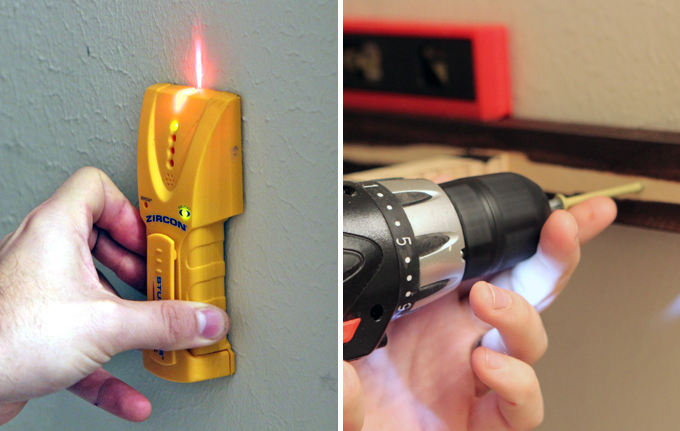
13. After marking the studs with a stud finder, we secured the bracket to the wall with 3″ deck screws.
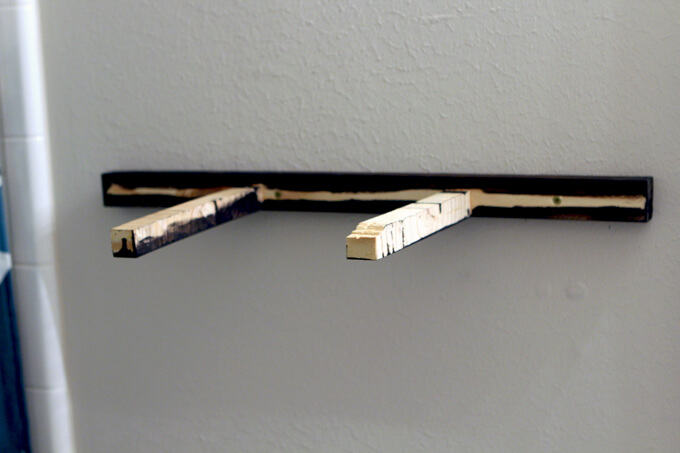
14. The bracket isn’t much to look at by itself but it is secure and will support the shelf which is all that really matters.
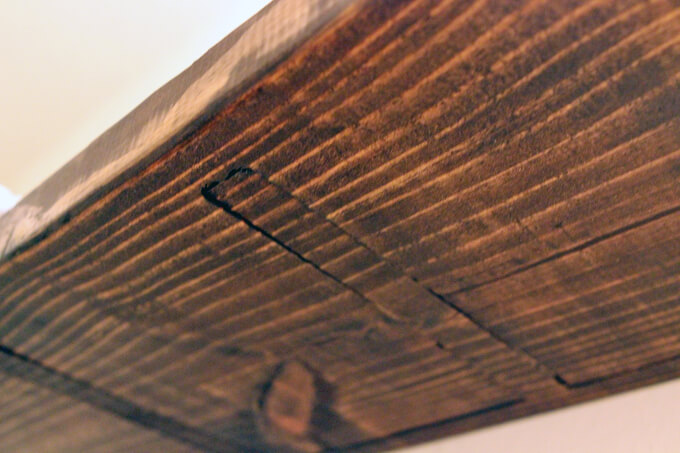
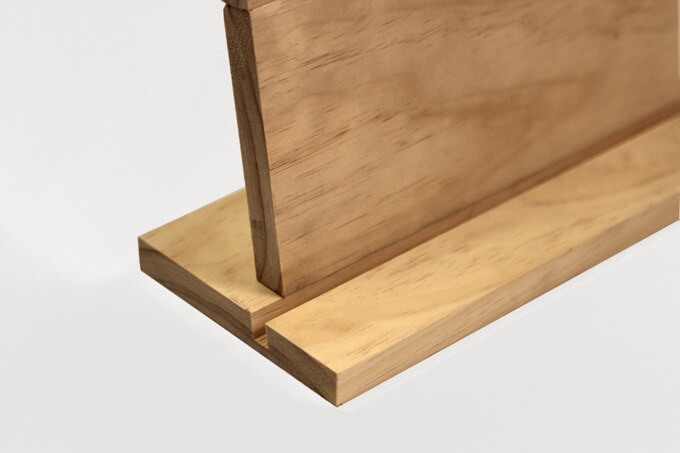
15. This is a view of what the bottom of the shelf looks like after it is attached to the bracket. We thought about trying to conceal the bracket but we like how it makes for a nice design element on the bottom of the shelf, if you happen to look under the bottom of the shelf.
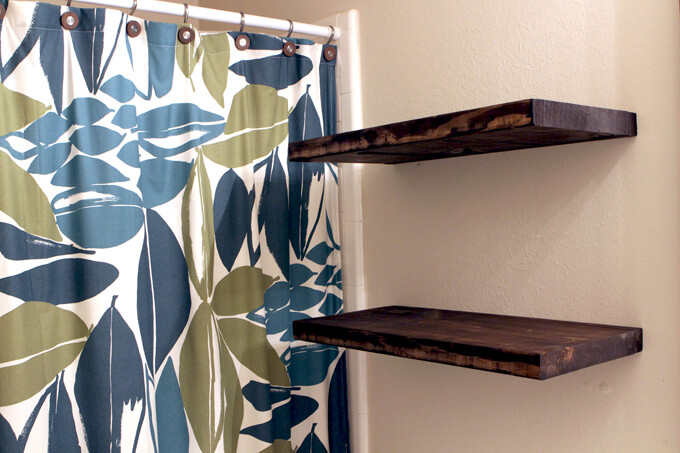
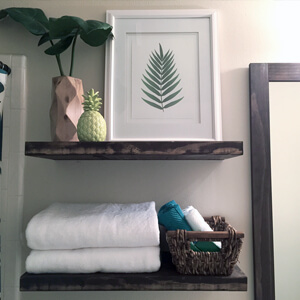
This is what the floating shelves looked like once they were both up on the wall.
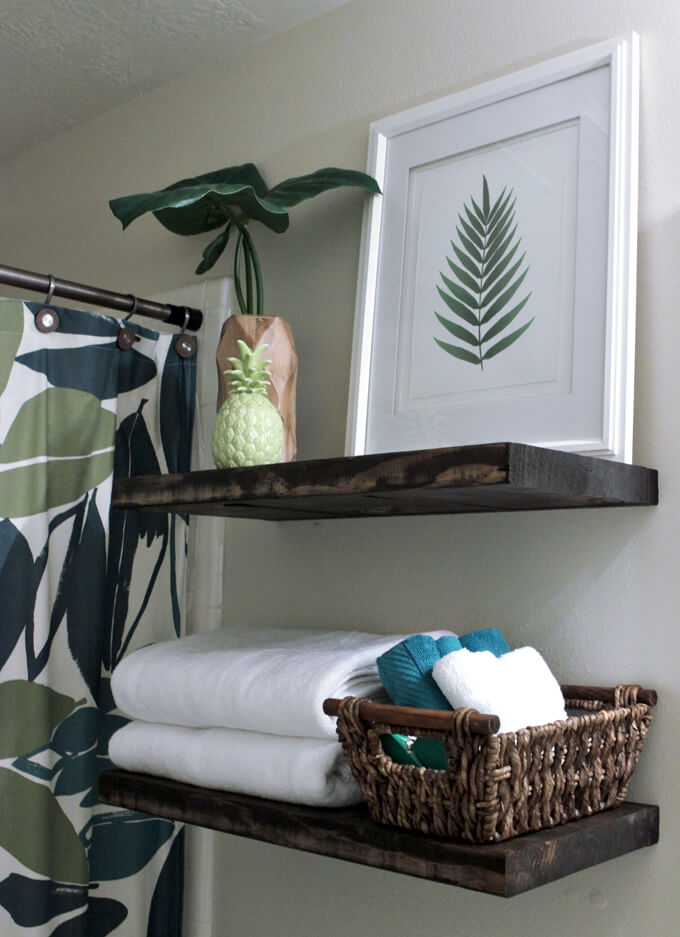
I styled the floating shelves with a few simple tropical elements to tie in with the shower curtain and some bathroom necessities so they are nice and handy for guests.
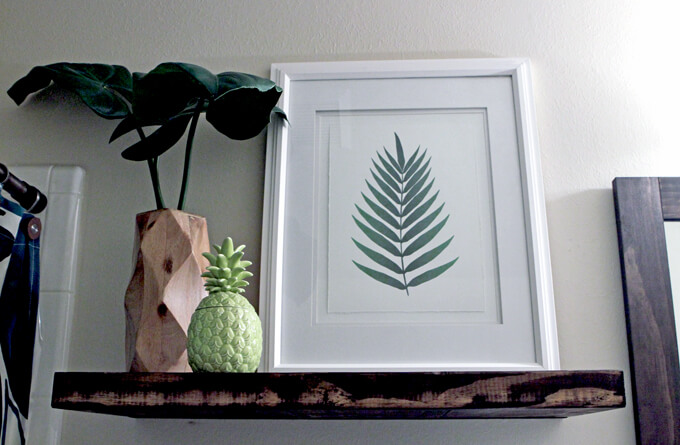
I love how the framed print turned out on this shelf. We purchased the digital version of this leaf print and then Brent tapped into his past experience with printmaking to help take it up a level. He tore the edges of some nice paper he had left over from when he worked on letterpress prints and ran it through the ink jet printer.
Then he mounted that on another piece of his nice paper and we put a matte around it and framed it with this large white frame I had but could never find anything to put in it. The torn edges and three dimensional feel help give it more of a fine art print appearance and allowed us to scale it larger while still only using our home printer. Check out our tutorial on framing prints to see in more detail how we did this.
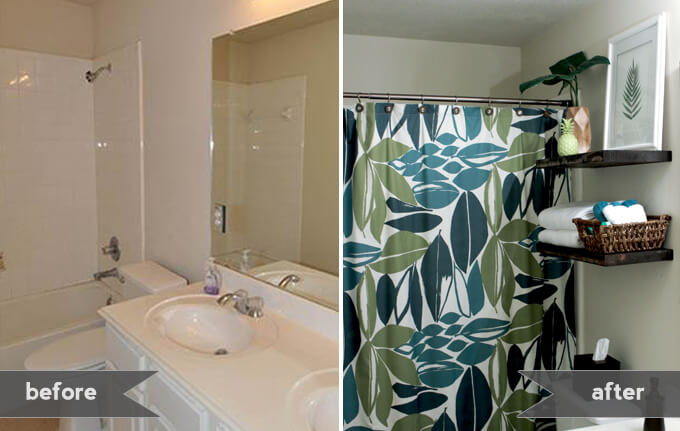
Here is the progress in this room. It is such a small and narrow room that it is very tricky to photograph the whole thing to show all the changes we have made so far. We will just share each section we work on until the entire room is complete.
Adding floating shelves, framing our mirrors and putting up a bronze shower curtain rod has already transformed this room into a much more welcoming space. Our next project is to build a new towel rack!
PIN THIS PROJECT
