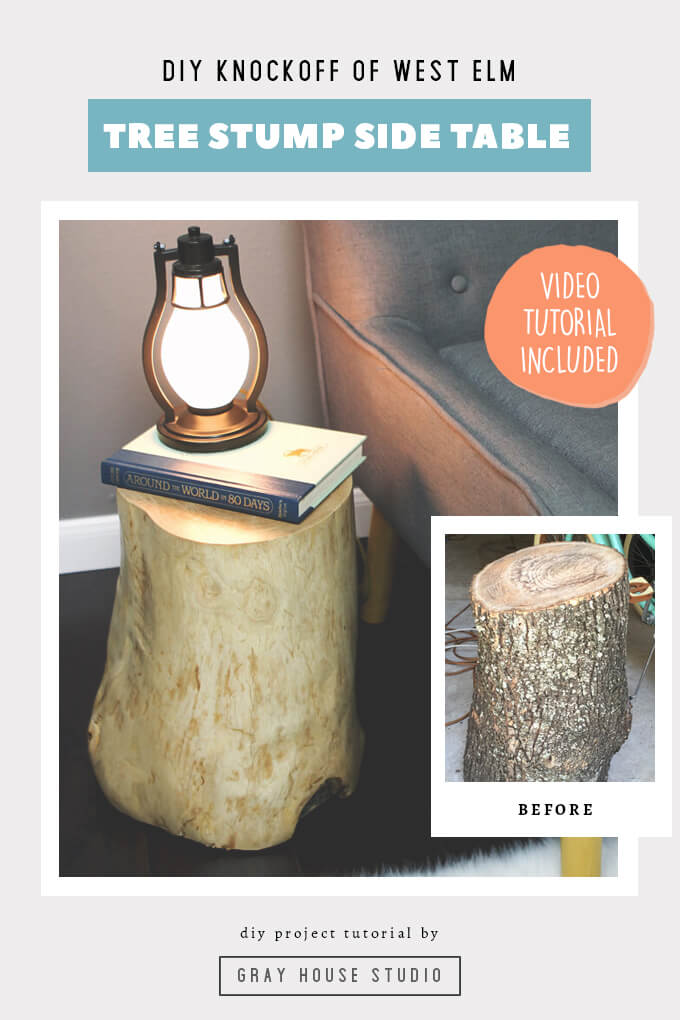
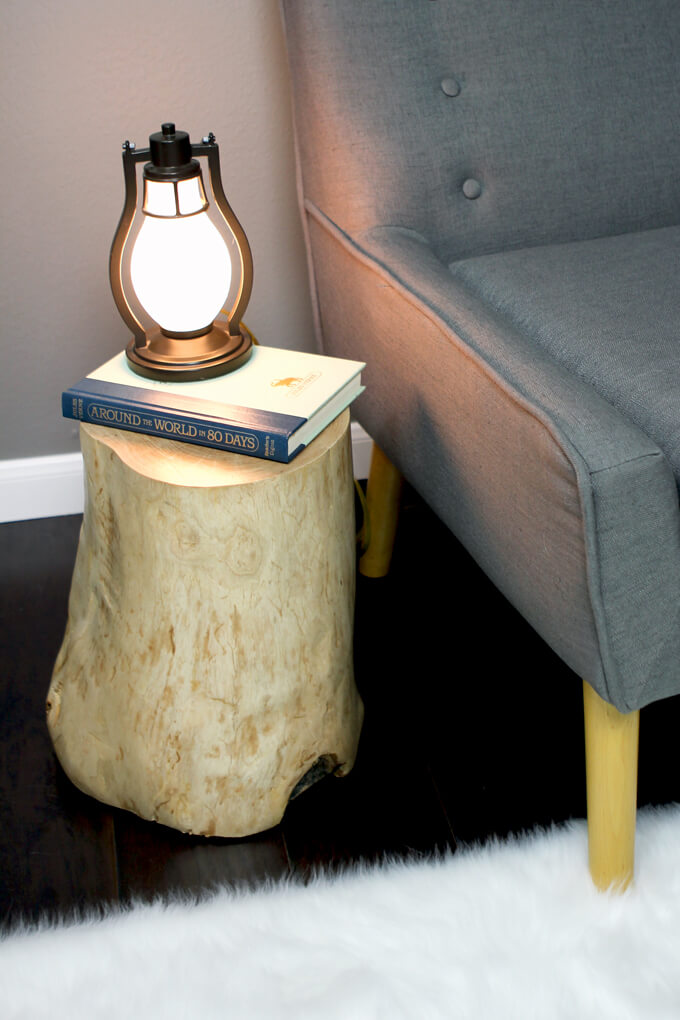
Our latest nursery project was to make an inexpensive DIY log side table that looks similar to the tree stump side table sold at West Elm.
One Saturday morning several weeks ago Brent and I jumped in the car and made our way across Houston looking for the perfect log. What makes for a perfect log you might ask? One that is large enough to make a side table out of and one that is of course FREE.
Brent saw on good ol’ Craigslist that someone was giving away free logs but when we arrived to the location we were quickly disappointed because the pieces were tiny. The picture online was very misleading making them look way bigger than they actually were. Go figure.
But then just as we were leaving it was as if a glorious spotlight shone down from above on the perfect log sitting off by itself next to the tree that was being cut down. It was super heavy which was probably why it hadn’t made it to the other pile. But Brent was a beast and carried that thing all the way to the Jeep while I cheered him on and filmed from the air conditioned car.
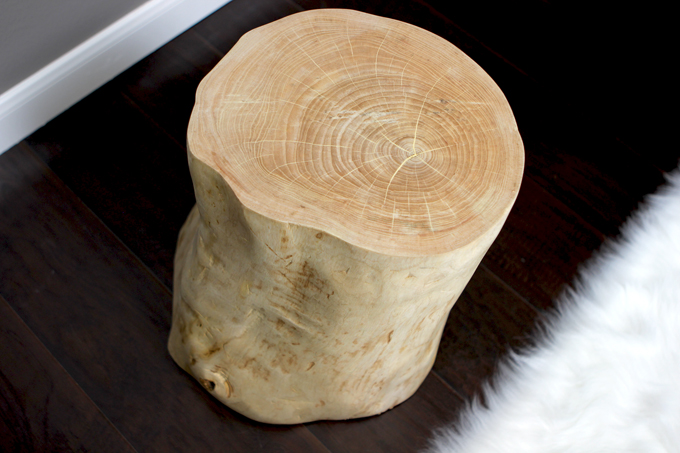
We snagged the PERFECT log to make our DIY log side table!
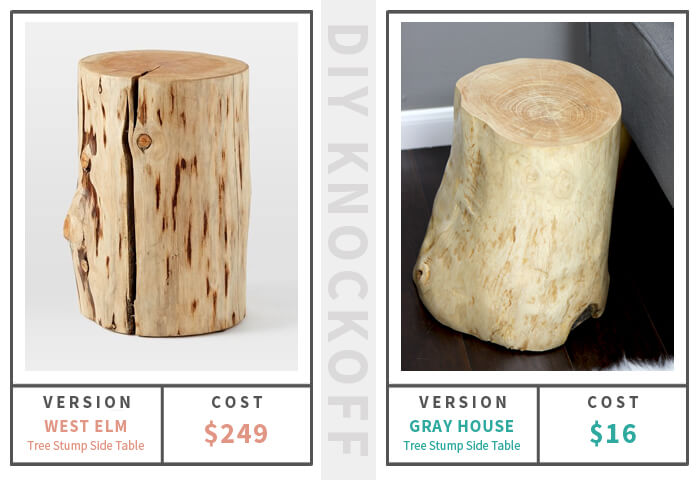
One of the must have items on our list for our outdoor modern nursery was a log side table but holy cow the prices of those pieces were costly at the stores. Since we have so many projects for this nursery and couldn’t afford to drop a few hundred bucks on just one tiny table, Brent convinced me we could make one ourselves.
We were able to get the same tree stump side table look for a fraction of the cost by doing it ourselves and it only cost us a little bit of blood, a lot of sweat, (did we mention it is HOT in Houston in the summer?) and the cost of the varnish to seal the log.
We are so happy with the results and actually like it better than the ones sold in stores and we customized the height to be the perfect height to go next to our rocking chair.
Make A DIY Version of the West Elm Tree Stump Side Table
SUPPLIES
- Large Log (we found ours free on Craigslist)
- Sherwin-Williams Waterborne Polyurethane Varnish in Satin Clear
- White Paint
- Chisel
- Mallet
- Yard Stick
- Chainsaw
- Hand Planer
- Electric Sander
- 80 Grit and 120 Grit Sanding Discs
- Paintbrush
FYI: This post contains a few affiliate links to products we used to make this project. Gray House Studio does receive commissions for sales from these links but at no extra cost to you. We appreciate you supporting this site. Read our privacy and disclosure policy. You can also easily shop our recommended products here.
TUTORIAL VIDEO
Subscribe to our YouTube Channel
Like our video? Subscribe and help us reach our goal of 100k subscribers.
Tree Stump Side Table STEPS
We let the log sit for several weeks in our garage to dry out before we started working on it.
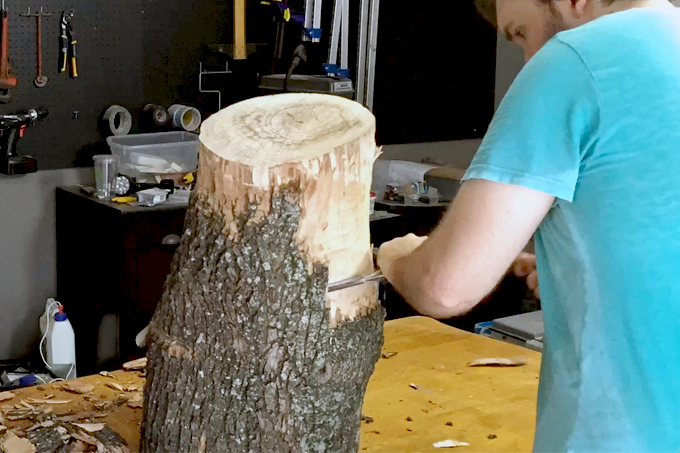
1. To turn the log into a side table we first needed to remove the bark using a sharp chisel and mallet.
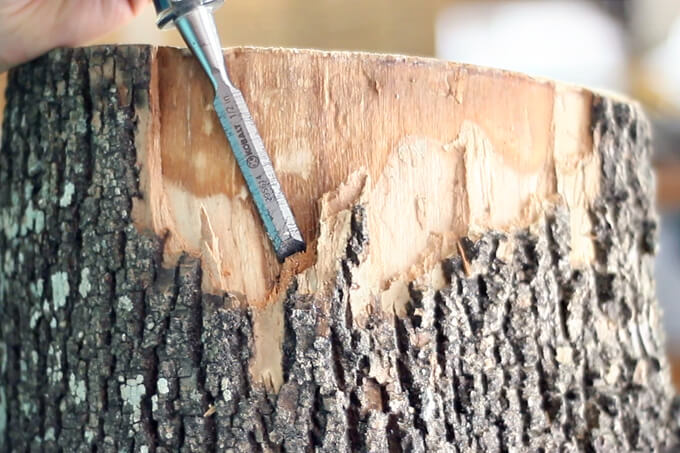
We could see that there was a slight color variation between the bark and the solid wood.
Brent used the chisel to go along the line where the color changed and the bark peeled easily off the trunk.
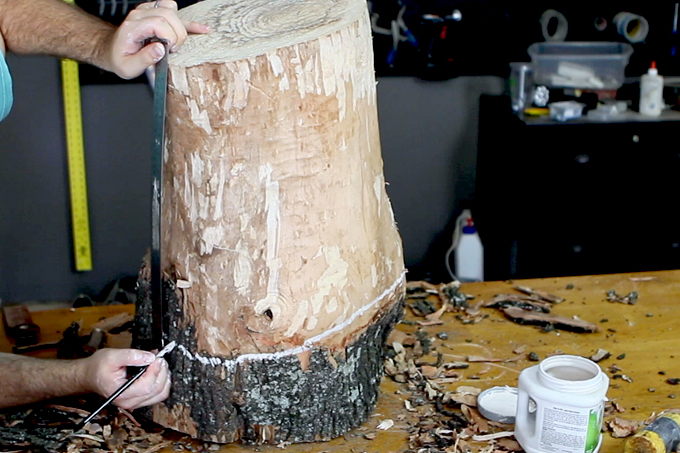
2. Once all the bark was removed, Brent used a yard stick and a little bit of white paint to mark a line around the base of the trunk to mark where to cut the stump to make it stand straight.
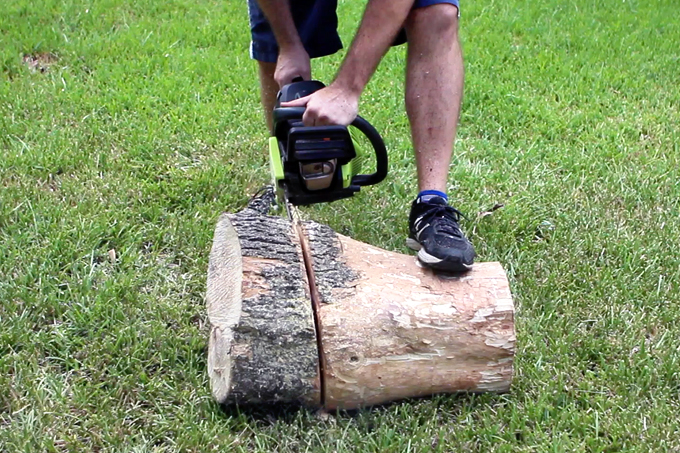
3. Next, he used a chainsaw to cut through the log along the white line he marked in the previous step.
He had to make several passes because the oak was so dense.
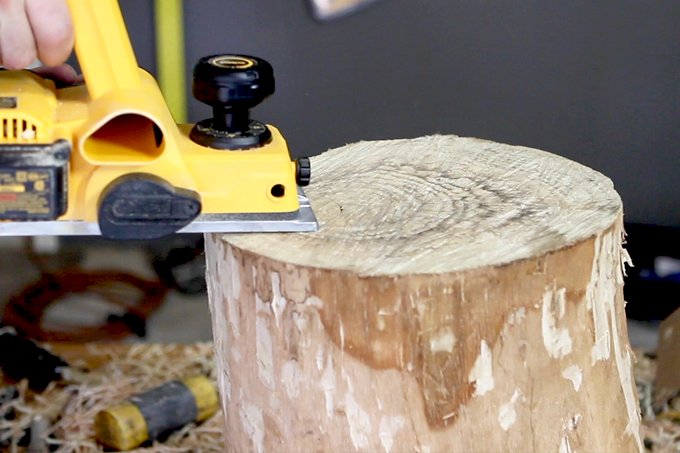
4. He used a hand planer to flatten the top of the log.
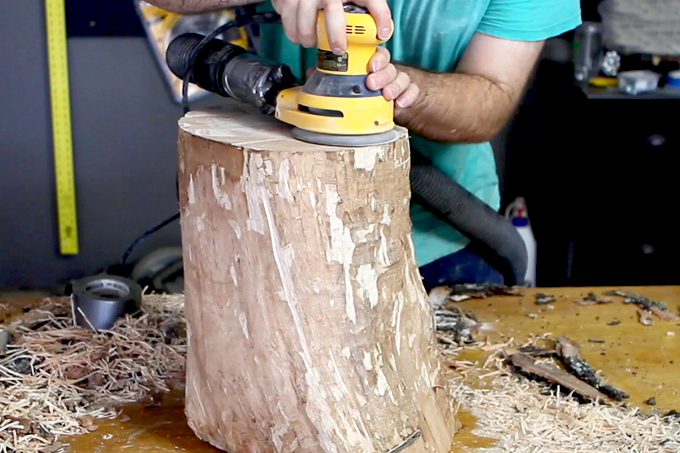
5. Then he used an electric sander and sanded all the surfaces of the stump with 80 grit sanding disc.
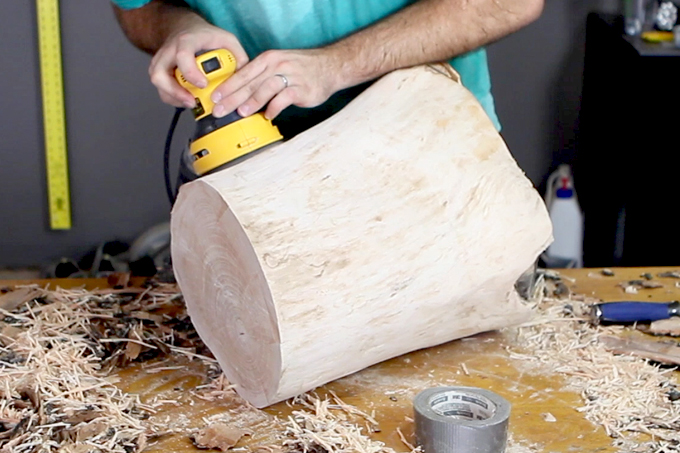
6. He followed up with a 120 grit sanding disc to make it nice and smooth.
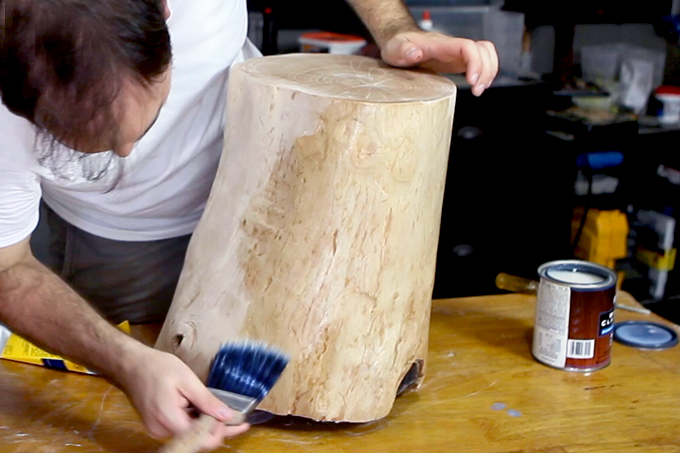
7. We really loved the light color of the wood and did not want to change the appearance in any way. We didn’t want the sealer we used to turn the log yellow.
We found the key to avoiding a yellow finish is to not use an oil based sealer. Instead we brushed on a few coats of a waterborne polyurethane varnish in satin clear with a paintbrush which sealed the stump nicely and left it looking true to the original color.
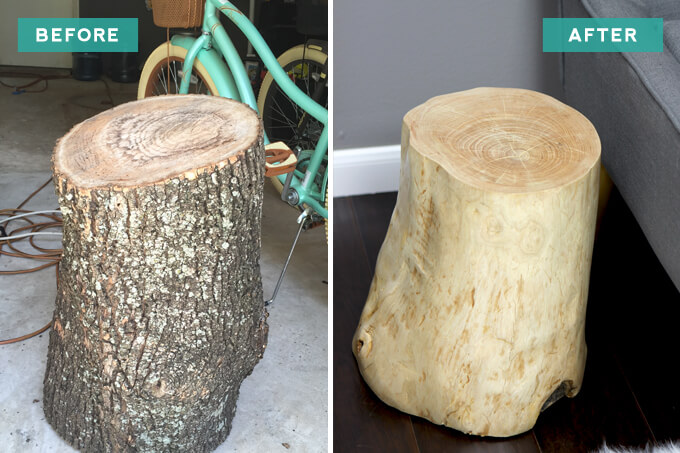
I have to give major props to Brent for working his butt off on this project. While it didn’t cost us much in terms of money, this project did require a lot of manual labor. He spent hours on his feet chiseling the bark away in 100 degree weather.
His hands were blistered and tired and he never complained. Every project he completes I am always amazed at his mad woodworking skills, his determination and how his completed work always turns out exactly how we intended.
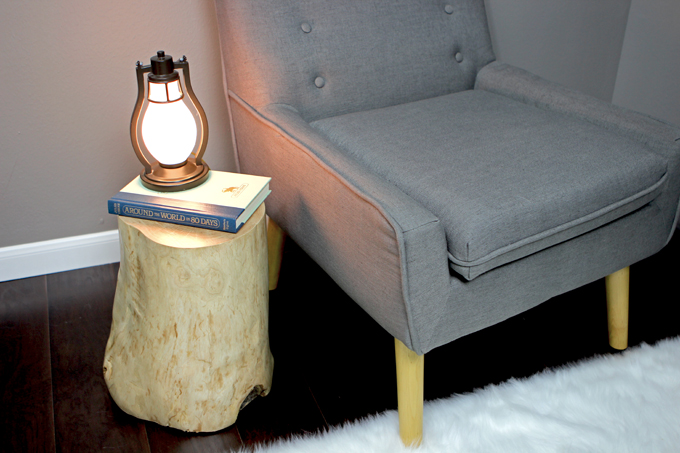
We were so excited to put our tree stump side table in the nursery. It really covers the modern and outdoor theme perfectly. We loved the unique knots and grains this piece of wood has and I am sure it will be a favorite piece of ours for years to come.
PIN FOR LATER
