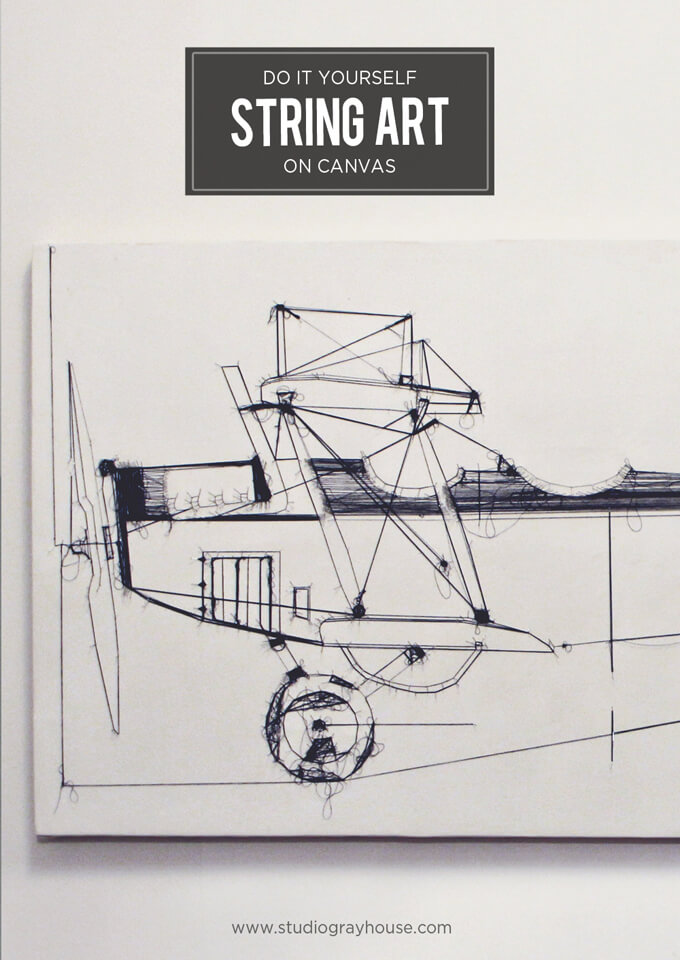
How to make DIY string art of a vintage plane schematic on a large canvas.
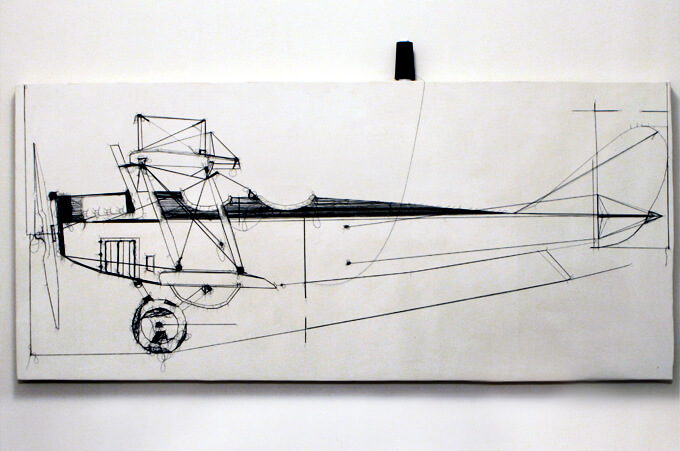
Valentine’s Day is right around the corner so Brent and I were looking for a fun alternative to just buying each other presents this year. We wanted to do something that was affordable since we are currently in the process of putting together our library and getting ready to install a sprinkler system in our yard (I mean pay someone to put a sprinkler system in our yard).
Our solution was to make some DIY string art together! It was a fun way to spend some quality time collaborating and being creative. Plus, it would be something we could both enjoy for many years knowing that we created it with each other and it fills up the empty wall space we had. We knew we wanted to make a diy string art piece, we wanted it to be on canvas and we wanted it to be BIG. We are hanging it in our very front room (it will eventually be our photo studio) over the craft cabinet so we wanted to build the canvas to be the same width as the cabinet will be.
Since we created it with a lot of the supplies we already had in the garage we made the entire piece (canvas and all) for around $20 and I think it looks pretty awesome. But Brent did get his masters degree in art so I was pretty confident that he could pick up some (most) of the slack due to my lack of artistic abilities. I just loved being able to learn from him, spend time with him and watch him work his magic! I would definitely call this project a success.
TIME LAPSE
To see new DIY videos on Thursdays, be sure to subscribe to our channel ⇾
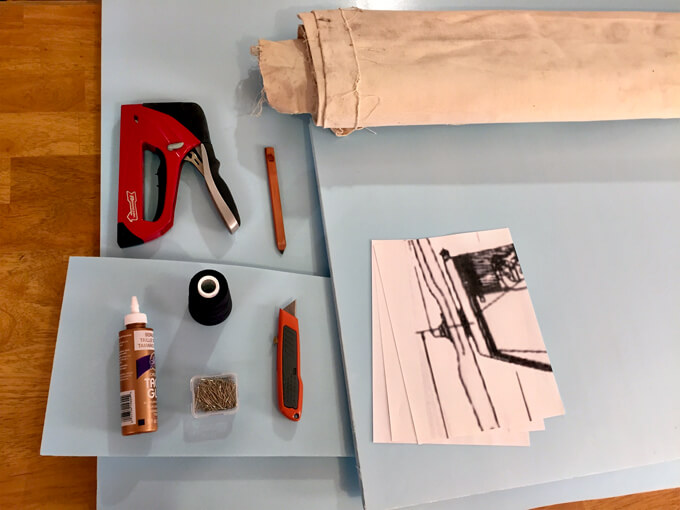
SUPPLIES
- Large piece of foam board
- Cotton Fabric
- Tacky Glue
- All Purpose Black Thread
- Corsage Pins
- Print out of an image (on several pieces of paper since it is large)
- Box Cutter
- Staple Gun
- Ruler
How we Created Our DIY String Art
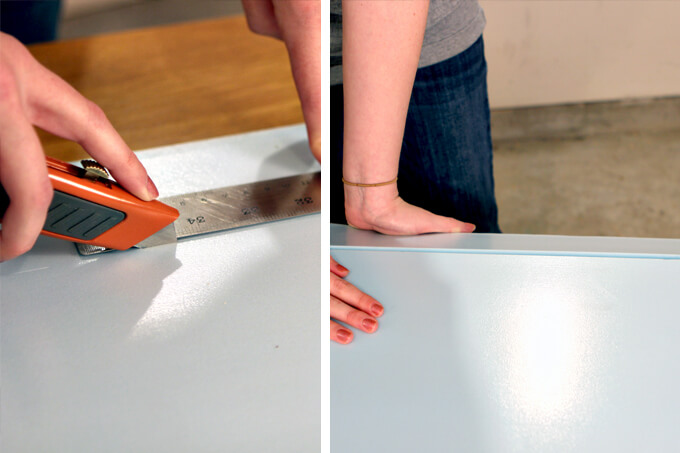
1. First we needed to build our canvas. We tried something different with this piece and built the frame or the stretcher of the canvas out of foam board. The reasoning behind this was we needed something for the pins we would be using to attach the string to stick into.
They needed more substance than just the canvas to stay in place. Plus, using the foam made this piece a lot lighter. I cut the foam to size using a box cutter and the cool thing about the foam board is you can easily break off the piece you cut. It pops right off and you have a straight edge.
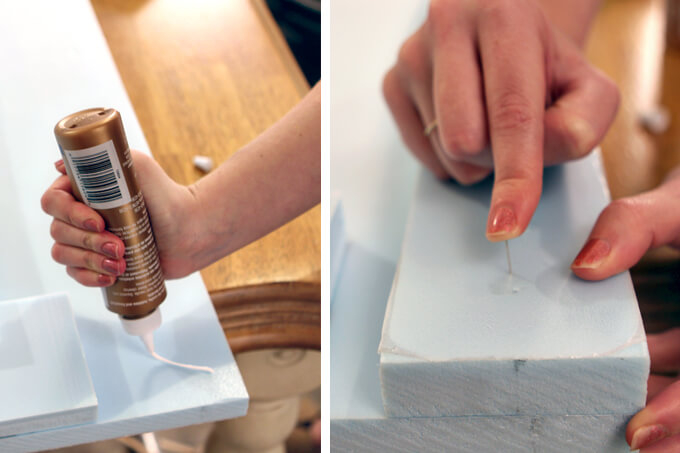
2. Next, I used the extra pieces I cut off and glued them on around the rim as a second layer to provide extra strength and stability. Because I am impatient and the glue I used didn’t dry very fast, I used a few corsage pins to hold the two layers together so these pieces didn’t fall off while I was handling it.
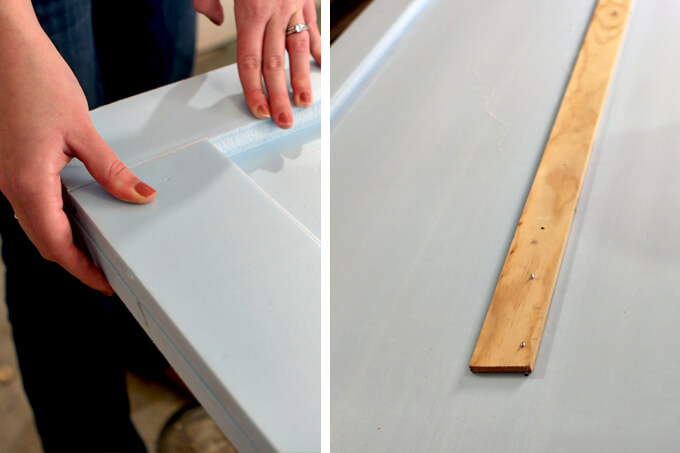
3. Now I had a nice thick layer around the rim to attach the canvas to and give more depth to the frame. I also attached a piece of board to the back of the foam board in the middle to help keep the foam from bending or warping too much. This also is where we attached the wire to hang it on the wall.
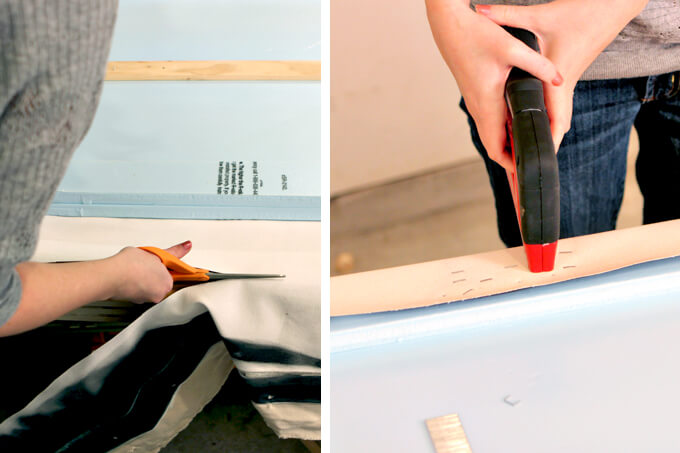
4. Brent had some canvas left over from his school days. This particular piece had some stuff on the back of it so I turned it over to use the opposite side and cut it to fit the stretcher and then stretched the canvas and stapled it to the foam rim of the frame.
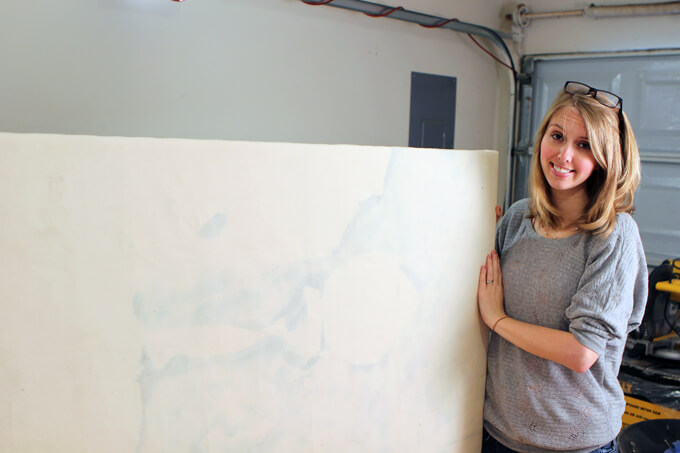
It looks like a canvas!
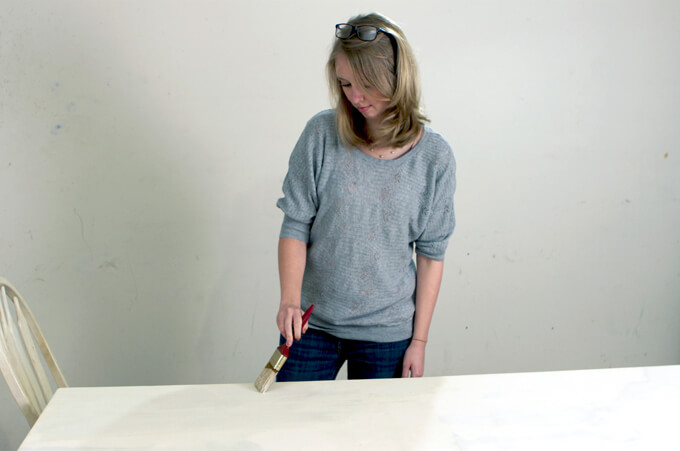
5. Finally, I needed to paint over whatever was already on the canvas. I just used some really old off white paint from a can that we found in the garage left from the previous owner. It was kind of gross and in a very liquid state but it covered the canvas and the color wasn’t too bad. It gave it a vintage feel (since it felt like I was using vintage paint, no telling how old that stuff was) but I guess you get what you pay for and I didn’t spend a dime on paint.
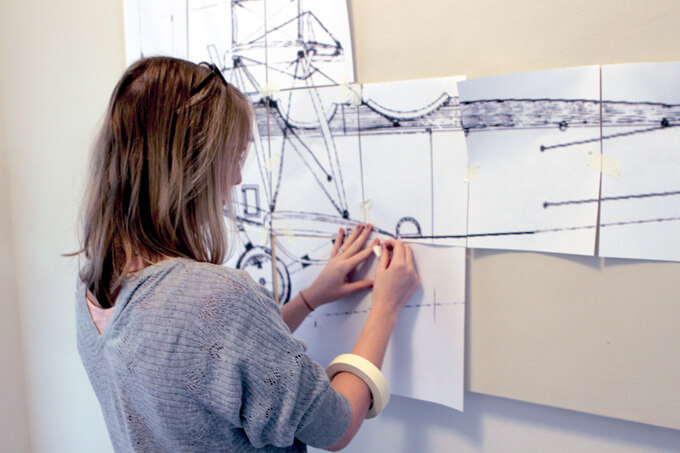
6. After the canvas dried, I brought it inside and taped our image to the canvas. We chose this cool vintage airplane schematic and printed it out on multiple pieces of paper so that it would be the correct scale. I then used masking tape to tape the pieces together and to the canvas.
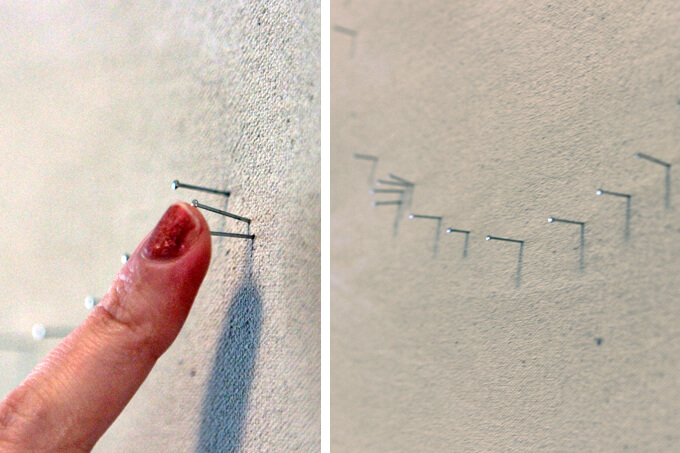
7. We took the corsage pins and poked holes all around the outside lines of the image. After that we pulled the paper back off the canvas and then stuck the pins back into the canvas where the holes were.
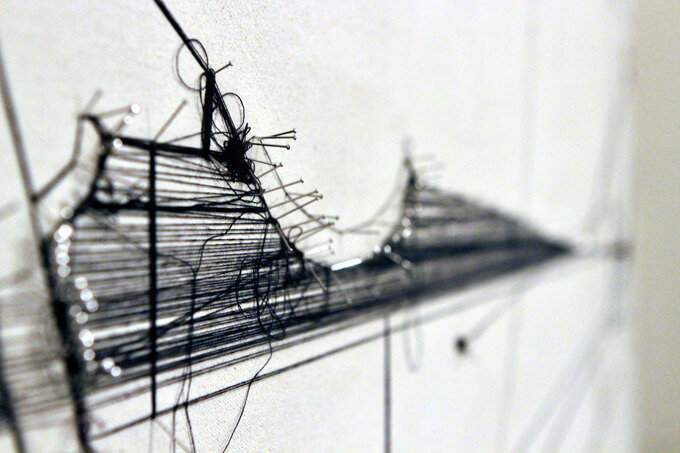
8. It was around this point that the actual creating of the art was ready to begin. It was a very detail oriented task and involved a lot of tedious work, a good eye for design and strong fingers. It really was a one man job and who better than the man with the art degree so I was happy to sit back and watch him create.
I was pretty impressed how Brent free handed the inside of the plane to match the image by just looking at the picture and placing the pins and string accordingly.
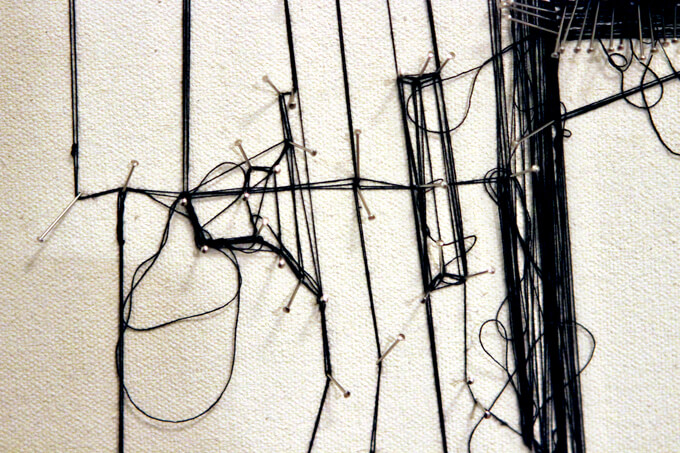
9. He left the string loose in some areas creating knots and bunches of thread to add variation and visual interest. I thought it gave it a worn look like we inherited this artwork that was created years ago rather than it being brand new.

The finished DIY string art piece! (the spool of thread will not be staying it is strictly there for documentation purposes)
PIN THIS PROJECT


This is fantastic! Easily the most impressive string art I have ever seen!
Thanks so much Marie! That’s so kind of you to say. Thanks for stopping by our blog! (: