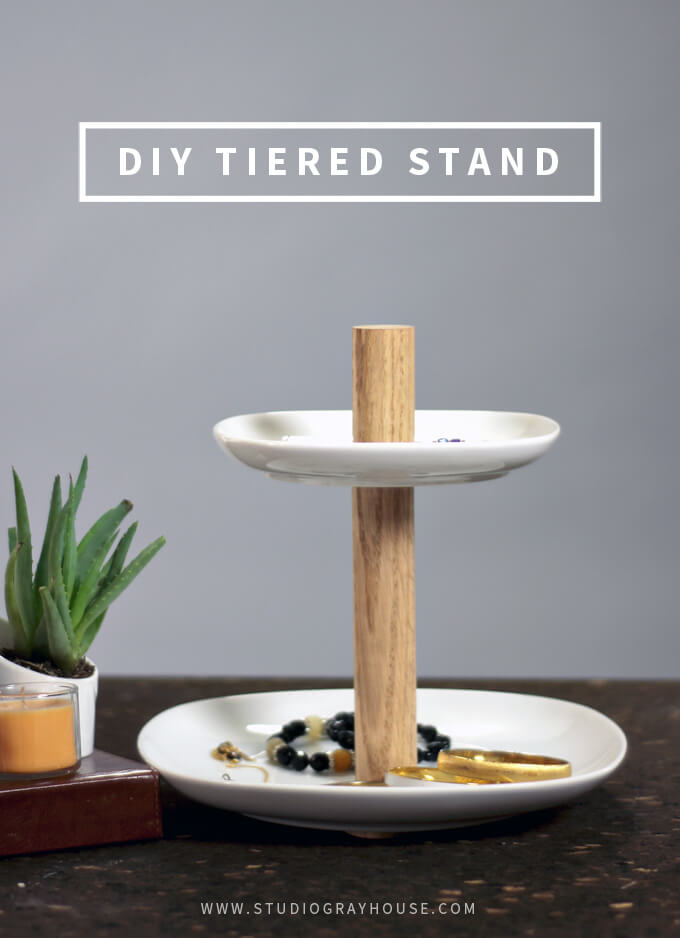
Make a DIY tiered stand from from two IKEA plates and a dowel rod to store jewelry or cupcakes.
I am excited to share our latest DIY storage project, a DIY tiered stand. One of my favorite things to do is online window shop, find things I like and then Brent and I will come up with a way to make our own version (usually for quite a bit cheaper). Sure, we could just buy it. But where is the fun in that? We have had a lot of fun recently using a glass and tile drill bit and have been looking for ways to repurpose ceramic pieces just so we can put it to good use. Lately, it seems as though tools have been inspiring our projects.
One late night online shopping trip last week, I spotted a tiered stand that I really liked from Urban Outfitters. I knew instantly that it looked like the perfect project to use our glass and tile drill bit and drill through some plates! We are calling this an IKEA hack because we transformed two VÄRDERA plates into a tiered stand.
This DIY project turned out amazing, was so easy to make and required very few supplies. That’s the dream, right? So today we are going to show you how to make this DIY tiered stand to store jewelry, cupcakes, makeup or whatever you fancy.
VIDEO TUTORIAL
In this video below we will walk you through how to make and assemble a tiered stand from two ceramic plates and a dowel rod to store jewelry or cupcakes.
To see new DIY videos on Thursdays, be sure to subscribe to our channel ⇾
SUPPLIES
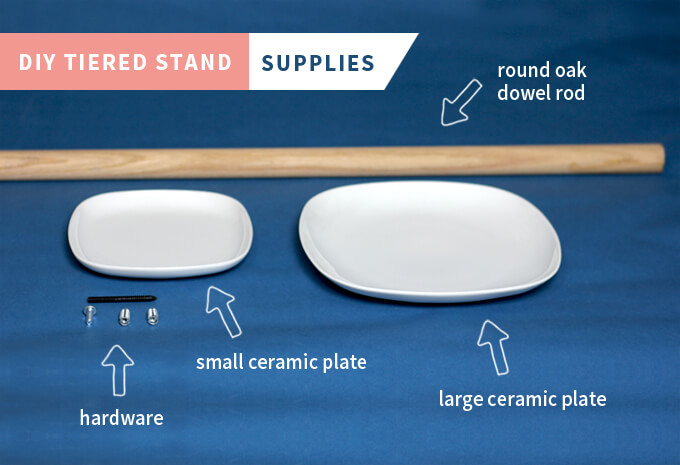
- (2) Ceramic Plates (a small and large size)
- (1) 1-1/4″ x 36″ Round Oak Dowel
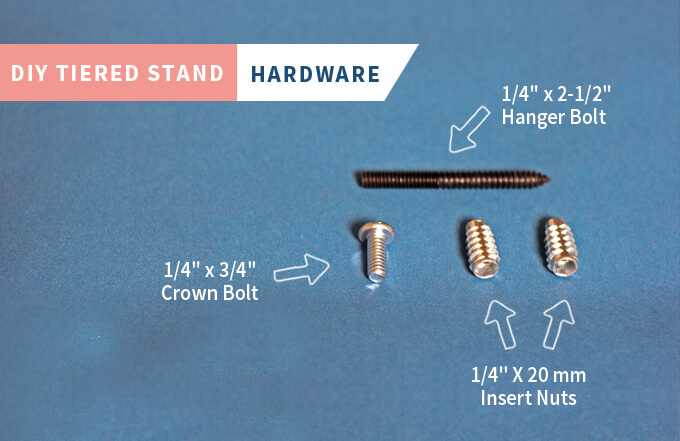
- (1) 1/4″ x 2-1/2″ Hanger Bolt
- (2) 1/4″ X 20 mm Insert Nuts
- (1) 1/4″ x 3/4″ Crown Bolt
- Drill and/or Drill Press
- Ruler & Pencil
- Cup of Water
- #6 Hex Bit
- Miter Saw
- 1/4″ Glass and Tile Drill Bit
- 3/8″ Drill Bit
- Centering Punch & Hammer
How to Make a DIY Tiered Stand
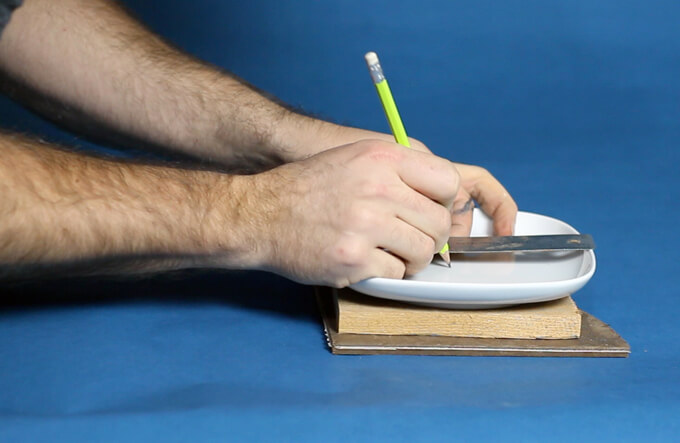
1. We recommend putting a few pieces of scrap wood under the small plate before you begin to avoid drilling into the work surface once the bit goes through the plate. Then, using a ruler, measure and mark the center of the plate.
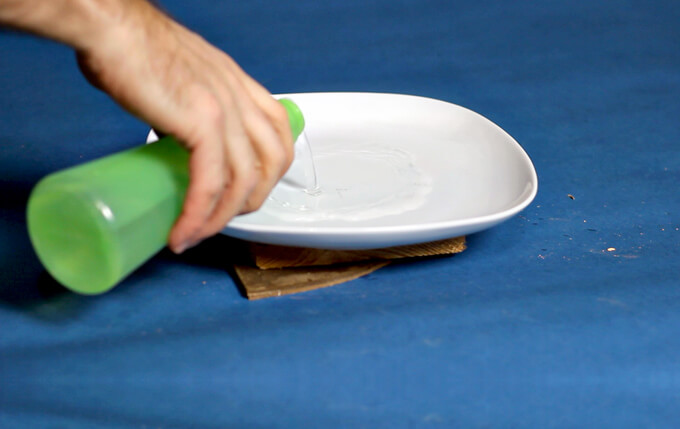
2. Next, take a cup of water and pour a generous amount onto the surface of the plate. The water will help cool the drill bit.
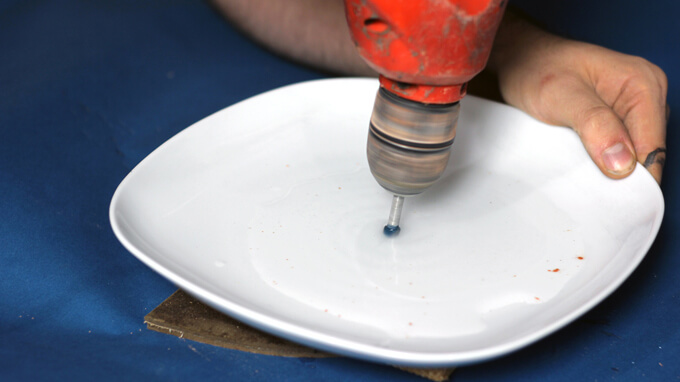
3. Now, using a 1/4″ glass and tile drill bit and a drill, line up the drill bit with the mark you made in step 1 and drill a hole through the plate.
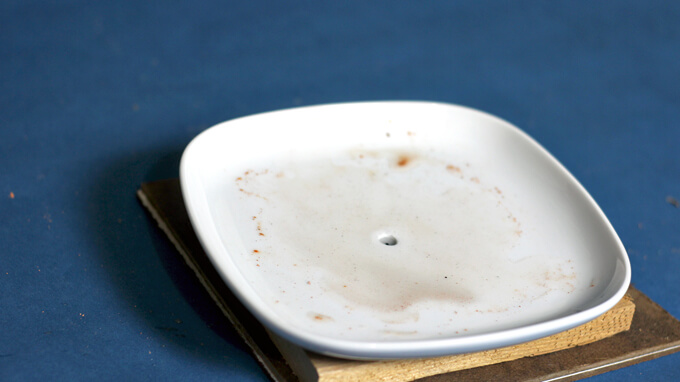
Once you have a hole in the small plate, wipe off the excess water and dirt and then repeat steps 1-3 for the larger plate.
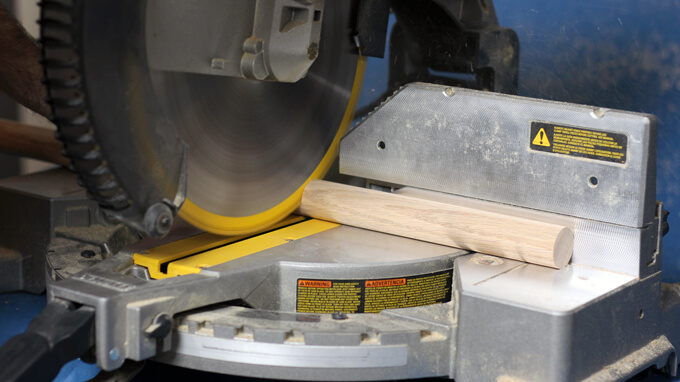
4. Using a miter saw, cut the dowel rod into two pieces. The small top piece will be 2 1/2 inches and the larger middle piece will be 6 inches.
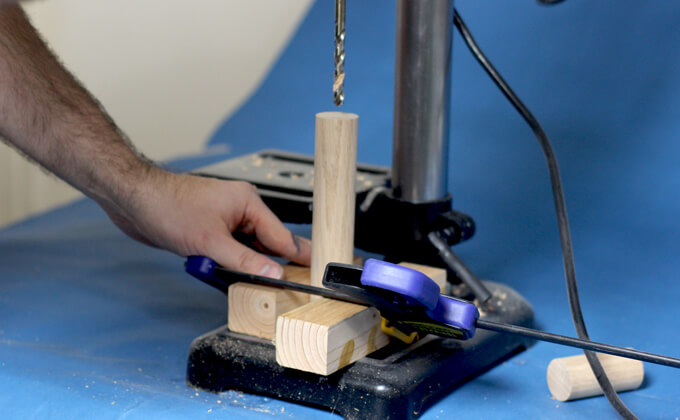
5. To hold the dowel rod vertical and make it easier to drill into it, clamp it between two scrap boards. We used 2x2s.
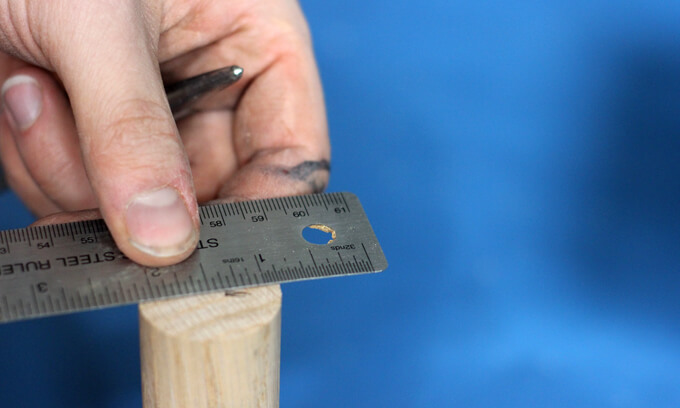
6. Using a ruler, mark the center of the end of the dowel rod. Do this step for both sides of the longer dowel rod and one side of the short dowel rod.
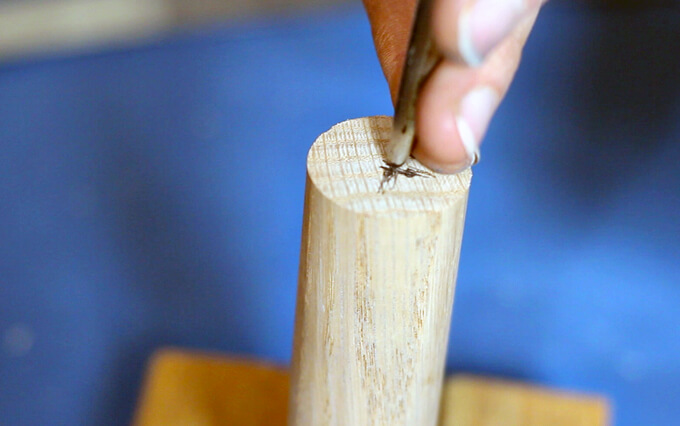
7. Now with a centering punch and a hammer, create a divot in the end of the dowel rod for the drill bit. You will need to do this step for both sides of the longer piece and one side of the short piece as well.
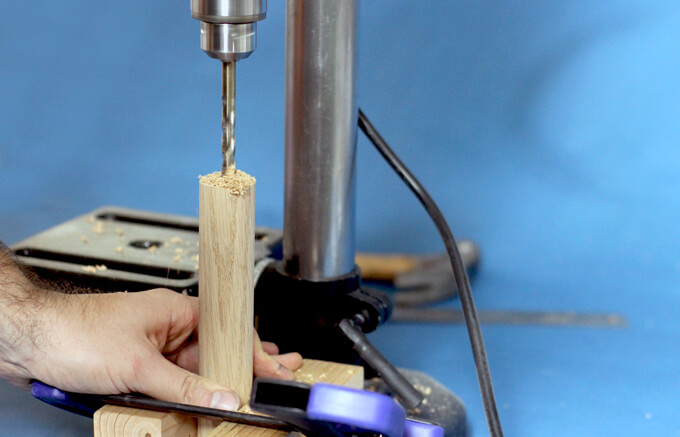
8. Using a 3/8″ drill bit, drill a hole 1″ deep in both sides of the longer dowel rod and one side of the short dowel rod.
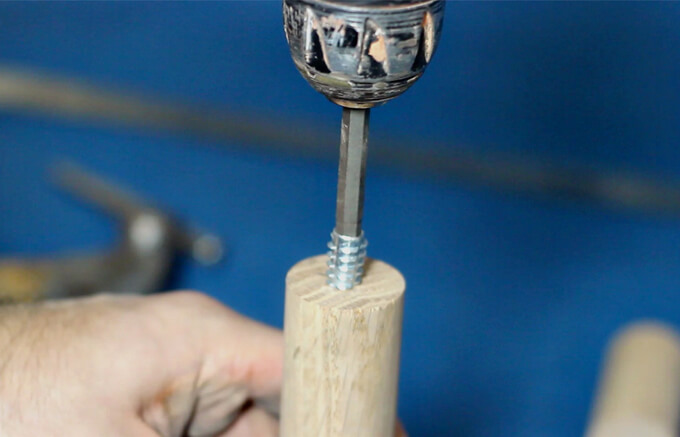
9. Take a #6 hex bit and screw the insert nuts into both sides of the long dowel rod.
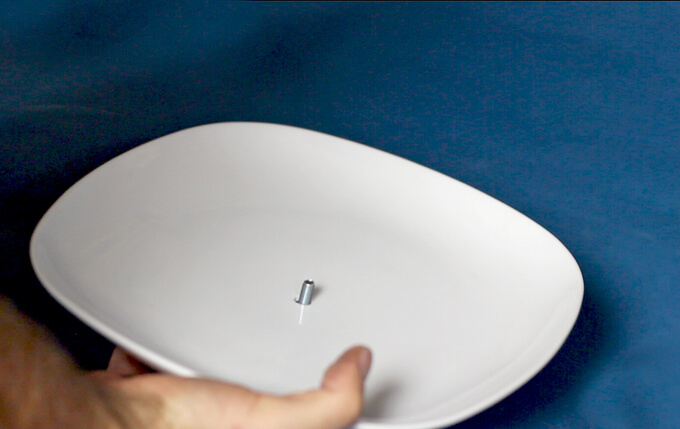
10. To assemble the DIY tiered stand, take the crown bolt and feed it through the hole in the large plate.
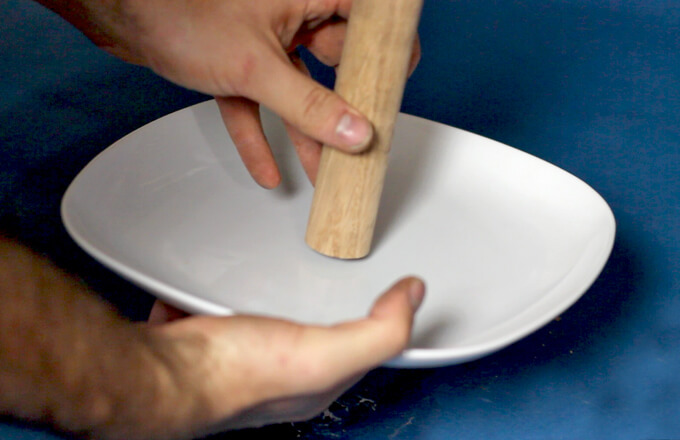
11. Now thread the crown bolt into the large dowel rod until it is nice and tight.
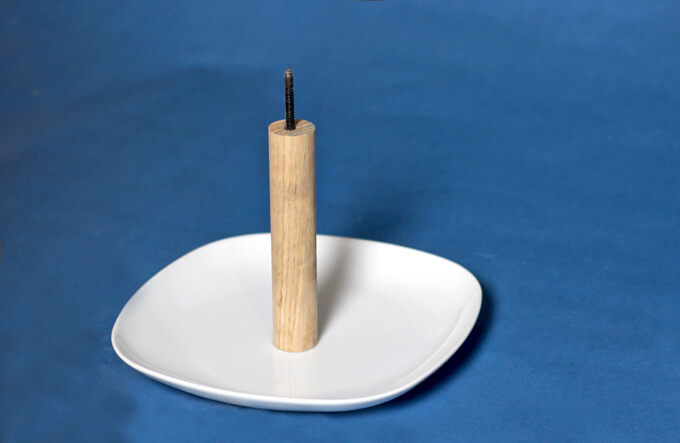
12. Now screw the hanger bolt into the insert nut that is in the top of the large dowel rod.
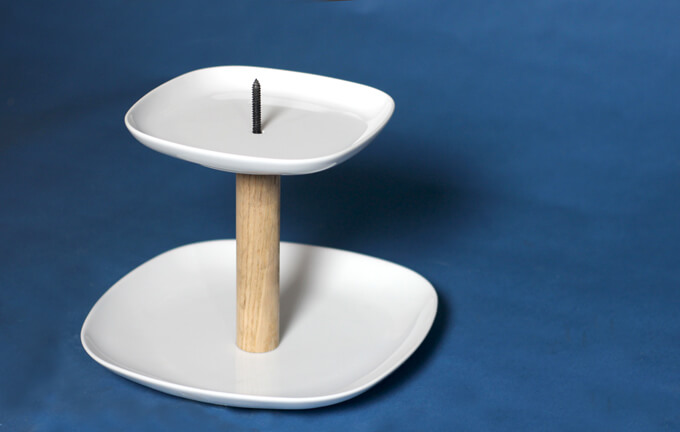
13. Run the hanger bolt through the hole in the small plate letting it sit on the large dowel rod.
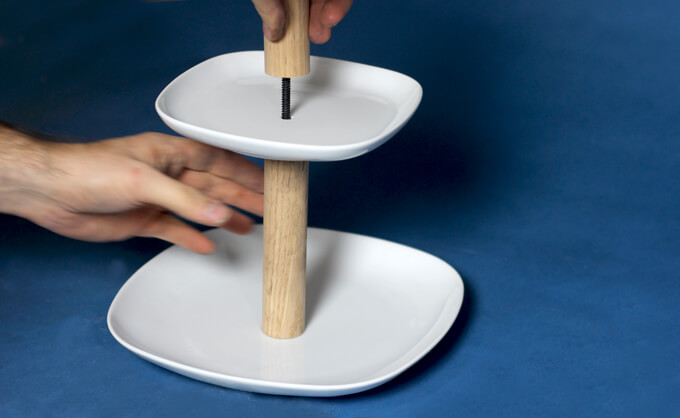
14. Finally thread the shorter dowel rod into the hanger bolt until it is flush with the plate.
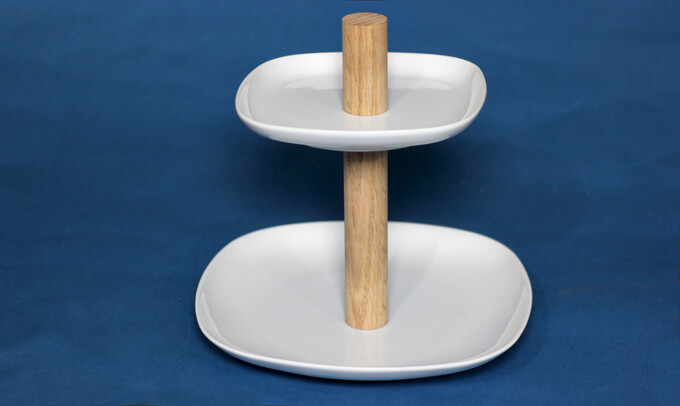
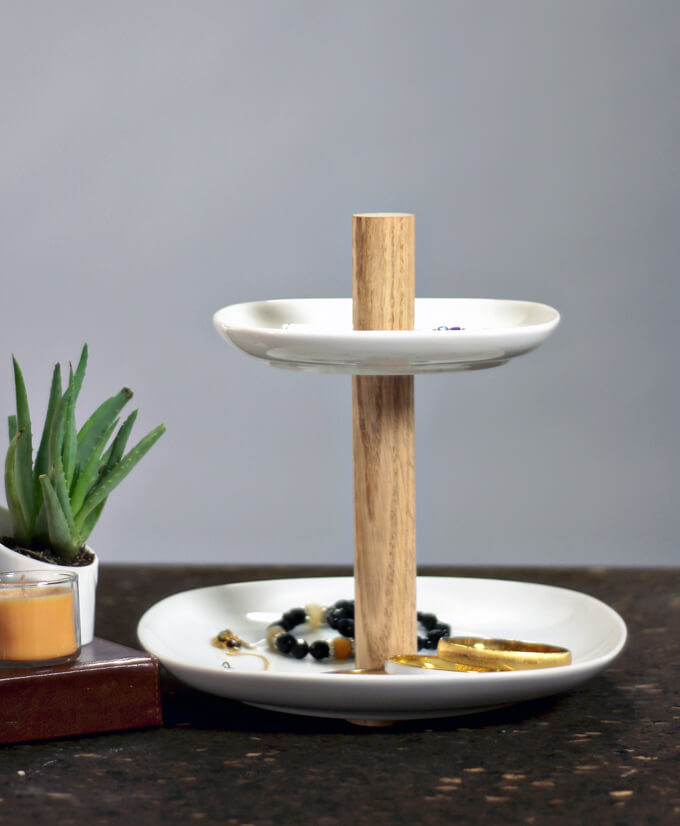
Your completed tiered stand should look like this once it is assembled.
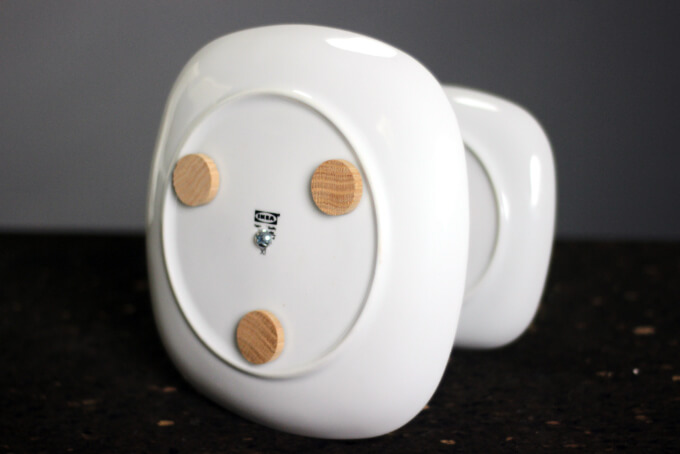
If you use a plate that doesn’t quite sit flat, you can add little wooden feet to the bottom like we did to make it balanced.
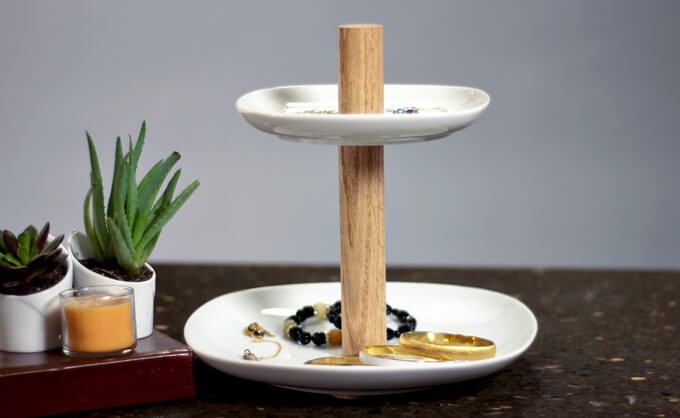
I think Brent is pretty much a genius for figuring our how to make it screw together in two pieces with small holes in the plates. I pitched this idea to him and picked out the plates from IKEA and he worked up the game plan for making it happen. My mind was blown with his awesome solution.
I love, love how this repurposing ceramic dishes project / IKEA hack turned out. It looks exactly like the tiered stand I had my eye on at the store. The great thing about this DIY tiered stand is it is a very versatile storage piece. You can store jewelry in the bedroom or cupcakes in the kitchen or make two, one for each room!
We made ours modern and neutral to match the one I saw in the store because it fits with the style of our home but depending on the plates you choose and the color you paint/stain the dowel rods you make it look however you like.
PROJECT FEATURED ON GREAT DAY HOUSTON
Our DIY tiered stand was one of the repurposing ceramic projects we shared on the local live morning show, Great Day Houston. In case you missed it (or don’t live in Houston) you can watch our DIY segment here.

PIN THIS PROJECT
