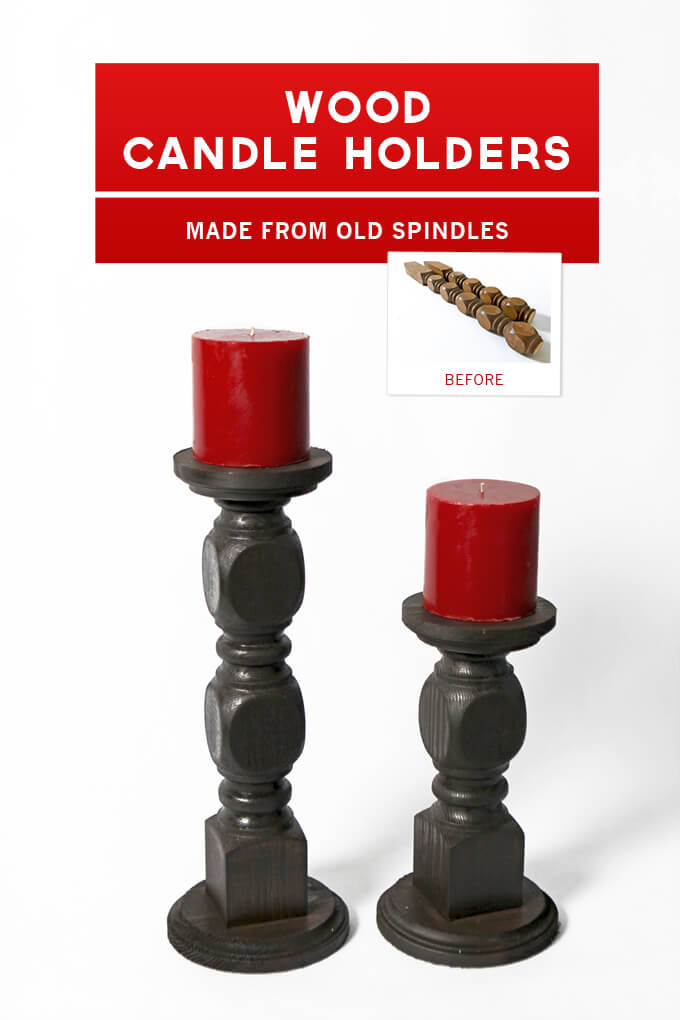
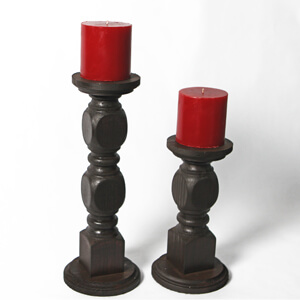
We gave new life to old spindles by transforming them into wood candle holders.
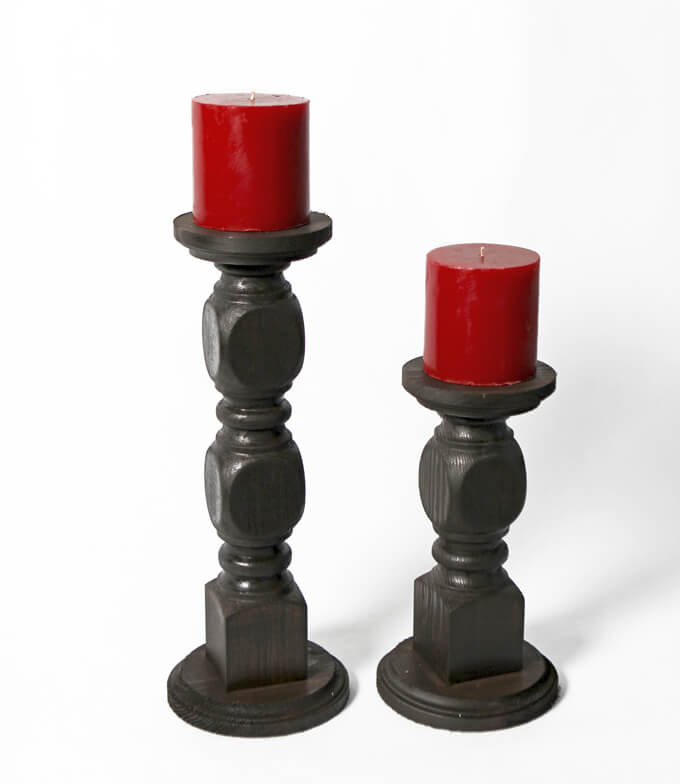
Hello! Courtney here today sharing a project that I worked on this past week that meant a lot to me. My grandparents are doing a little remodeling around their house and decided to open up the space above their wet bar by taking down the spindles that ran from the bar to the ceiling. These spindles were original to the house which makes them older than me!
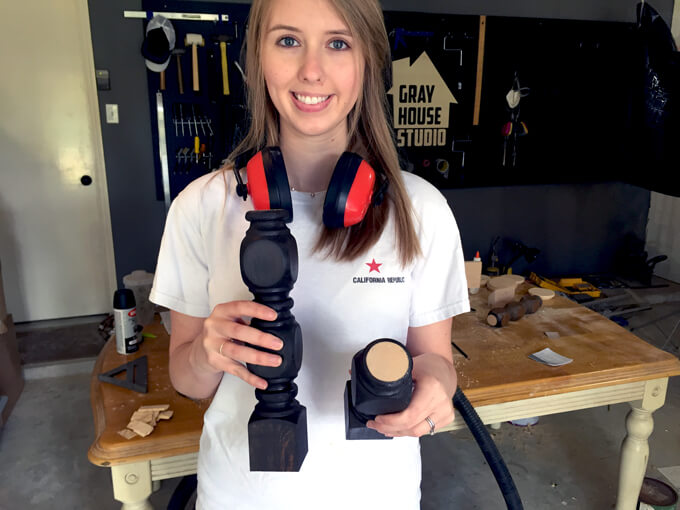
My grandparents gave them to us in case we could use them for a project. I then had the idea to recycle the spindles and use them to make wood candle holders as a gift to give my grandmother for her birthday this week. It came together really quickly with very little supplies and I am so proud of how it turned out.
SUPPLIES
- Oak Spindles
- 4″ Circle Wood Discs
- 5″ Circle Wood Discs
- Sandpaper
- Wood Glue
- Rust-Oleum Wood Stain, Kona
- Miter Saw
*This post contains an affiliate link. You can read our disclosure policy here.
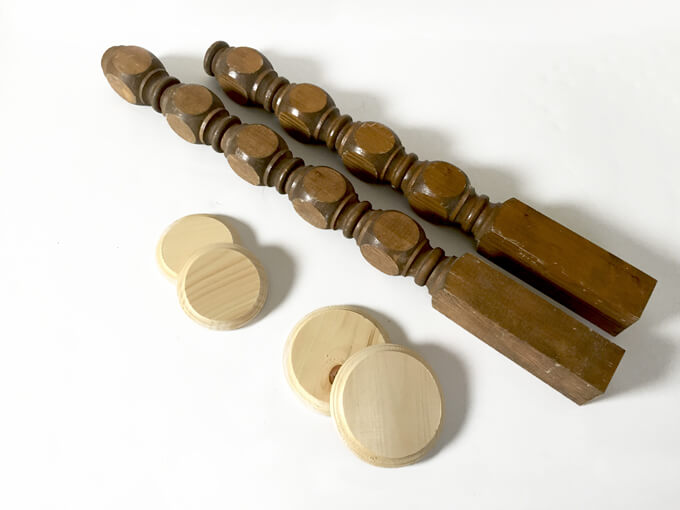
How To Make DIY Wood Candle Holders
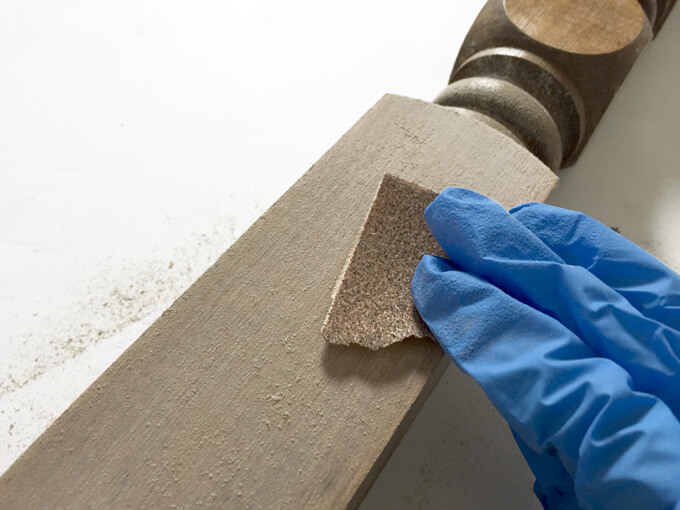
1. I wanted to change the colors of the spindles but the spindles had a clear coat on them so I needed to sand them down. It was a tricky task because of the details on the spindles there were lots of tiny areas to try and sand down. I HATE the sound and feel of sanding so I usually wear gloves and headphones while tackling this process.
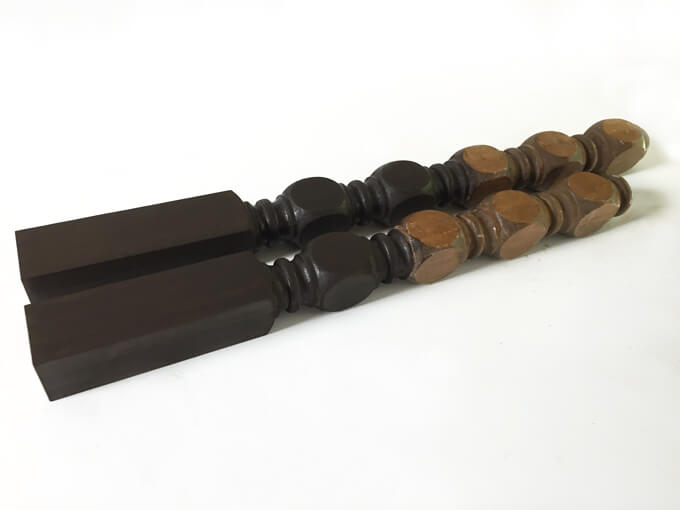
2. After I sanded down the area, I stained the sanded parts with our favorite color stain, Rust-Oleum Ultimate Wood Stain in Kona. I put two coats on to make sure it was nice and covered.
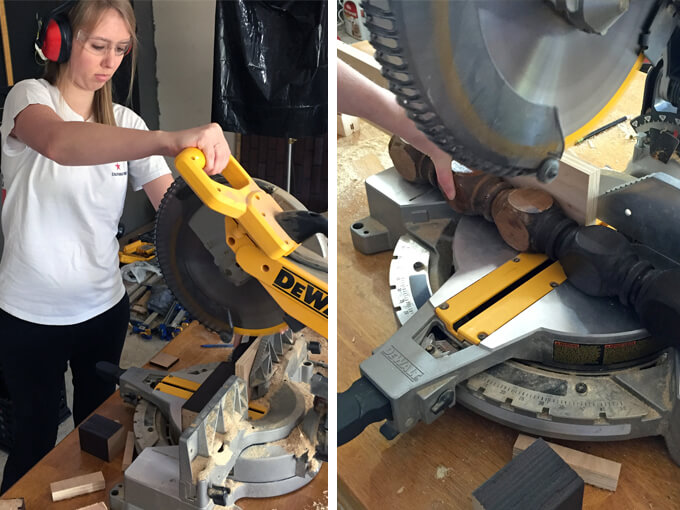
3. After the stained dried, I cut down the spindles to the area I stained with the miter saw. I decided to make them varying heights.
4. I made two cuts with the miter saw. The first was to trim down the square part and the second was to cut right above one of the circle sections so I would have a nice flat area to attach my top wood disc. It came out great!
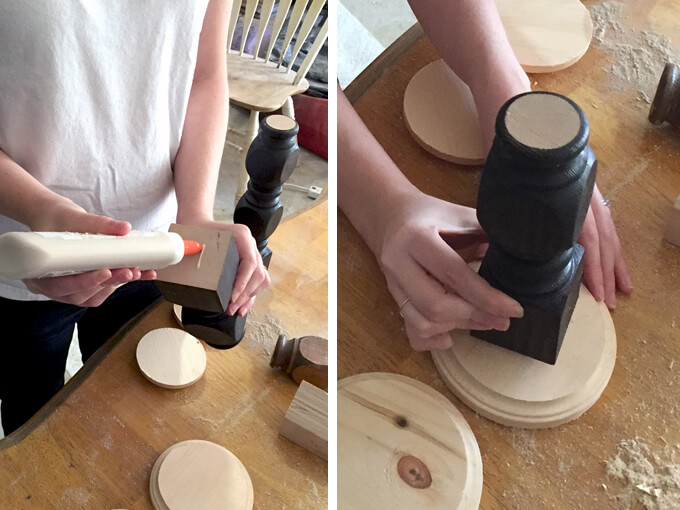
5. Don’t let that bottle fool you, that is not Elmer’s glue but rather super strength wood glue. Brent put it in an old glue bottle to make it easier to use. Brilliant! I used a tiny dab of wood glue to attach the two wood discs to the spindle to create the candle holder.
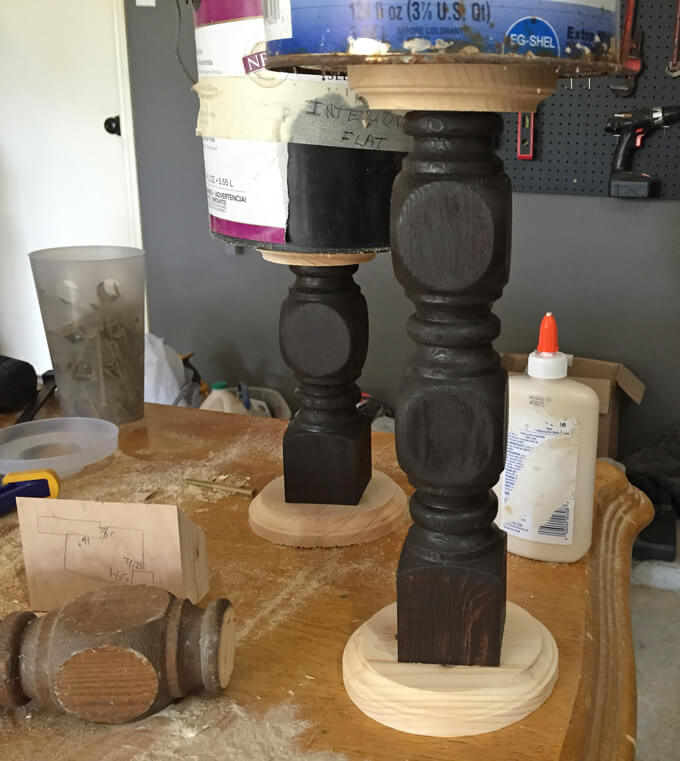
6. I had a hard time using a clamp to hold the pieces in place without the pieces getting moved off center so I went for option B, old paint cans. Paint is tedious to dispose of which is why we still have old paint cans that were here when we moved in still sitting in our garage. However, they came in handy in this situation. I set them on top of the candle holders to apply pressure.
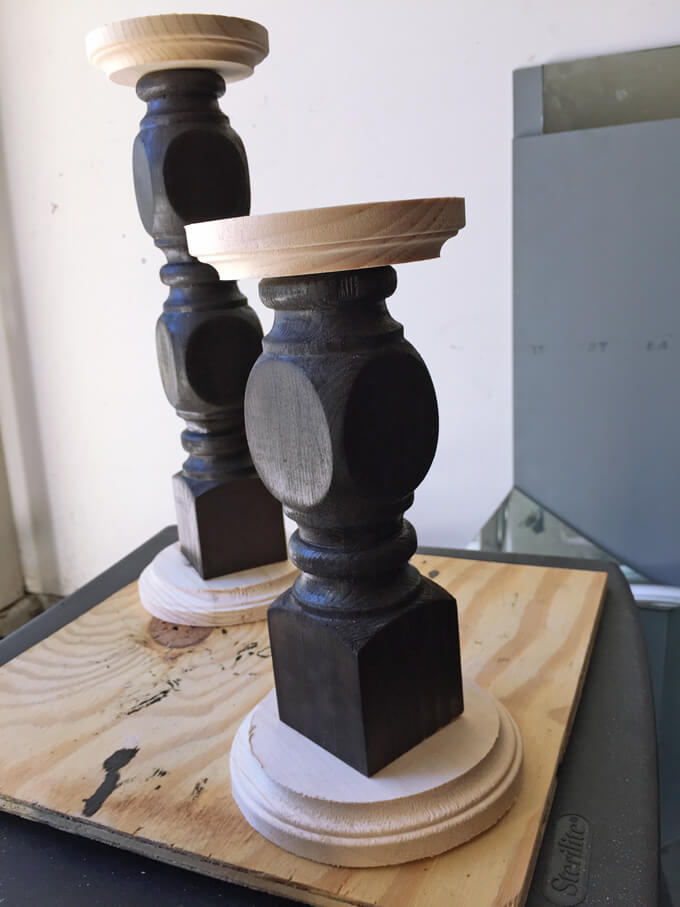
7. Once the top and bottom pieces were attached to the spindle, I stained the wood discs the same Kona colored stain to match the spindle.
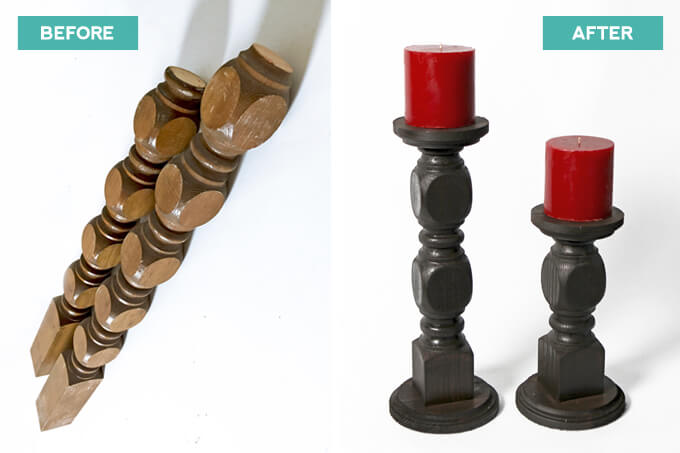
In just a day I was able to give new life and purpose to old spindles. I love the design of the spindles and while they definitely looked out dated in their original location they look perfect as candle holders! Plus, the sentimental side of me loves the fact that they come from grandparents’ home.
We have plenty more spindles and we can’t wait to make another project with them.
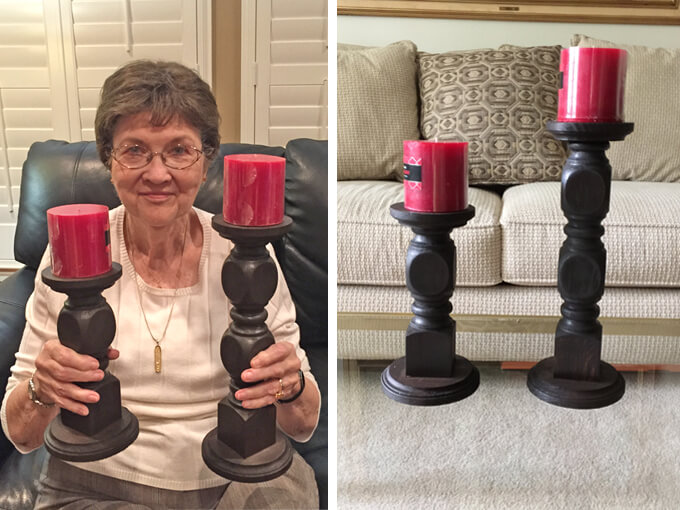
Brent and I were super excited to surprise my grandmother with them for her birthday last night. All my hard work sanding was rewarded when I saw her eyes light up the minute she realized they were made from her spindles. It made my day.
Those spindles were a part of their home for 33 years so now she has the best of both worlds. Their home is more modern with them removed, but she has a touch of nostalgia with the wood candle holders sitting on her coffee table.
Have you re-purposed spindles for another use? We would love to hear your ideas or suggestions for our next spindle project.
PIN THIS PROJECT



Love it. Where did you get the wood circle discs?
Thanks Mike! I bought the discs unfinished from the craft store Michael’s.
Do you have any ideas fur the rest of the spindles that don’t have the block part anymore? I also have lots of these same spindles and would love to not waste any part of them If someone has ideas.