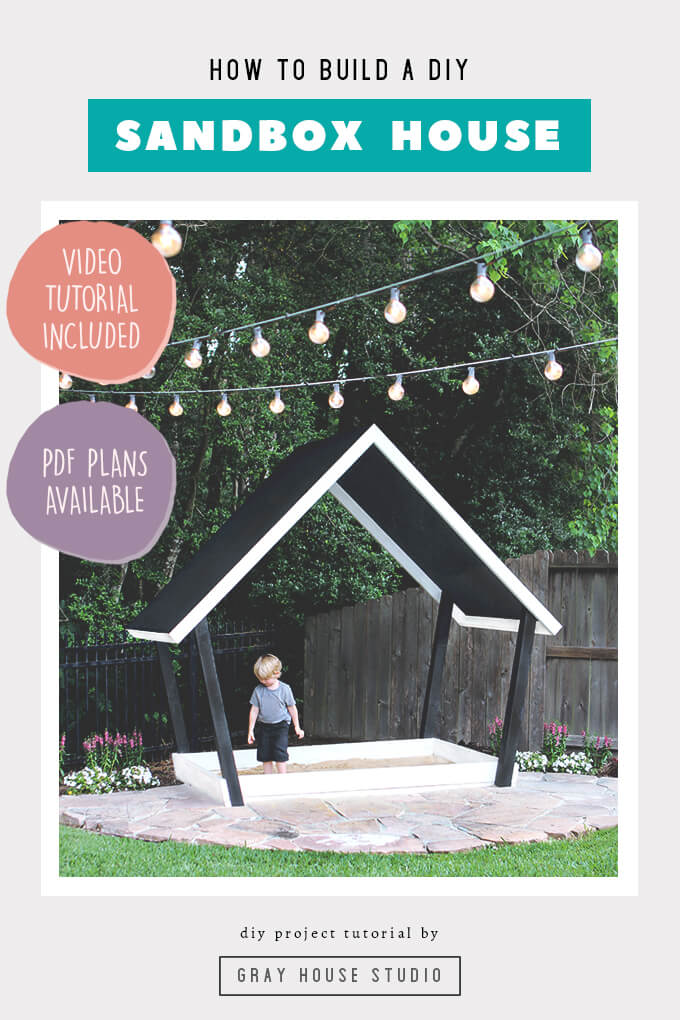
A DIY project tutorial showing how to build a sandbox shaped liked a house for your kids that looks nice in your backyard too!
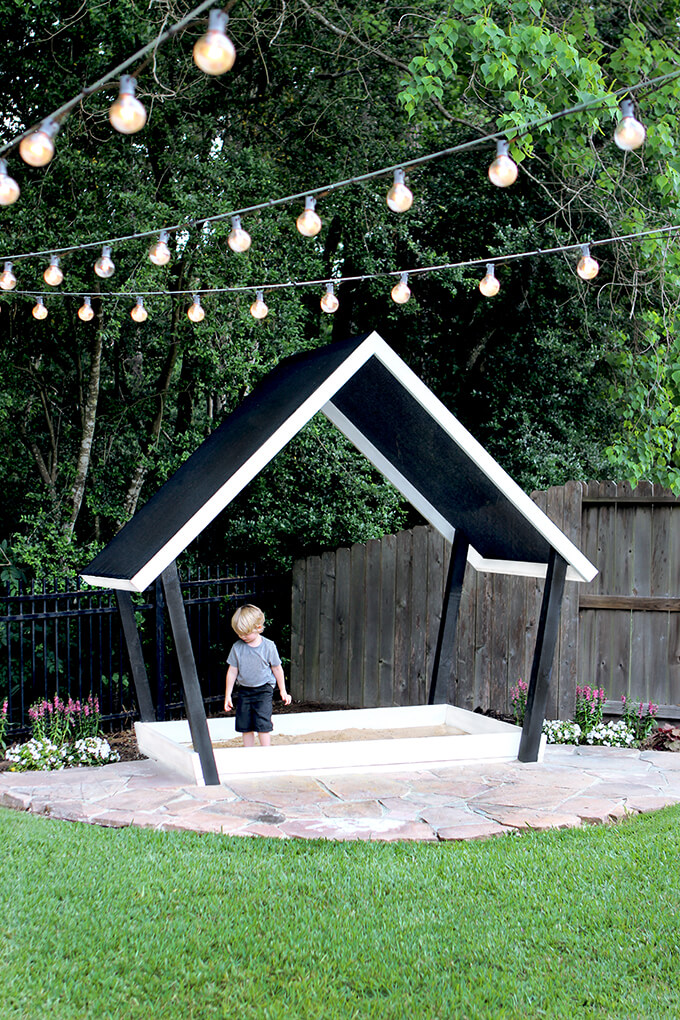
We are two years into our backyard makeover so believe us when we tell you we are more than excited to share our first backyard makeover DIY project, a black and white sandbox house.
Toddler and sand go hand and hand so we wanted to build a sandbox for our son to enjoy in our backyard. However, most sandboxes we were looking at to buy were an eye sore.
When we couldn’t find what we had in mind, we decided to make our own. Our goal was to design and build a sandbox that would add to the aesthetic of our new backyard design rather than detract from it.
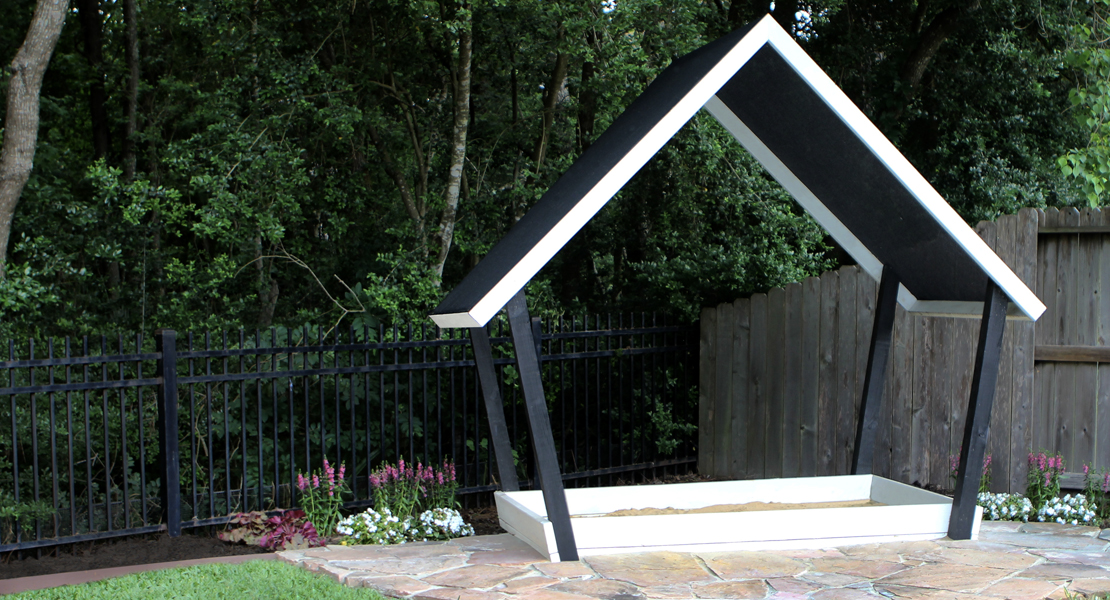
The result was this black and white sandbox in the shape of a house and we are so happy with how this corner of our backyard turned out!
We have a video tutorial, the steps and plans available below if you are interested in building this beauty for your kids.

Get a FREE digital file of our hand painted Summer Bucket List print over at our print shop website: MoonRockPrints.com
How to Build a Sandbox House
SUPPLIES
- Our Sandbox House Plans (Coming Soon)
- Miter Saw
- Drill
- Staple Gun
- 3″ Exterior Wood Screws
- (3) 4 in.x4 in. – 8 ft. Pressure Treated Pine
- (4) 2 in.x6 in. – 10 ft. Pressure Treated Pine
- (6) 2 in.x4 in. – 8 ft. Pressure Treated Pine
- White Exterior Paint
- Black Exterior Paint
- (10) Bags of Play Sand
- Black Heavy Duty Sun Screen Fabric Shade Roll
FYI: This post contains affiliate links to products we used for our sandbox house DIY project. As an Amazon Associate Gray House Studio earns from qualifying purchases. This is at no extra cost to you. We appreciate you supporting this site. Read our privacy and disclosure policy.
PROJECT PLANS
Our how to build a sandbox plans are coming soon! If you are interested, leave us a comment below and we will let you know when they are available.
TUTORIAL VIDEO
Subscribe to our YouTube Channel
Like our? Please subscribe and help us reach our goal of 100k subscribers.
STEPS
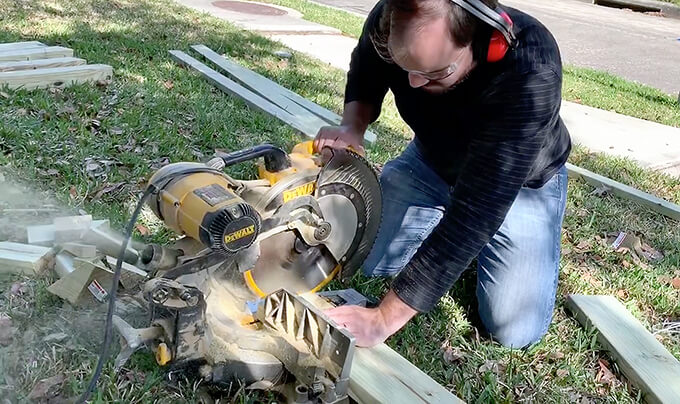
1. Brent started by using a miter saw to cut our boards down to length. The boards are listed above and the exact measurements they need to be cut to can be found in our sandbox plans.
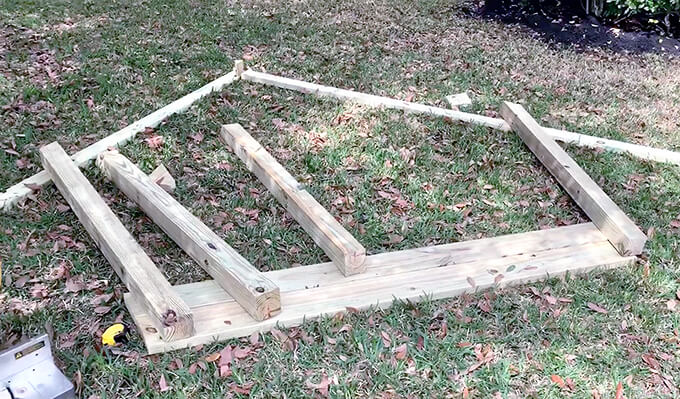
Our sandbox is 5ft. by 6 ft.
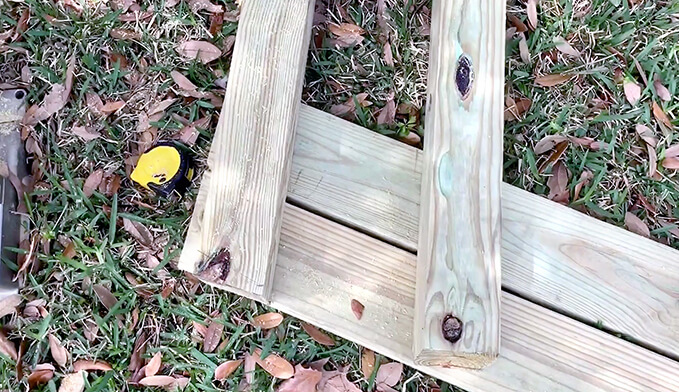
The angle we used to make our sandbox was 10 degrees on the bottom. So the 2x6s the sides of them are at a 10 degree angle. The bottom of the 4×4 is also at a 10 degree angle.
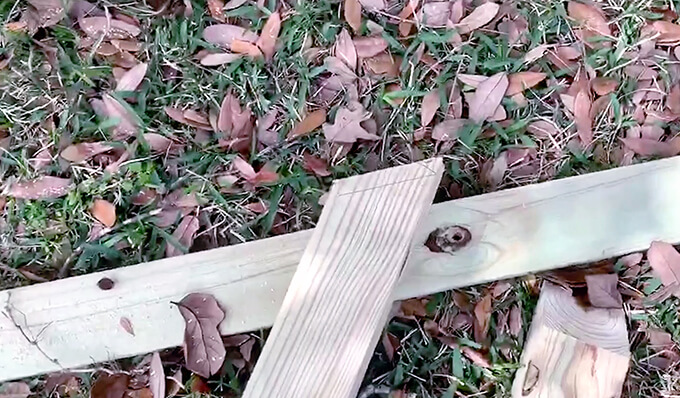
The top of the 4×4 is at a 35 degree angle because the roof slants at a 45 degree pitch.
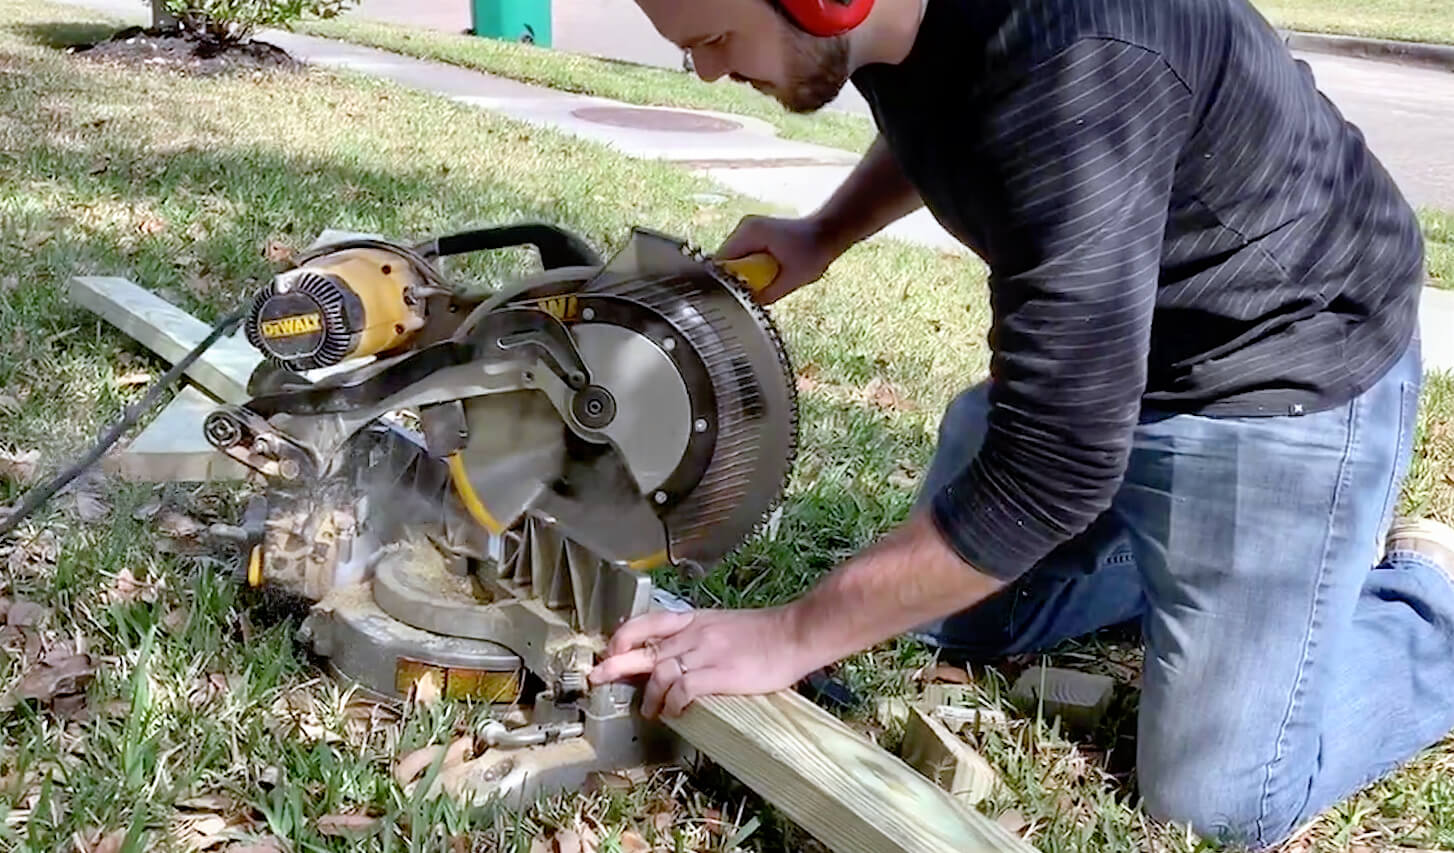
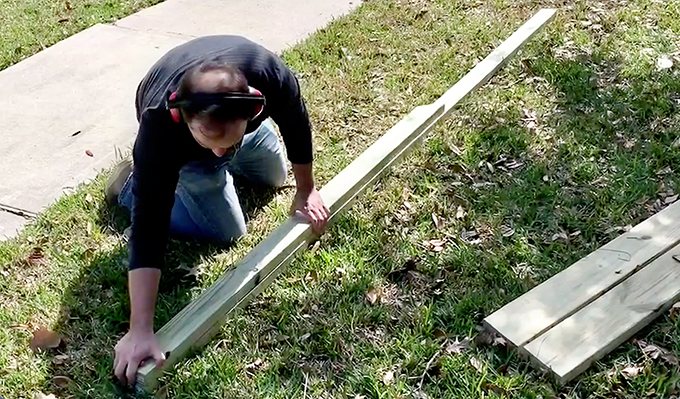
2. At the top of the roof the two boards go together at a 45 degree angle. Brent cut one board on the miter saw then used that same board to measure the second board so it would be the same length.
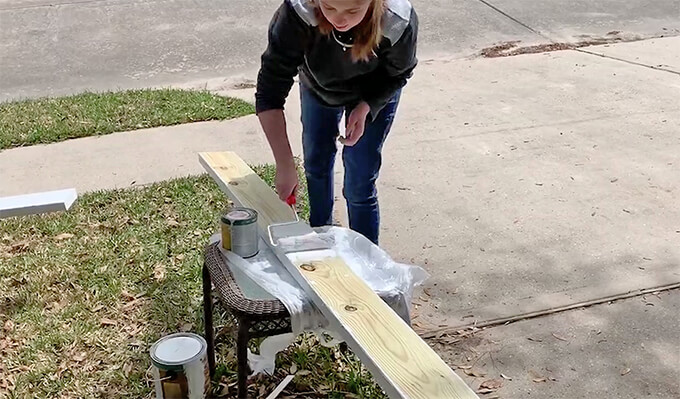
3. Next, I painted all the pieces of our sandbox using an exterior paint. We went with a simple black and white color scheme. It has been a year since we painted these pieces and the paint has held up well on the treated wood.
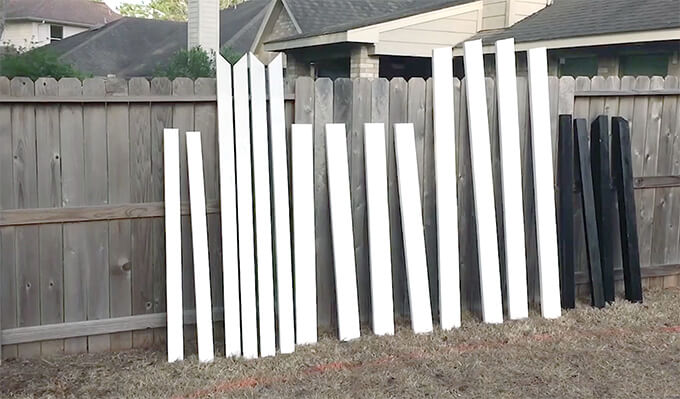
I painted the 4×4 vertical pieces black and the rest of the pieces I painted white.
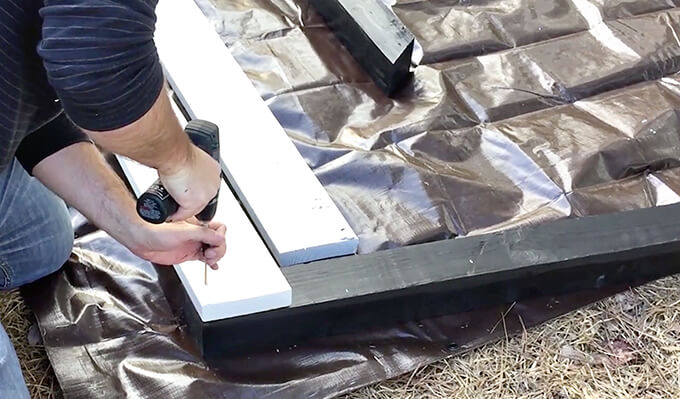
4. Brent and I worked together to start assembling the sandbox. We used 3″ exterior wood screws and a drill to assemble the base.
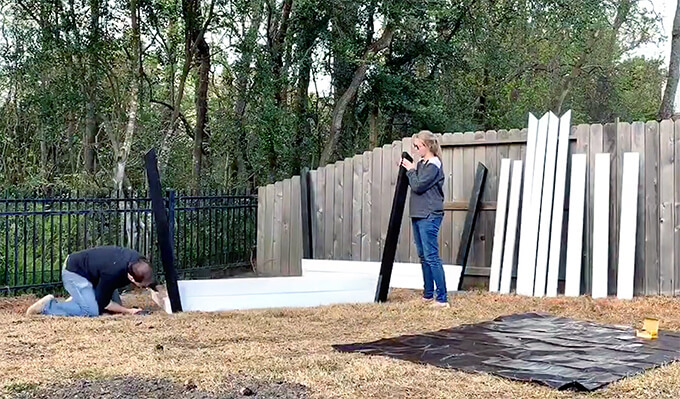
5. Then, we attached the bottom side pieces.
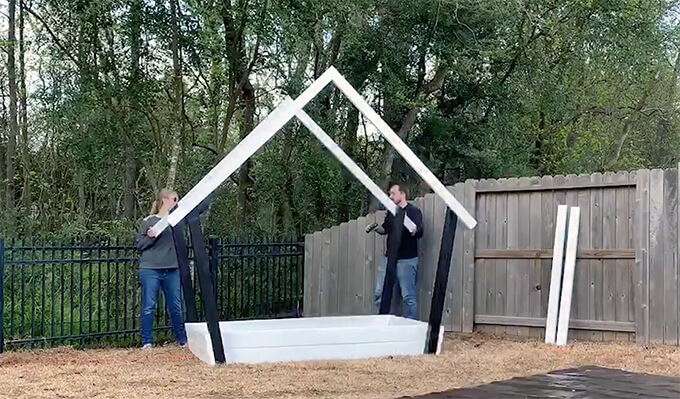
6. After that we attached the roof braces. The top braces are two 2x4s screwed together in an L to give it strength. Then the side 2x4s connect the braces together at the bottom.
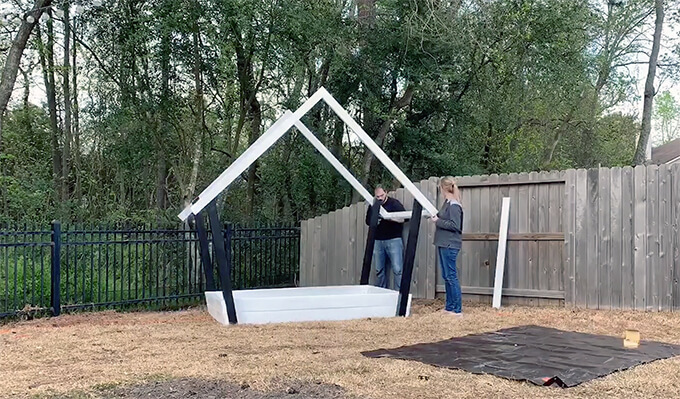
Then the side 2x4s connect the braces together at the bottom.
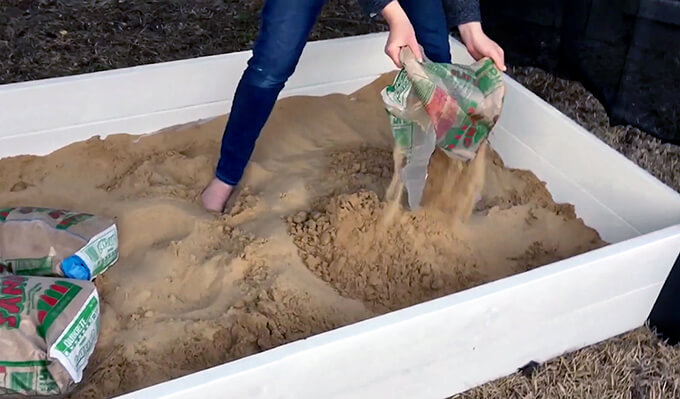
7. After lining the bottom of the sandbox with plastic, we filled the sandbox with play sand. It took about 10 bags to fill our sand box up.
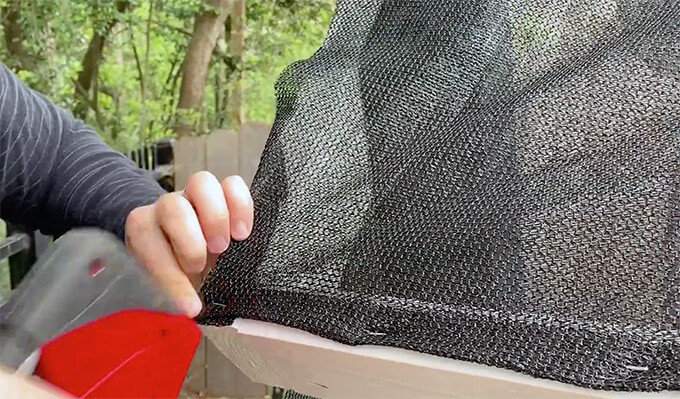
7. For the top cover we bought a 6″ wide roll of sun blocking fabric used typically for a shade canopy. To attach it we threw the roll over the top of the sandbox and then used a staple gun to attach it to the sides.
By starting with one side and going all the way up and then pulling the other side and folding the edge over gives it a clean look.
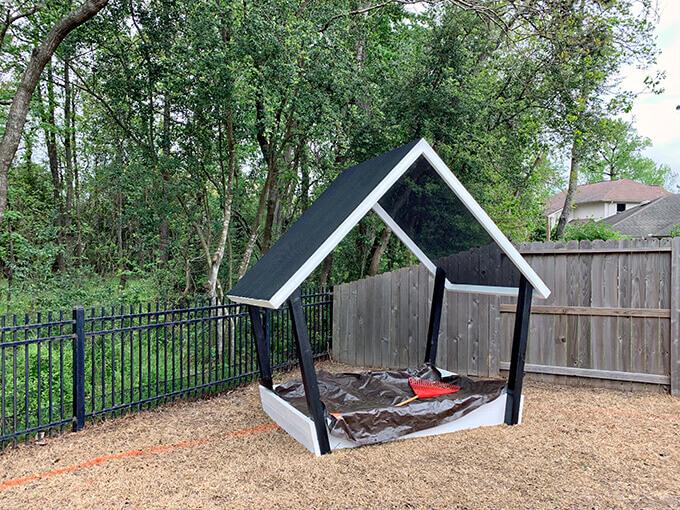
We actually finished building our sandbox over a year ago but the rest of this corner still needed a lot of help which is why we waited to share it until now.
We are still working on a solution for easily covering the sandbox. We use this tarp but it doesn’t work great. I am wanting to do some sort of wood cover that still allows for drainage so the water doesn’t pool on top.
If you have any suggestions please leave them in the comments section below!
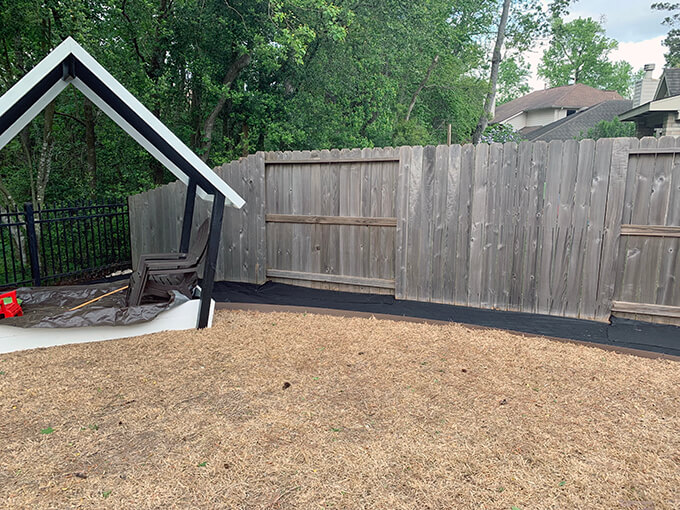
Since building the sandbox, we added flower beds around the perimeter of our backyard.
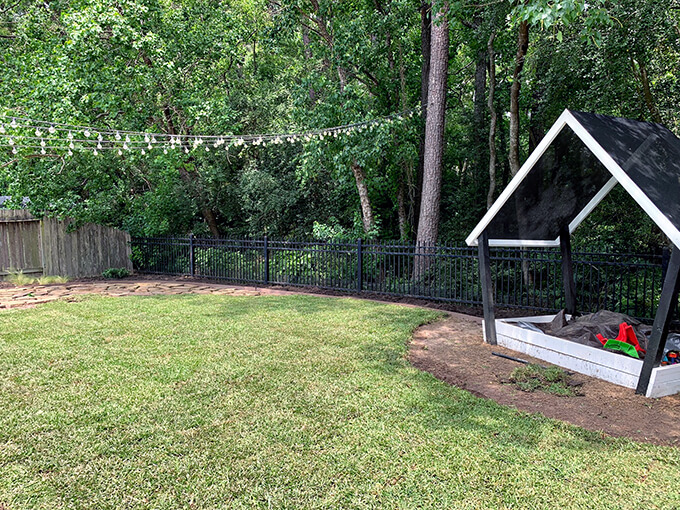
We planted all new sod.
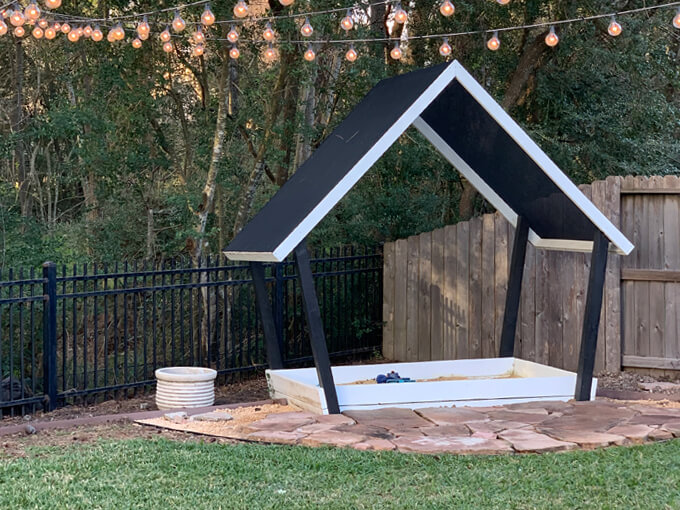
My parents gave us this stone they were no longer using in their backyard so we recycled it to make a little patio in front of our sandbox which really defines this space.
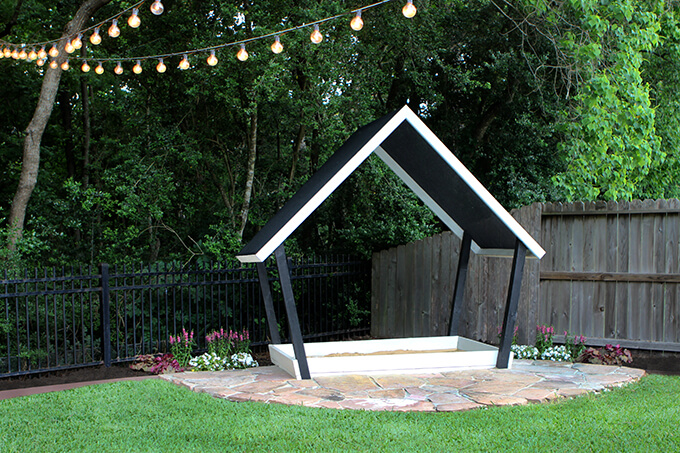
Finally, we filled in the flower beds around this area with plants.
It took about a year and 2 months from when we started the sandbox project to get this corner of our backyard completed and I am so happy with the results.
I am glad we got it finished just in time for Spring and social distancing. The grass is green, the flowers are blooming, and their is fresh sand ready to be played with.
If you enjoyed our how to build a sandbox tutorial and are thinking of building your own check out our sandbox house plans or pin this project later by clicking below.
I would say we are 80% done with our backyard makeover now that has been over 2 years in the making and we have a lot more projects to share so stay tuned!
PIN IT FOR LATER


Could you tell me what size bags of sand you used and if 10 bags was plenty or you would use more or less.
Thank you!
Adorable and exactly what I was looking for! Please let me know when you post the plans! So excited!
Thank you!!!!
Would love the sandbox plans.
I would like the plans for sandbox! It is awesome!