I am excited to share our son’s lumberjack birthday party with you today. It was a 1st birthday filled with flapjacks, flannel, family and fun!
Your child’s first birthday party is obviously more for you the parent than the child. Well, except for the cake part. There is no greater high for a one year old than that first taste of cake.
But hey, making it through that first year of parenting deserves celebration too!
We made just about everything ourselves which really is my jam. I had so much fun! I hope you get some inspiration if you are interested in throwing a lumberjack party yourself!
FYI: This post contains affiliate links to products we used and liked for our superhero birthday party. As an Amazon Associate Gray House Studio earns from qualifying purchases. This is at no extra cost to you. We appreciate you supporting this site. Read our privacy and disclosure policy.
let’s party! ✨ jump to the party supplies links
Lumberjack Party Theme
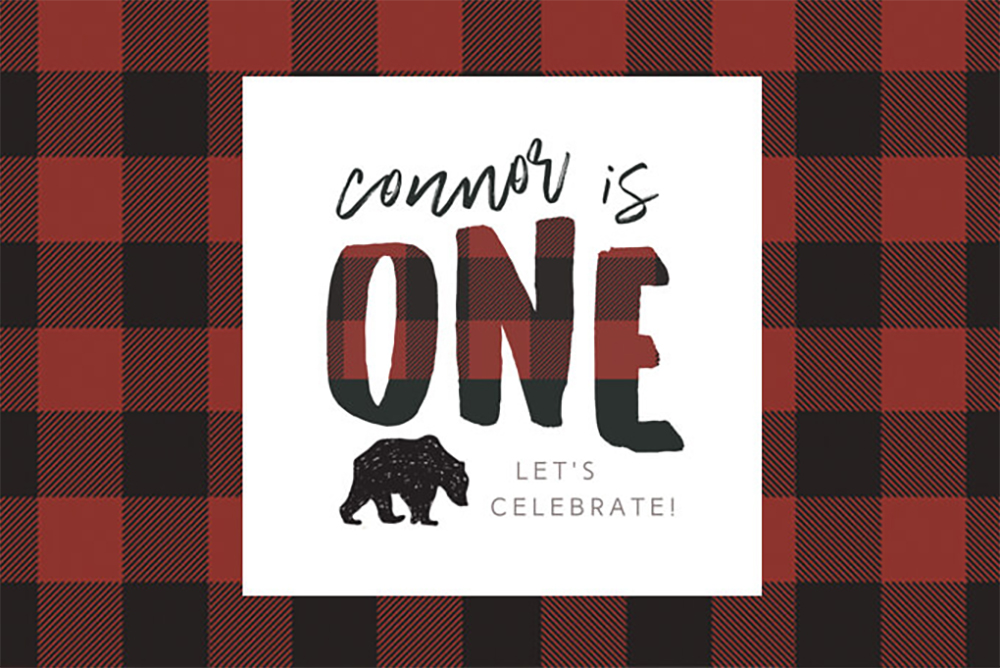
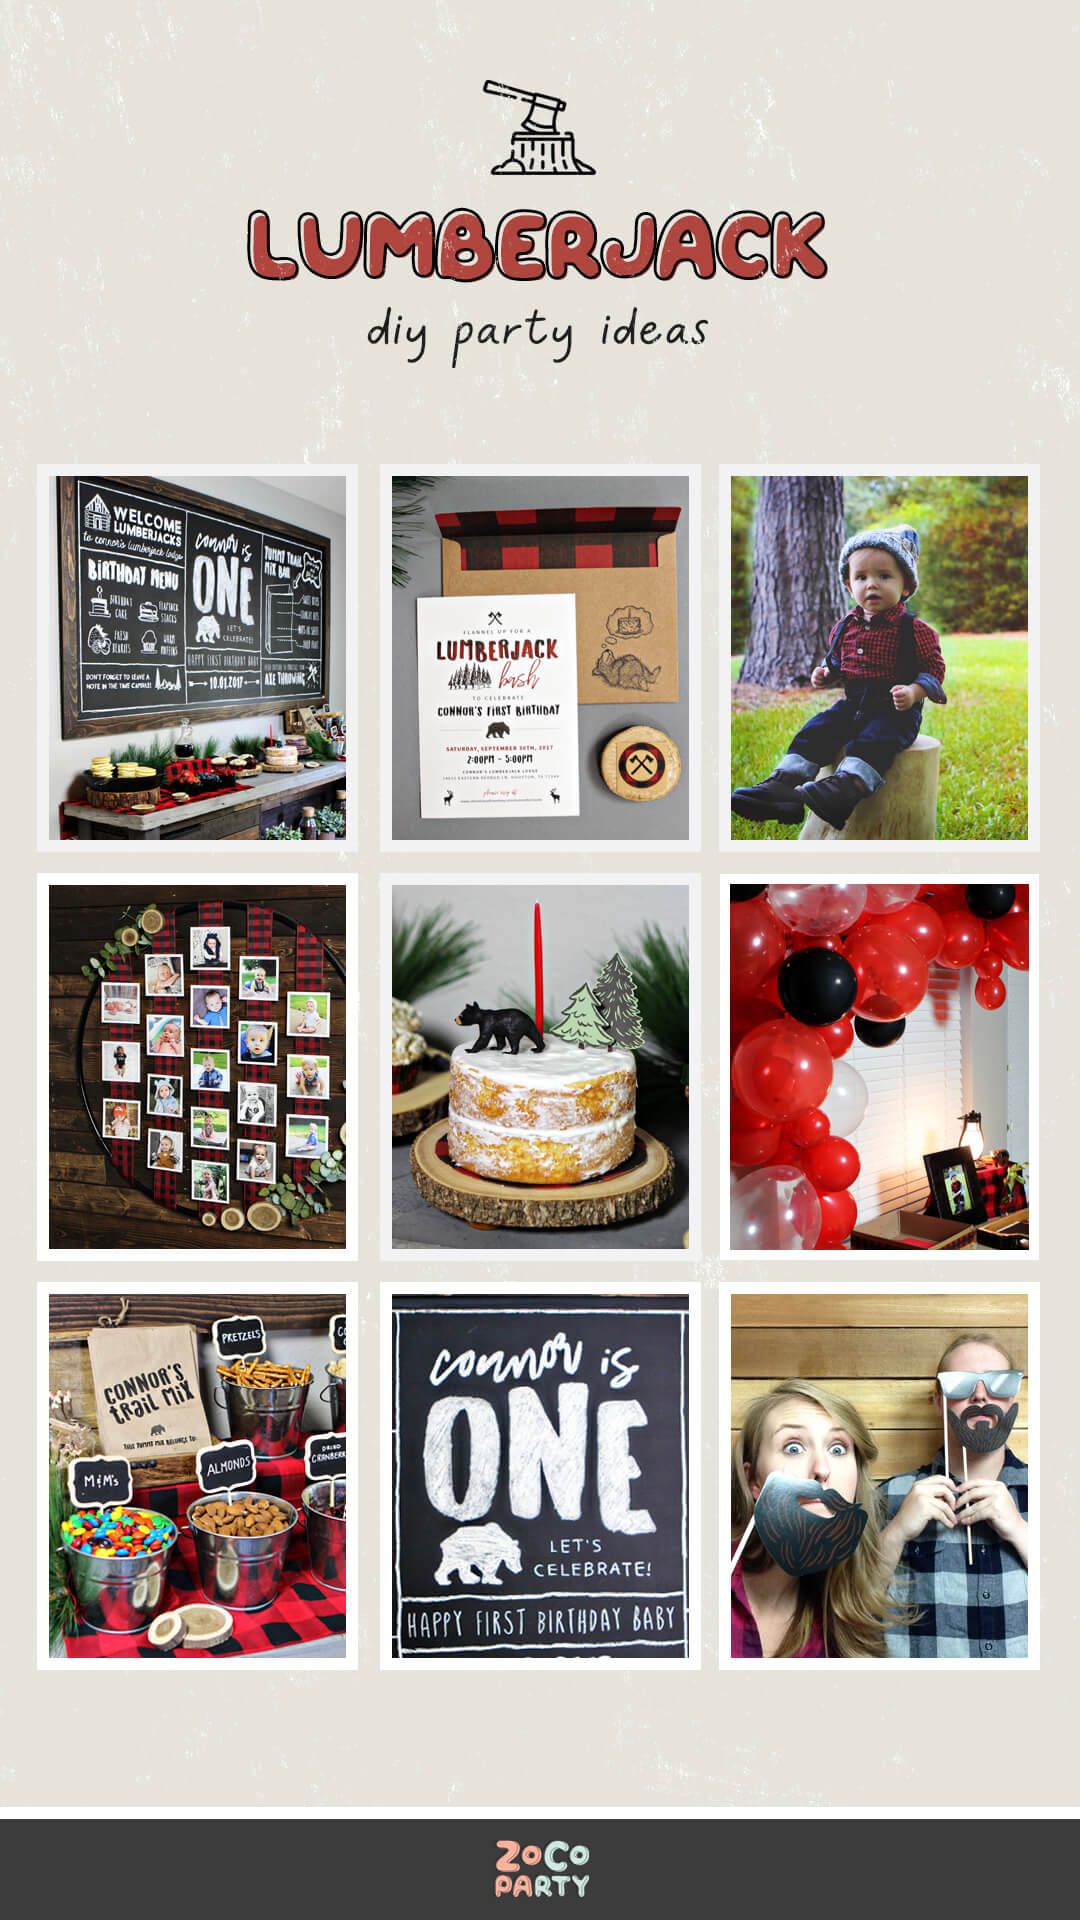
One year olds don’t have an opinion on their birthday theme. So I decided to expand on our son’s outdoor nursery theme and make over our house into a lumberjack lodge. Lumberjacks, plaid, forest, and bears were the inspiration and elements I included in my lumberjack party details.
Lumberjack Costume
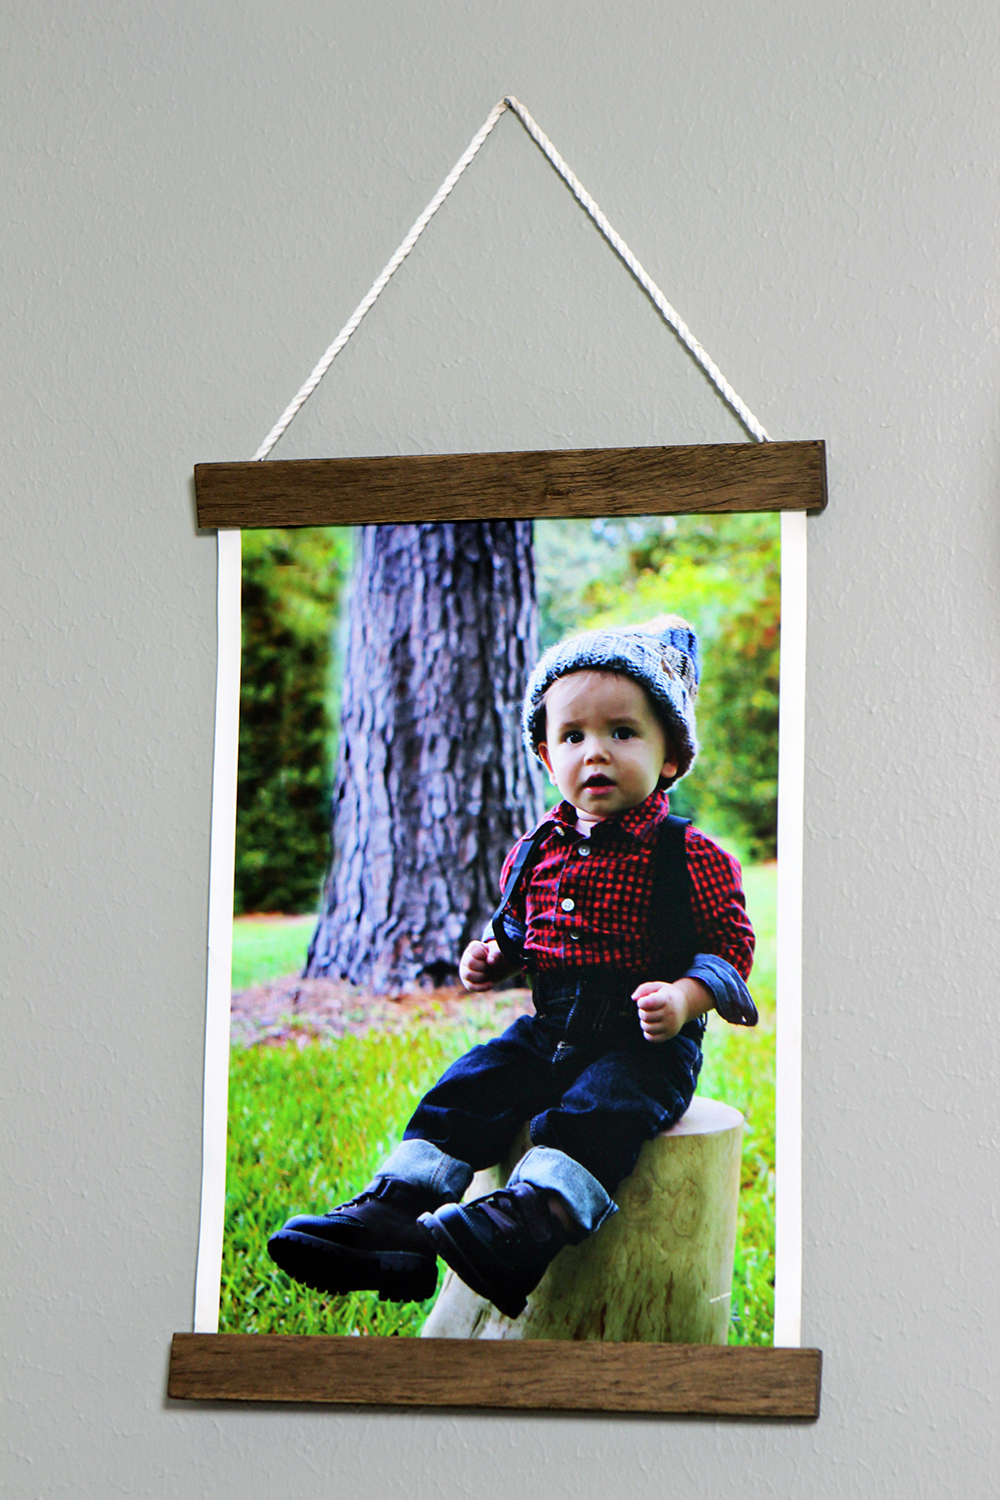
One of my absolute favorite things to do with my kid’s birthday parties is have them dress up on theme and do a photo shoot before their party. The trick to getting good photos is to play pretend while you are snapping the photos and you get really great shots that you can incorporate as party decor.
Lumberjack Party Invitations
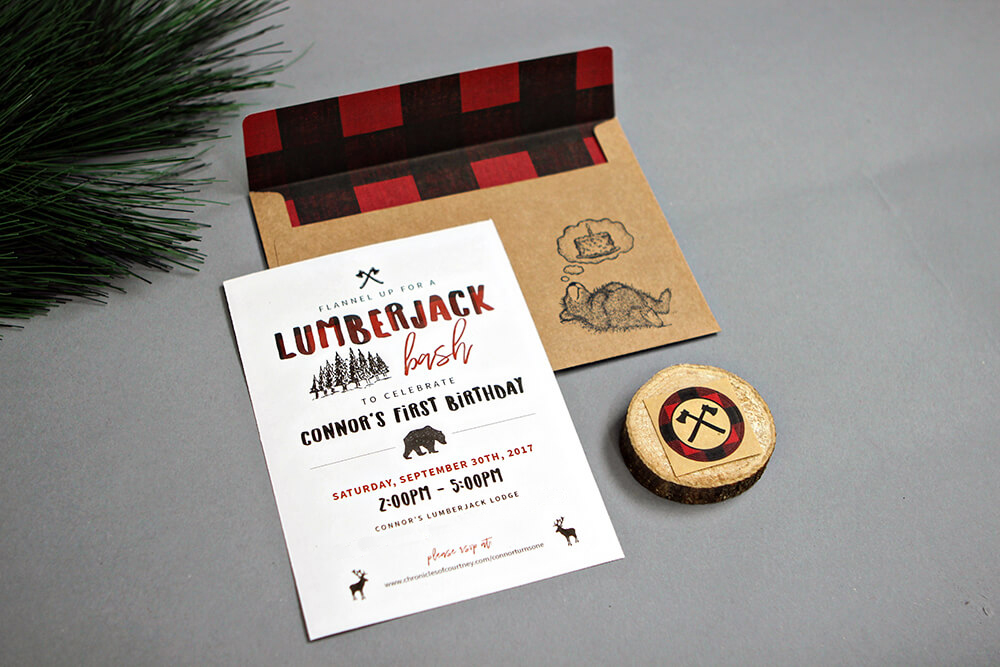
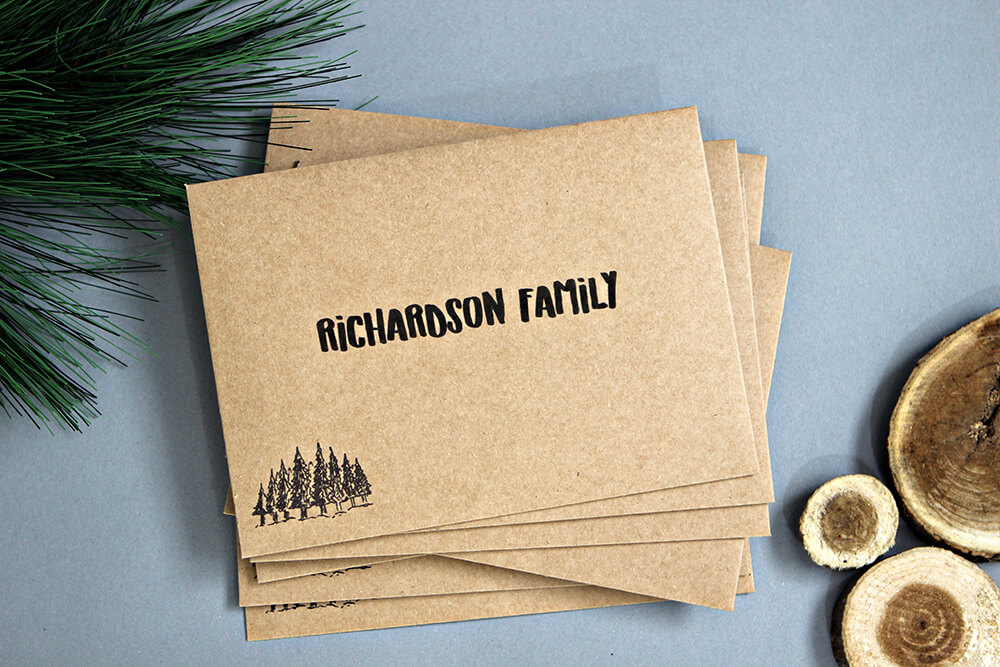
I designed the invitations, envelopes, and time capsule notes and printed all the pieces on our home printer.
For the envelopes I purchased buffalo check scrapbook paper and glued it on the inside of kraft envelopes to tie them into the theme of the party. I also used these lumberjack envelope seals.
We had a lumberjack photoshoot ahead of time and took some cute photos of Connor to display around the party. We included one of the photos on the back of the invitation.
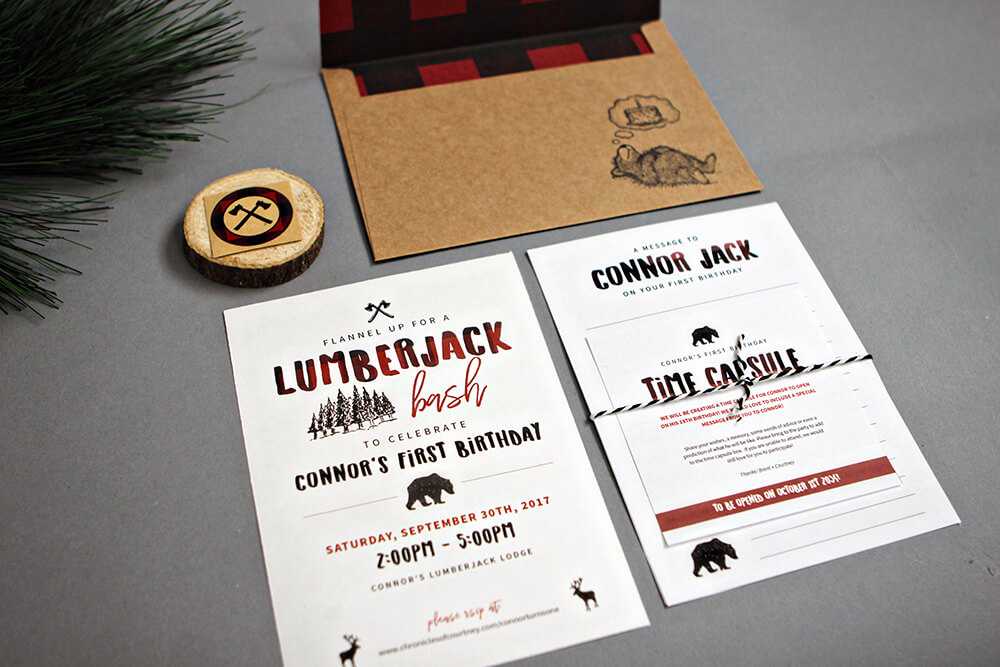
I love the idea of having a time capsule at 1st birthday parties. Guests write notes to the little one on their first birthday and then they open all the notes on their 18th birthday.
I designed a lined note card and included it in the invitation so guests could write their message ahead of
time and not feel rushed. Guests that could not attend in person also participated and mailed in their cards.
Lumberjack Party Food
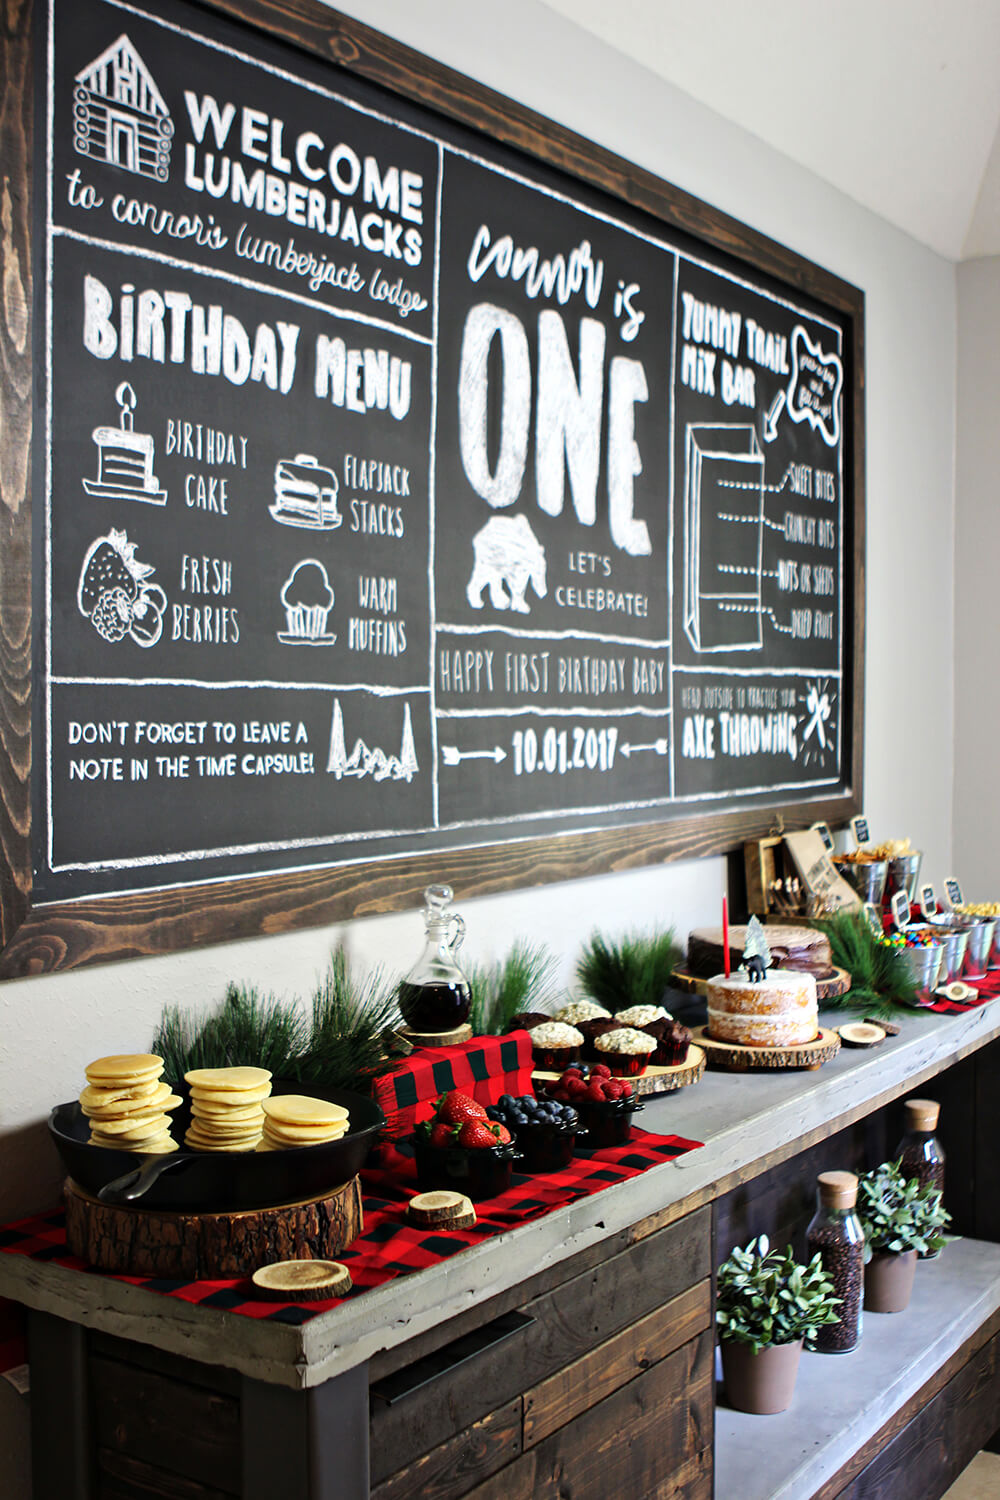
Our coffee bar was the perfect place to display all of our lumberjack lodge goodies.
We cleared it off for the party and even gave the large framed chalkboard a fresh look. We created a special design specifically for the lumberjack themed 1st birthday party.
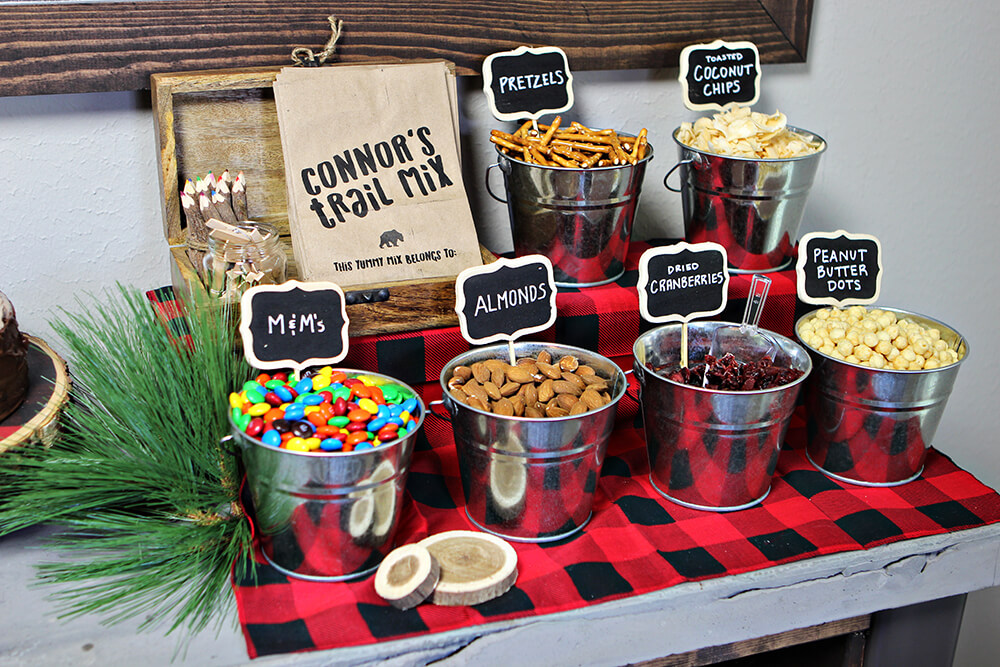
At one end of the coffee bar was a trail mix station where guests could make their own yummy trail mix. Galvanized buckets held all of our our trail mix goodies.
I took regular brown paper lunch sacks and cut the tops off to make them a little shorter. I printed a design on the front of them by taping each one to a piece of paper to run through our home printer. That was really time consuming! And probably not worth it.
Next to the paper sacks were twig colored pencils for guests to use to write their names on their bags and mini clothespins to keep the bags closed in case they wanted to take their trail mix home with them.
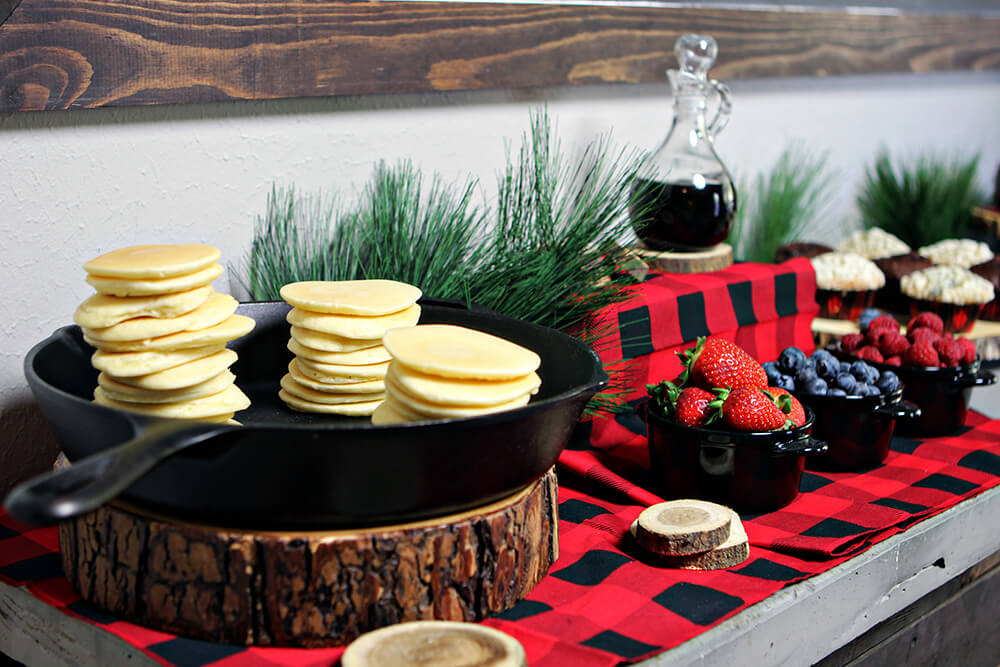
On the other end of the bar were mini flapjack stacks displayed in a cast iron skillet with syrup and fresh fruit.
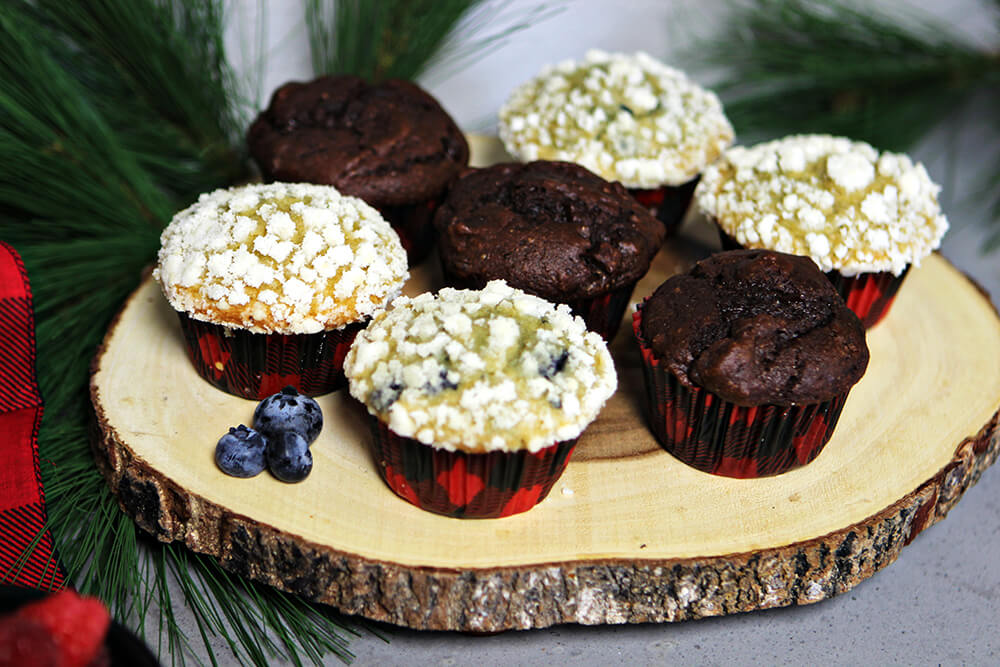
Keeping with the breakfast food theme, we also had warm chocolate and blueberry muffins. I love the buffalo plaid cupcake liners!
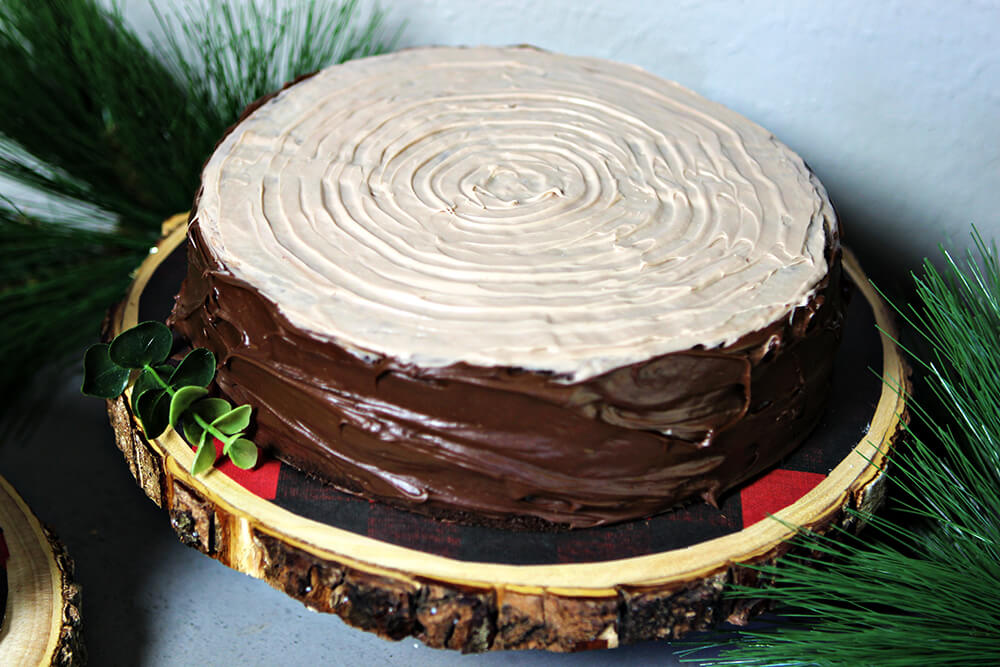
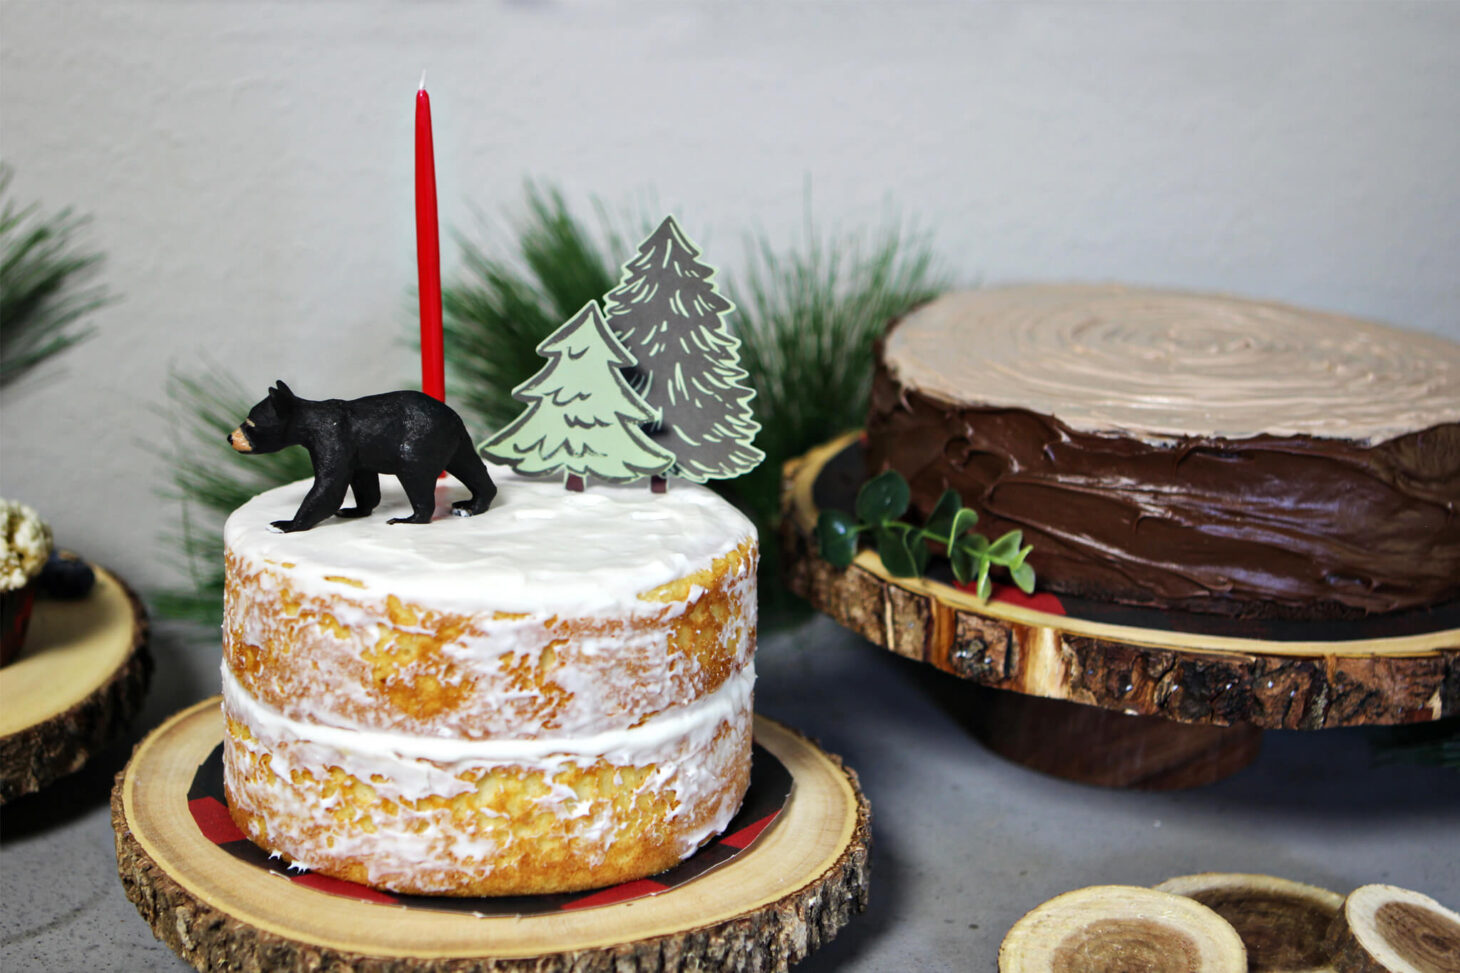
Brent baked two small cakes and they both turned out so cute and delicious! The guests were treated to this yummy chocolate cake.
Lumberjack Party Cake
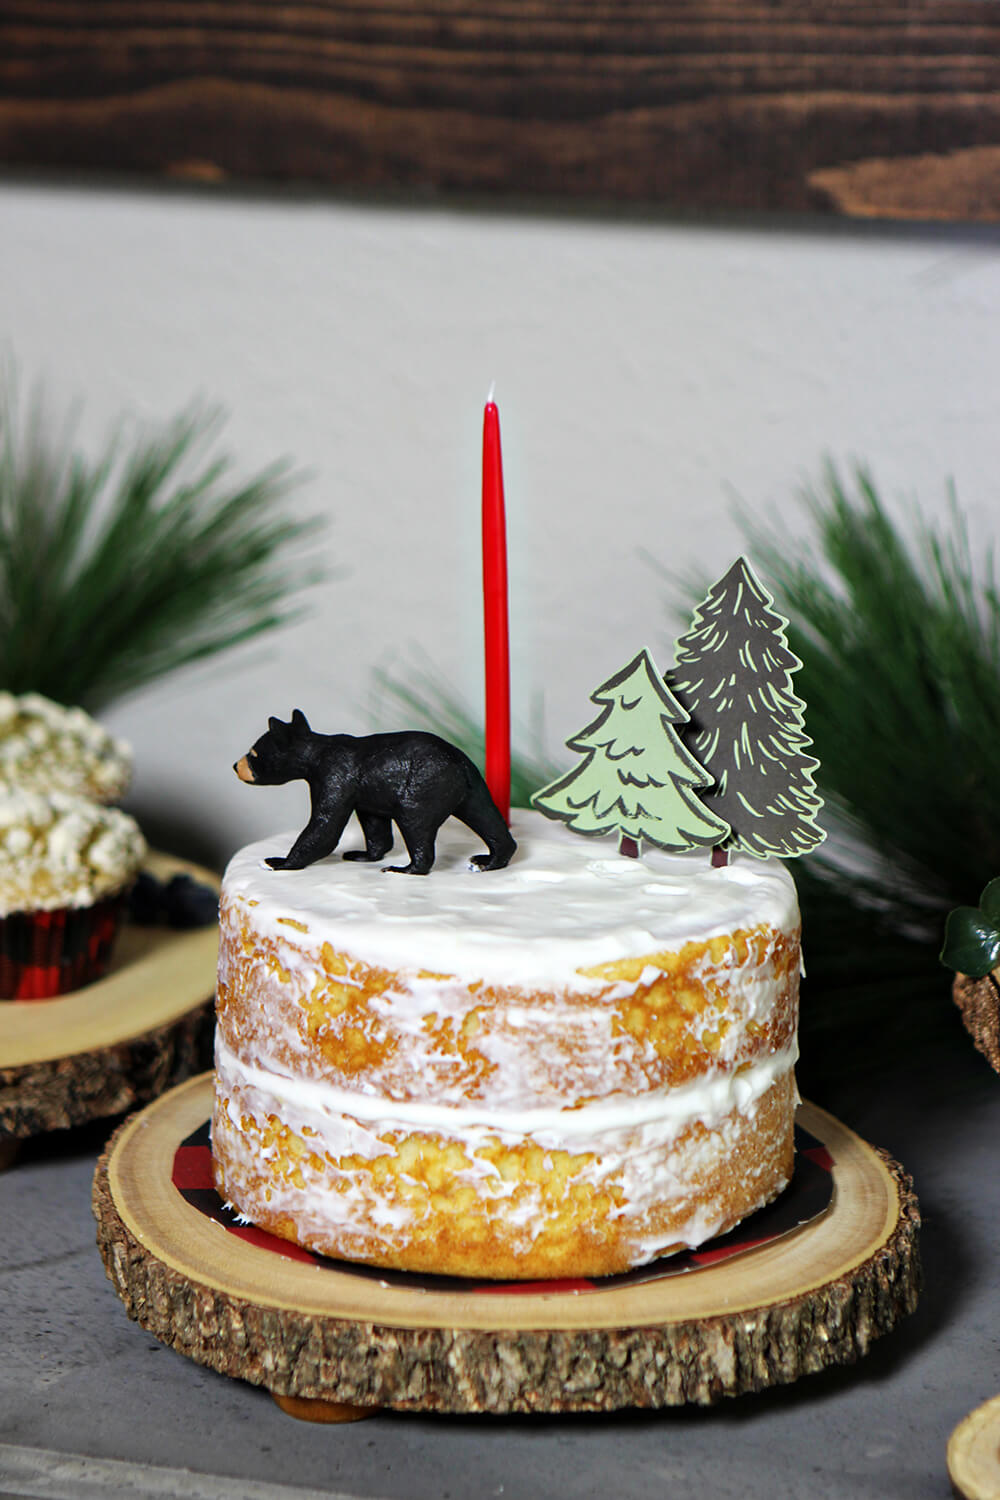
For Connor’s cake Brent baked a vanilla cake. We went easy on the icing. I ordered a cute little bear cub figure and the trees were paper die-cuts that we taped to toothpicks.
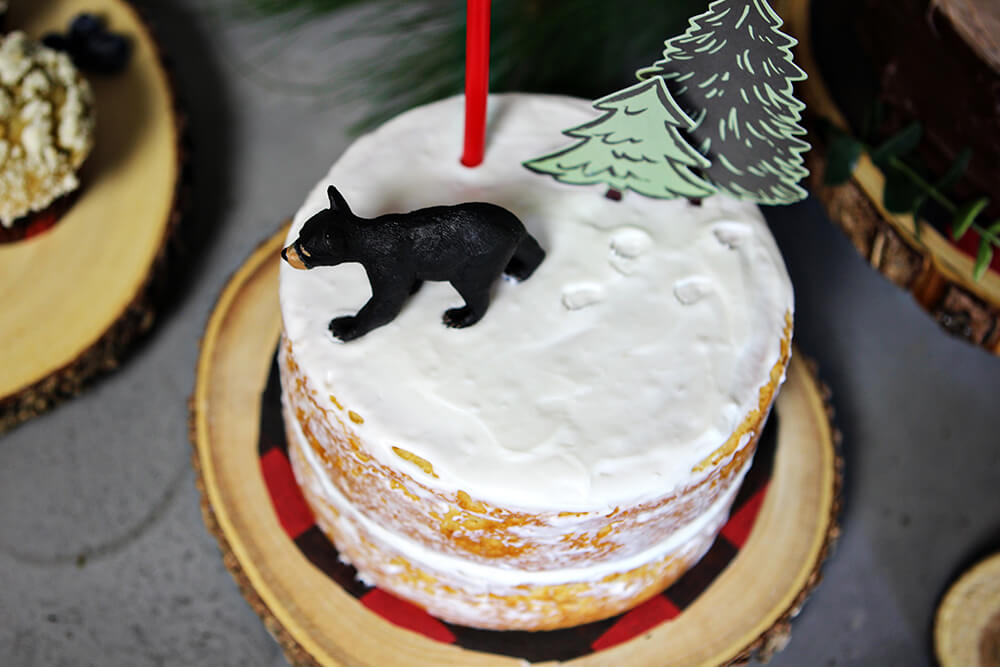
It was Brent’s idea to make bear footprints in the icing (“snow”) which I thought was a clever and creative idea!
First 12 Months Photo Display
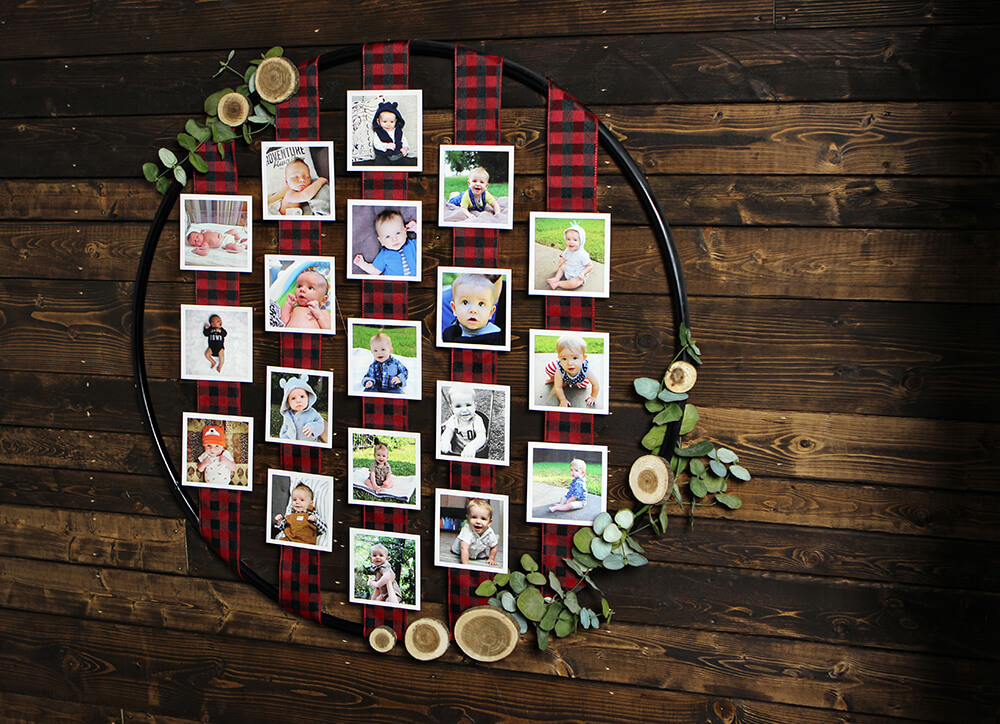
To display photos of Connor’s first 12 months we made this cute display using plaid ribbon and a spray painted hula hoop. This was a big hit with the family and all the grandparents wanted to take the display home with them.
It was super cheap and easy to make Check out our tutorial for making this photo display.
Time Capsule Table
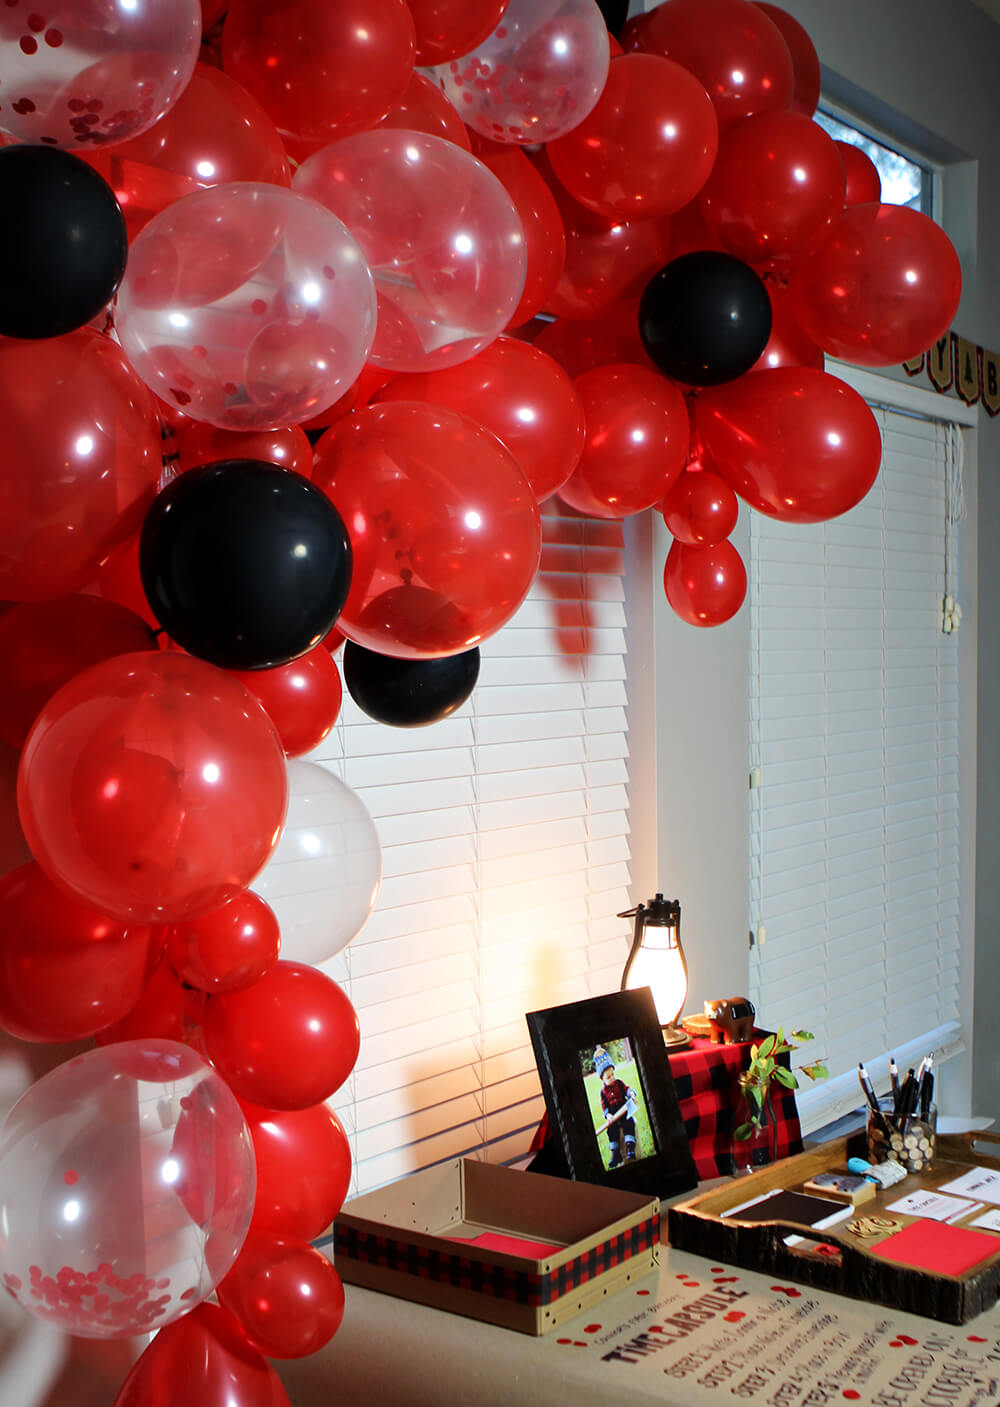
We created a balloon arch over our time capsule table using a variety of red balloons, clear balloons, and 10″ black balloons.
To hold the balloons in place we used balloon arch decorating strips that actually worked pretty well.
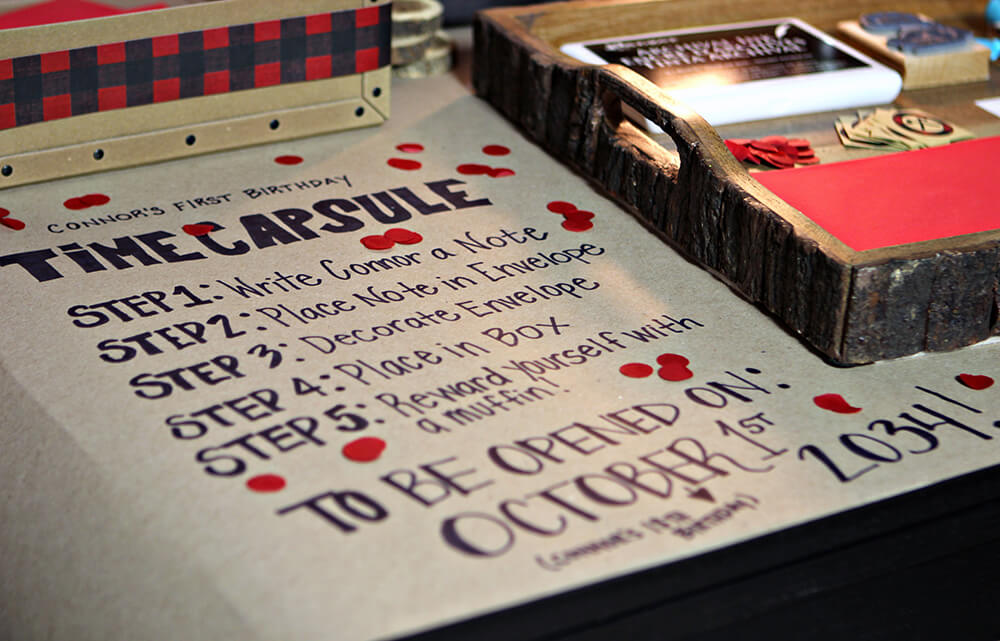
We knew we wanted to incorporate a time capsule box at the party and I am so glad we did! It will be the gift that gives 18 years from now. Brent and I are close with our grandparents (Connor’s great-grandparents) so the idea that when he turns 18 he will get message written to him personally from his great-grandparents is so special.
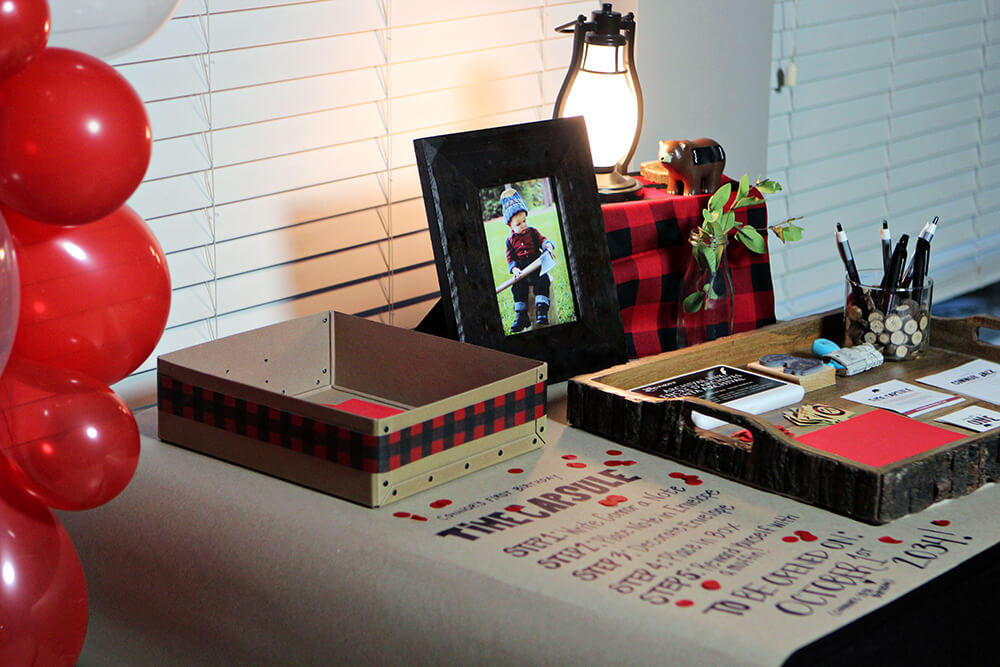
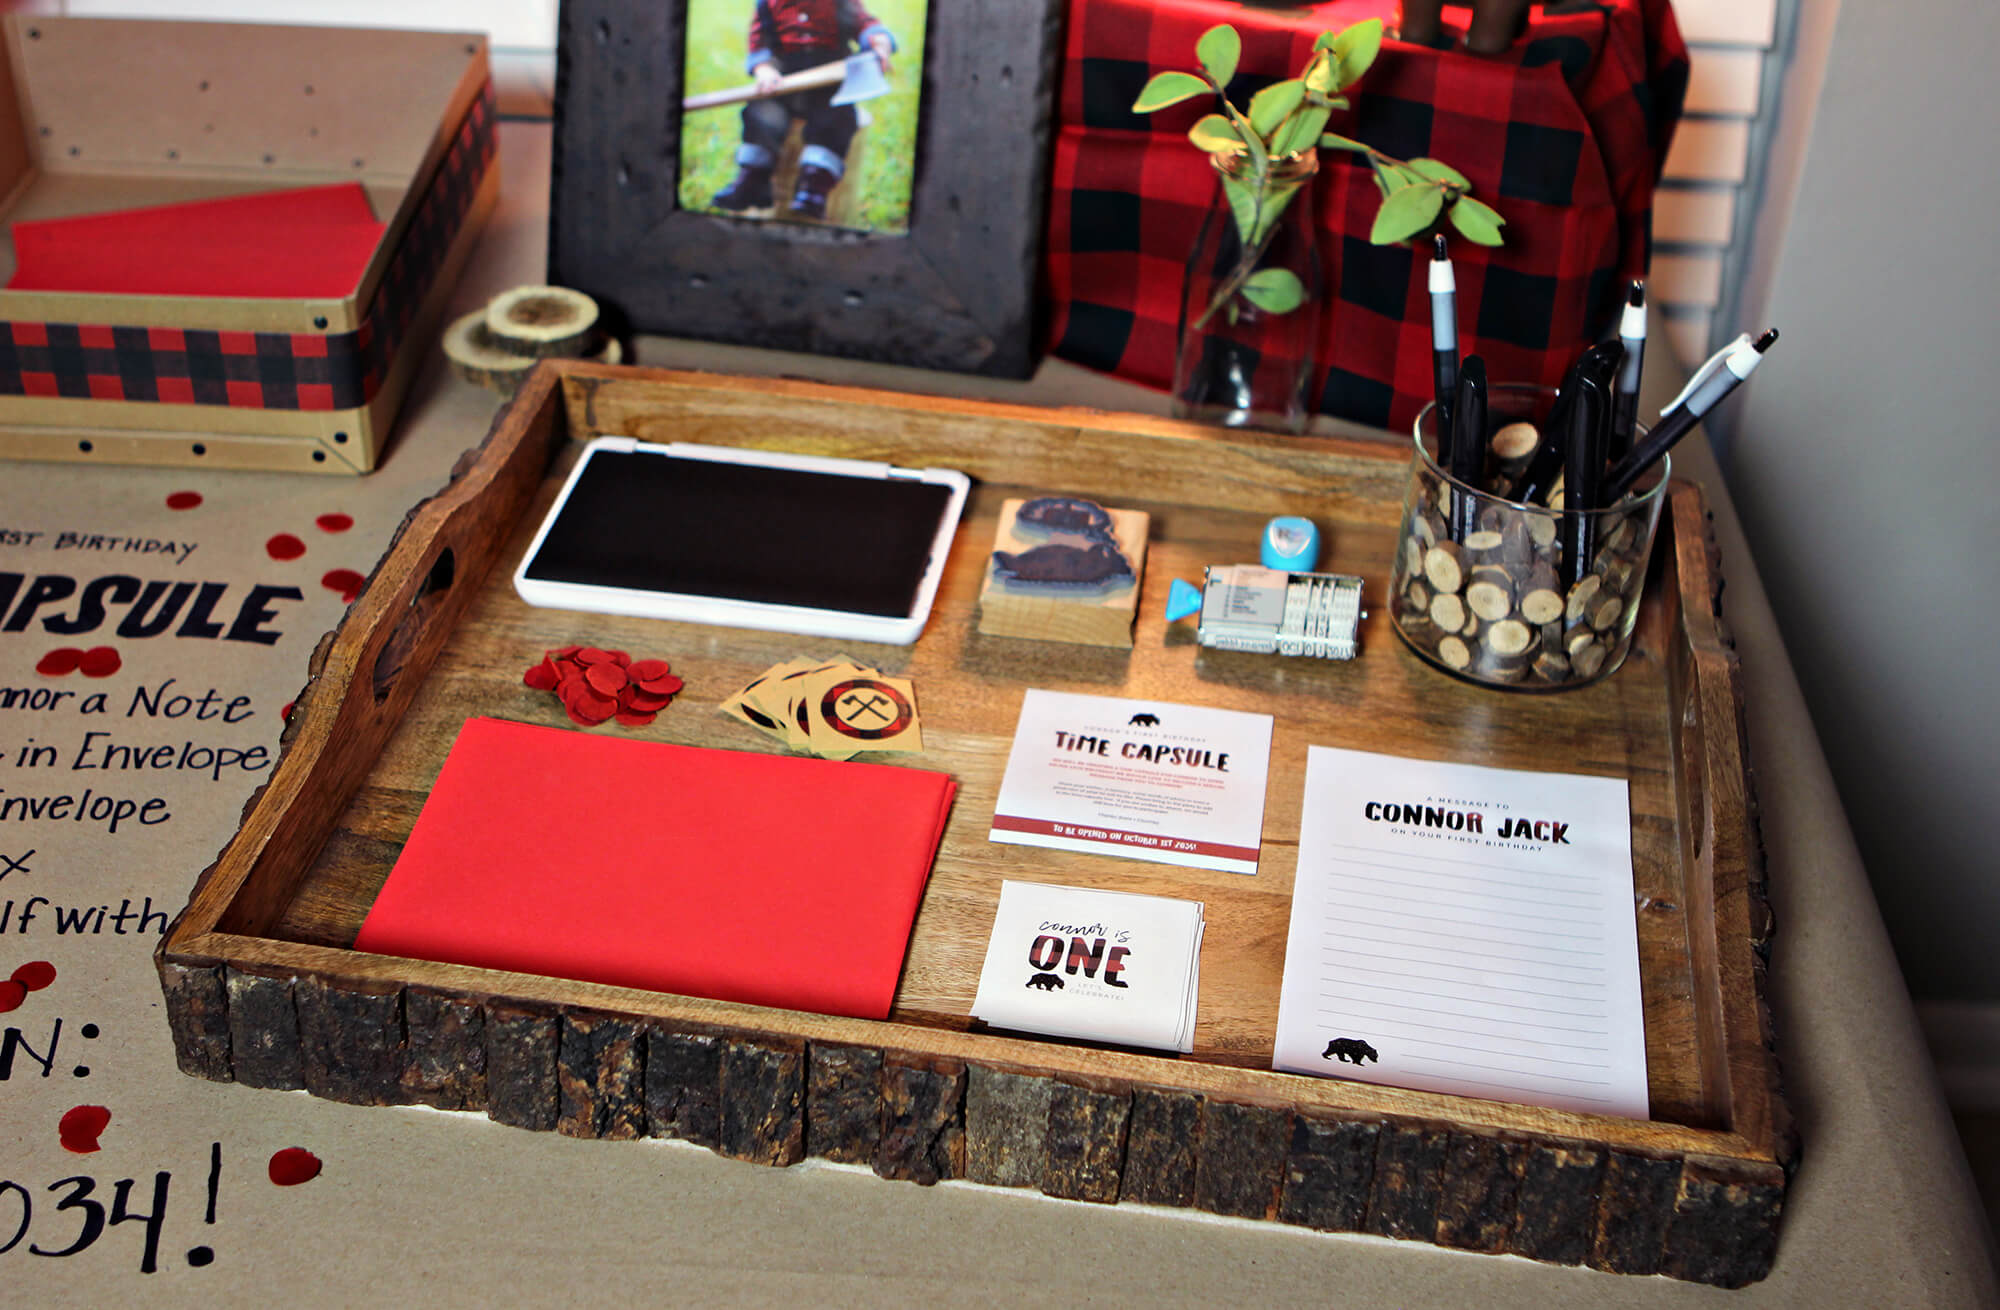
We set up a table at the party under a balloon arch for guests to decorate red envelopes with stickers and stamps and place their letters that they brought into the time capsule box. So in 2034 there will be letters from his parents, aunts, uncles, grandparents and great-grandparents for him to enjoy reading.
Lumberjack Photo Booth
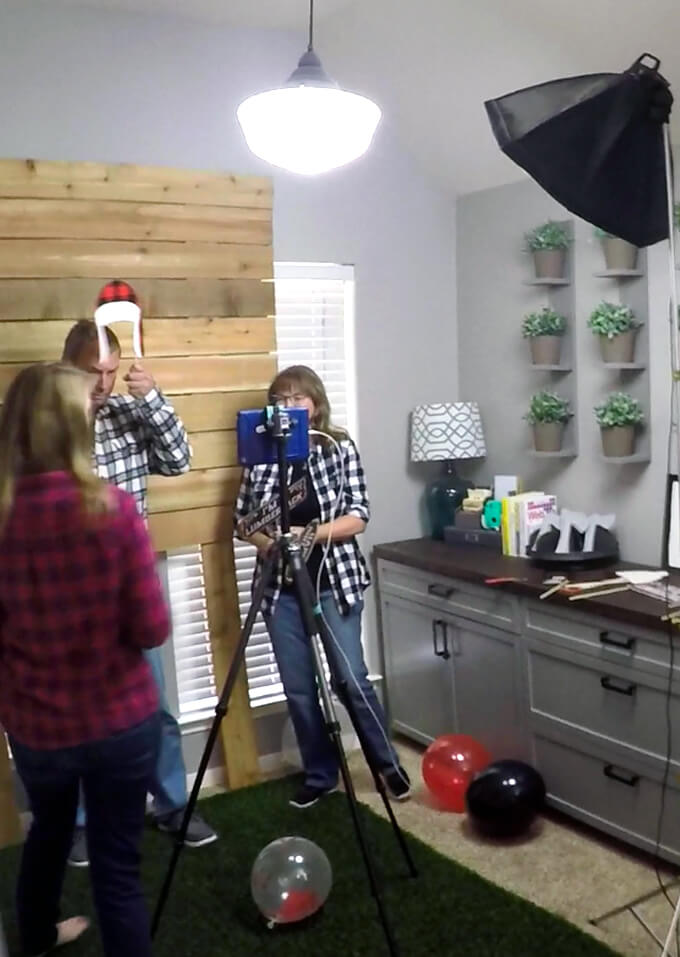
The photo booth was the last piece of the puzzle we finished up right before guests arrived and I realized we never got a great photo of our set-up. Bummer. But hopefully this poor quality one at least gives you an idea.
Brent made the backdrop out of cheap cedar fence pickets. Then we laid out an artificial grass rug. We set up my iPad on a tripod so that the screen was facing the backdrop. We also added one of our lights to make sure the pictures were nice and bright.
To take the photos we used an app called Photo Timer+ that worked really well. I liked it because it was really simple and allows you to set the countdown time and the number of pictures it takes. Then, all guest have to do is press a button and they can see a countdown. After the photos are taken they are stored in your camera roll. It worked perfectly.
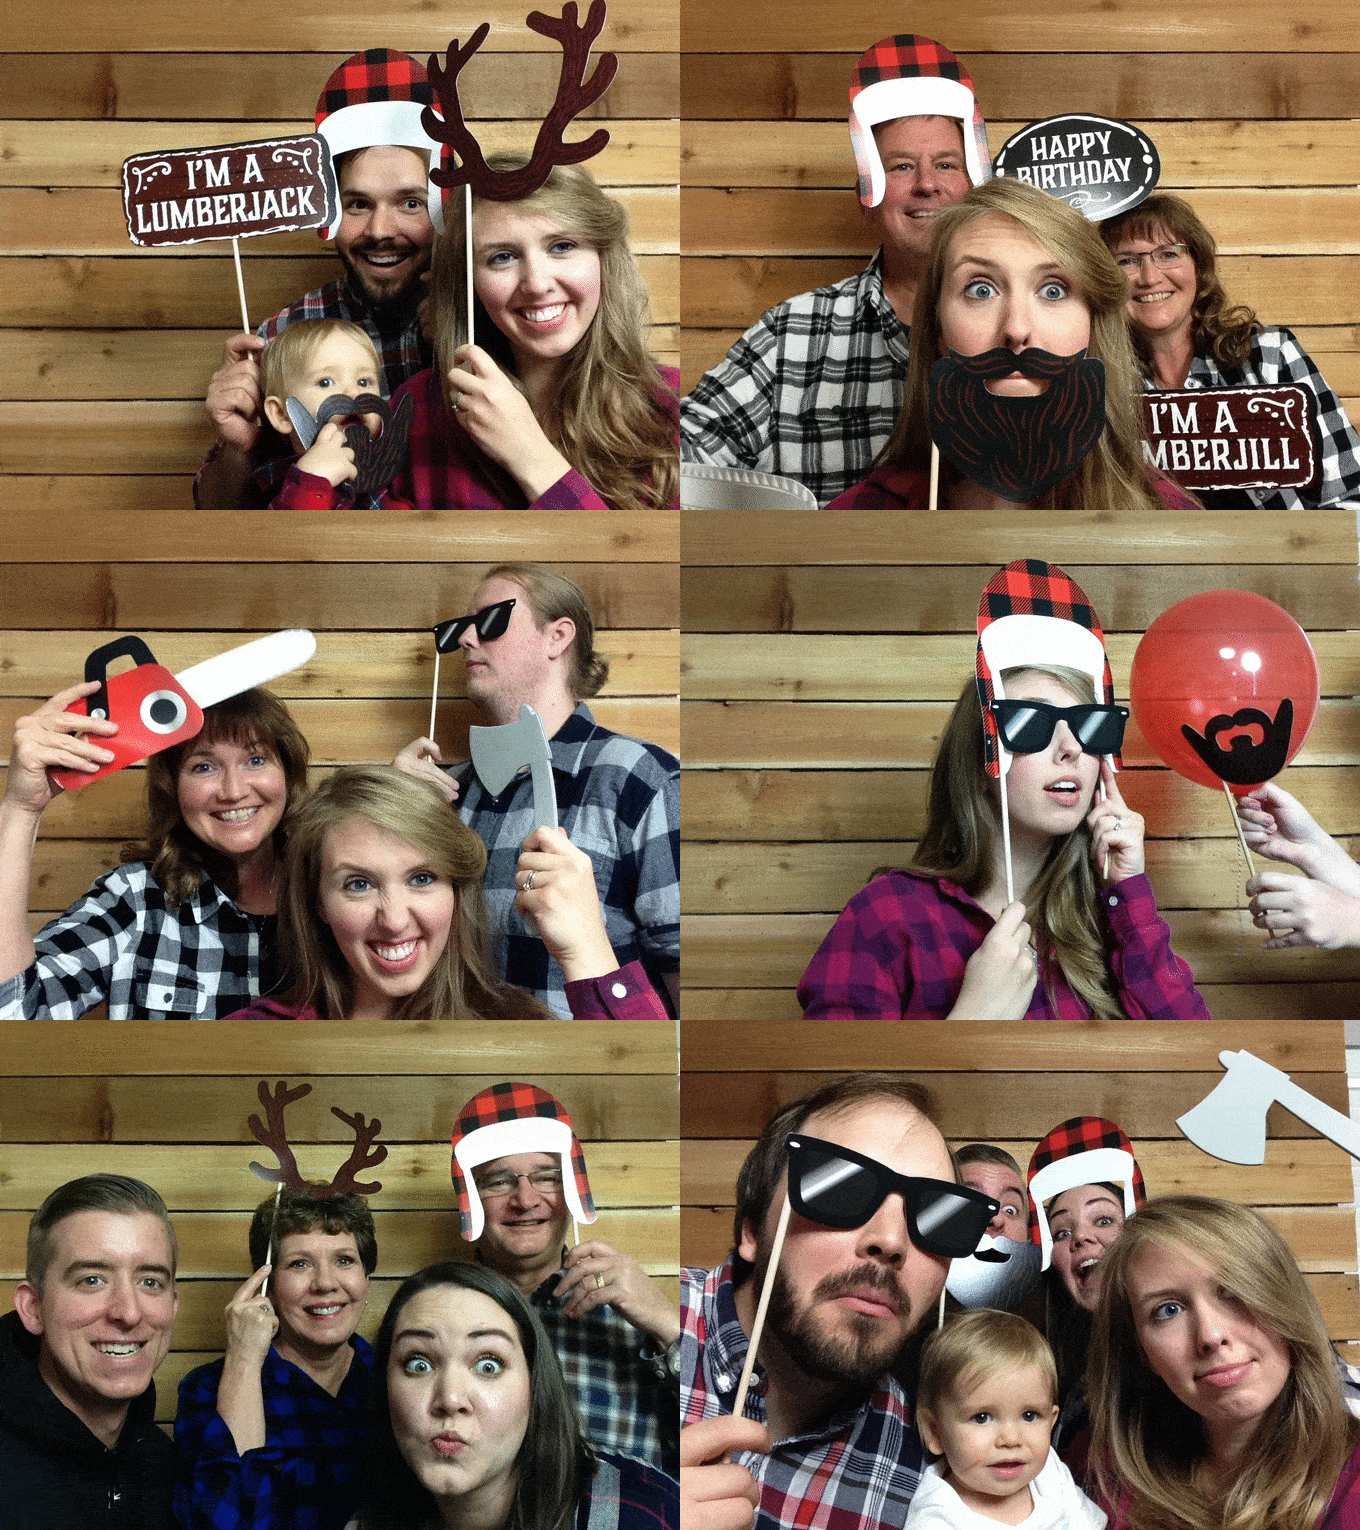
What’s a photo booth without props? We had planned on making our own but ran out of time so the easiest thing was to order some off Amazon. Yep, Amazon is a party planner’s friend these days. The lumberjack photo booth props set came with 34 pieces that were nice and sturdy and easy to assemble.
They were better than we could probably have made anyway. Sometimes you DIY and sometimes it is just easier to buy.
Lumberjack Party Supply Sources
shop all the supplies in one place in our Amazon idea list
- Invitation Design: Contact us to purchase a personalized digital copy
- Font in Invitation & Logo: Originals Typeface
- Script Font in Invitation & Logo: Wilderness Typeface
- Kraft Envelopes
- Envelope Liner: Buffalo Plaid Scrapbook Paper
- Lumberjack Envelope Seals
- Mini Wood Slices
- Chalkboard Design: Courtney
- Red & Black Buffalo Check Bandana
- Galvanized Buckets
- Twig Colored Pencils
- Cakes: Brent
- Buffalo Plaid Cupcake Liners
- Lumberjack Ax Cupcake Toppers
- Hula Hoop Photo Display
- Bears Watercolor Print
- Bear Cub Figure on Cake
- Wood Cake Stand
- Silver foil “1” balloon
- Photo Booth Props
- Red Tissue Tassel Garland
- Pine Branches
- 12″ Red Balloons
- 12″ Clear Balloons
- 10″ Black Balloons
- Balloon Arch Decorating Strip
FYI: This post contains affiliate links to products and supplies we purchased for this party. Gray House Studio does receive commissions for sales from these links but at no extra cost to you. We appreciate you supporting this site. Read our privacy and disclosure policy. You can also easily shop our recommended products here.
✨ Party Time ✨
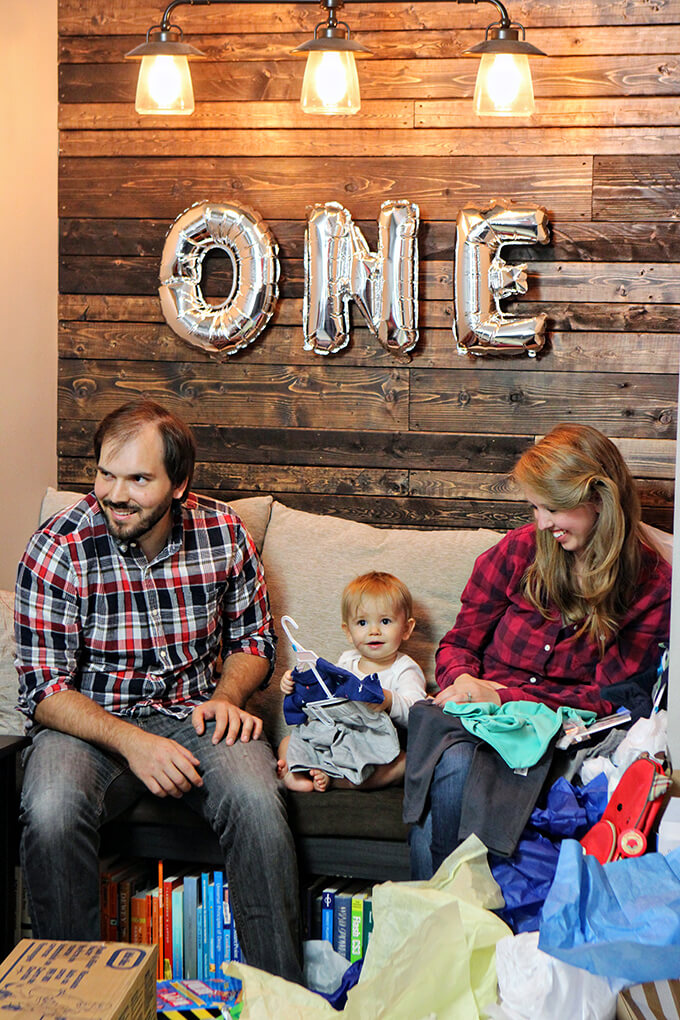
We opened presents in the reading nook. This worked perfectly because family member sat on the couch and had a great view of the birthday boy. I can’t believe he sat still up there and helped open every single one of his presents. He was so engaged the whole time, it was the cutest!
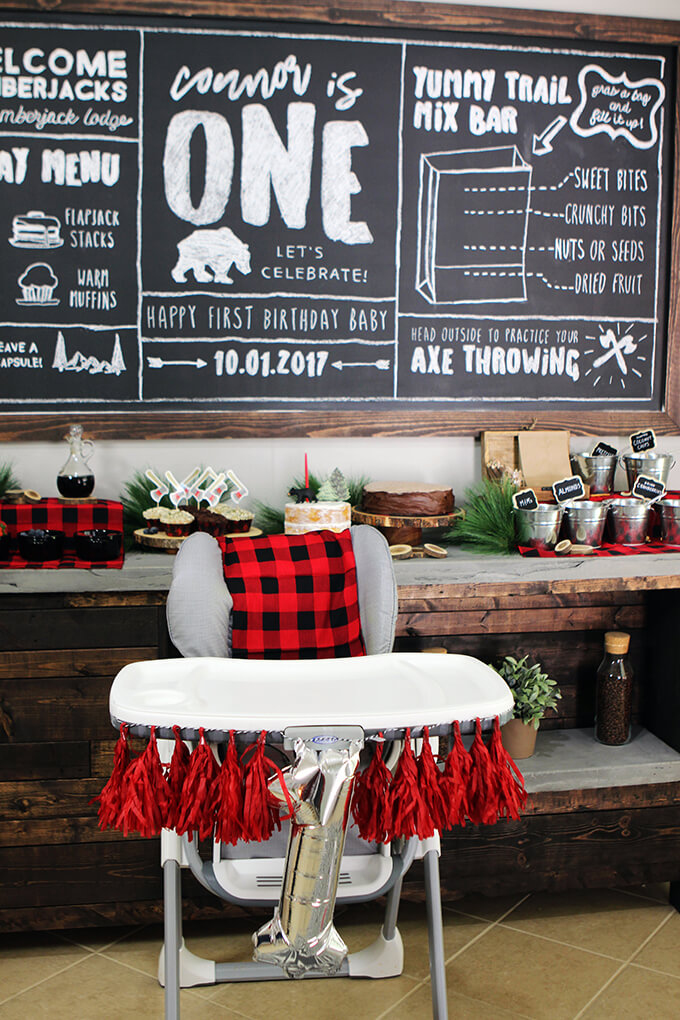
I decorated his high chair with red tissue tassel garland, a buffalo plaid bandanna, and a silver foil “1” balloon.
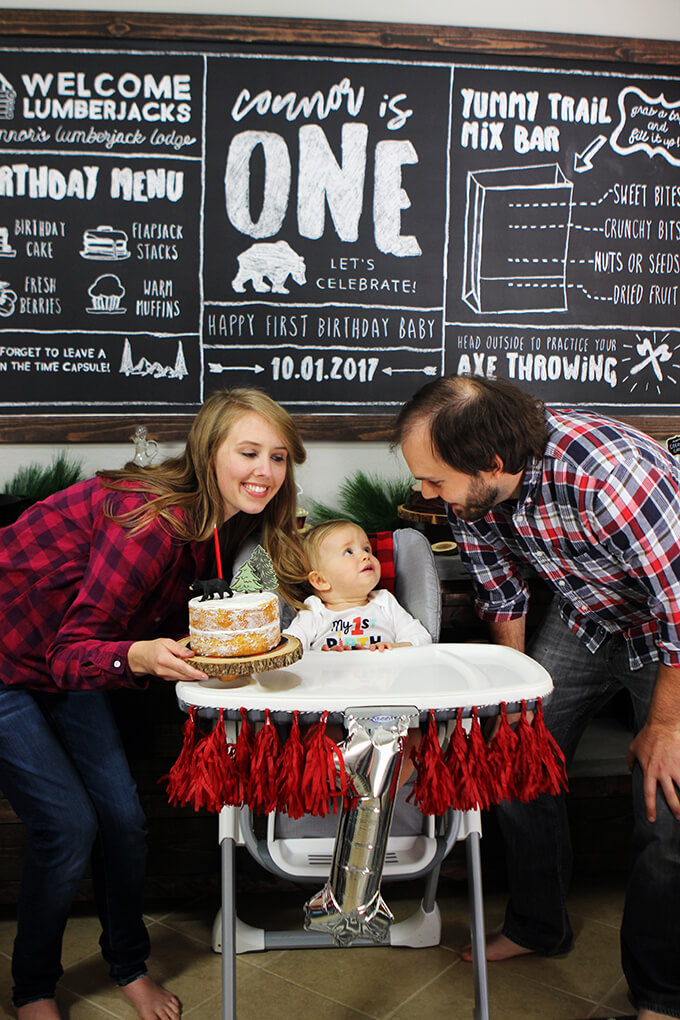
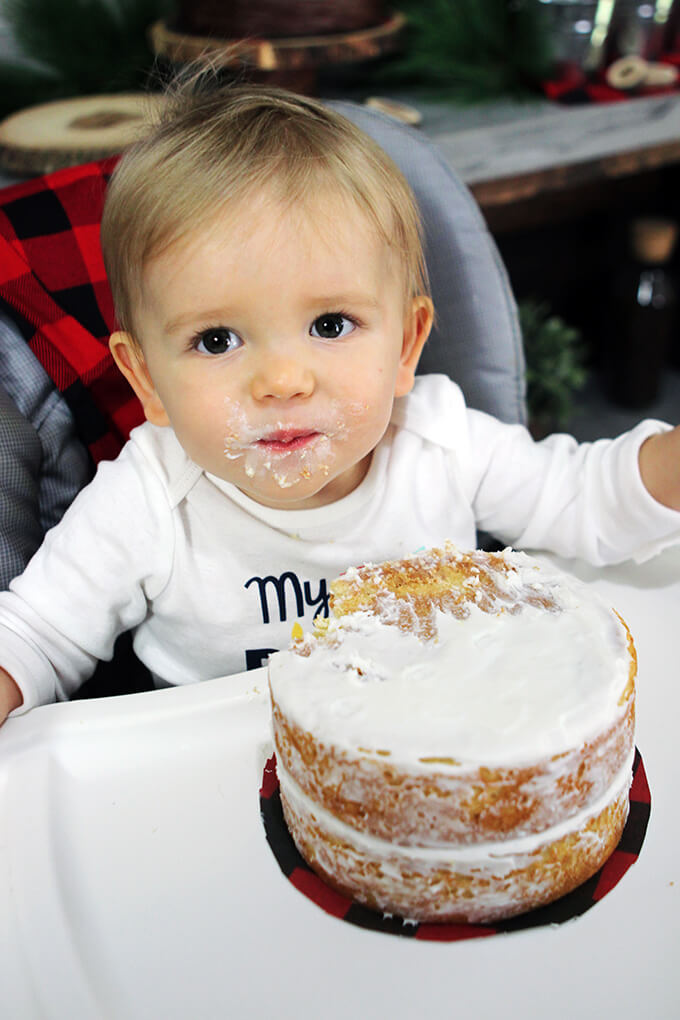
The kid was all about that cake. He is a fan and really enjoyed digging into the cake his dad made just for him. He didn’t even want to wait to let us sing happy birthday first.
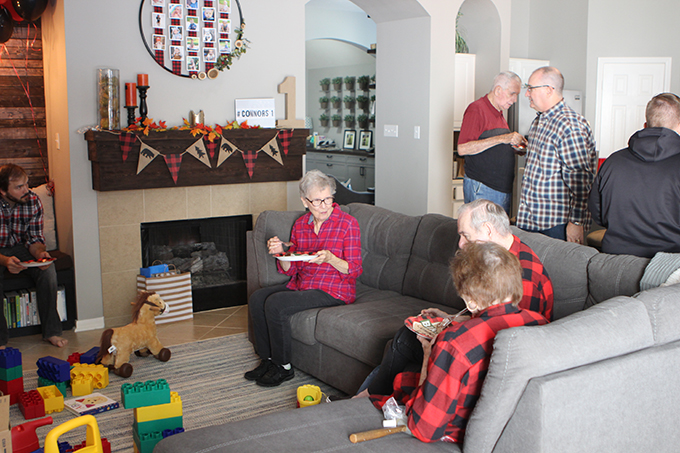
We hung our DIY photo display above the mantle and decorated it with a cute wood banner that I think I will leave up for the rest of the fall season.
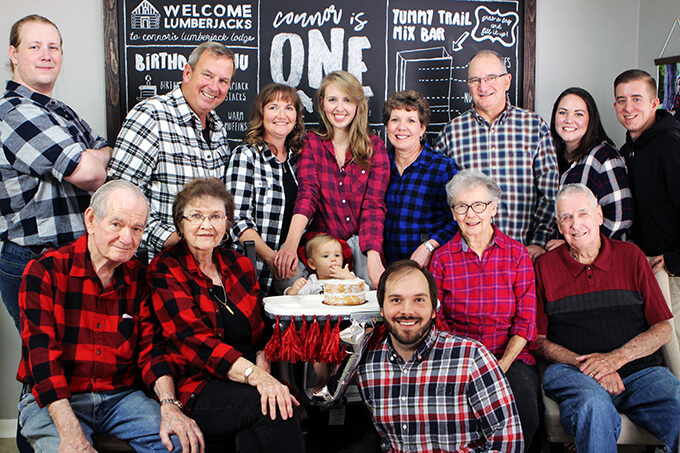
All the guests came dressed in their best plaid attire to our lumberjack themed 1st birthday party! It was a fun day celebrating our sweet little boy!
Birthdays have always been a big deal in my family growing up. My parents were really good at making me feel extra special on my birthdays whether I had a big party with friends or we just took a day trip just our family to an amusement park. I can already tell I like doing the same for Connor.
He won’t remember this day but we could tell he was enjoying being surrounded by family, playing with his new toys and trying cake for the first time. It’s hard to believe a year ago we were meeting our son for the first time.
Pin for Later
Get a FREE digital file of our hand painted Summer Bucket List print over at our print shop website: MoonRockPrints.com

Hi there,
Such a cute lumber jack ideas. I love the invites and time capsule.. they r so stinkin cute. is there any way I can order some for my sons birthday?
Your creativity is amazing! If I may, how did you create your envelopes? More specifically, how did you do the inside plaid?
Thanks so much Megan! To make the envelope liner I just bought plaid scrapbook paper and then made a template for my envelope size and then cut out the paper in the shape of the template, put a little glue on the back of it and slid it into the envelope. 🙂
Hello. I am planning my son’s first birthday with a lumberjack theme. How did you make the invitation envelopes? Are the pictures on the envelopes a stamp or picture that is printed? Thank you.
Hi Sarah! The front is printed (the trees and the name + address) and the bear dreaming of cake on the back is a stamp. The plaid envelope liner is scrapbook paper. 🙂
I found your blog when looking for lumberjack balloon decor inspiration! Do you have a zoomed out picture of the arch? It looks beauuuutiful! How long did it take to make? What a fantastic party you threw little man ❤️
Thanks so much Clarissa! 🙂 Here is a zoomed out photo of the balloons. I think it took us an hour or two to blow up the balloons and put them in the balloon tape. Brent and I worked on it together so it made it go faster. We had a blast that day!

How did you do you chalkboard so pretty? Did you make stencils and then just do a section at a time?
I designed the entire thing on the computer and then used a projector to display it on my chalkboard. Then I just traced it with chalk. 🙂
I’m in love with your entire set up and execution, especially the chalkboard. What program/app did you use to design it?
Thank you! I designed the chalkboard design in Photoshop.
Hello!! Do you remember where you got the trail mix buckets/what size they were? His party looked so cute!!
Hi Amanda! I bought the little buckets from Hobby Lobby. They are 4.84×3.39×3.94in. They were $2.50 a piece.
Thank you! 🙂
– Courtney
Hi where can i find the tutorial on the hula hoop display?
Hi Tricia! You can find the tutorial for the hula hoop photo holder here: https://grayhousestudio.com/diy-christmas-card-holder/ 🙂
How did you make the invitations?
Thanks you for sharing your special day with me! I enjoyed reading about it and seeing all the pictures! You two are great people and wonderful parents! Connor is very blessed!!