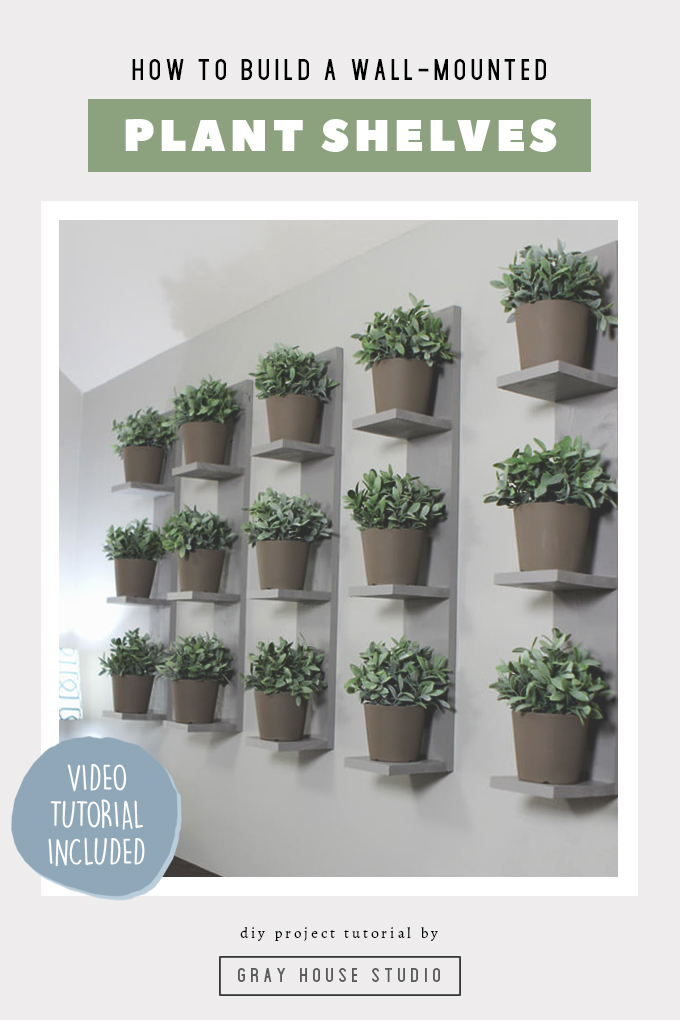
We built wall-mounted plant shelves to hold faux plants to create a greenery accent wall.
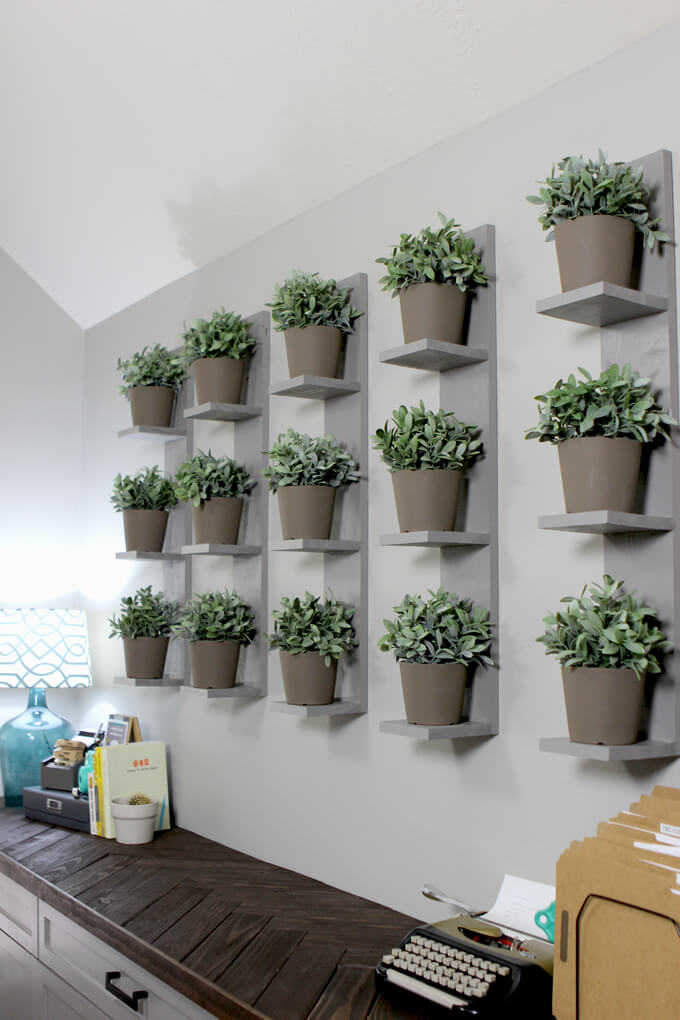
Brent and I like creating accent walls. So far we have created a wood plank wall in our reading nook and a faux brick wall in our home gym.
When it came to the large wall in our home office above our new cabinets we wanted to incorporate plants as part of the focal wall.
I was really drawn to the idea of having identical plants in identical pots in neat and organized rows. While I would have LOVED to incorporate live plants, let’s just be real they would have all died slow painful deaths at different rates and it would have totally ruined the uniform look we are going for.
Luckily, IKEA has some pretty realistic and inexpensive plants that really made our vision come to life.
To display the plants, we built five super simple wall-mounted plant shelves and today we are going to show you how!

Get a FREE digital file of our hand painted Summer Bucket List print over at our print shop website: MoonRockPrints.com
Make Wall-Mounted Plant Shelves
SUPPLIES
Shop the products we used for this project in one place.
- (1) 1-IN x 6-IN x 6FT
- (2) 1-IN x 6-IN x 8FT
- (15) MANDEL Plant Pots (from IKEA)
- (15) Artificial Potted Plants
- Yard Stick
- Sherwin-Williams ProClassic® Waterbased Paint in Dovetail SW 7018
- Drill
- Miter Saw
- Nail Gun
- 1-1/2″ Finishing Nails
- Wood Glue
- Clamps
FYI: This post contains a few affiliate links to products we used to make this project. Gray House Studio does receive commissions for sales from these links but at no extra cost to you. We appreciate you supporting this site. Read our privacy and disclosure policy. You can also easily shop our recommended products here.
TUTORIAL VIDEO
Subscribe to our YouTube Channel
Like our video? Subscribe and help us reach our goal of 100k subscribers.
STEPS
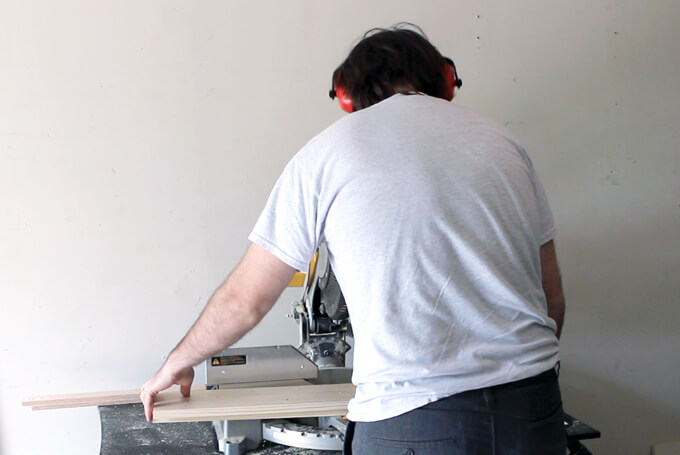
1. First, Brent measured the 1×6 inch board and using the miter saw cut the piece for the back of the shelves 36 inches long.
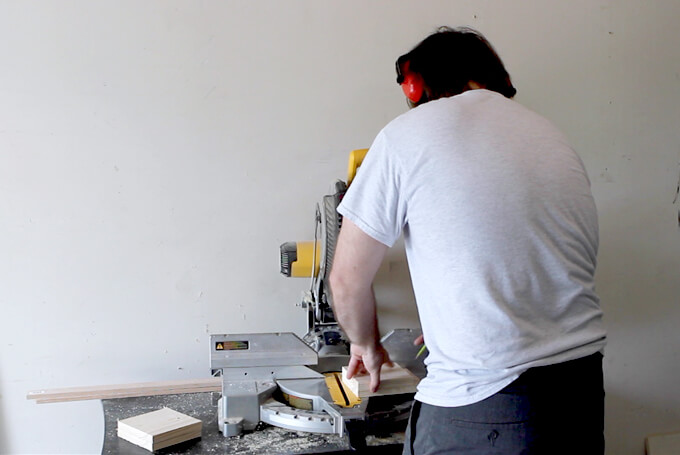
2. Next, on the miter saw he cut three smaller boards 5 1/2 inches long each.
These pieces would become the shelves so they needed to be long enough and wide enough for the pots we had to sit on.
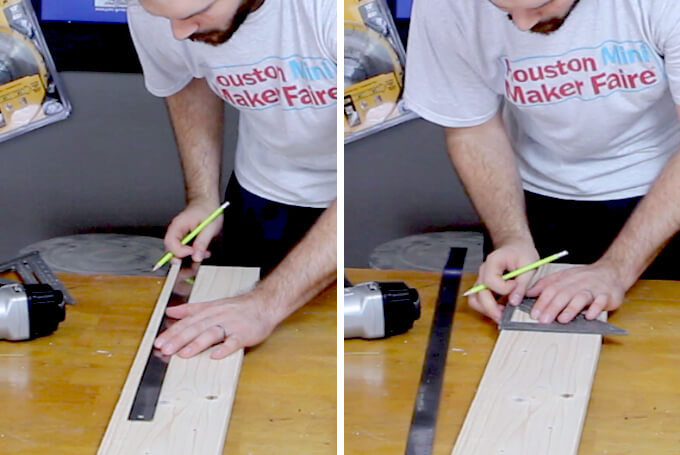
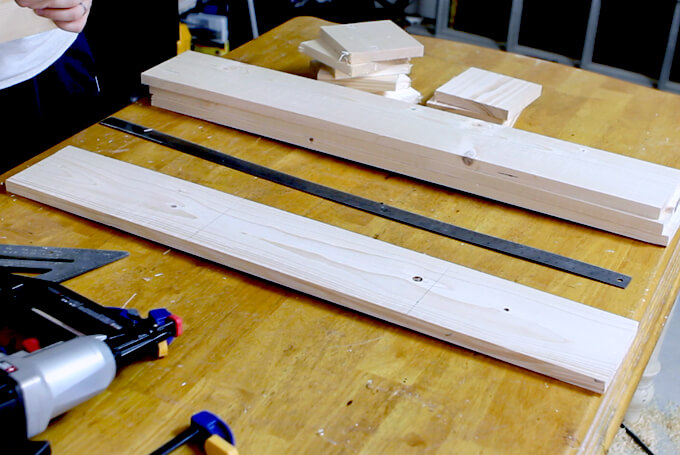
3. Before attaching the three smaller boards to the long board, Brent measured and made straight marks 13 inches apart from the bottom with a framing square.
The bottom of each smaller board lined up with these lines he marked.
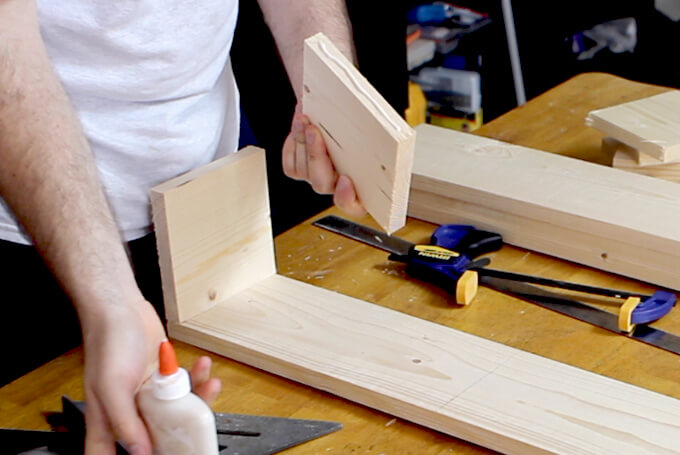
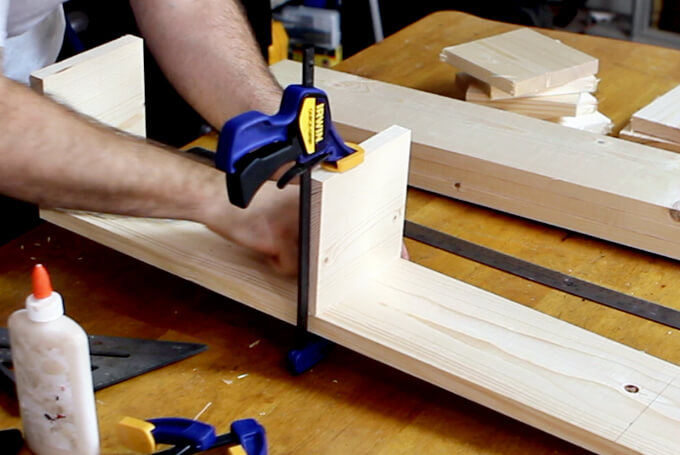
4. Brent applied wood glue to one side of one of the smaller boards and used clamps to attach it to the bottom of the long board.
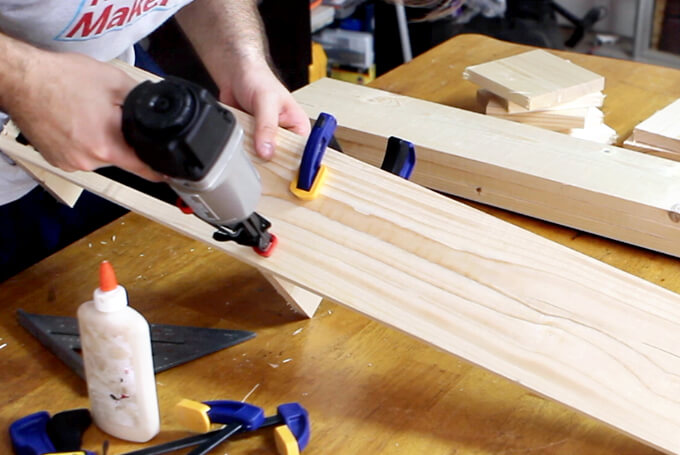
5. Then he secured the smaller board to the larger board with a nail gun and 1 ½ inch finishing nails.
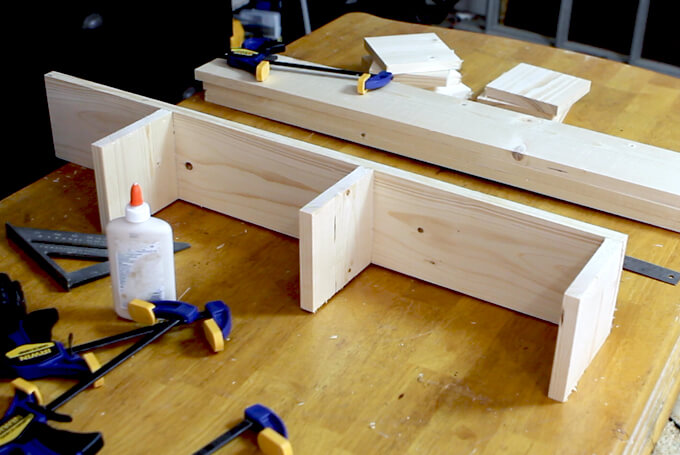
6. He repeated the previous two steps to attach the additional two smaller boards to the large board where he made the marks 13 inches apart.
In total we built five shelves.
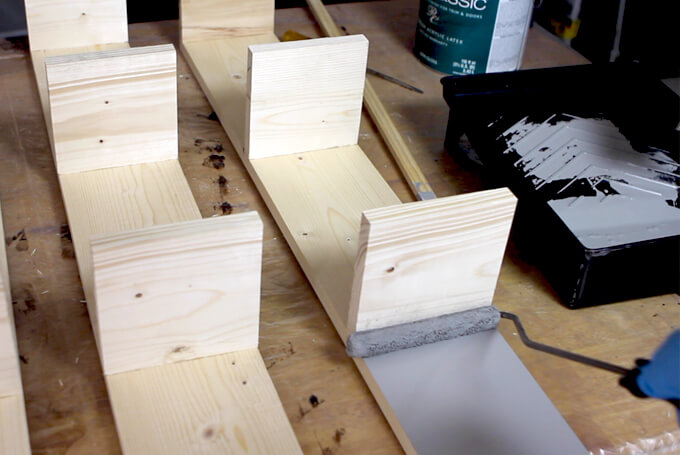
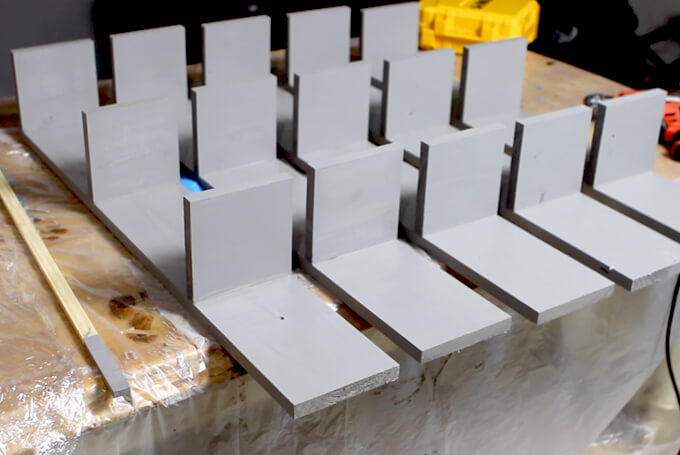
7. Once the glue dried, we painted the shelves Dovetail Gray (from Sherwin-Williams) to match the cabinets and desk in the room.
We painted them two shades darker than the walls so that they would subtly stand out from the wall without being too overpowering and taking away from the plants.
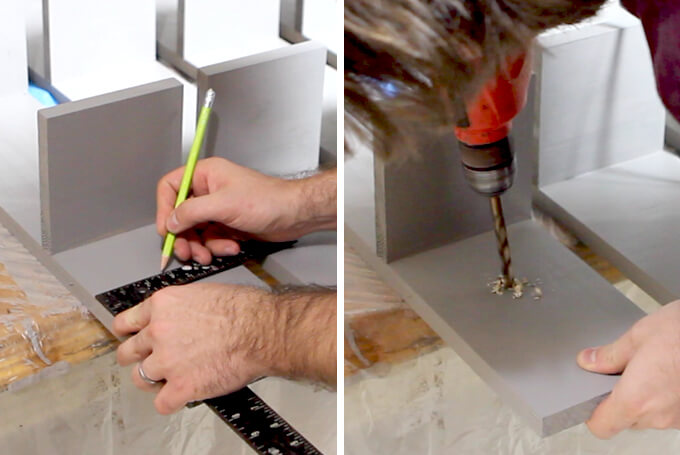
8. Next, on the top of each shelf, Brent marked and used a drill to make 3/8 inch holes in the center of each shelf, 6 inches down from the top.
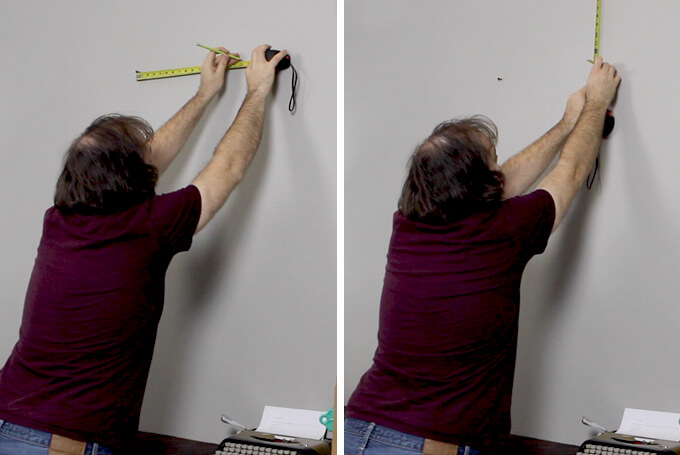
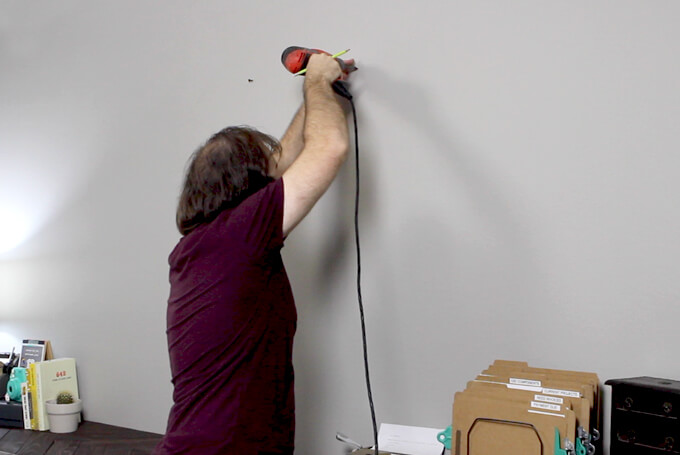
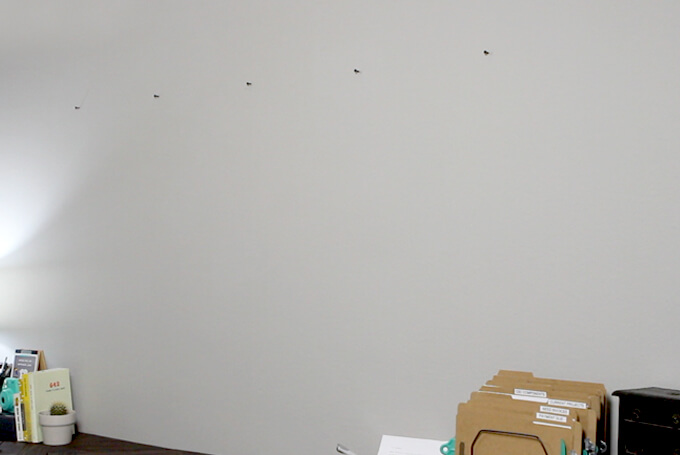
9. To attached the shelves to the wall, Brent started measuring from the center of the wall and screwed five drywall screws 16 inches apart the same distance from the ceiling.
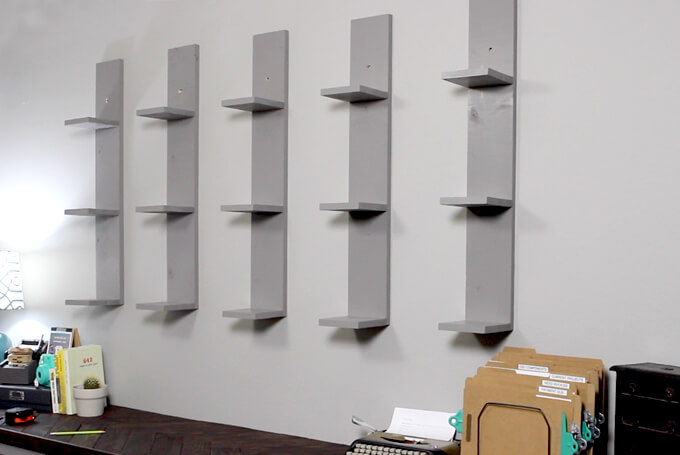
10. Finally, we hung the wall-mounted plant shelves on the wall.
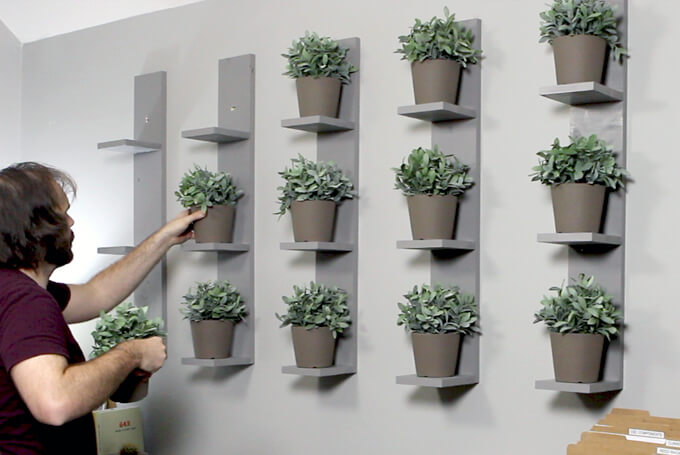
11. Then we added our ceramic pots and faux plants.

I love how this wall turned out. The muted colors, the uniformity, and the greenery goes perfectly in our new home office and while it is definitely the focal wall, doesn’t overwhelm the space.
PIN IT FOR LATER
