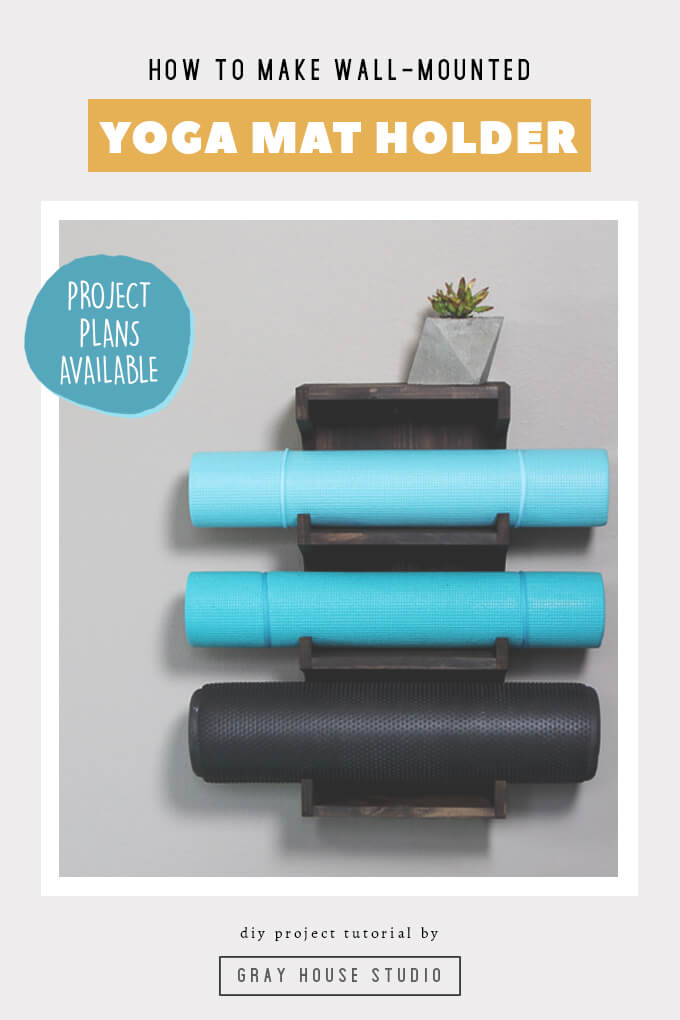
We designed and built a wall-mounted yoga mat rack out of wood to hang on the wall in our home gym.
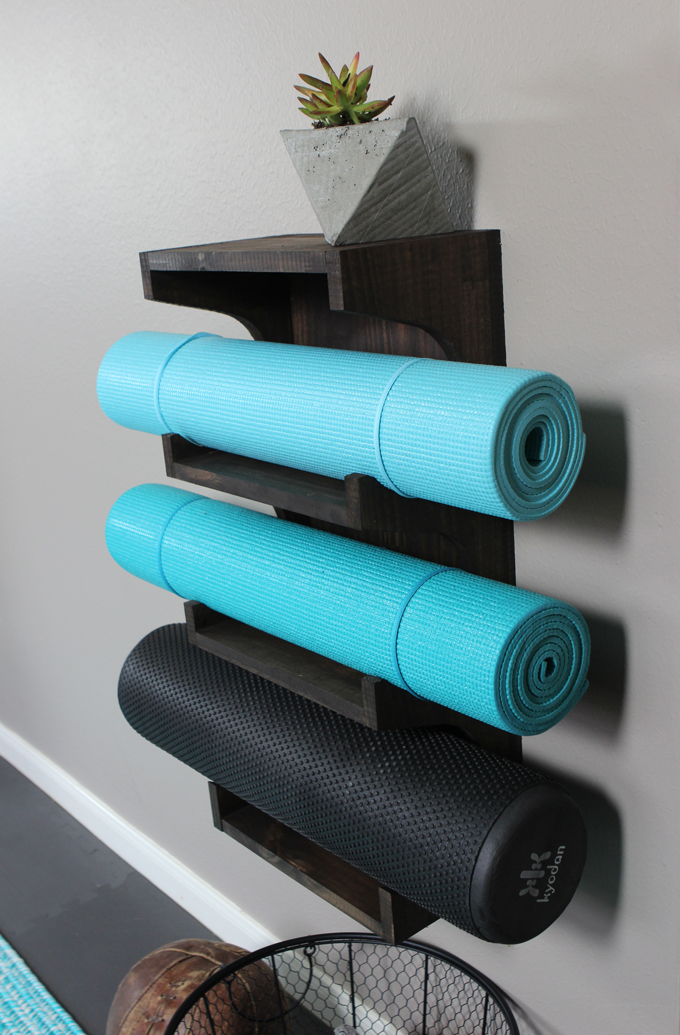
We were back at work on a new DIY project for our home gym this weekend. We built a yoga mat rack to hang on the wall in our gym.
Now before you go thinking Brent and I are a pair of yoga masters, let me stop you right there and say we are not.
In fact it is safe to say we have a long way to go in the flexibility department. We use an iPad app and follow along with a virtual instructor so she is never too strict with us.
Now that I had my new yoga mat we needed a place to store our mats. We designed and built our yoga mat rack that we hung on the wall in our home gym.
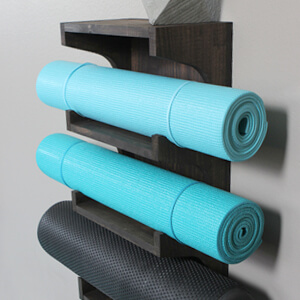
Our yoga mat rack was designed to hold two yoga mats and our foam roller. It is a great solution if you want a place to store your mats that takes up little space and makes them readily available.
We’ve got the tutorial on how to make our yoga mat holder below.
How To Build A Yoga Mat Rack
SUPPLIES
- Our Yoga Mat Rack Plans
- (3) 1″x12″x36″ Paint Kiln-Dried Elliotis Pine Panels
- (16) 1-1/2″ Finishing Nails
- (8) 1-1/2″ Wood Screws
- Wood Glue
- Rust-Oleum Wood Stain in Kona
- Jigsaw
- Drill
- Square
- Clamps
- Nail Gun
FYI: This post contains a few affiliate links to products we used to make this project. Gray House Studio does receive commissions for sales from these links but at no extra cost to you. We appreciate you supporting this site. Read our privacy and disclosure policy. You can also easily shop our recommended products here.
PROJECT PLANS
When you purchase our yoga mat rack plans you get a six page PDF with a detailed materials list, a cut list, exact dimensions for each piece, building instructions and the side panel template – all for only $7. We appreciate your support!
STEP BY STEP GUIDE
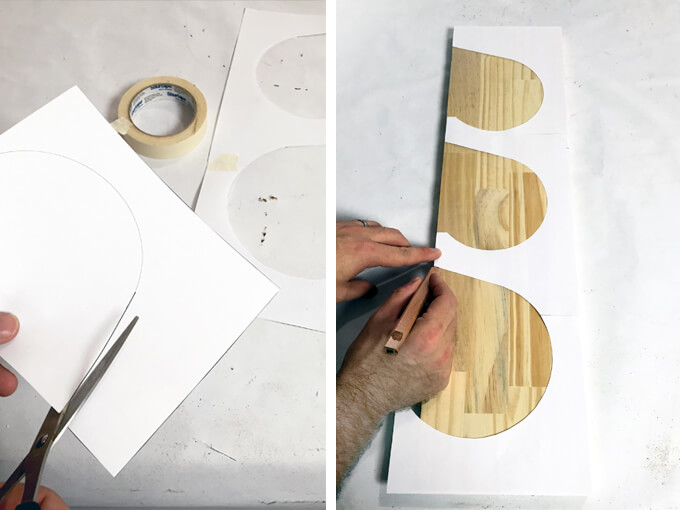
1. First we printed off the side panel template. After cutting the template out and taping it together we used the template to trace the two side panels.
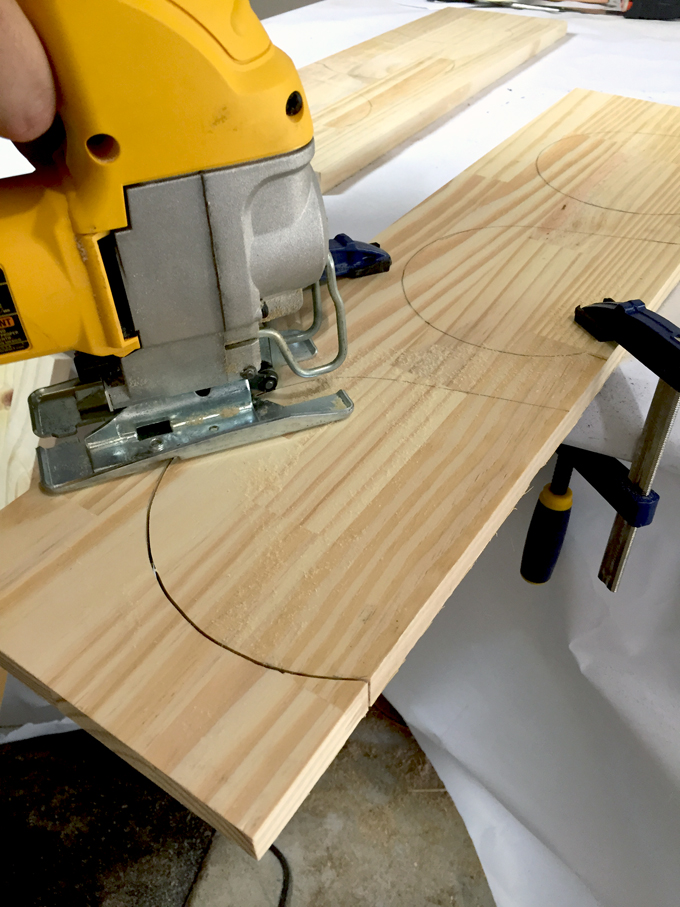
2. We then used our jigsaw to cut out the shape we traced on the side panels.
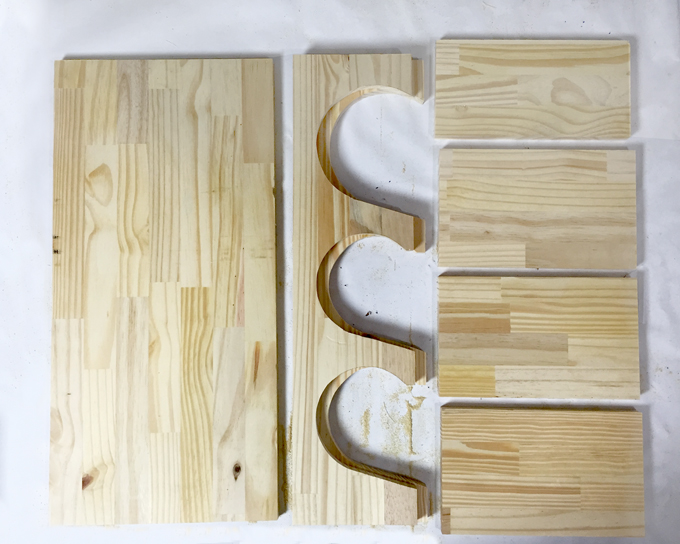
After making all of our cuts on our pine panels, these are what our pieces looked liked.
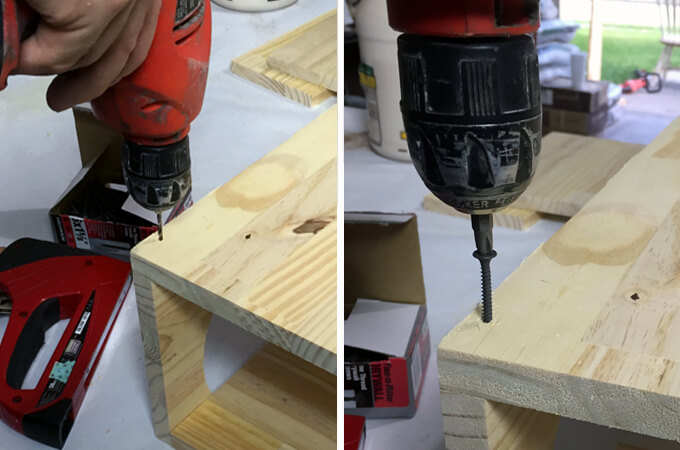
3. Using our drill we pre-drilled four holes through the back panel into each side panel.
We attached the back panel to the side panel using 1-1/2″ screws. We made sure the screws were aligned with each rung of rack.
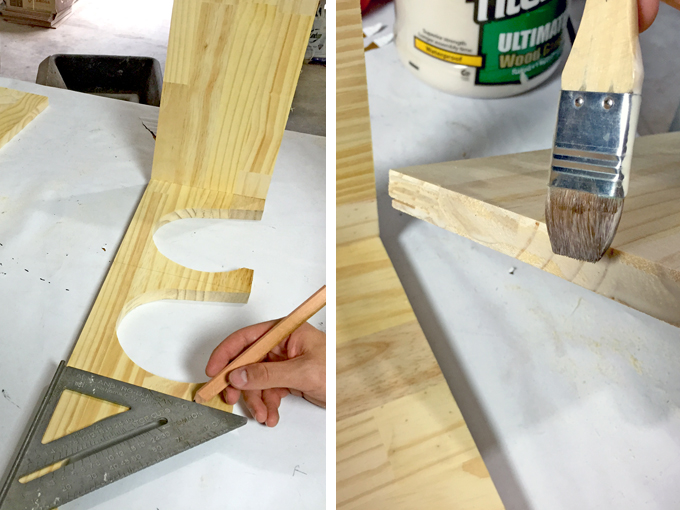
4. On the two inside shelves we used a square and a pencil to mark reference lines indicating where the shelf needed to be attached so it would be level.
We applied a thin bead of wood glue to the three sides of each shelf that would touch the side and back panels.
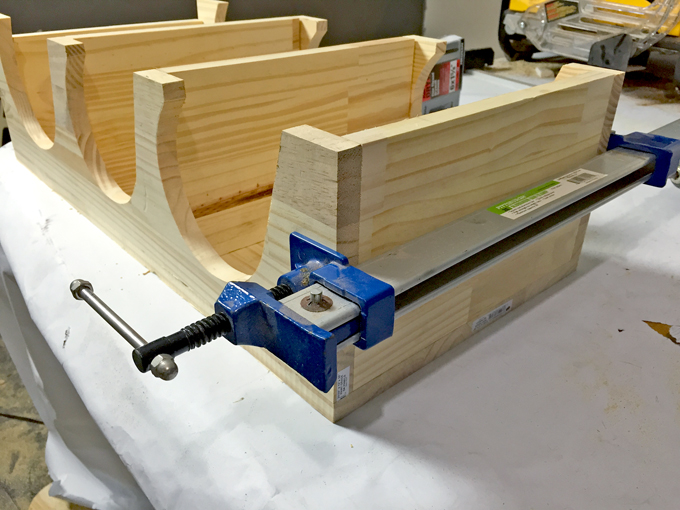
5. We used clamps to hold each shelf in place while the glue dried.
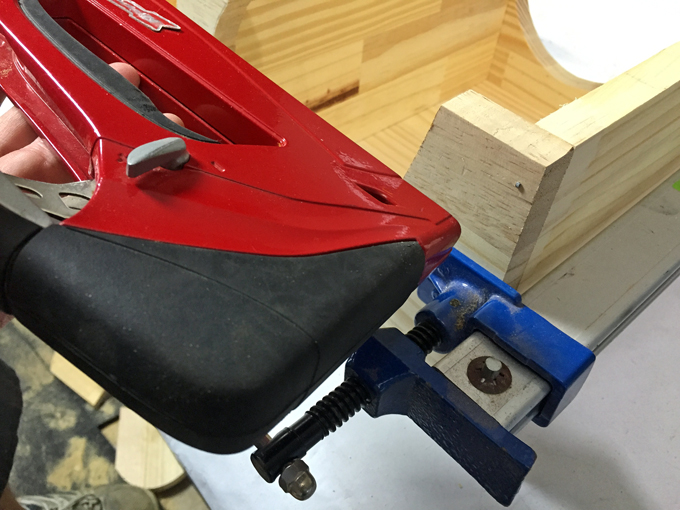
6. We secured each shelf in place by using a staple gun to drive four finishing nails through the side panel and into each shelf.
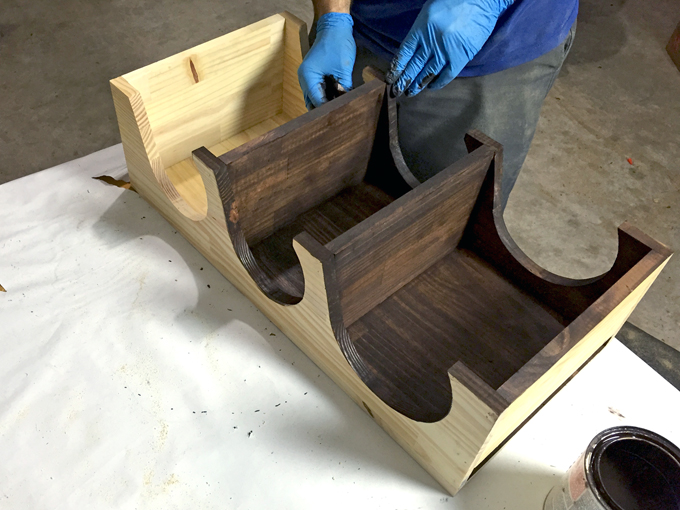
7. Finally, we stained it with our favorite Rust-Oleum Ultimate Wood Stain in Kona.
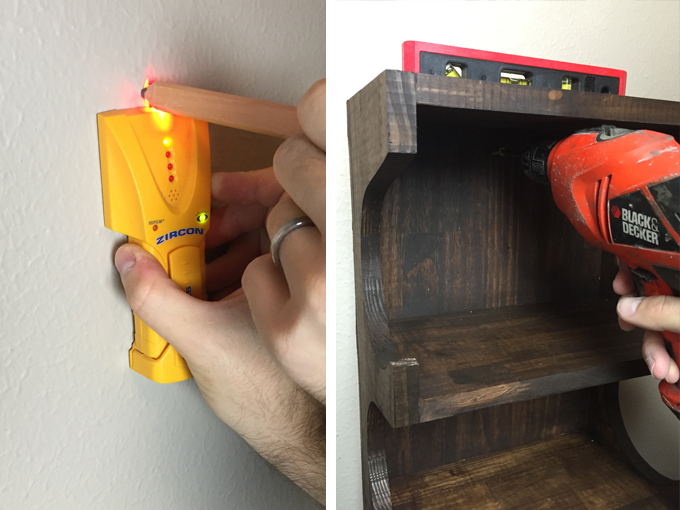
8. To secure the rack to the wall we used a stud finder to locate a stud, used a level to make sure it was straight and then drilled two screws (one at the top of the rack and one at the bottom) through the back panel into the stud.
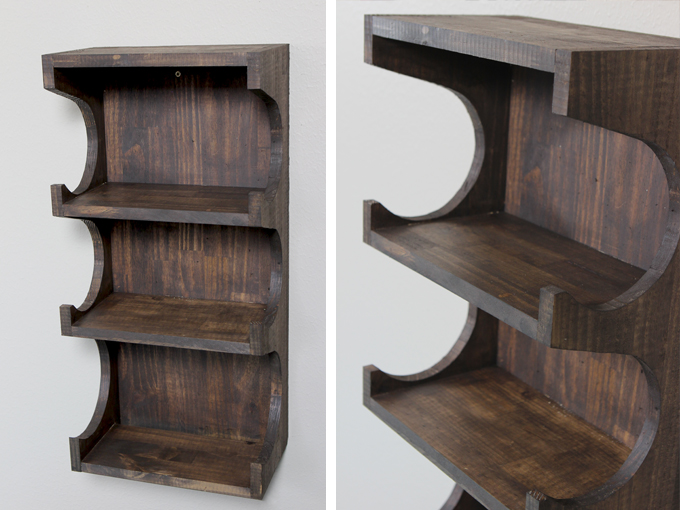
Our completed rack is ready to hold some yoga mats! Like I mentioned earlier it could also be made to hold rolled up towels or to use as shelves to display smaller items.
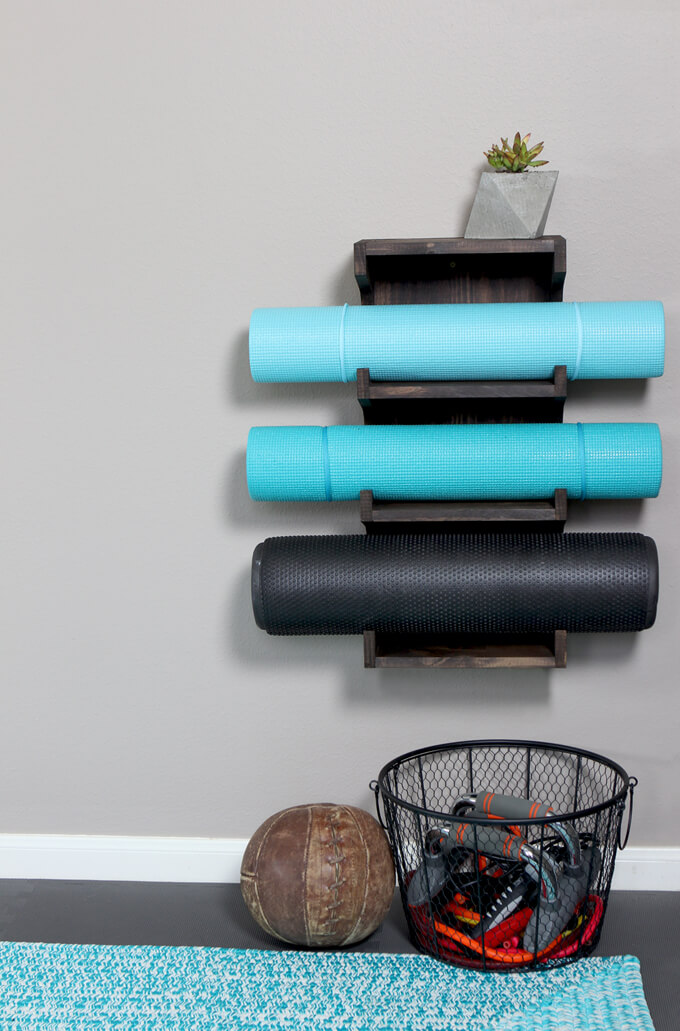
By building and installing our yoga mat rack this weekend we are on our way to filling up the big empty wall in this room. The perk of being late in the game to pick out yoga mats is that I could match them to the rug in this room.
Even though the rack is meant for storage and organization purposes, we still wanted it to stand out as a good-looking decor piece for the room and I think Brent did a fantastic job making it happen.
PIN IT FOR LATER



So nice 🙂 Where is the beautiful basket from? Greets from Germany
Do you sell them yet?
Hi, i can’ Download the planes ☹️
Hi Alicia, you should be able to access them on this page: https://grayhousestudio.com/plans/yoga-mat-rack-plans-insider/.
Do you have an AutoCAD file for this? I have access to a CNC mill and would love to do it on there instead with a jig saw.
I created the model in Solidworks. I can export the side part as a DWG. You can download the file here: https://grayhousestudio.com/resources/YogaMatStand.DWG We would love to see the process of cutting this on the CNC if you don’t mind sending some pictures.
Are you selling these? I would love to purchase one, they are beautiful
Thanks so much Lisa! As of now we are not selling them but we might in the future if there is enough interest. 🙂
Do you sell these?
Hi Michelle, thanks for your interest! We currently don’t sell them but might in the future. 🙂
Love it! ……….
Thanks Sandy!
-Courtney