
In this tutorial we are going to show how to make DIY concrete planters in geometric shapes using a cardboard mold.
Hey, Brent here! Today I am sharing these geometric concrete planters I made this past weekend using cardboard molds.
I had fun experimenting and making these DIY concrete planters to display around the house.
How To Make DIY Concrete Planters
SUPPLIES
- Concrete Planter Template
- Cardboard (I used a moving box)
- Clear Packaging Tape
- Box Cutter
- Quikrete Crack Resistant Pro Finish Concrete Mix
- Plastic bucket
- Drill
- Ruler
- All-Purpose Mixer (attached to a drill)
- Electric sander
FYI: This post contains a few affiliate links to products we used to make this project. Gray House Studio does receive commissions for sales from these links but at no extra cost to you. We appreciate you supporting this site. Read our privacy and disclosure policy.
PROJECT TEMPLATE
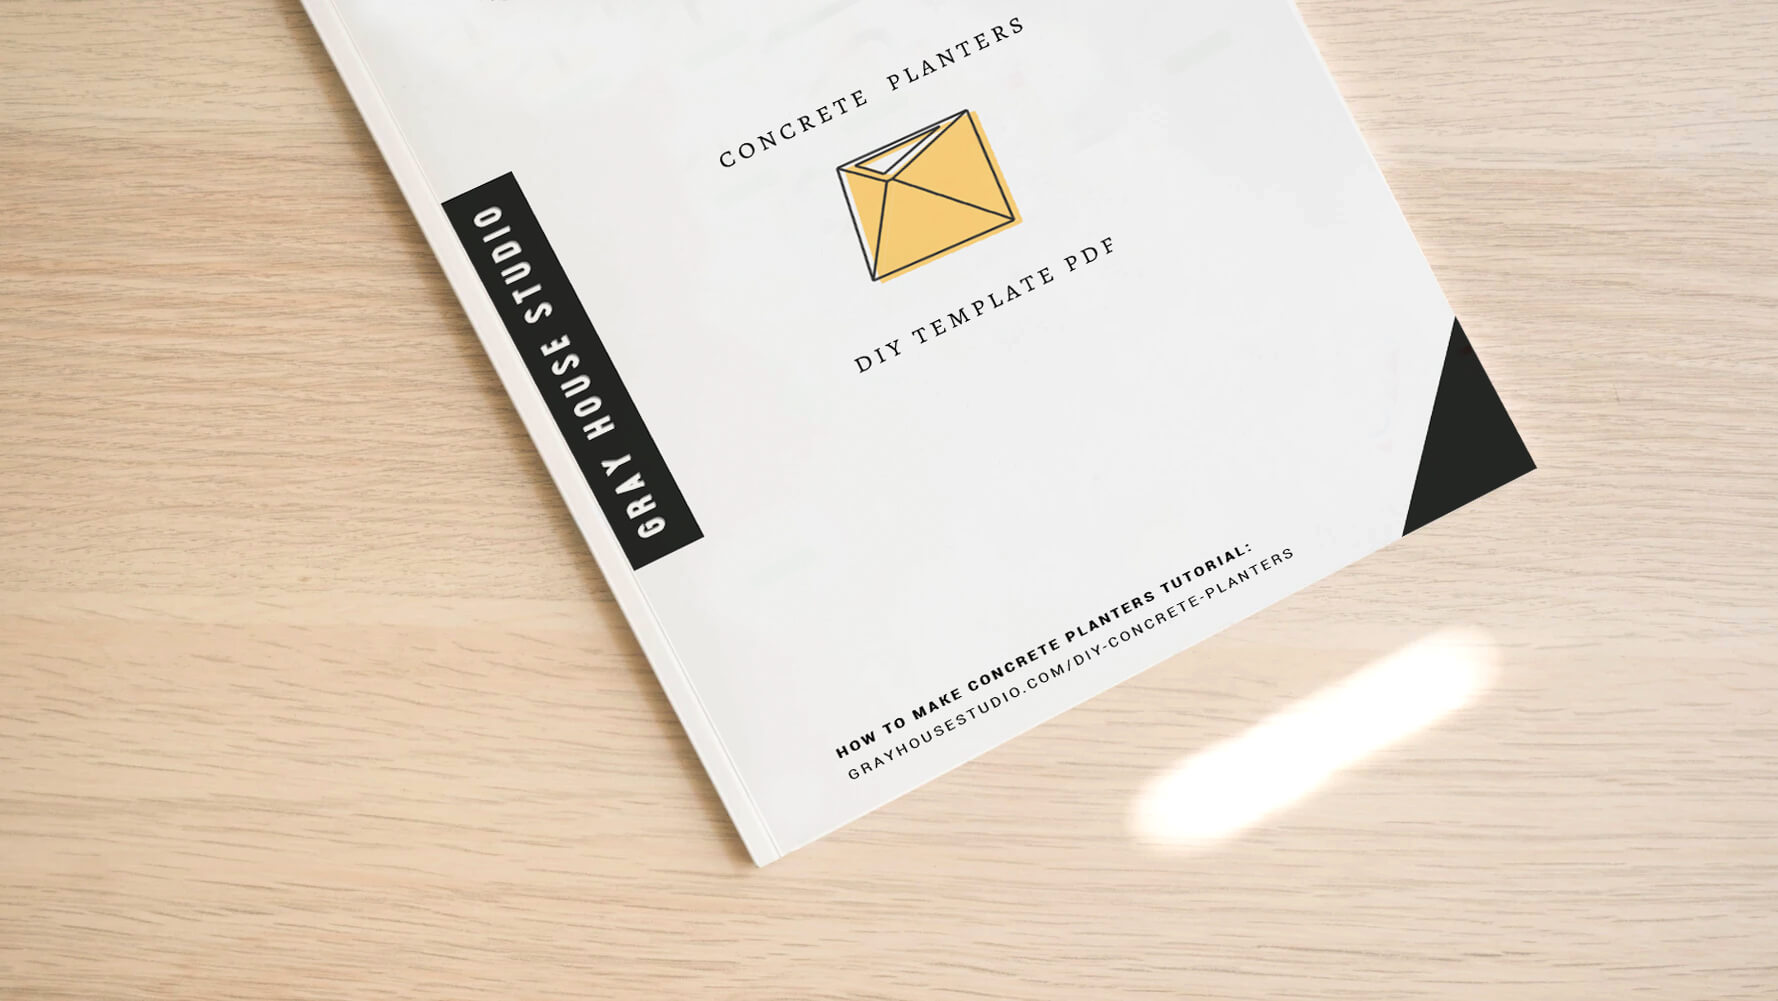
Get our Concrete Planter Template
Our DIY concrete planter template includes the outer mold template and the inner mold template for $3. We appreciate your support!
STEP BY STEP GUIDE
How to Build the Outside Mold
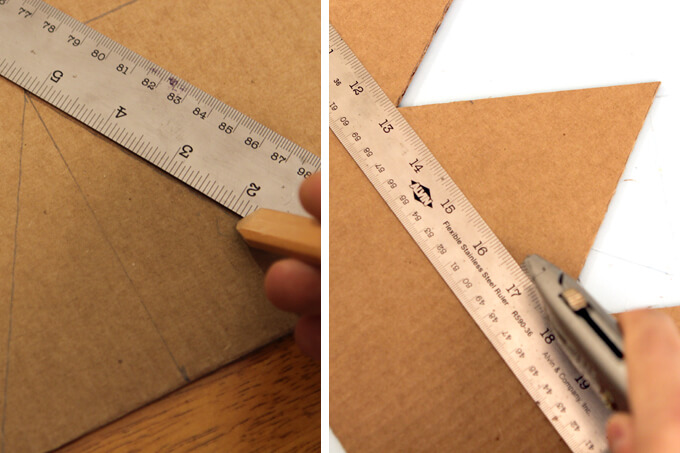
1. The first thing I did was use my ruler to measure and trace seven triangles on cardboard and then cut out each individual cardboard triangle with the box cutter.
The PDF of the pattern for our geometric concrete planters is available if you are interested in making your own.
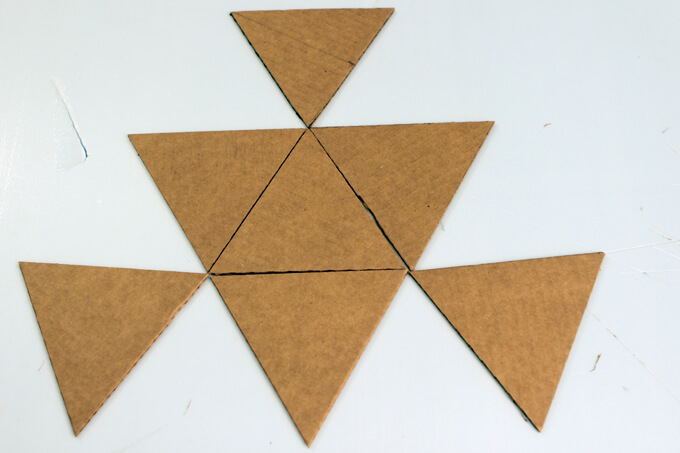
2. I cut out seven triangles of equal size and then arranged them into the pattern above.
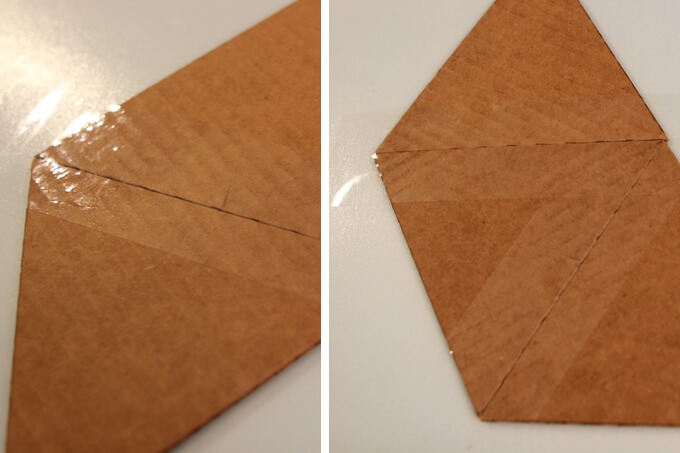
3. Next, I used clear packaging tape to connect the inside seams of the triangles together.
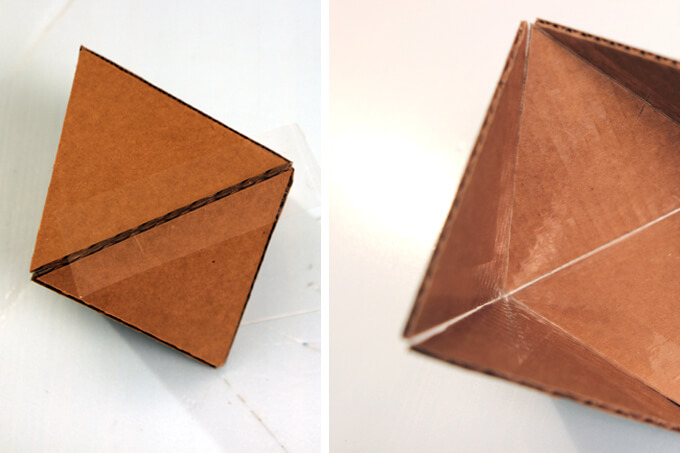
4. Once the box was taped on the inside and assembled into the three dimensional form, I added tape to the outside to strengthen the mold.
How to Build the Inside Mold
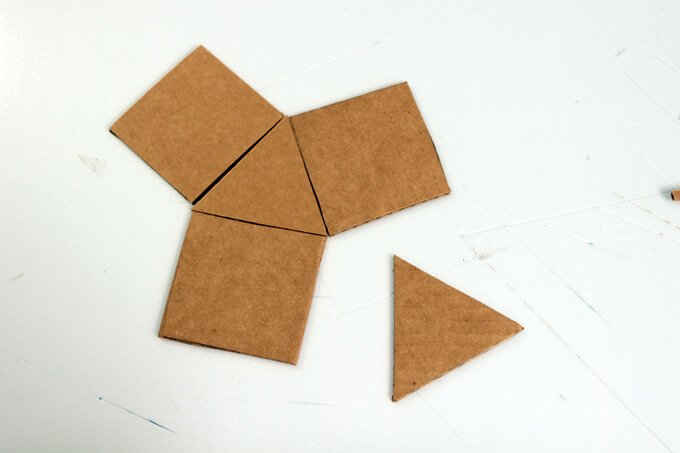
5. To create the inside mold, I cut out two more triangles and three squares.
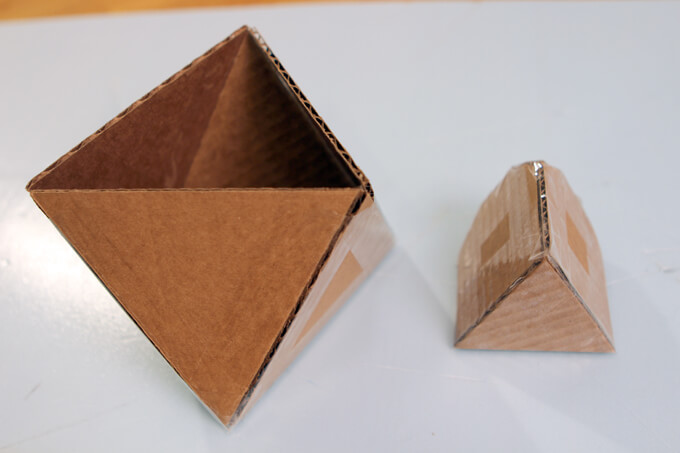
6. I assembled these pieces and covered all the seams in tape to create the three dimensional form.
How to Mix the Concrete
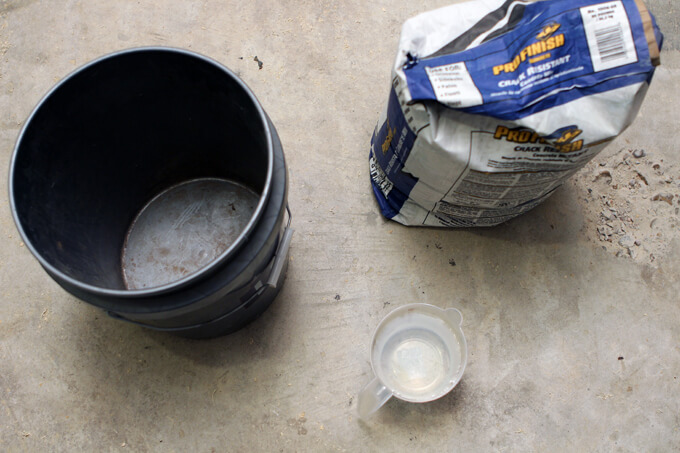
7. First, I prepped my materials which included the bucket, water and the concrete mix I made sure to have twice as much water than needed on hand.
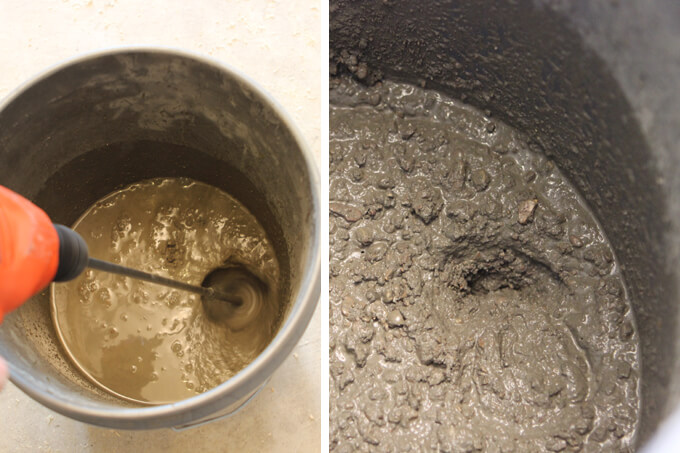
8. Then I poured the water into the bucket and mixed in the concrete mix with the mixer attached to a drill.
I continue to add the dry concrete mix into the bucket until the mixture was thick and evenly mixed with the water.
To test for the right consistency, I dug a little hole in the mixture. When the mixture didn’t fill in the gap, I knew it was ready to use.
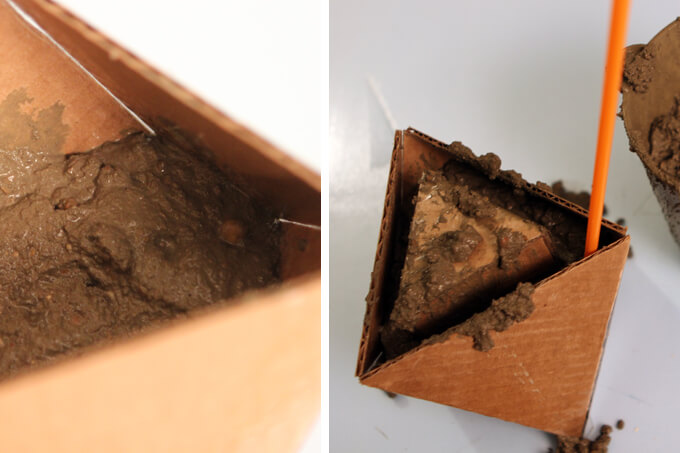
9. Once the concrete mixture was ready, I filled the bottom of the outer mold. Then I placed the inner mold into the outer mold.
The inner mold acts as a plug and creates the hole in the planter for the plant.

10. When you mix concrete it traps air bubbles inside of it so after I poured the concrete into the mold I used an electric sander to vibrate the concrete forcing the air bubbles out which gave me a smooth finish.
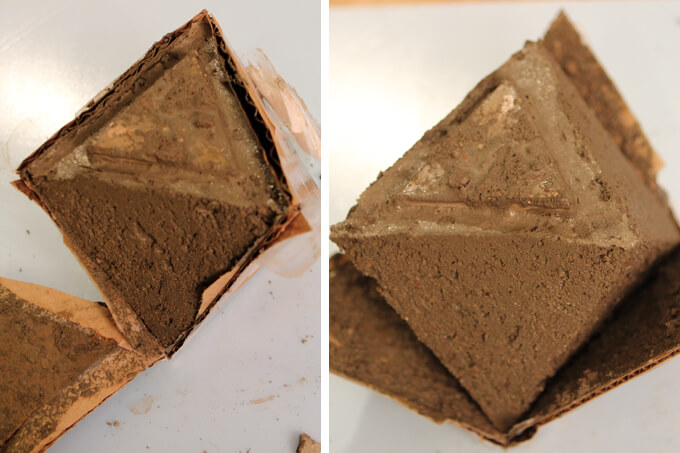
11. I let the concrete sit in the mold for several hours and then I removed it from the cardboard.
I found that depending how long you leave the concrete in the mold, you get different textures on the concrete which I like because it makes each planter unique.
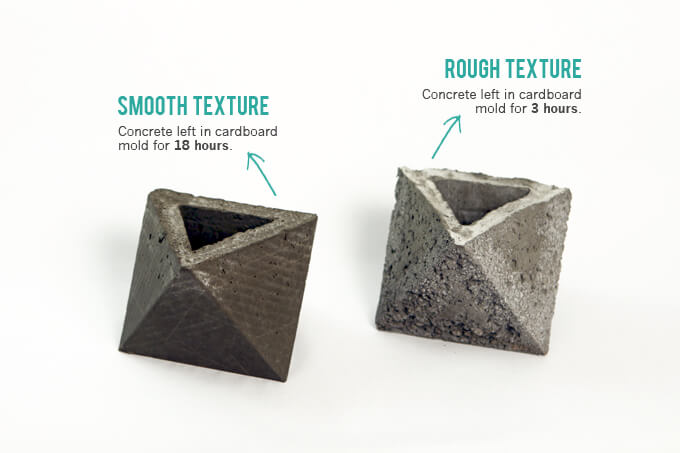
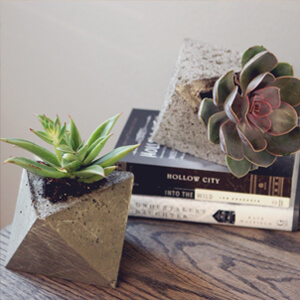
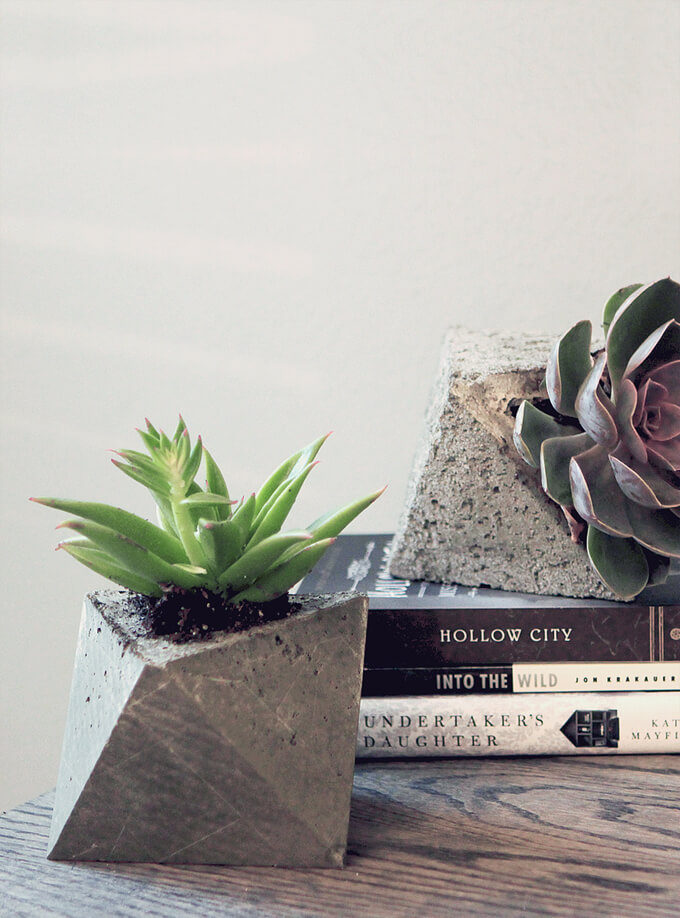
12. You can see the difference in the photo above. For the planter on the left I let the concrete dry in the mold for approximately 18 hours which gave me a smoother texture.
The planter on the right was the first one I made and I only let it dry in the mold for around 3 hours which gave me a rough cinderblock like texture.
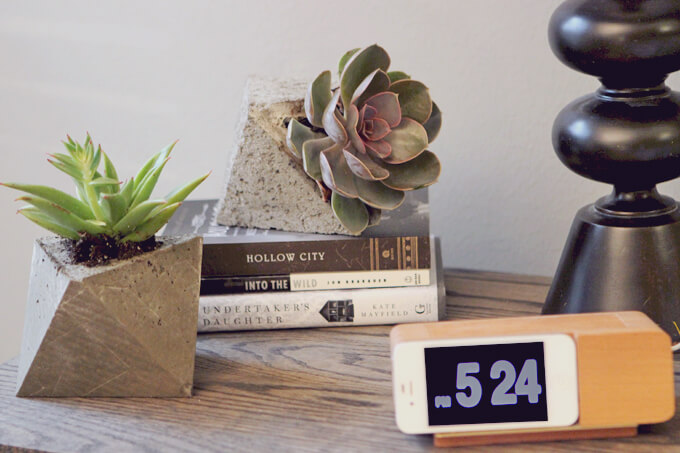
I planted succulents in them and placed them on the nightstand in our bedroom. These were so easy, inexpensive and fun to make that I am sure I will be making many more to add throughout the house.

PIN IT FOR LATER

Hi, I am in the uk and struggling to find the right concrete mix to use, please could you advise?
Fairly easy to make and a great way to save money. These turned out gorgeous!!!! I need these in my life 🙂
Hi, the download require password, how can I get one !
Hi Mohsin, To get the free DIY plans click “Free Plans” on the menu at the top of the page and then click “Sign Me Up” at the bottom of the page. The sign me up link will load a page that allows you to enter your name and email. Once submitted you will be sent an email to confirm your address and then the password will be emailed to you.
I made my mold with plexiglass and tape it together with painters tap. I can use the mold over and over and get a super smooth finish. I have made 20 or so in different sizes and color.
Hi, Tanks for share this informations. I would like to intent to make one of this… how can I get the free template?
Hi, the download require password, how can I get one !
OMG! Guys I just discovered your blog and I’m so happy. Thanks for taking the time for upload the template and write all the steps. I know that have a website it’s sometimes a little stressful but it’s worth it. HAVE YOU EVER THINK ABOUT CREATING MORE CONCRETE PLANTERS? I would love to have different shapes.
Greetings from Costa Rica
When i try to download the free template, it says I need a password. ???
You can get the password by joining the Gray House Studio email list. When you sign-up for the email list you will be emailed the password.
Acabo de descubrir su página y la mayoría de los proyectos que tienen me interesan muchisimo!! Sigan asi!!
how to you deal with the fact that every time you touch the concrete it leaves concrete dust on your fingers? I’ve made some of these (and they look fantastic!) and want to give them as gifts but feel like they seem unfinished because of the dust.
That is a great point Michaeal. We haven’t noticed that problem with our planter but you can use a concrete sealer to coat the dry planter. The sealer will prevent the dust issue and will also make the planter water proof so the water isn’t absorbed by the concrete when you water the plants.
Does the concrete stick to the cardboard? If it does, do you coat it with oil or something?
Spray with Pam or some other cooking oil, but not too much, because you don’t want the cardboard to get wet & soggy. I’ve done it many times and usually have no problems at all!
The problem with using hypertufa as suggested above is that one of the properties of aging hypertufa is that the peat moss in the mix eventually degrades and the pot would leak. That’s great for outside planters, but not so good for something sitting on your night stand. This degradation makes the hypertufa look more interesting as it leaves crags and creases on your pot which is attractive, but it’s not waterproof. That might not be much of an issue with succulents as they don’t use a lot of water.
Plaster of Paris will absorb any water that touches it, and sealing it properly adds another step to the project and $$ to the cost. Wouldn’t want anybody to go to the trouble of doing this lovely project and being disappointed in how their pots hold up or water damage on their furniture. I can see using your tutorial to make interesting sit-arounds without the plants and then both hypertufa and Plaster of Paris would be a good choice. I LOVE that you have two different finishes on the pots…makes a lovely additional impact!
I picked up concrete mix yesterday and have 5 different projects I’m going to do with it this afternoon…NOW I have SIX projects. Thanks for including the template and for such a great tutorial.
How much of the concrete mix is used to fill the mold? I really don’t want to waste any. And can I do this with Plaster of Paris too??
Hi Nick! We haven’t found a great way to estimate the exact amount of concrete to mix for a single mold. Plaster of Paris should work just like the concrete. -Brent
I love it! For people who like more modern lines this is perfect. I (think I) noticed the smoother vase appeared to have the lines of the cardboard on it. Unless there’s a way around having the lines maybe a smoother material for the mold could be used instead. Maybe from milk or juice carton sides inserted into the cardboard mold? I was curious about a couple of things. 1) what is the orange drinking straw looking thing sticking out of the partially filled mold? 2) Was there a specific reason you used the concrete instead of a hypatufa mix using portable cement to make it lighter weight and presumably a smoother finish without the aggregate that’s in concrete? Thanks for answering my head scratching questions! ????
Hi Cher! That is a great idea about lining the inside of the mold with a smoother material. It seems like that would be a simple way to solve the texture issue. The orange drinking straw was what we used to move the concrete inside the mold and push it into the corners. We will have to look into the hypatufa in the future. -Brent
How kind of you to include the template! Thank you so much!
Hi Pam! You are welcome! Thanks for stopping by our blog! (:
This is such a cool tutorial! Thanks for sharing and thanks so much for including the template. That will make it so easy to make my own concrete planters!
xoxo,
Jessica
Thanks Jessica! We’re excited to hear your plan to make your own concrete planters with the template. Hope they turn out great!