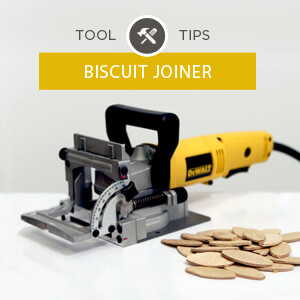
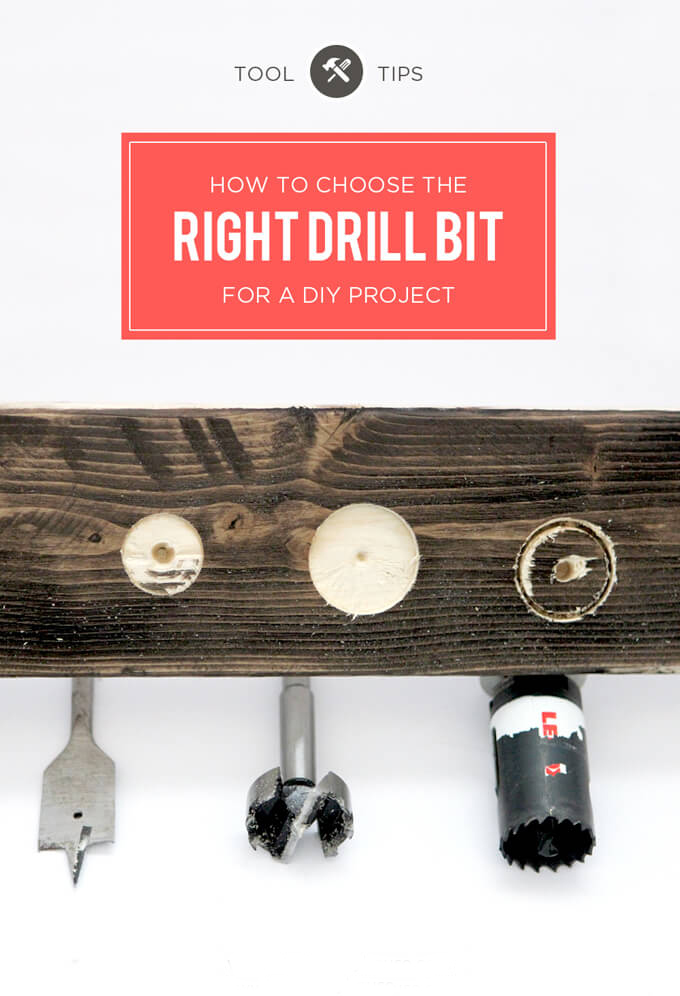
In this tool tip tutorial we are showing you how to use a biscuit joiner.
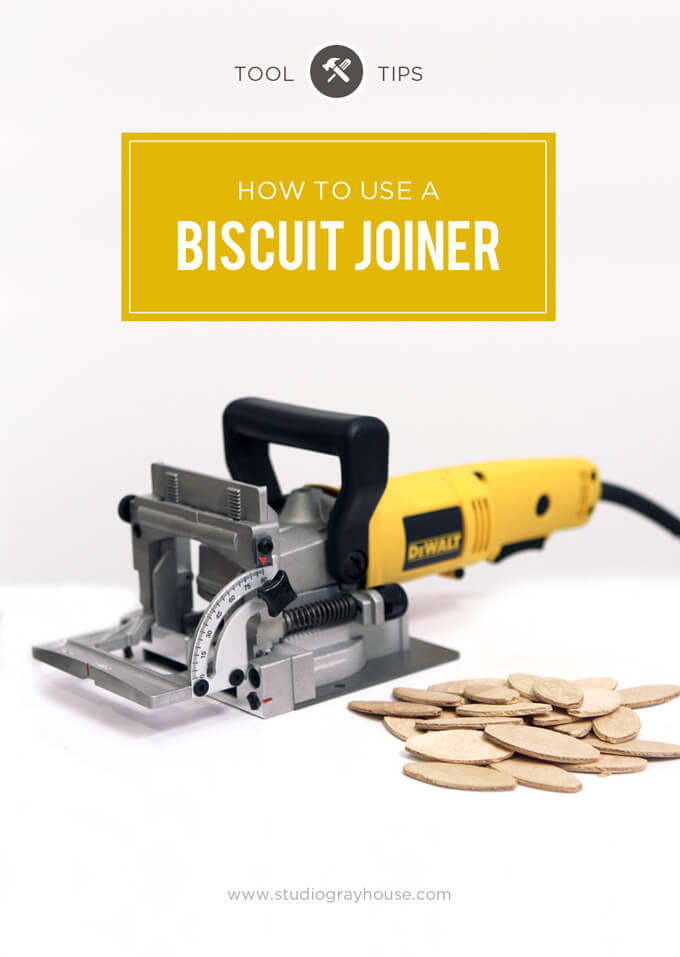
Hey! Brent here. Today I am sharing how to use a biscuit joiner to join two pieces of wood together. This is a cool woodworking tool that comes in handy for projects like building a coffee table where you need to put multiple boards together to create the table’s surface which is exactly what I am working on right now.
A current trend is using multiple pieces of reclaimed wood for the tops of tables. I have found when I would just glue or nail the boards together, the joint was not as strong and the boards had the potential to come apart in places.
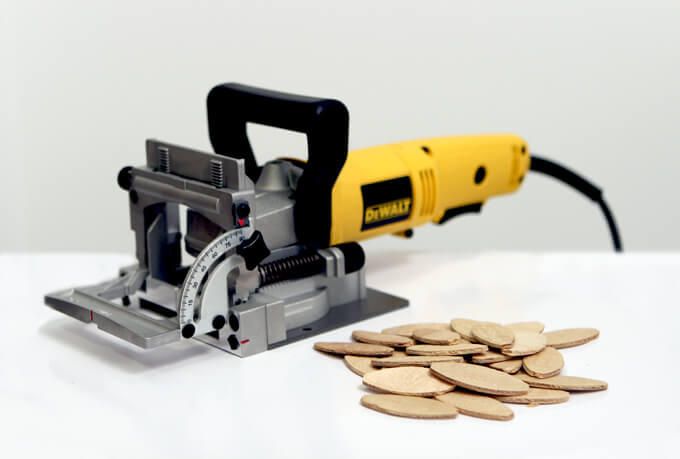
A biscuit joiner uses a circular saw blade to cut a hole in each piece of board. By applying glue to the hole, adding the wooden biscuit in the slot and clamping the two boards together, you get a much tighter bond and makes it the perfect solution for a nice and sturdy table.
As I build the top of our coffee table, I am going to walk through my process of using the biscuit joiner.
How to Use a Biscuit Joiner
First, I think it is important to highlight the tool settings I use. Most biscuit joiners have three settings you have to consider.
three settings to consider
1. Select the Biscuit Size
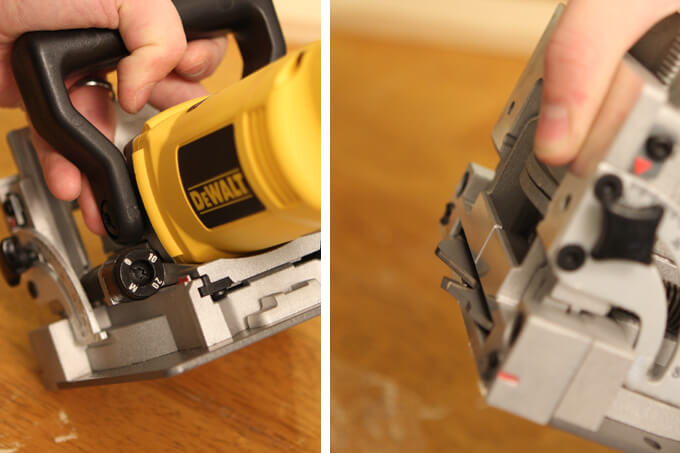
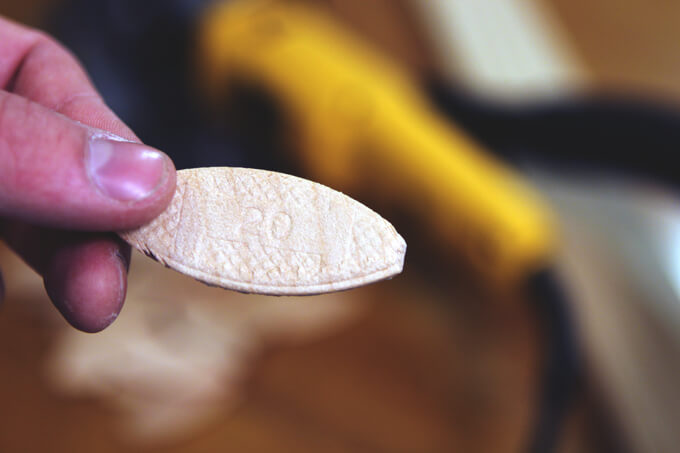
First, I need to set the dial on the biscuit joiner to match the size of the biscuit I intend to use. As you can see in the image on the left, for this project the size of biscuit I am using is 20.
So I made sure to set the dial to 20. The picture below shows a biscuit I am using which will have the size printed on it. The photo on the right above shows the circular blade that will make the cut.
The larger the number on the dial, the further the tool allows the blade to cut into the wood which creates a deeper slot for the biscuit.
2. Adjust the Surface Angle
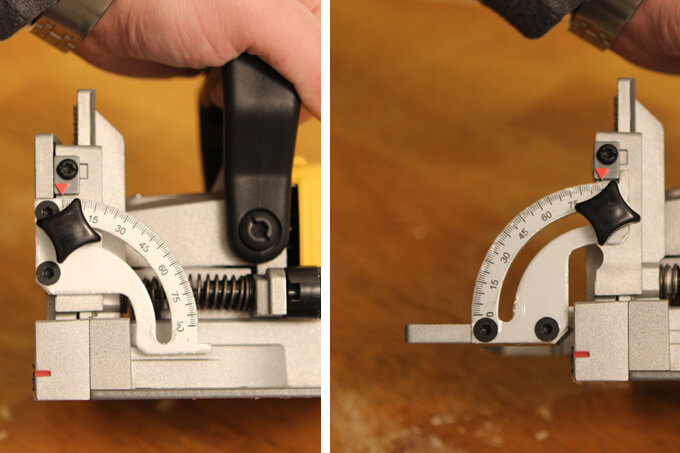
The next setting I need to set on the tool is to adjust the front guard to match the angle of the surface I want to join together. When cutting into the side of a board to join two boards side by side, use the 90 degree setting. This is what I used for this project.
3. Center the Biscuit
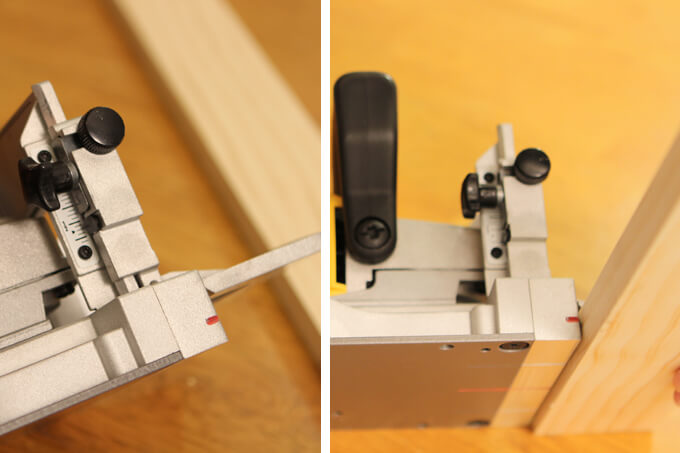
On thin surfaces, like a table top, it is important to center the biscuit on the board to create the strongest joint. On the biscuit joiner you can adjust the front guard up and down with the knob on the side of the tool. In the above photo on the right, notice the red line. This line identifies where the cut will be made.
Using a Biscuit Joiner
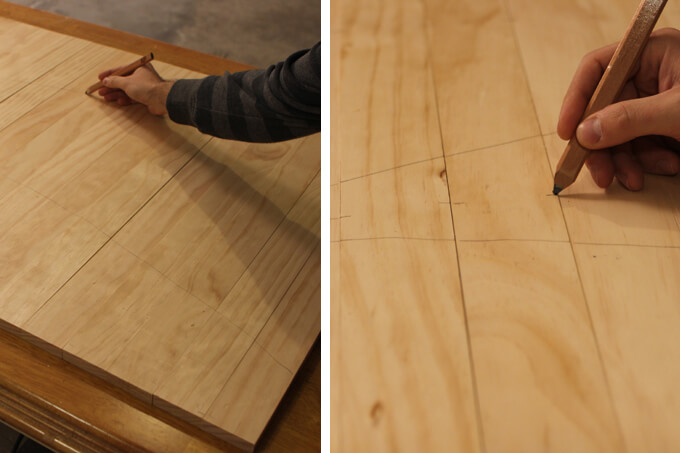
1. Now that we have the tool set up like we need it, it is time to prep the boards to be cut. First, I arranged the boards in the order I want to join them. An important step is to mark the boards in a way that will make it easy to reassemble them after you have taken them apart to cut the groves for the biscuits.
I have found that once you start gluing the boards together you don’t have a lot of time to sort through them and figure out the original order of the boards.
My favorite way to mark the boards is to draw a large “v” across the face of all the boards. This gives two points of reference on each board making it easier to assemble them in the correct position. After I draw a “v”, I add a dash everywhere I plan to join the boards with a biscuit.
Two to three biscuits per board is usually good enough. I am using three per board for this project.
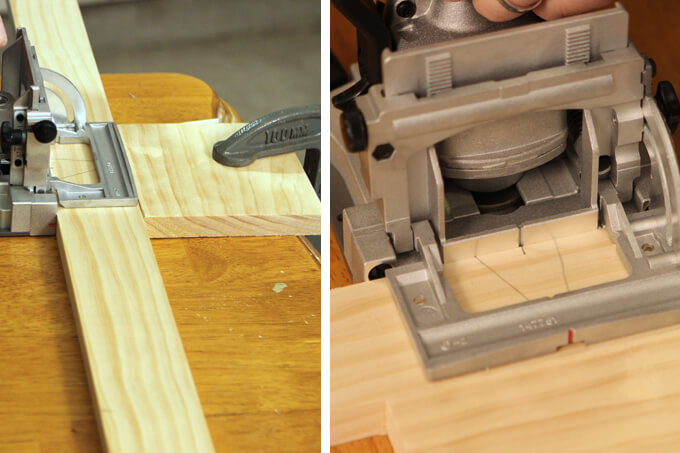
2. It can be hard to handle the biscuit joiner and hold the board you are cutting steady. So I have found that it is best to clamp a piece of scrap wood to my work space. I push the board I am cutting up against the scrap wood to keep it in place.
Before I begin cutting, I make sure to align the mark I made in the previous step with that red center line on the biscuit joiner.
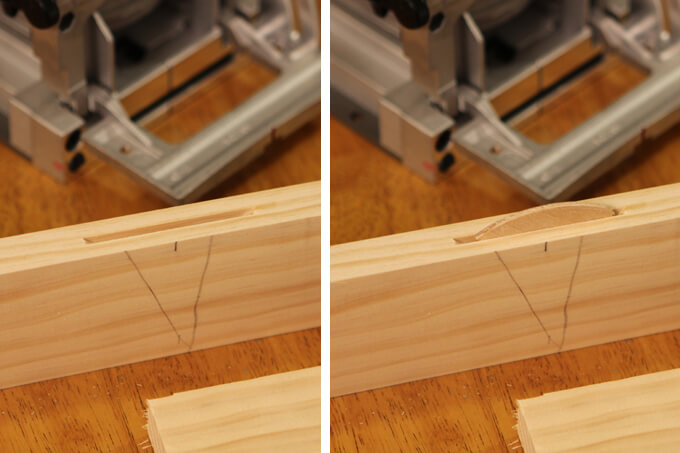
3. Then I make the cut. The photo above shows what the finished cut looks like in the side of the board. As you can see the biscuit fits perfectly in the slot that was cut out.
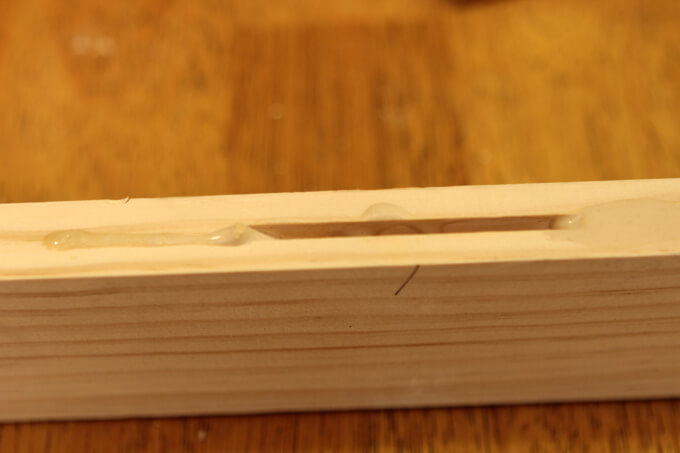
4. With all the boards cut, it’s time to apply glue to each board. It is important to get glue in each biscuit slot. I don’t worry about being a perfectionist with the glue because when gluing five to ten boards together, time is of the essence.
Any excess glue can easily be cleaned up with a damp rag after the boards have been clamped together.
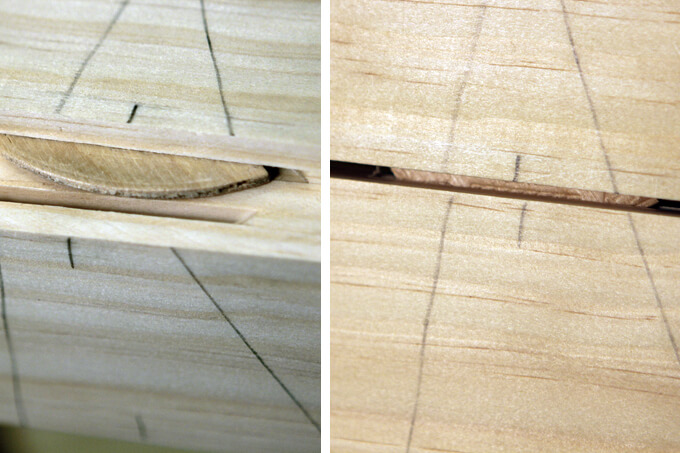
5. After the glue has been applied to each board, I insert a biscuit into each slot and line the boards up so the “v” I drew earlier lines up correctly. The biscuits help compensate for any slight warping the boards may have to create an even surface from one board to the next.
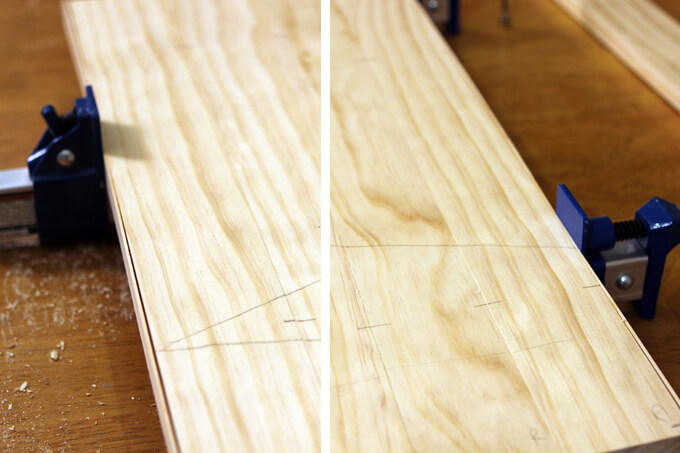
6. Once the boards are aligned, I place clamps around the boards and tighten the clamps until the gaps between the boards close and glue squeezes out of the seams.
The pressure of the clamps can sometimes create indentions in the boards. I have found a solution to this is to use a scrap piece of wood between the clamp and the board you are gluing together.
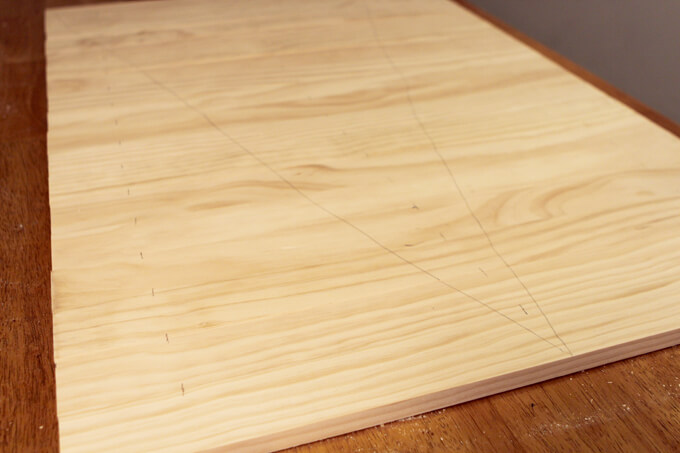
7. I always make sure to give the glue more than enough time to dry based on the wood glue guidelines. You can see how these multiple boards now look like one solid surface.
I will erase or sand off the pencil marks. Now all these boards should have a really strong bond and make for a great table top for our new coffee table.
Step one of the coffee table is complete! As you can see I am using the coffee table below as inspiration for the one I am building for our library. Notice in the detail shot on the right that the top of the table has several individual boards next to each other, that is the look we are going for. I’ll be back soon to share the next step in the process of building our coffee table.
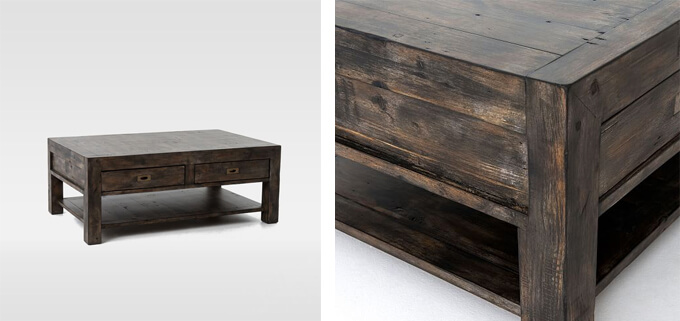
^ coffee table inspiration from West Elm
PIN THIS TUTORIAL


