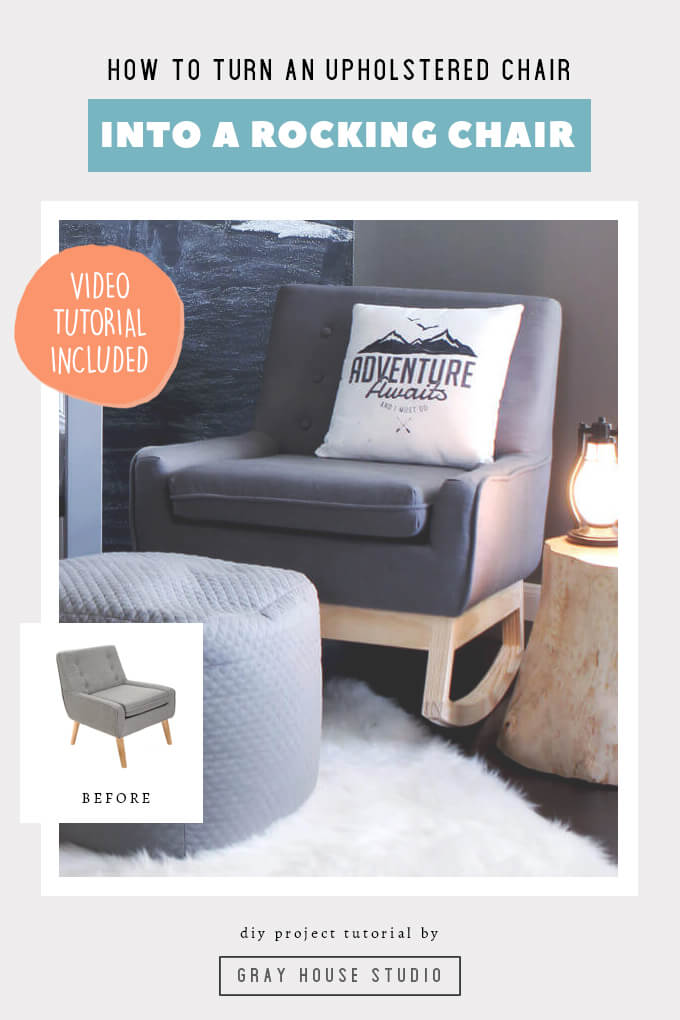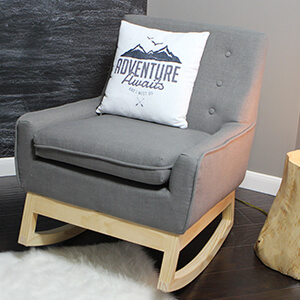
Stylish upholstered rocking chairs can be expensive so for our son’s nursery we purchased an accent chair, removed the legs, and built a rocking chair base. In this DIY rocking chair base build tutorial, we will show you how we built a custom rocking base for the chair.
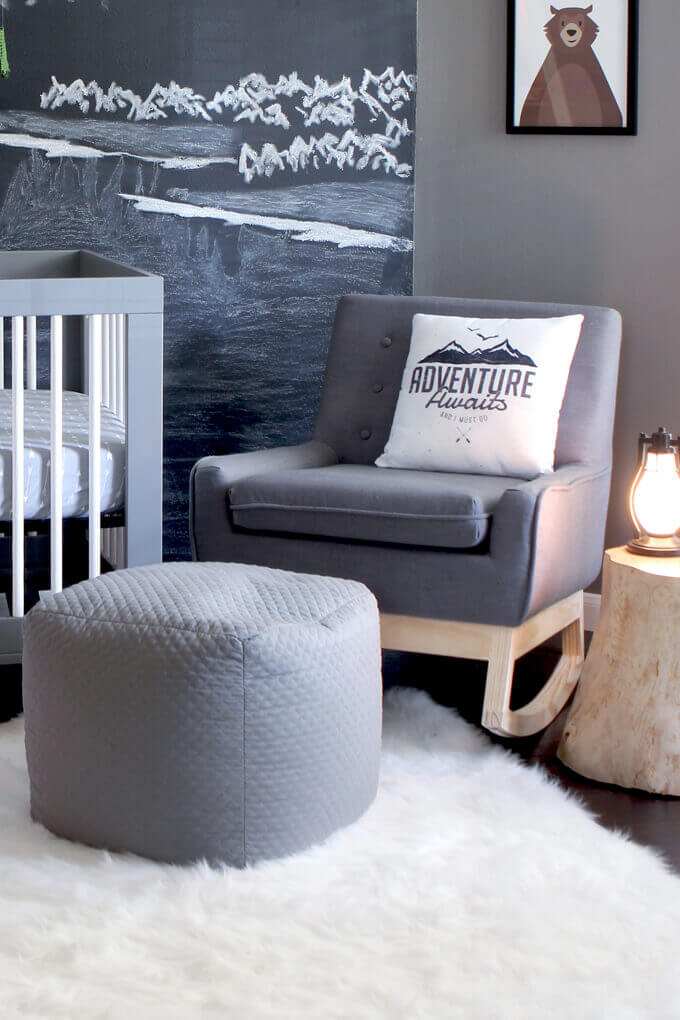 The rocking chair is a staple piece of furniture in a nursery. It has to be comfortable, functional but let’s face it, it has to look good too. Oh and if you are in rowing in the same boat as us, it has to be affordable. We put a lot of effort in the design of our nursery to blow it on a mismatched rocking chair or blow our whole budget on one we couldn’t really afford.
We shopped around. We even went so far as to try out rocking chairs at Pottery Barn Kids. When the nice sales lady asked if we were interested, we played along knowing good and well we couldn’t drop over $1,000 on a chair. If we had the money, I would have taken the one I liked home in a heartbeat. But we don’t so we had to improvise.
I feel our DIY projects that turn out the best are ones where the price of a piece of furniture we like is way up here (picture my hand way above my head) and our budget is way down here (picture my other hand below my knees). It forces us to think of a solution that is a good compromise between style and price. That is what we did for our rocking chair base build and I think it was a home run.
We were able to take the exact style accent chair we liked (that was in our price range) and turn it into a rocking chair by building a custom rocking chair base. Watch the video tutorial or follow along with the steps below to see our rocking chair base build tutorial.
The rocking chair is a staple piece of furniture in a nursery. It has to be comfortable, functional but let’s face it, it has to look good too. Oh and if you are in rowing in the same boat as us, it has to be affordable. We put a lot of effort in the design of our nursery to blow it on a mismatched rocking chair or blow our whole budget on one we couldn’t really afford.
We shopped around. We even went so far as to try out rocking chairs at Pottery Barn Kids. When the nice sales lady asked if we were interested, we played along knowing good and well we couldn’t drop over $1,000 on a chair. If we had the money, I would have taken the one I liked home in a heartbeat. But we don’t so we had to improvise.
I feel our DIY projects that turn out the best are ones where the price of a piece of furniture we like is way up here (picture my hand way above my head) and our budget is way down here (picture my other hand below my knees). It forces us to think of a solution that is a good compromise between style and price. That is what we did for our rocking chair base build and I think it was a home run.
We were able to take the exact style accent chair we liked (that was in our price range) and turn it into a rocking chair by building a custom rocking chair base. Watch the video tutorial or follow along with the steps below to see our rocking chair base build tutorial.
How to Turn an Upholstered Chair into a Rocking Chair
SUPPLIES
- Upholstered Chair
- 1″x3″x6′ Pine Board
- 1″x6″x6′ Pine Board
- 2″x2″x6′ Pine Board
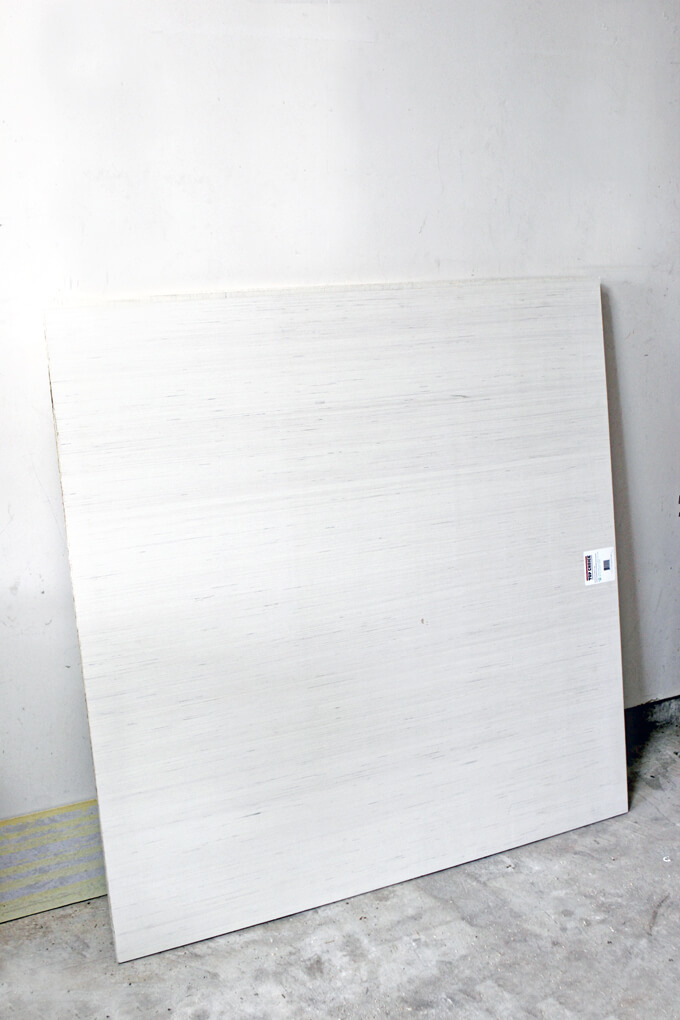
- Hard Board Panel
- Pocket-Hole Screws
- Wood Glue
- Kreg Jig
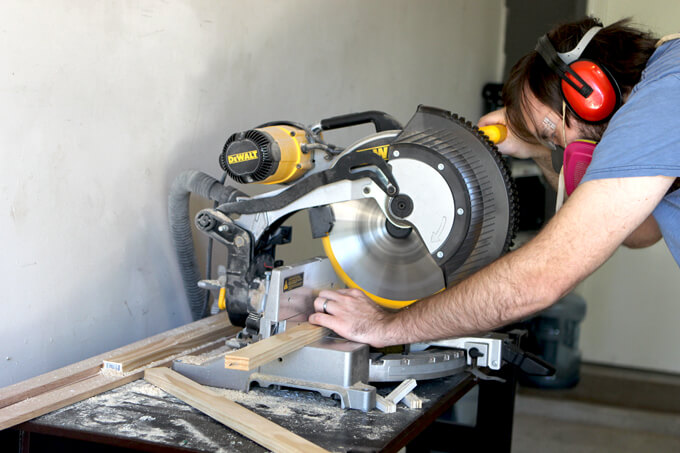
- Miter Saw
- Clamps
- Drill
- Jig Saw
- Polycrylic Protective Finish
FYI: This post contains a few affiliate links to products we used to make this project. Gray House Studio does receive commissions for sales from these links but at no extra cost to you. We appreciate you supporting this site. Read our privacy and disclosure policy. You can also easily shop our recommended products here.
TUTORIAL VIDEO
Subscribe to our YouTube Channel
Like our video? Subscribe and help us reach our goal of 100k subscribers.
STEPS
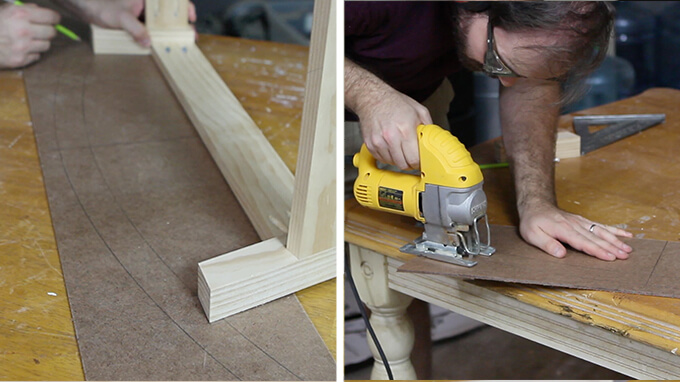
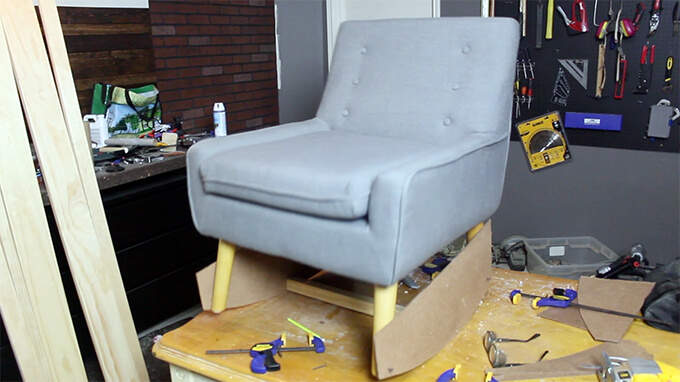 1. To start the rocking chair base build, we first tested the rocker radius on our upholstered chair by cutting a 38 inch radius from two scrap sheets of masonite and screwing the masonite rockers into the stock legs. We did quite a bit of research and used the formula below to determine the radius.
Seat Height(12″) x Pi(3.14) = Rocker Radius (38″)
After sitting in chair with the test rocking chair piece, we decided the seat height was a bit too high but the rocking motion was perfect. Our solution was to shorten the legs on the new rocking chair base.
1. To start the rocking chair base build, we first tested the rocker radius on our upholstered chair by cutting a 38 inch radius from two scrap sheets of masonite and screwing the masonite rockers into the stock legs. We did quite a bit of research and used the formula below to determine the radius.
Seat Height(12″) x Pi(3.14) = Rocker Radius (38″)
After sitting in chair with the test rocking chair piece, we decided the seat height was a bit too high but the rocking motion was perfect. Our solution was to shorten the legs on the new rocking chair base.
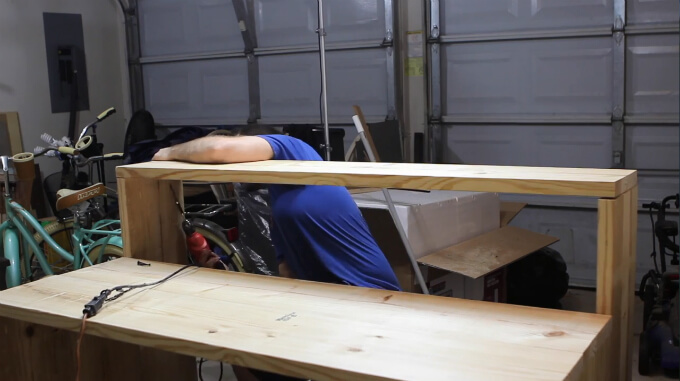
 Building the Chair Base
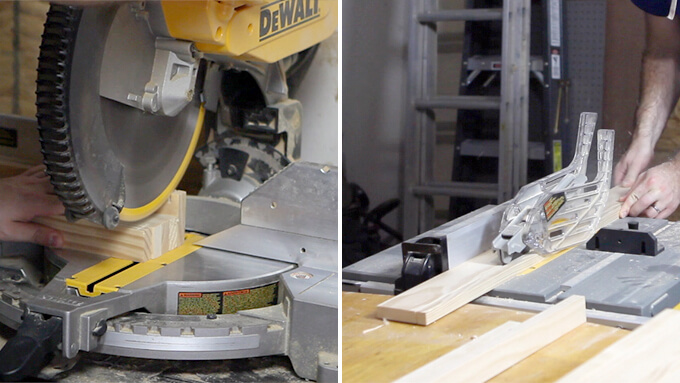
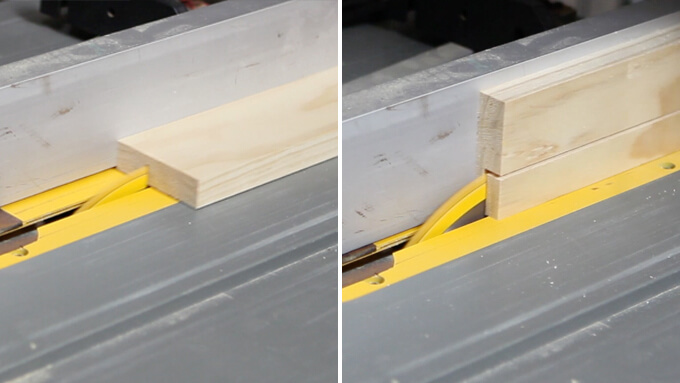
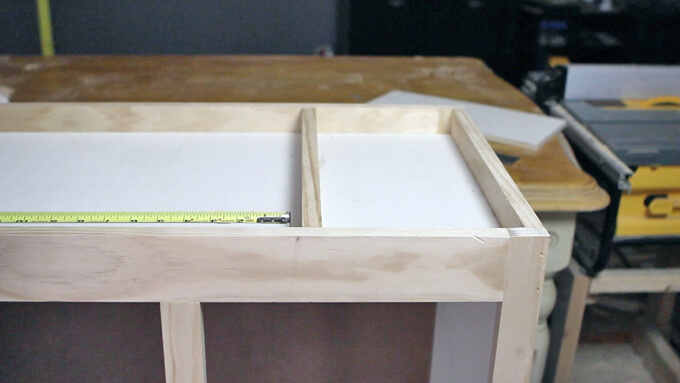
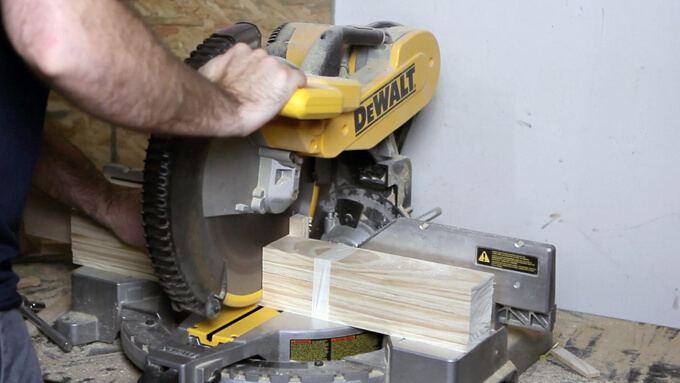
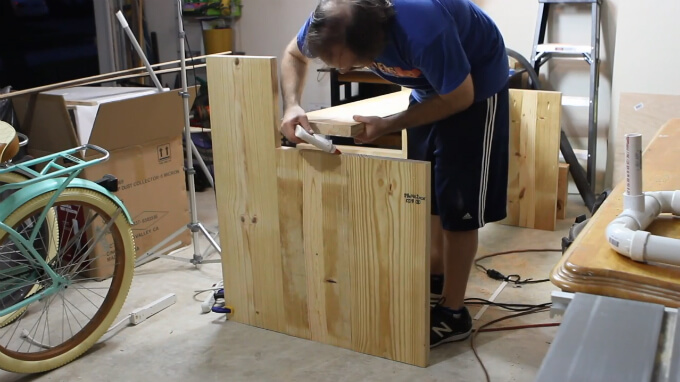
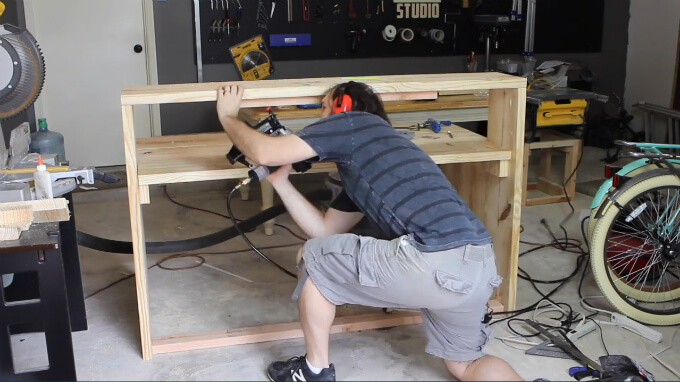
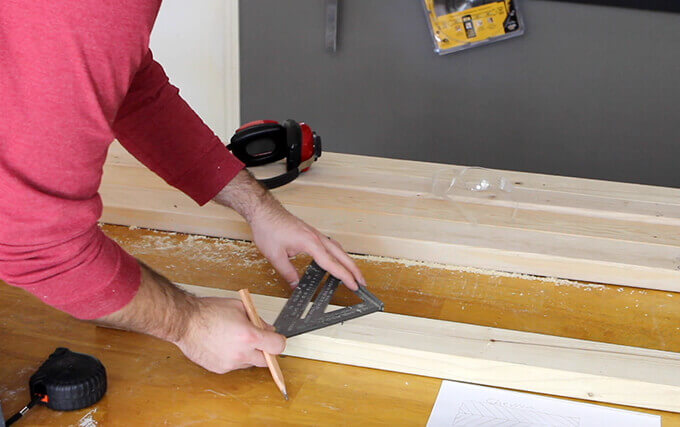
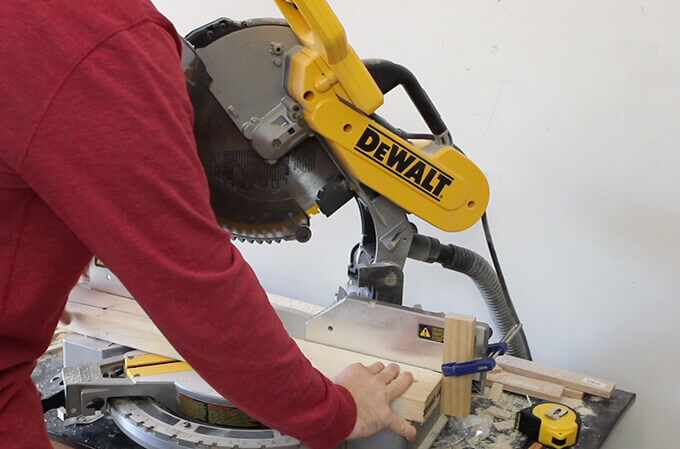
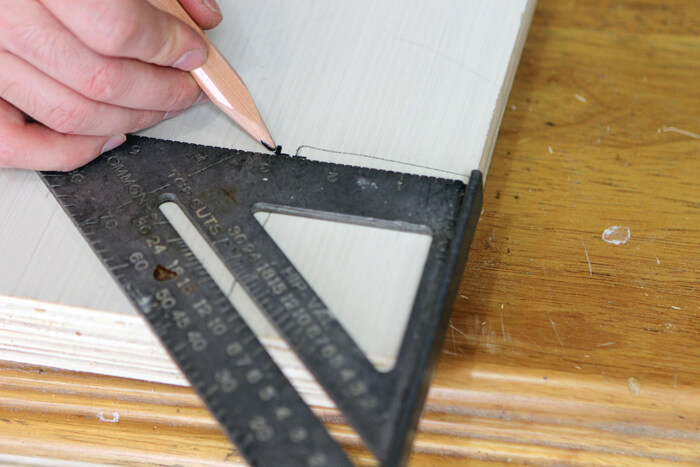
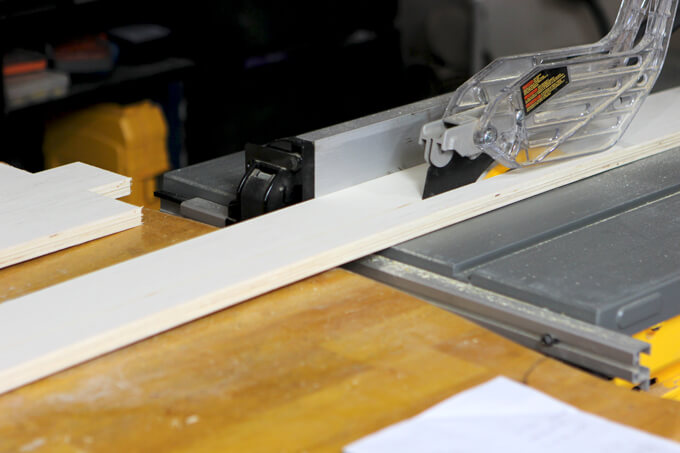
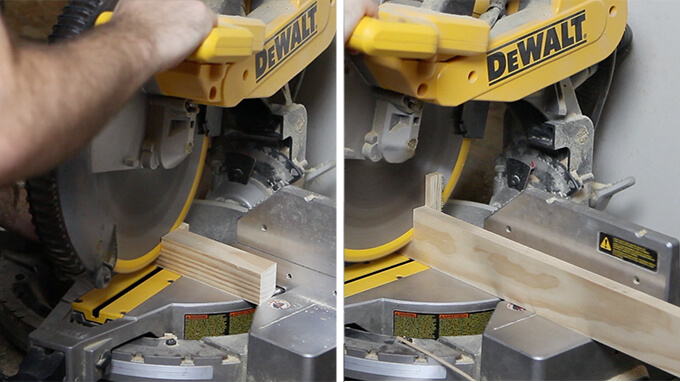
2. The new legs for the rocking chair were cut from 2″x2″ pine boards with a miter saw. We matched the angle of the legs and shortened each leg by 2″.
The chair apron is made from 1″x3″ pine boards. The original legs screwed directly into the base of the chair but we attached the legs together using an apron design. This makes for a stronger base. Plus, we like the aesthetic.
Building the Chair Base
2. The new legs for the rocking chair were cut from 2″x2″ pine boards with a miter saw. We matched the angle of the legs and shortened each leg by 2″.
The chair apron is made from 1″x3″ pine boards. The original legs screwed directly into the base of the chair but we attached the legs together using an apron design. This makes for a stronger base. Plus, we like the aesthetic.
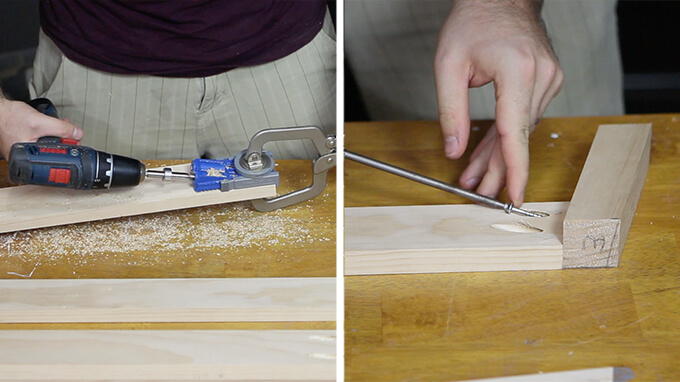
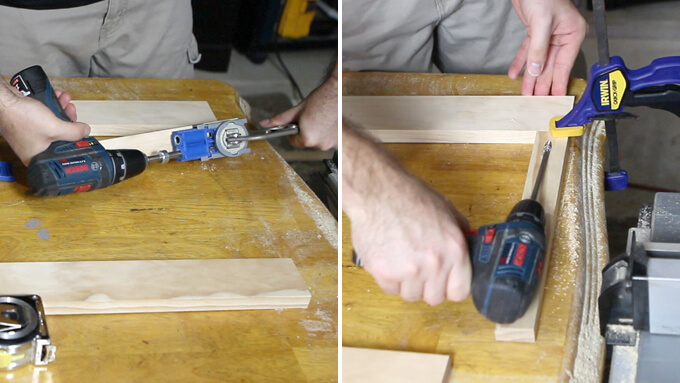
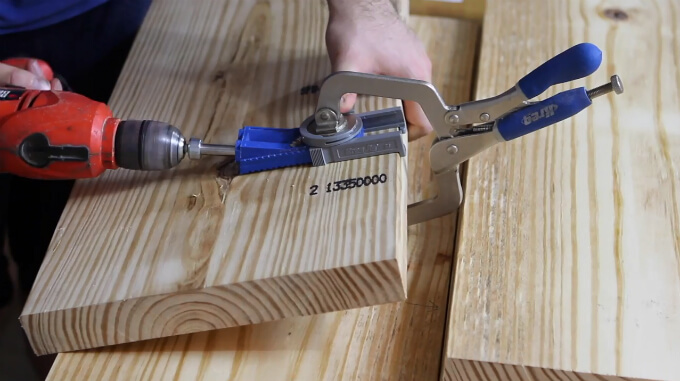
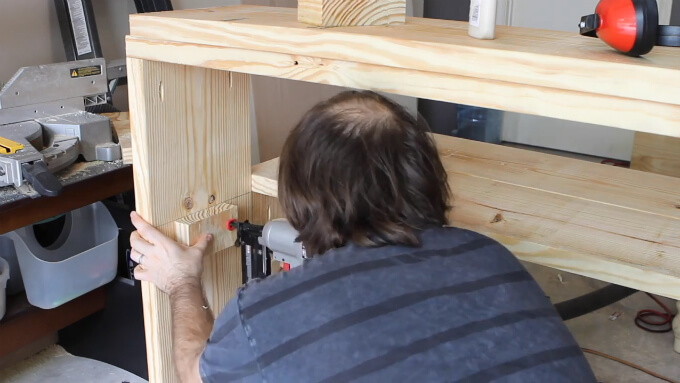
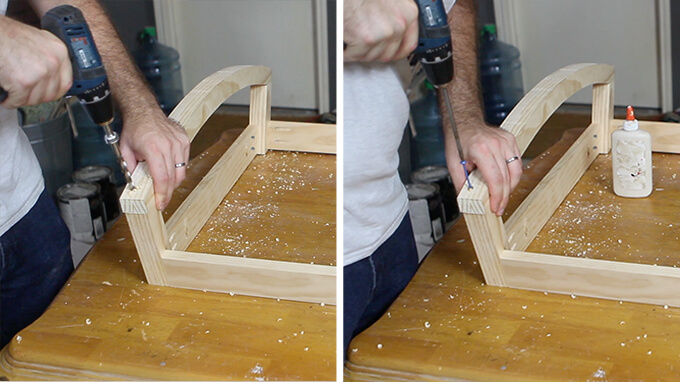
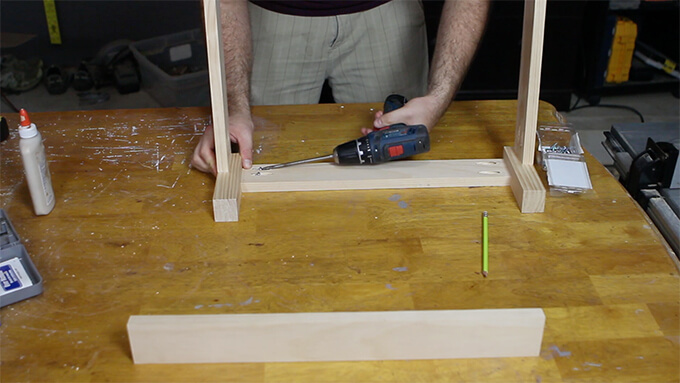 3. We used a Kreg Jig to drill pocket holes. Then We connected the four 1″x3″ apron boards to each leg with two 1-1/4″ pocket hole screws and wood glue.
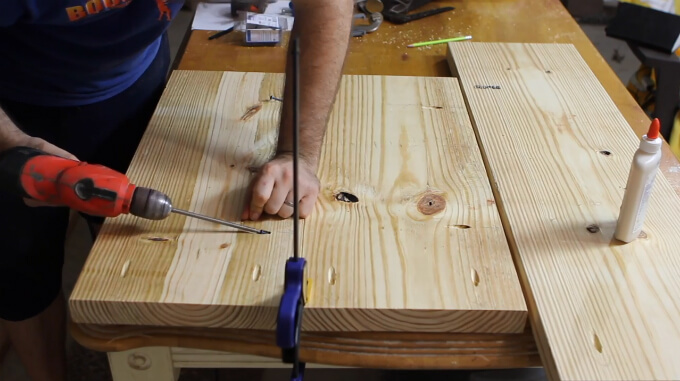
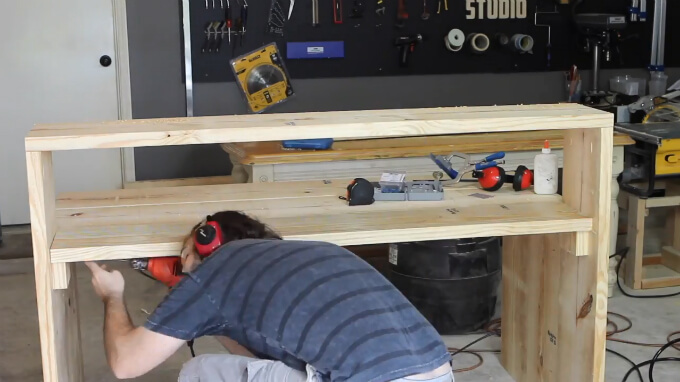
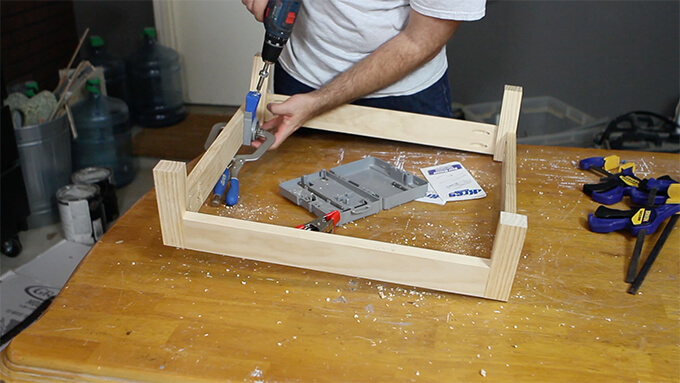 4. Pocket holes were drilled in the top of the left and right apron boards to allow the base to be attached to the underside of the chair.
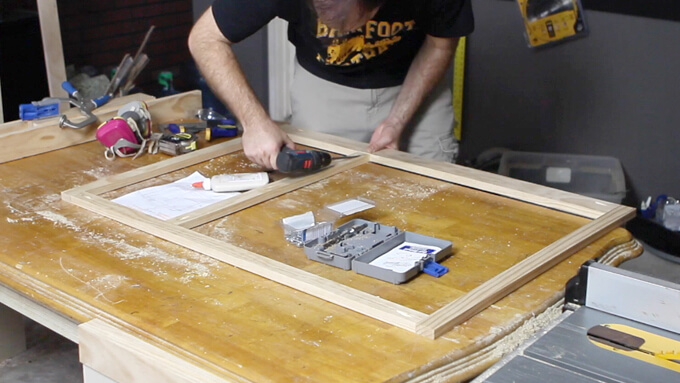
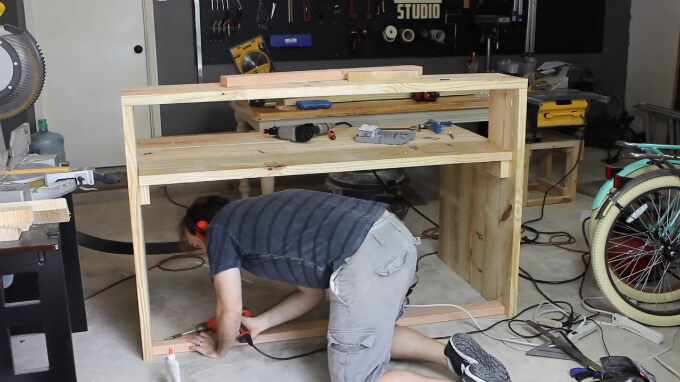
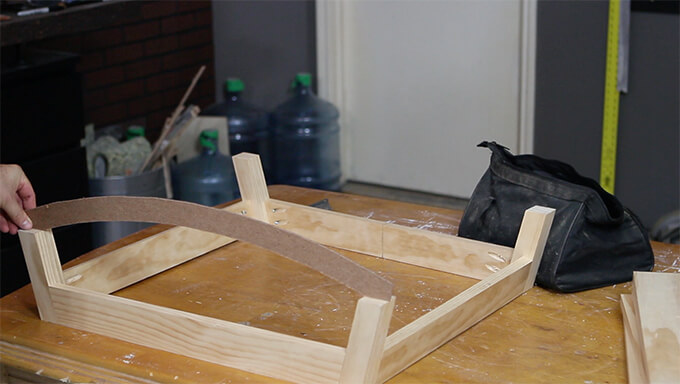
 5. Before moving on to the rocker rails, we test fit the rocking chair base with the upholstered chair and it fit great!
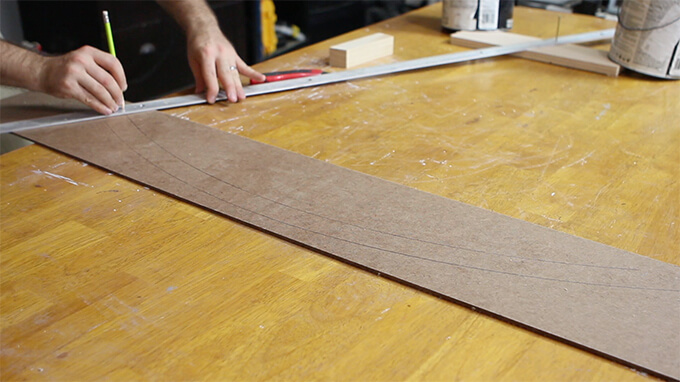 Making the Rocker Runner Template
6. To trace the rocker runner radius we build a giant compass. Using a scrap piece of aluminum we drilled one hole to anchor one end of the compass and drilled two holes to draw through with a pencil. One hole was drilled at 36″ (top of runner) and 38″ (bottom of runner).
Making the Rocker Runner Template
6. To trace the rocker runner radius we build a giant compass. Using a scrap piece of aluminum we drilled one hole to anchor one end of the compass and drilled two holes to draw through with a pencil. One hole was drilled at 36″ (top of runner) and 38″ (bottom of runner).
 7. To measure where the ends of the rocker runners are, we used the chair base and traced around each leg to indicate where to cut the template to make the ends of each runner flush with the legs.
 The rocker runner template fit perfectly!
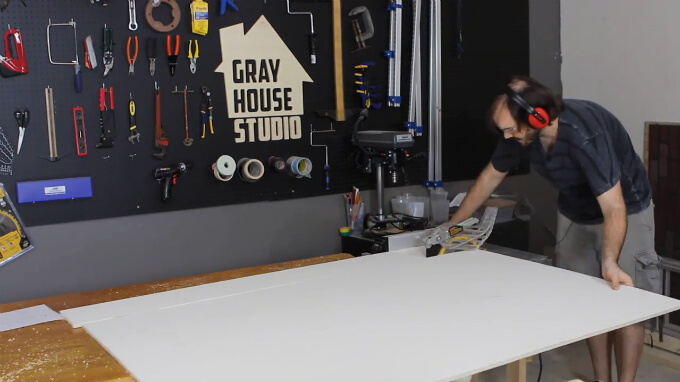
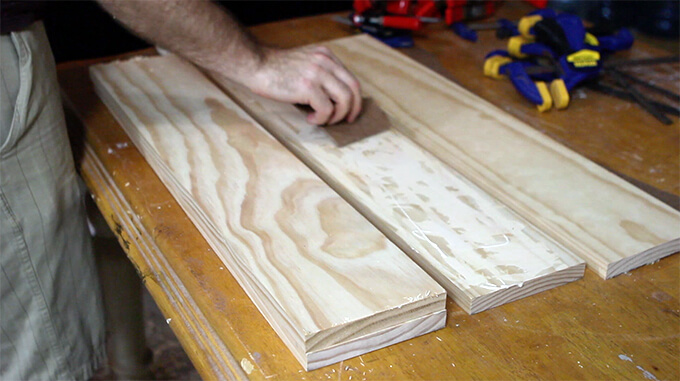 Cutting the Rocker Runners
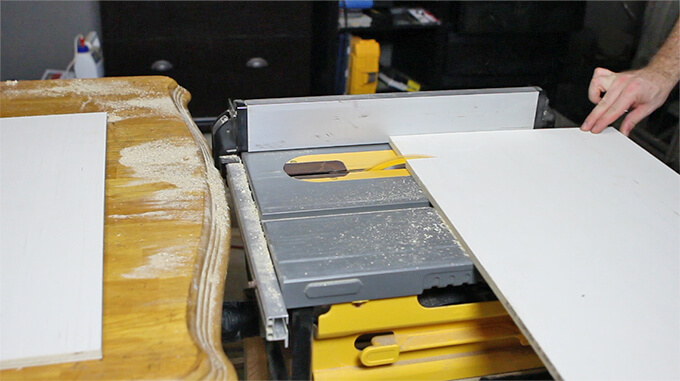
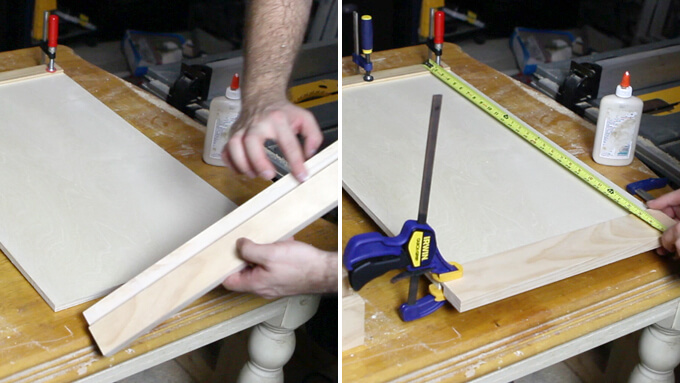
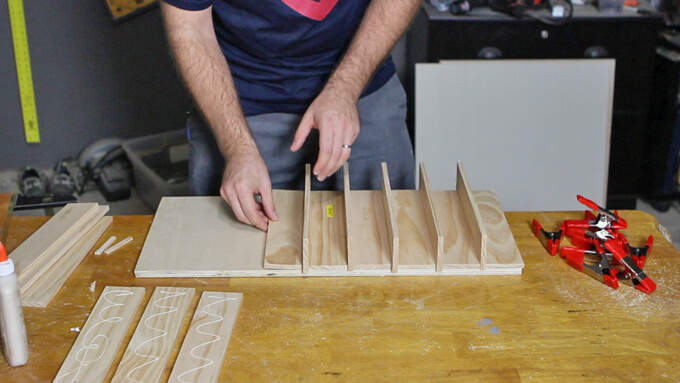
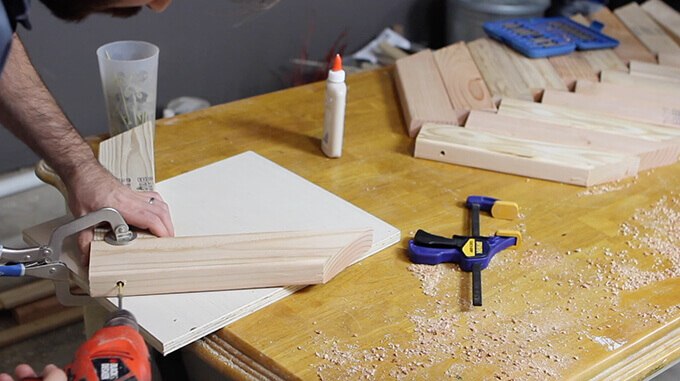
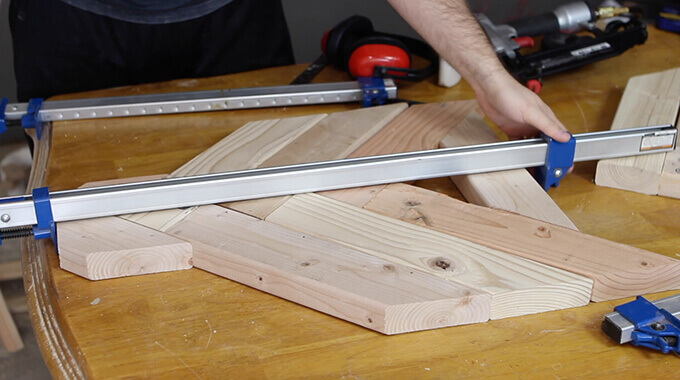
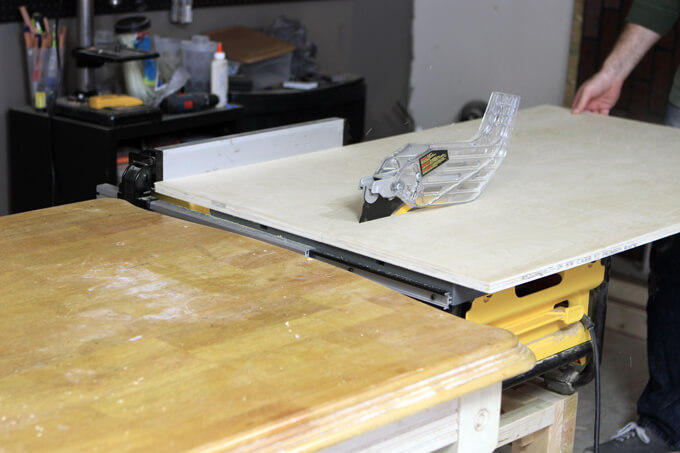
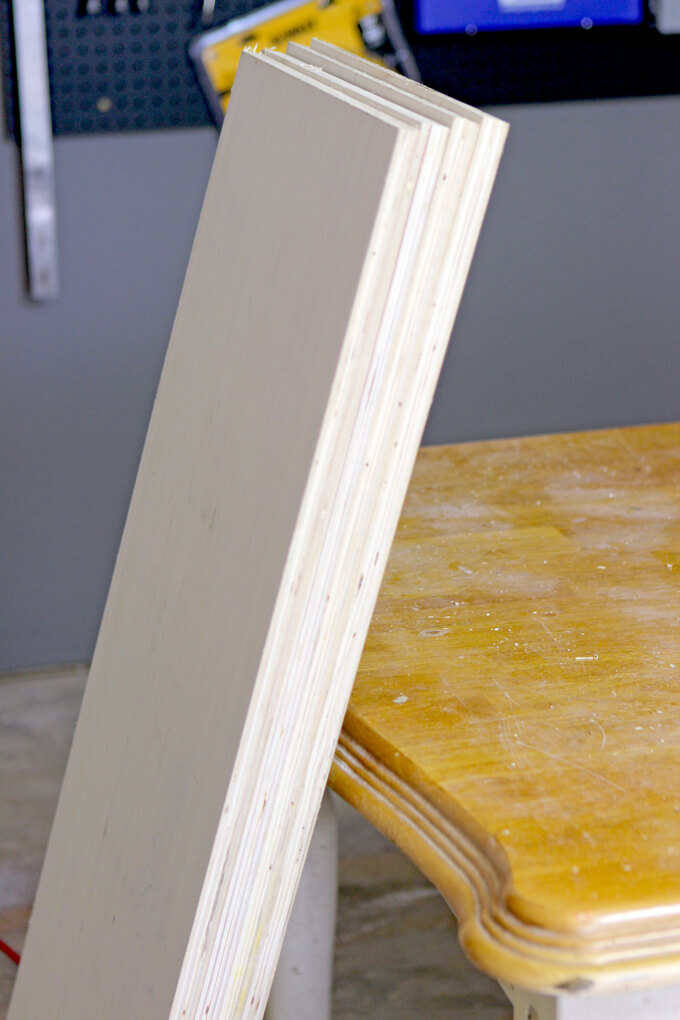
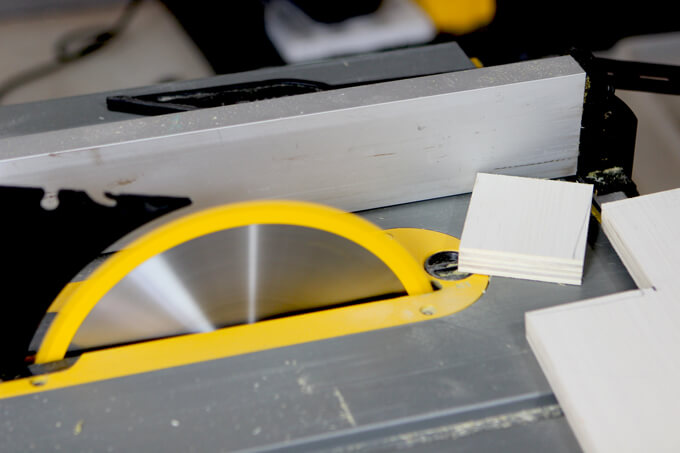
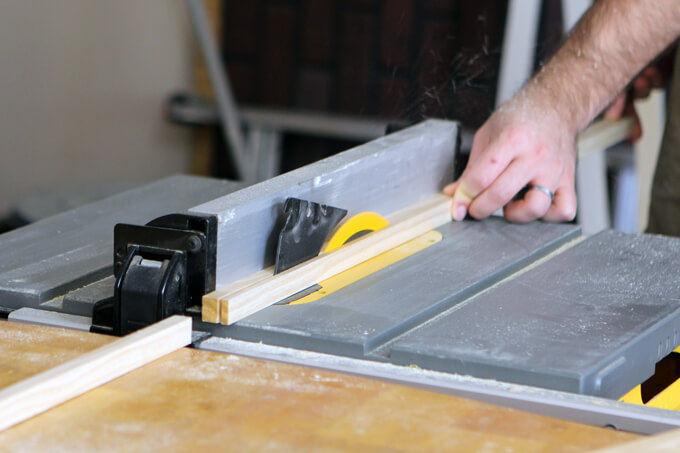
8. We used select pine 1″x6″ boards for the rocker runners but needed to combine two boards together using wood glue and clamps to match width of the 2″x2″.
Cutting the Rocker Runners
8. We used select pine 1″x6″ boards for the rocker runners but needed to combine two boards together using wood glue and clamps to match width of the 2″x2″.
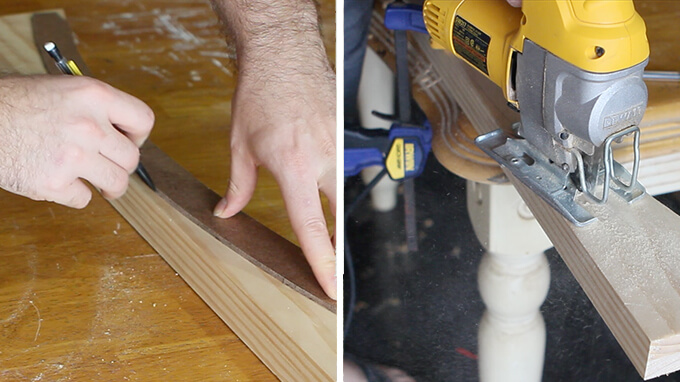 9. Once the shape of the rocker runner template is traced on the double thick 1″x6″ board we used a jigsaw to cut out each runner.
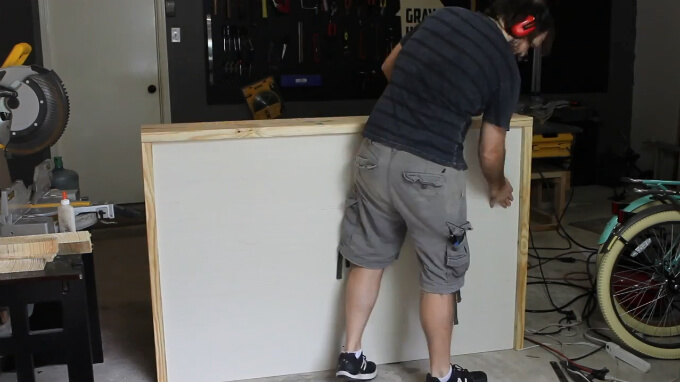
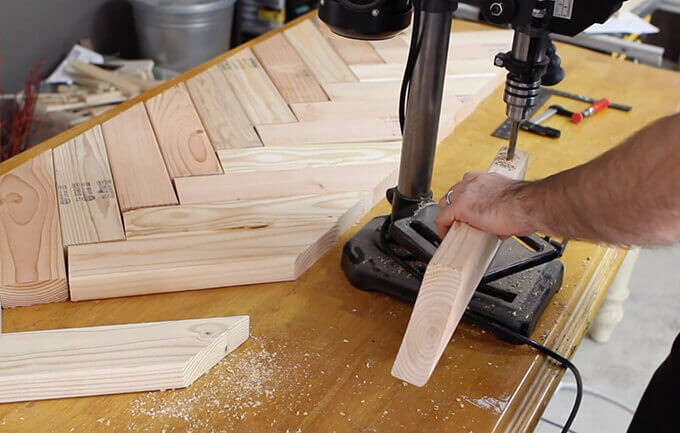
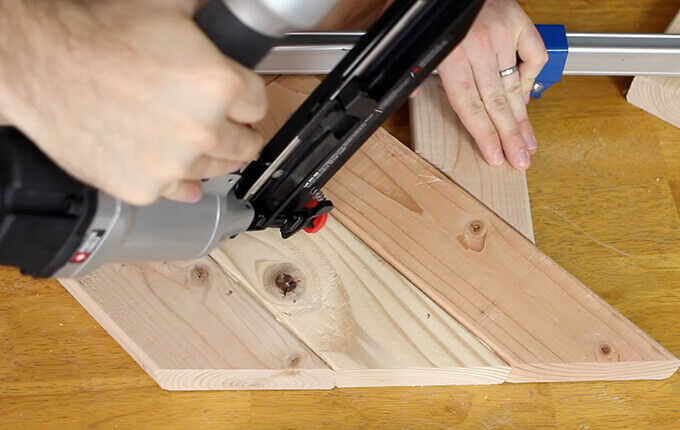
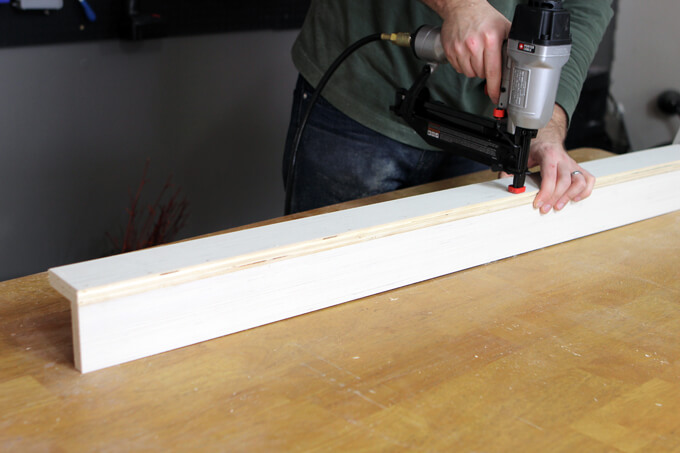
 10. The runners were attached to the rocking chair base with wood glue and 2″ pocket hole screws after using our drill to drill holes to countersink the screw heads.
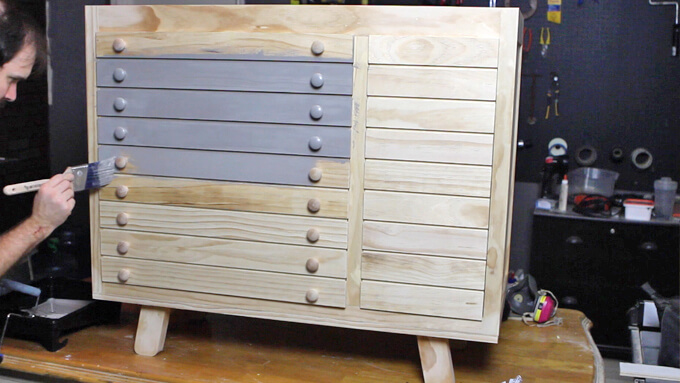
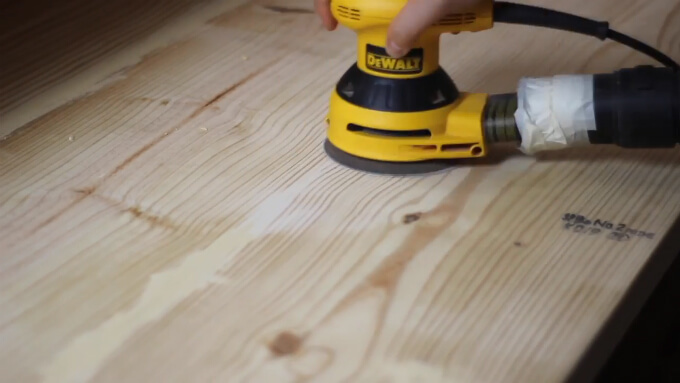
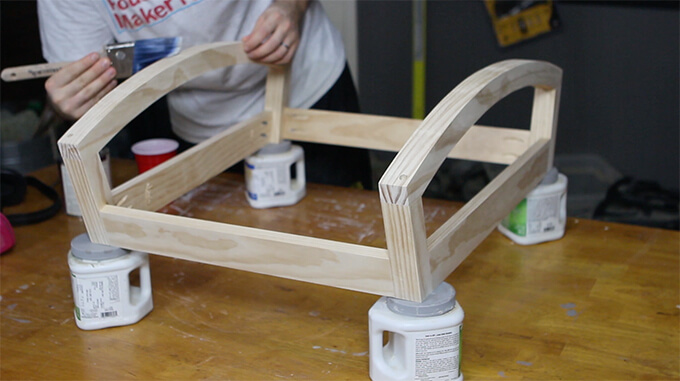 11. To finish up the base we coated it in a polycrylic protective finish to preserve the light tone of the pine.
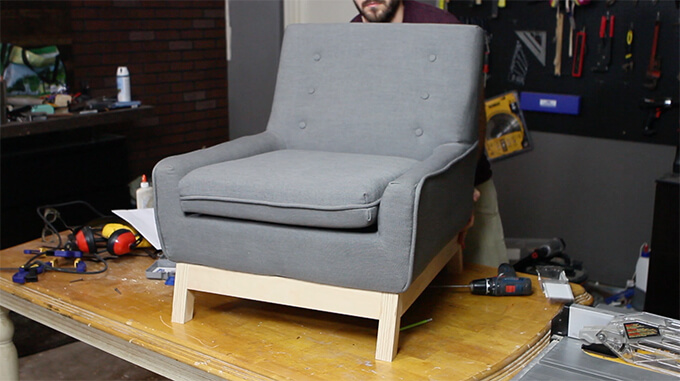
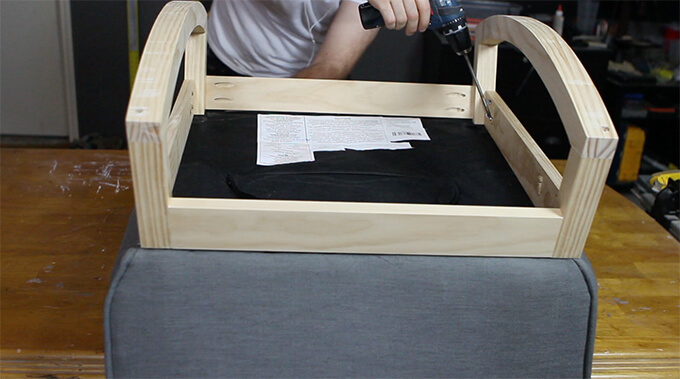 12. Once the clear coat on the base was dry, we attached it to the upholstered chair using 2″ pocket hole screws, making sure they anchored into the wood substructure.
PIN FOR LATER