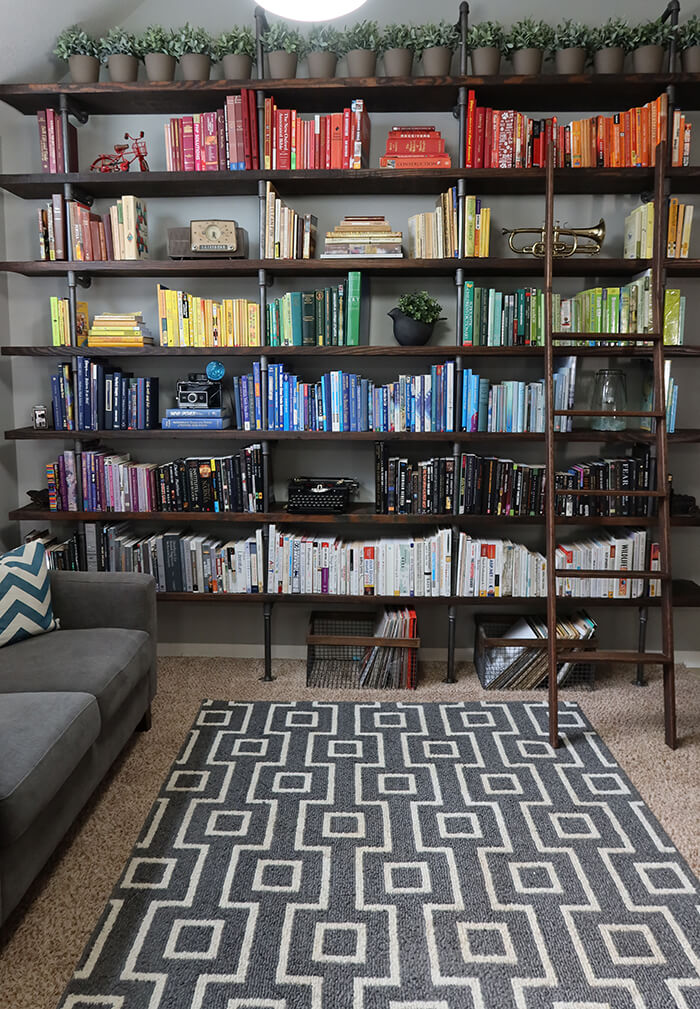
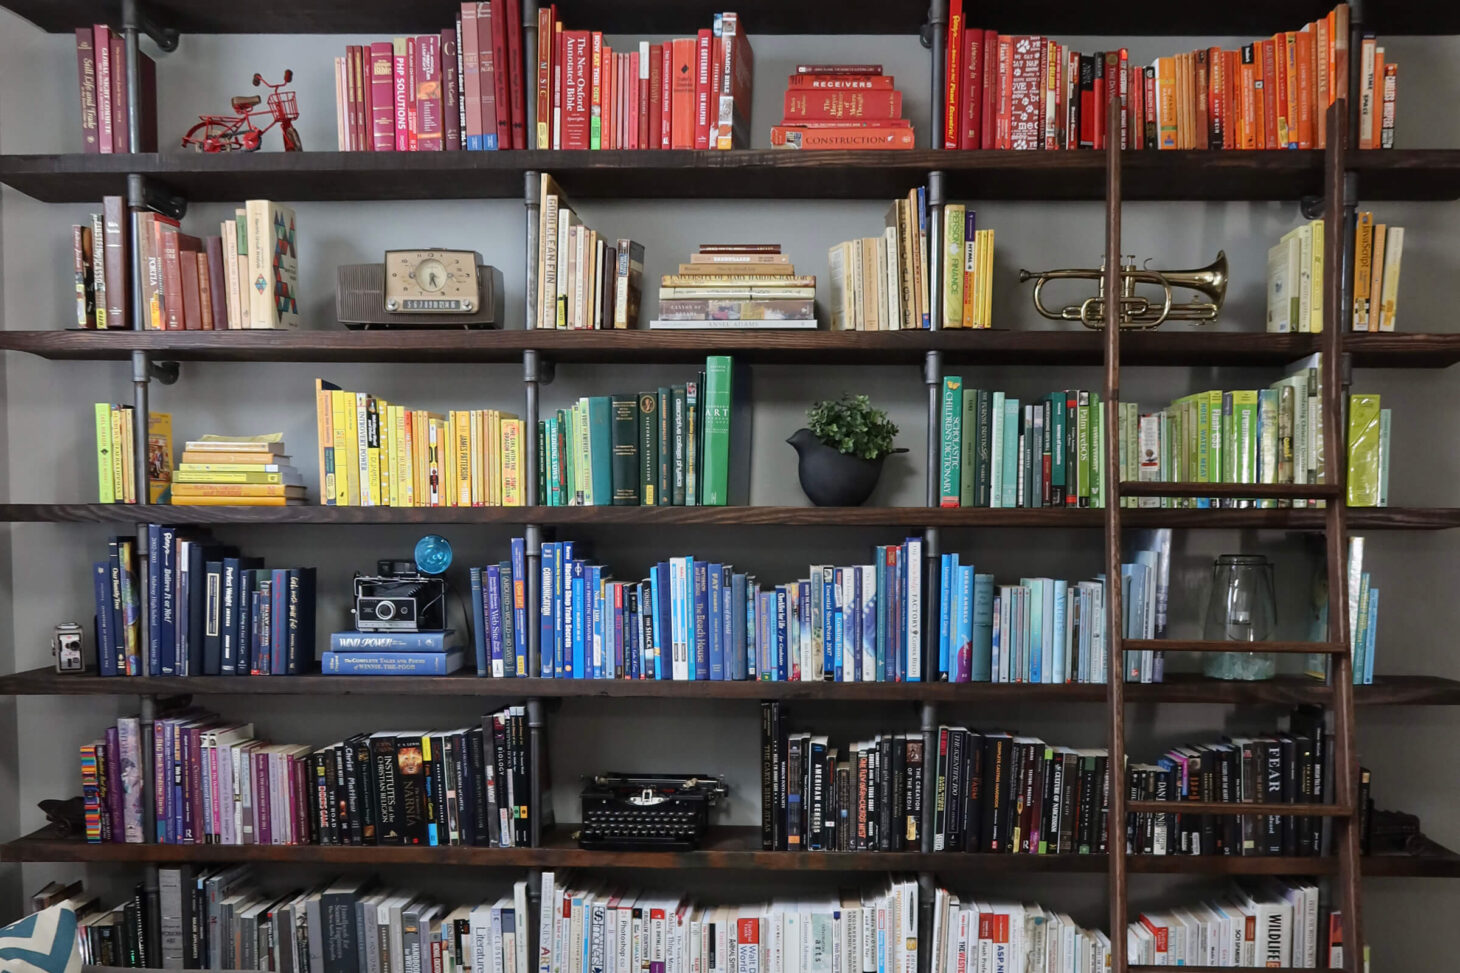
Creating a cozy home library was at the top of our must-have in our house list. We challenged ourselves to build a large wall of floor to ceiling pipe shelves to store all of our books. We made plans if you want to build them too!
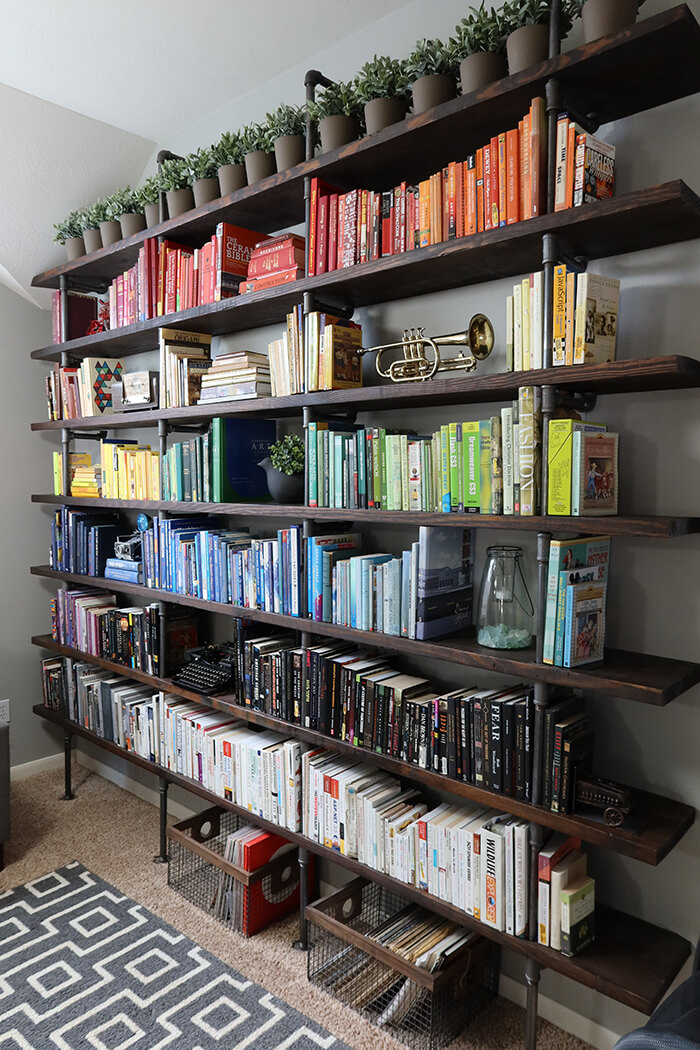
Both Brent and I enjoy reading and liked the idea of having lots of shelves filled with books on display. We wanted lots of shelving but didn’t necessarily want to build a large conventional bookcase.
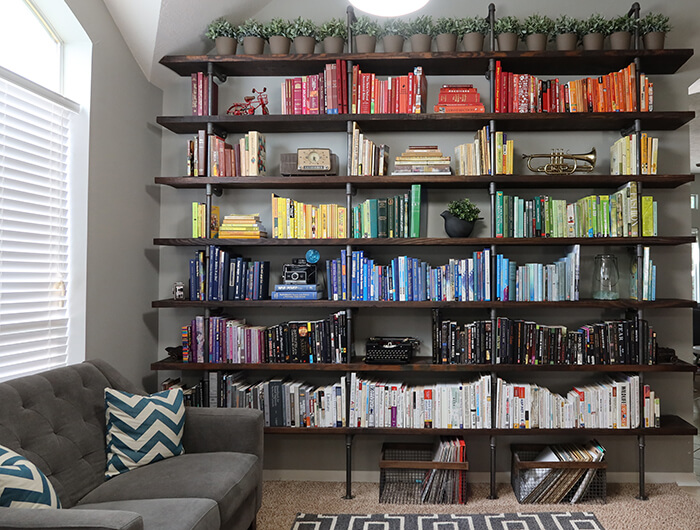
We decided on building the support system out of pipes. By going with an industrial design for our library shelves, we needed less tools and could piece it together over a few weekends but it still visually packs a big punch in the front of our house.
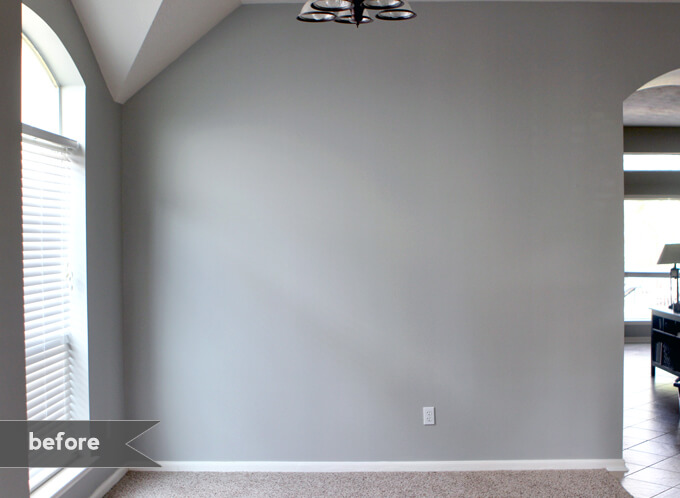
There is nothing better than a big blank canvas ready for a DIY project!
How to Build Large Industrial Pipe Shelves
Supplies:
- Our Pipe Shelves Plans
- (7) 2″ x 12″ x 10′ Pine Boards
- 2-1/4″ screws
- (32) 3/4″ x 12″ Long Black Pipe
- (28) 3/4″ x 6″ Short Pipe
- (4) 3/4″ x 2″ Nipple
- (4) 3/4″ x 3/4″ Coupling
- (32) 3/4″ x 3/4″ Elbow
- (28) 3/4″ x 3/4″ Tee
- (8) 3/4″ Flange
- Drill
- Kona Wood Stain
- 1-1/4-Inch Hole Saw
- Kreg Jig
- Kreg Face Clamp
FYI: This post contains an affiliate link to a product we used to make this project. Gray House Studio does receive commissions for sales from these links but at no extra cost to you. We appreciate you supporting this site. Read our privacy and disclosure policy. You can also easily shop our recommended products here.
Pipe Shelves Project Plans
When you purchase our DIY pipe shelves plans you get a PDF with a detailed materials list, a cut list, exact dimensions for each piece, and building instructions – all for only $10. We appreciate you supporting Gray House Studio! Join our e-mail list to get a 20% off coupon code.
Steps:
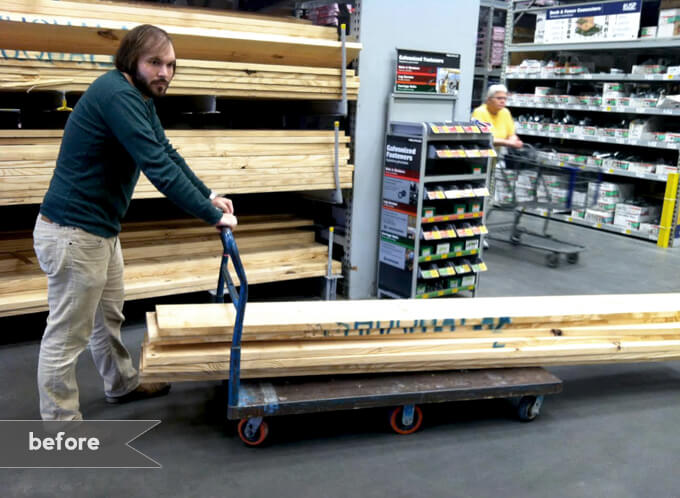
The day we bought the wood for the shelves was a doozy. I think I “worked out” harder on that day than I have in a long time. Helping Brent get those giant boards down off the shelf at the hardware store, into the truck, off the truck, into the backyard, up onto the platform to stain and then back into the garage was quite the job for my tiny little arms.
One criteria Brent had for the shelves was he wanted to use thick boards. He decided on using seven 2″ X 12″s in 10′ lengths. The reasoning behind this was we wanted the shelves to be sturdy and substantial in both functionality and appearance.
This is the centerpiece of the room so we really wanted to build something that would grab your attention as soon as you walk in our door and dinky little shelves just wouldn’t cut it.
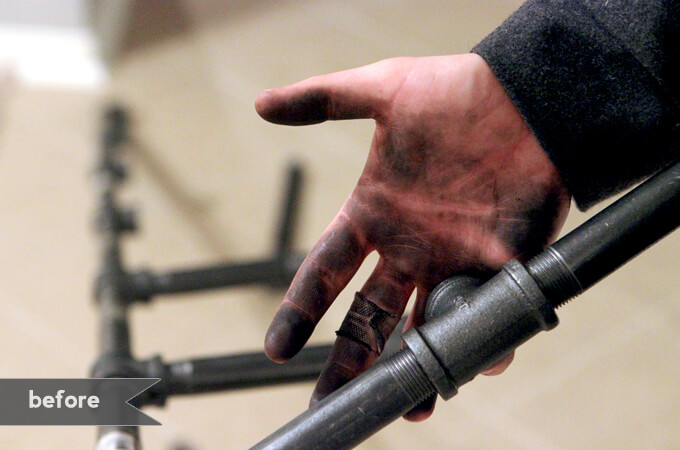
The other element to the shelves were the pipes and fittings that would run through the boards.
The pipes were kind of gross when we got them (see photo above). They are coated so they don’t rust but since we were using the pipes and fittings indoors we had to spend a lot of time cleaning them.
It was a tedious task that consisted of wiping down roughly 150+ pieces of pipe with a paper towel and a little bit of paint thinner.
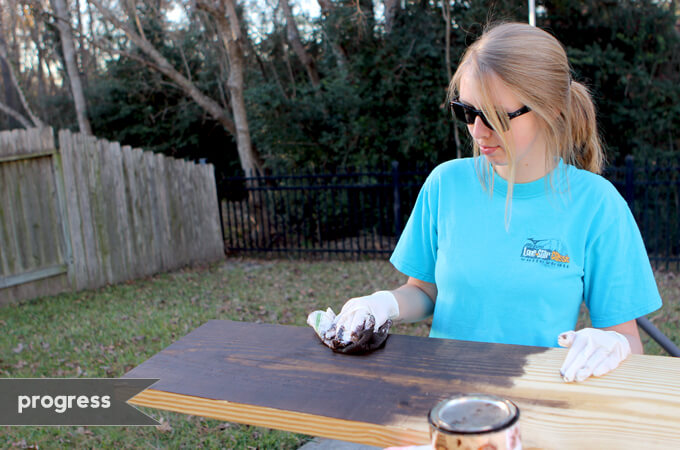
1 | We stained each board using the same stain as our nook wood plank wall, Kona wood stain.
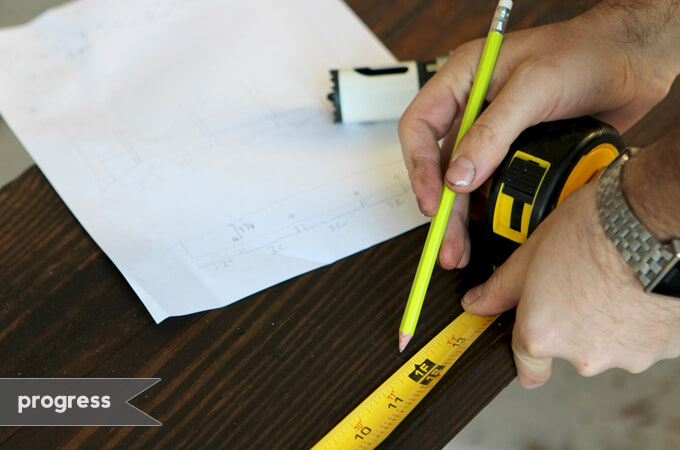
2 | After I stained the board, Brent measured and marked where he would need to drill the holes so the pipes would go through the board.
He drew up all the plans himself and I was pretty impressed because each calculation and measurement had to be precise to ensure that every board would be same distance from the wall and line up with each other so the pipes could run through all them.
You can find the exact measurements in our DIY pipe shelves plans.
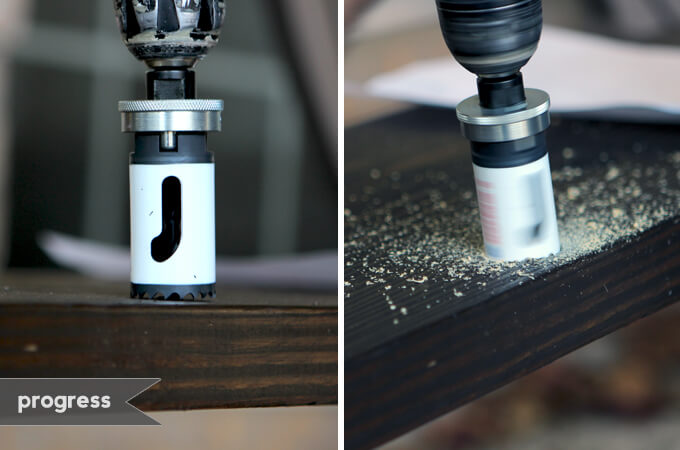
3 | Next he used a hole saw attached to his drill and drilled four holes into each board.
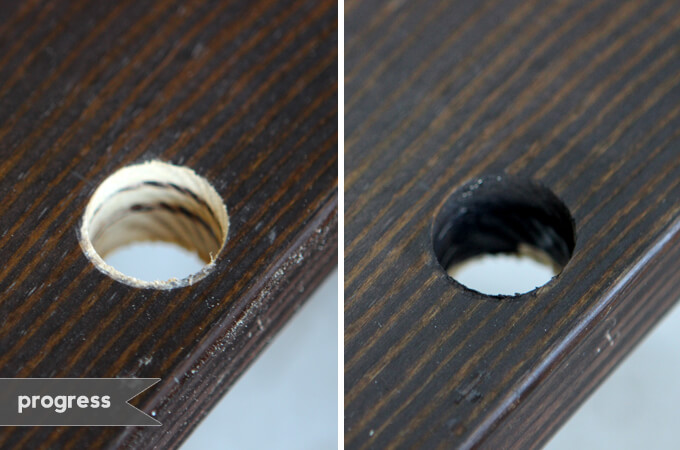
4 | Once Brent drilled the holes, there were some areas exposed that had not been stained so I filled in those spots with stain to achieve a seamless look.
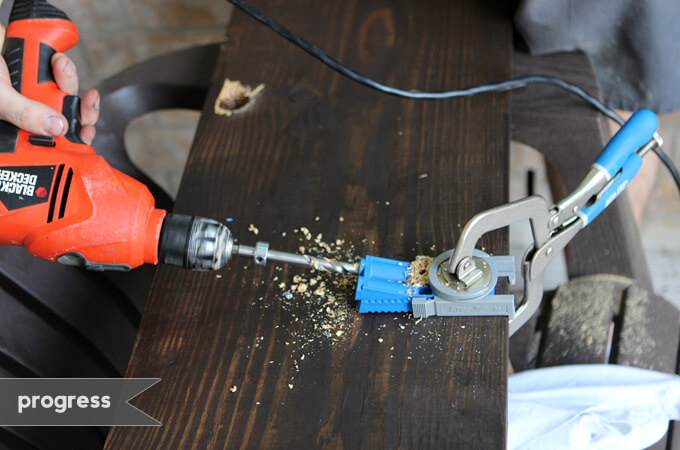
5 | He used a Kreg Jig and Kreg face clamp to drill four pocket holes that were measured to match the stud layout in that wall.
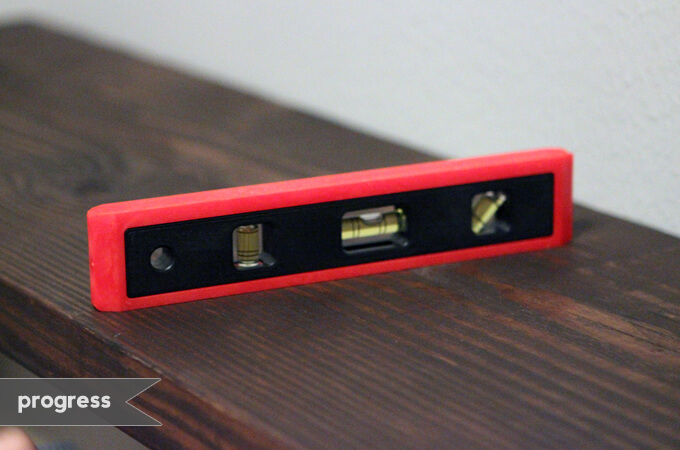
6 | We checked and double checked that each board was straight using our level.
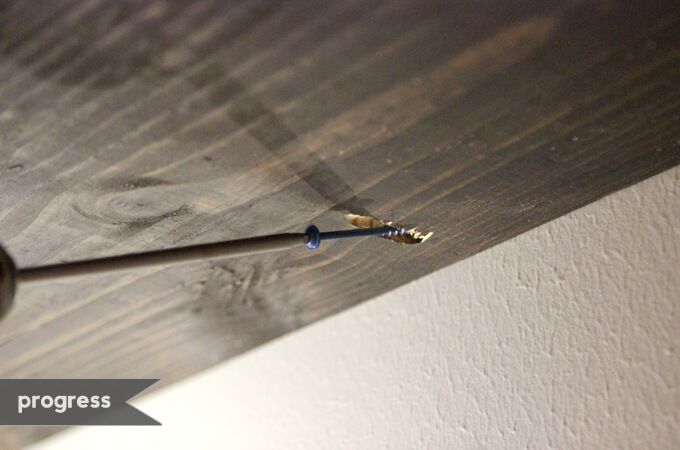
7 | After each board was level we secured the board to the wall by screwing it into studs through the pocket holes.
For the bottom half of the shelves this was done on the bottom of the board and for the top half of the boards this was done on the top of the boards so that the holes in the boards would not be visible.
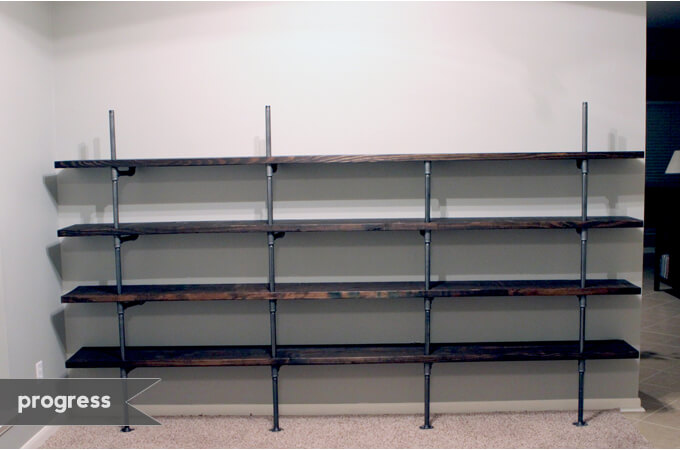
8 | We built the pipe shelves board by board adding the next row of pipes as we went up the wall.
We started by putting the 3/4″ flange pieces at the bottom of each of our pipes. This piece will eventually also go at the very top where it connects into the wall at the top.
This was our progress about half way. The photos below show closer up how the boards and pipes fit together.
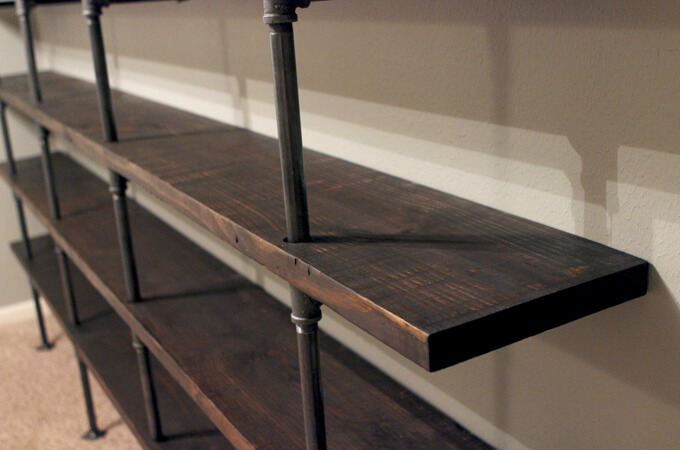
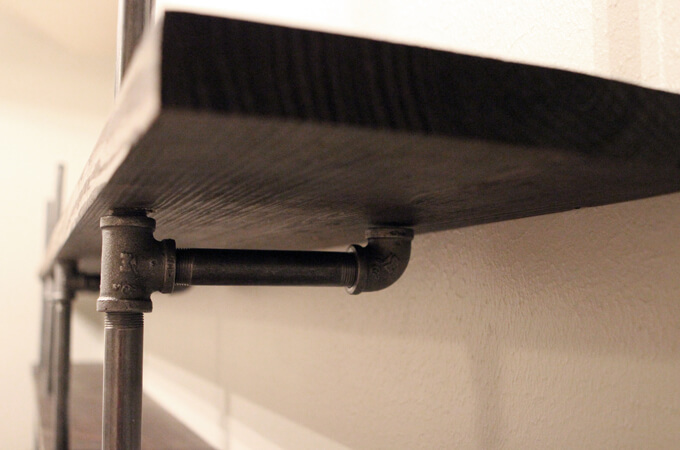
These are the pieces of pipe we used to assemble the shelves:
- (32) 3/4″ x 12″ Long Black Pipe
- (28) 3/4″ x 6″ Short Pipe
- (4) 3/4″ x 2″ Nipple
- (4) 3/4″ x 3/4″ Coupling
- (32) 3/4″ x 3/4″ Elbow
- (28) 3/4″ x 3/4″ Tee
Get the detailed instructions for building and assembling the pipes for the DIY pipe shelves.
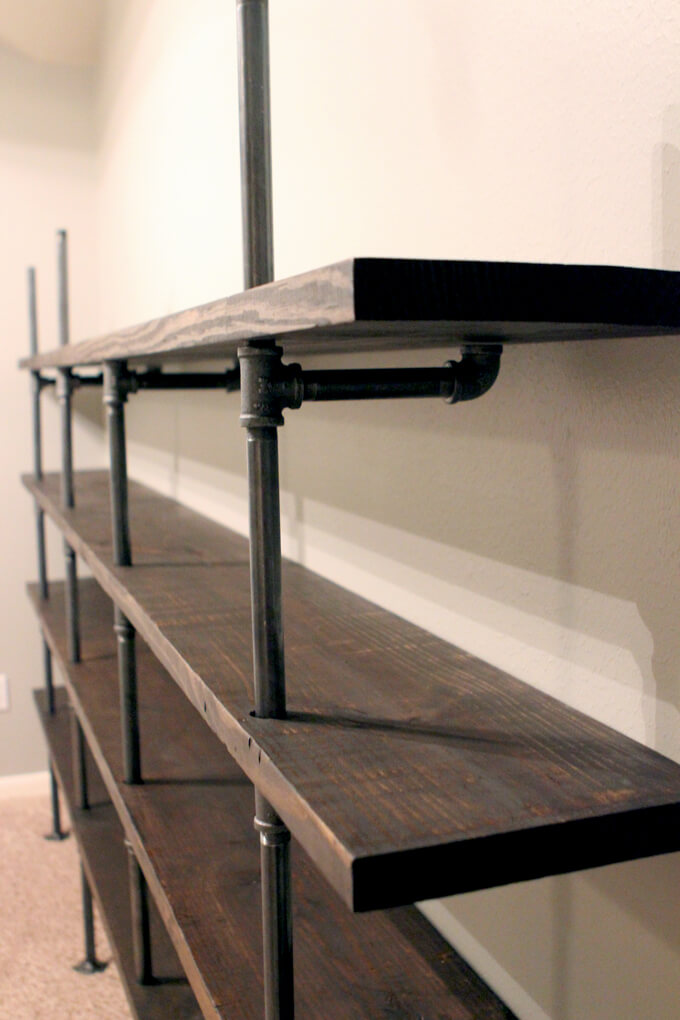
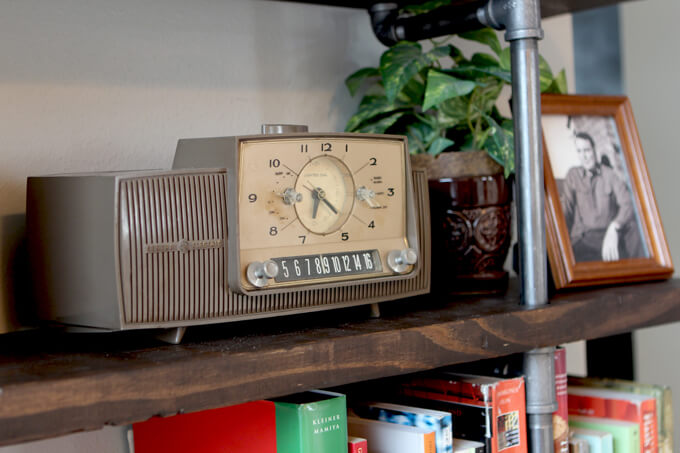
9 | After our DIY industrial shelves were installed, it was time to arrange all of our books and vintage pieces. It took me awhile to style the shelves and to be honest I will probably restyle them several more times.
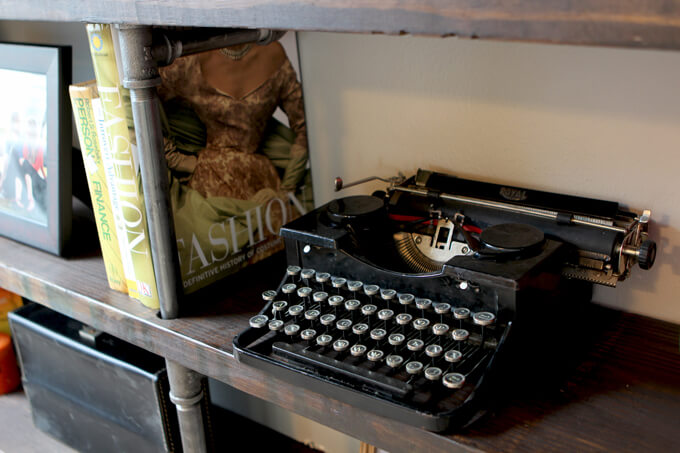
Our book collections combined were not enough to fill up all the shelves so we added some really cool antique items that Brent has collected over the years like this cool radio and typewriter.
I love old family photographs so I also wanted to display some of our grandparents in their younger years as well. Brent also built a stands to showcase a few records from his collection.
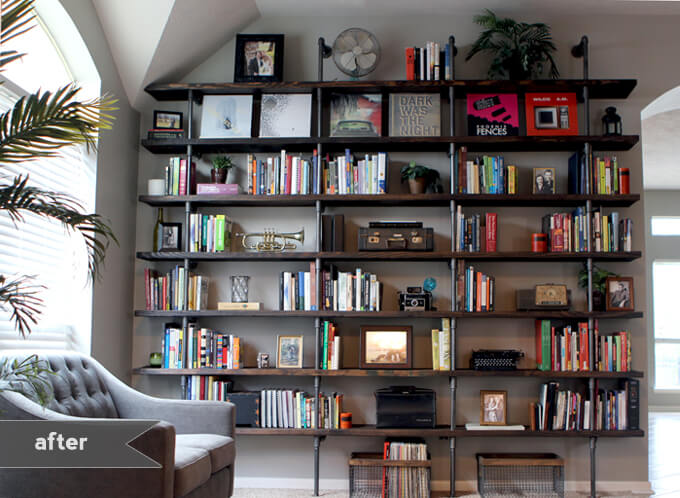
We are so happy with how our DIY industrial shelves turned out. They really add the wow factor when you walk in our door that we were looking for. Of course one project leads to another and now I am daydreaming about replacing that carpet with wood floors because that would really make the room cozy and make the industrial look of the shelves make more sense.
Featured in Better Homes and Gardens Magazine
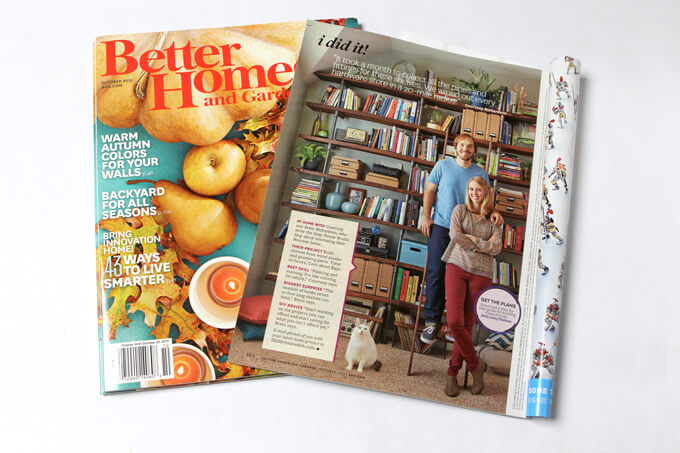
Our DIY pipe shelves project was featured in the October 2015 issue of Better Homes and Gardens.
