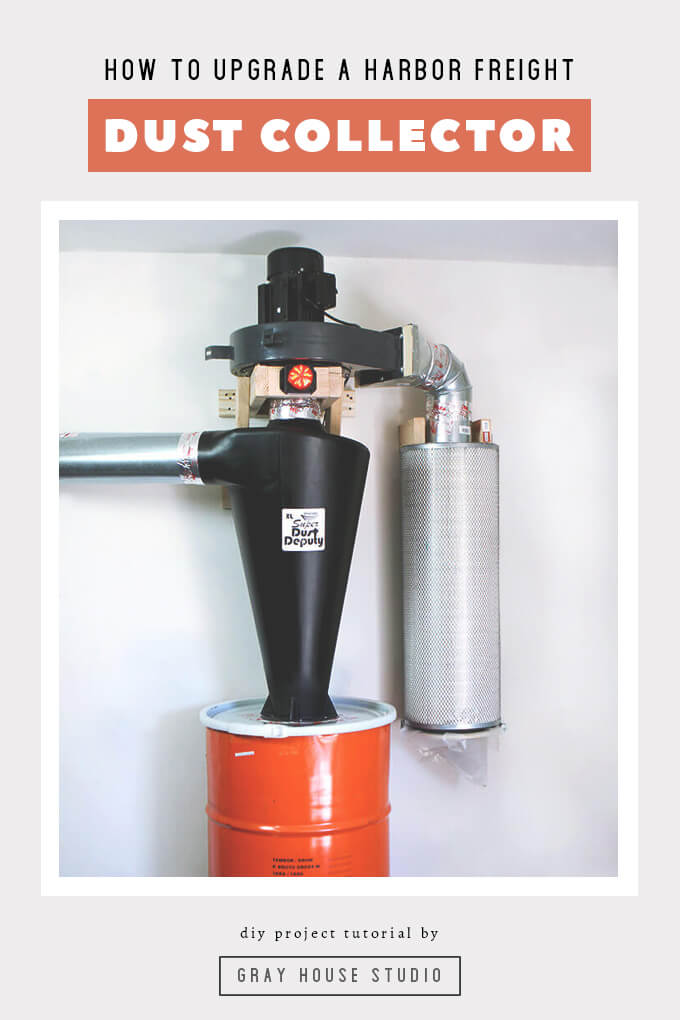
In this tutorial we will show how we upgraded a Harbor Freight Dust Collector with the Super Dust Deputy XL from Oneida Air Systems.
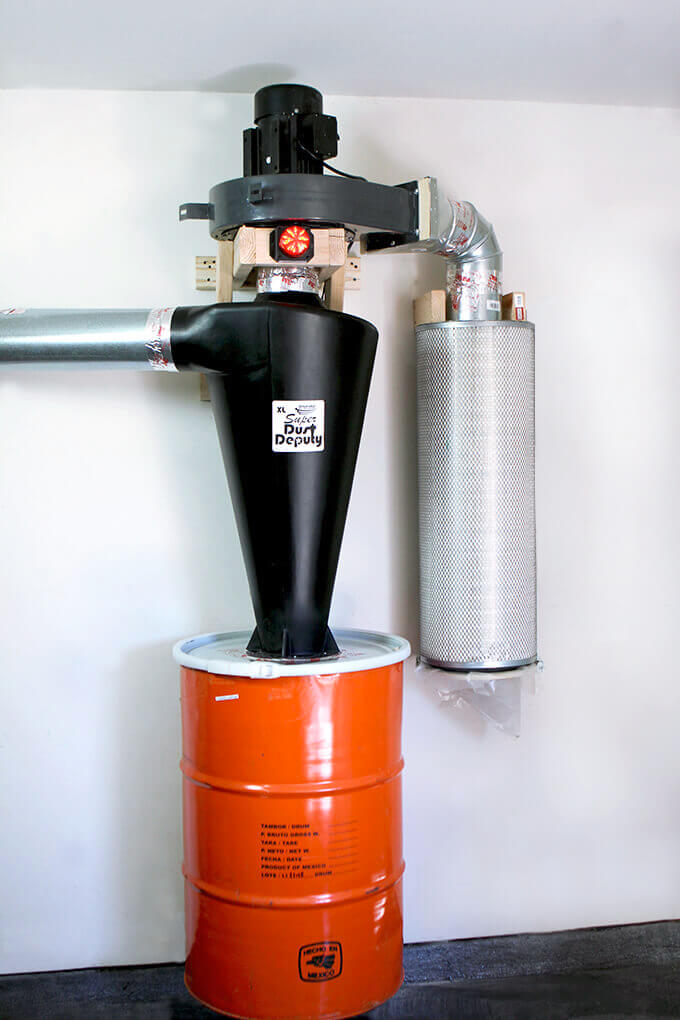
My latest undertaking helped our garage look and function more like a woodworking shop.
There comes a time when you work on enough DIY woodworking projects that a shop vacuum just won’t cut it anymore.
I was finding it was inconvenient because I was constantly having to unhook it from my table saw and then wheel it across the room to hook it up to my miter saw and then unhook it from my miter saw and wheel it back across the garage to the table saw.
It was also fairly ineffective because quite often the filter on the shop vacuum got clogged because the bin filled up so fast.
Well, that might be on me because I never cleaned it out, but when you are in the middle of a project, who wants to stop the fun part to clean out a vacuum after every few cuts? Obviously not me. So much sawdust would end up on the ground that Courtney joked she could make sawdust angels.
I would procrastinate cleaning the floor until I started a new project which meant if I ran out into the garage to get something, I most likely definitely tracked in a good amount of sawdust on my socks.
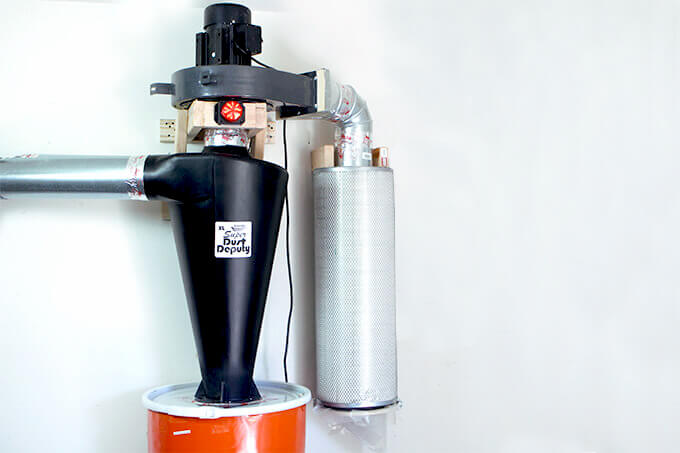
It became clear to me that I needed to build a dust collector so I finally built one for the Gray House Studio shop by taking a Harbor Freight dust collector and upgrading it to a 2 stage cyclone dust collector.
I did this with the Super Dust Deputy XL Cyclone Separator. Oneida Air Systems was kind enough to send us one to use and it made a huge impact.
My goal for my dust collector was to have it service multiple tools at the same time. Since the tools are separated by 10 to 20 feet I needed more power than the Harbor Freight dust collector could provide. It just wasn’t cutting it so I modified it with a larger impeller so that I could use a six inch duct.
Also, the filter bag that came with the Harbor Freight dust collector didn’t filter out the tiniest particles. What I really like about the Super Dust Deputy XL Cyclone Separator is it separates the wood chips and the dust so only air and very fine particles pass through the blower to the filter. This prevents any microscopic particles from entering back into the air in the shop.
Alright, enough talk, here is how I upgraded my Harbor Freight Dust Collector.
How We Upgraded a Harbor Freight Dust Collector
SUPPLIES
Shop the products we used for this project in one place.
- 2 HP Dust Collector
- Oneida Super Dust Deputy¨ XL
- ONEIDA Dust Sentry Level Sensor
- Rikon 60-200 Impeller
- Clark Filter P#1565938 (Similar – Cartridge Dust Collector Filter)
- 55 Gallon Barrel
- 2 – 6″ Duct Collar
- 6″ Duct Transition
- Liquid Nails
- Foil Tape
- 6″ Elbow
- 2 – Latch
- 1 – 2″x4″ Pine Board
- 3″ Deck Screws
- 1/2″ Sheet Metal Screws
- Drill
- Rivet Gun with 40-Piece Rivets
- Jigsaw
- Puller
- Mallet
- Stud Finder
FYI: This post contains a few affiliate links to products we used to make this project. Gray House Studio does receive commissions for sales from these links but at no extra cost to you. We appreciate you supporting this site. Read our privacy and disclosure policy. You can also easily shop our recommended products here.
TUTORIAL VIDEO

Get a FREE digital file of our hand painted Summer Bucket List print over at our print shop website: MoonRockPrints.com
STEPS
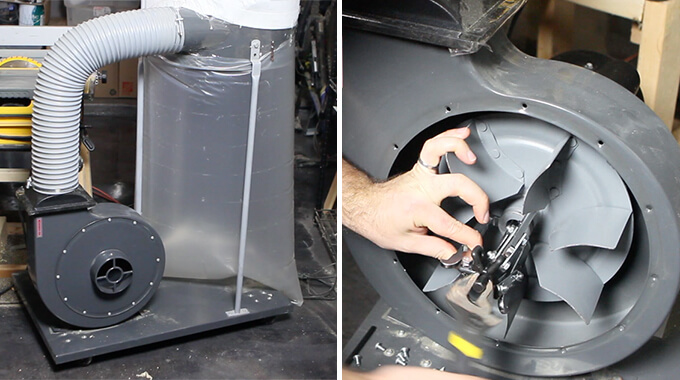
1. The dust collector build started with a stock 2hp single phase Harbor Freight dust collector.
To seamlessly connect to the Super Dust Deputy XL I’m going to upgrade the impeller. The stock blower can’t push enough air to support a 6″ opening. I removed the impeller using a puller tool.
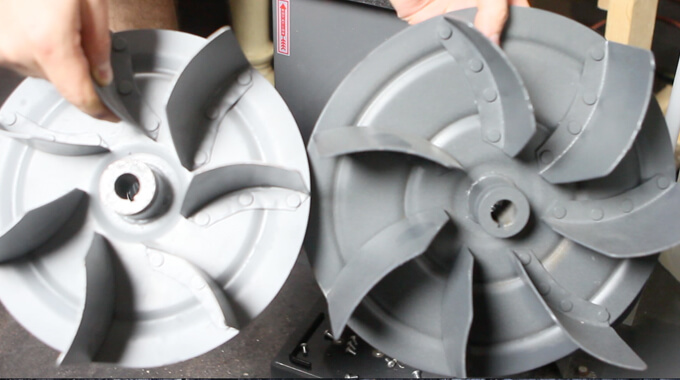
2. The stock harbor freight blower has a 10″ impeller so the new 12″ impeller should boost performance significantly.
Plus, the stock Harbor Freight impeller as a forward-inclined fans whereas the larger Rikon impeller has a backward inclined.
Forward inclines provide more flow but lose power when pressure increases. The backward incline provides more consistent performance as the pressure increases.
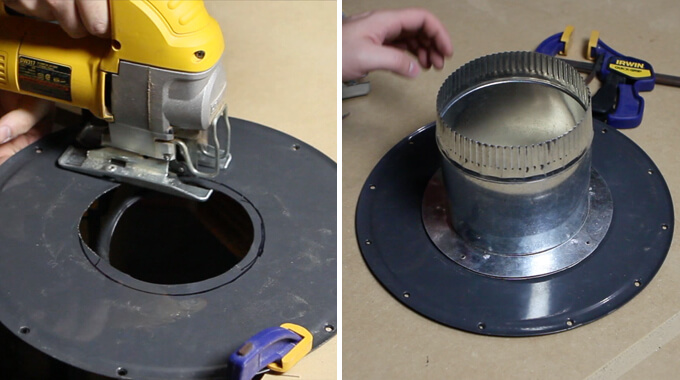
3. Using a jigsaw and sheet metal blade the intake port was widened from 5″ to 6″.
A 6″ duct collar was then attached to the intake faceplate with rivets.
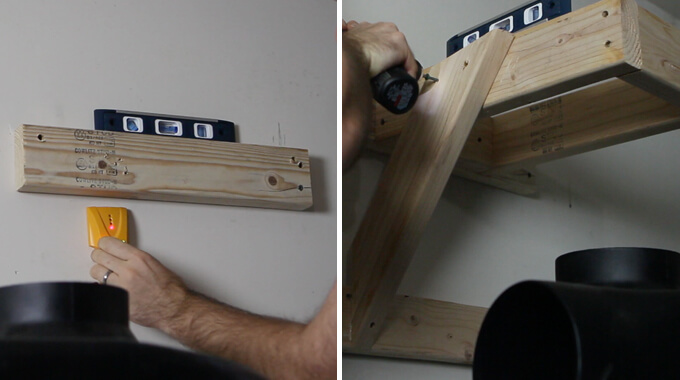
4. To hold the blower to the wall we made a mounting bracket with 2x4s anchored to the wall studs.
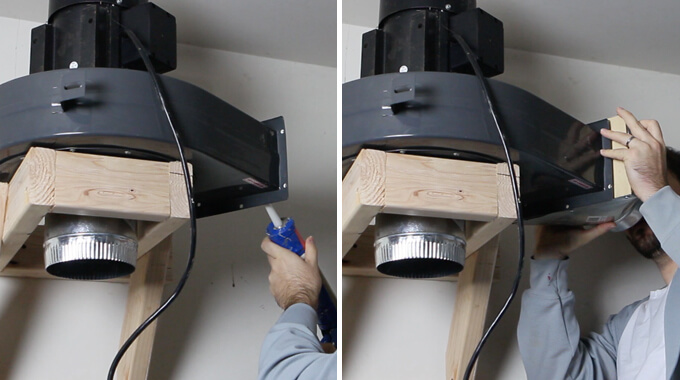
5. After mounting the blower on the 2×4 bracket the outlet port was converted to a 6″ outlet by attaching a duct transition with 1/2″ sheet metal screws
and liquid nails.
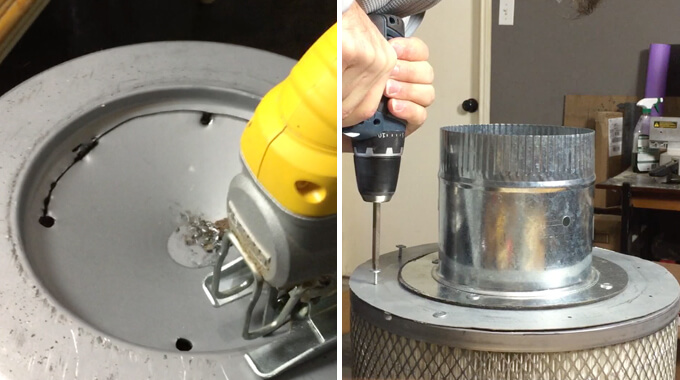
6. Before mounting the filter to the blower I used a jigsaw to open the closed side of the filter.
Then, cut a donut shaped mounting plate out of sheet metal to mount the 6″ collar and secured the mounting plate to the filter with 1/2″ sheet metal screws.
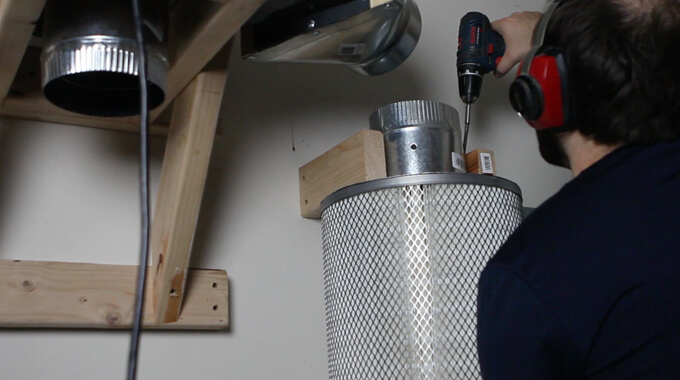
7. I made a U bracket out of 2x4s to hold the filter in place against the wall. The filter attached to the bracket with screws from the top.
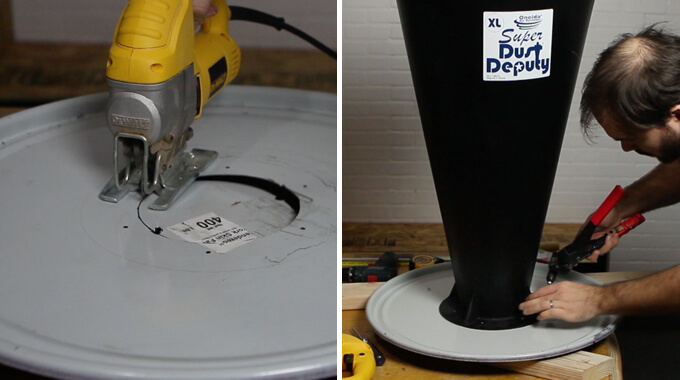
8. The Super Dust Deputy XL cyclone is designed to mount directly to the lid of the barrel.
The opening at the bottom of the cyclone is roughly 6″, so I cut out another 6″ hole with a jigsaw in the top of the barrel lid.
The cyclone comes with hardware to mount the cyclone and a gasket. Since I misplaced the hardware I used construction adhesive and large rivets.
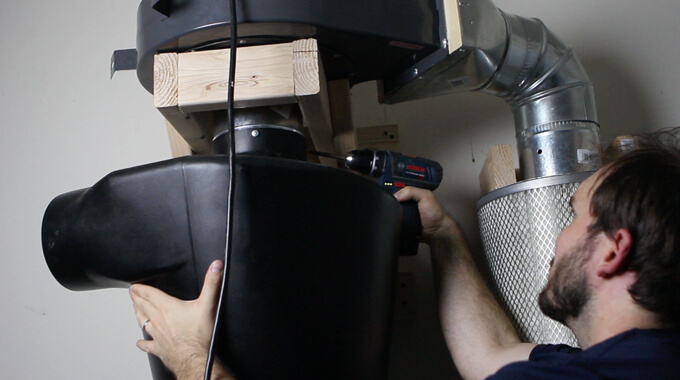
9. Once connected to the barrel lid the cyclone was attached to the inlet of the blower with 1/2″ screws.
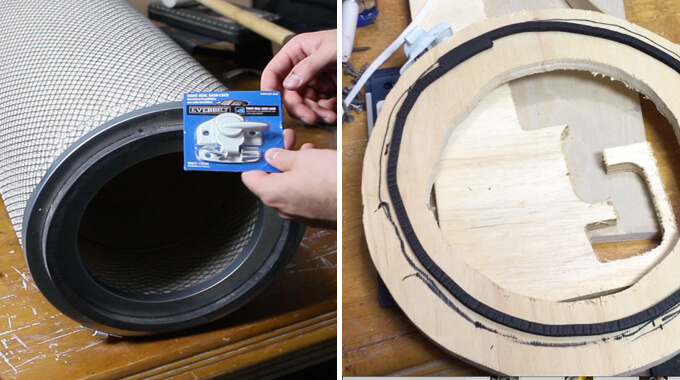
10. To seal the bottom of the filter I attached two latches to the filter allowing me to secure and remove a plywood donut and plastic bag.
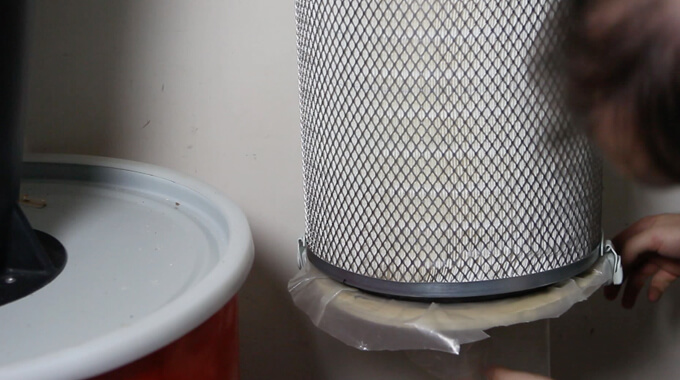
11. The bag will catch any particles that makes it though the blower to the filter. Once particles accumulate they can be easily cleaned by emptying the bag.
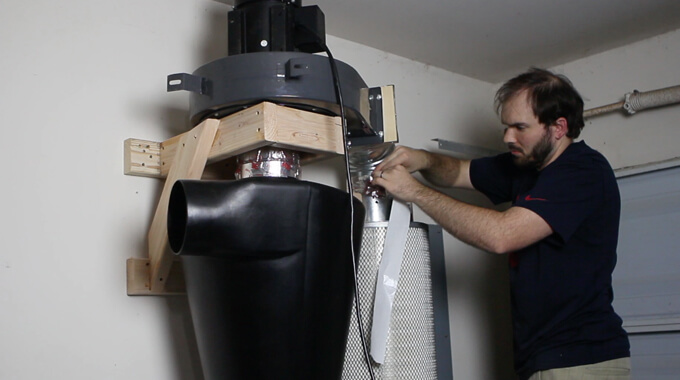
12. Before turning on the dust collector I taped all the joints with foil duct tape.
I tested it out and it was nice to have it work just how I wanted and not be near as loud as my old shop vacuum.
I am looking forward to the connivence and having a cleaner shop.
The Cyclone Separator made a huge difference in taking my dust collector to the next level and making it more powerful and effective. I was also excited to attach the ONEIDA Dust Sentry Level Sensor.
I can’t wait to work on my first woodworking project with my new upgraded dust collector.
[adinserter block=”3″]
PIN FOR LATER


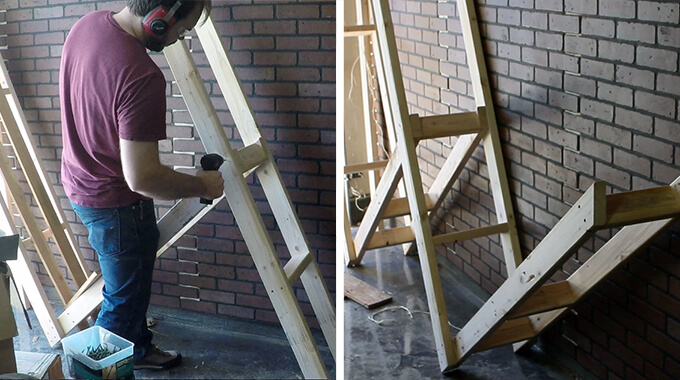
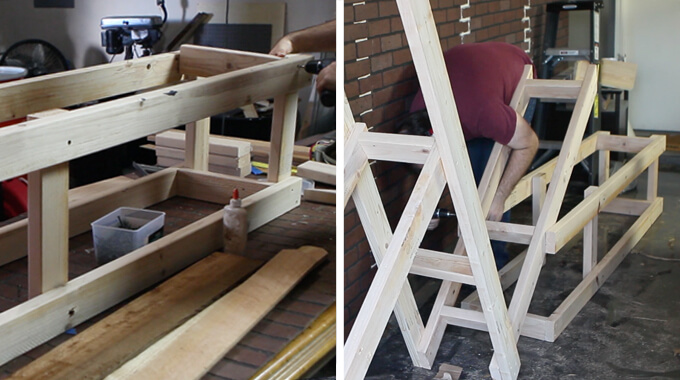
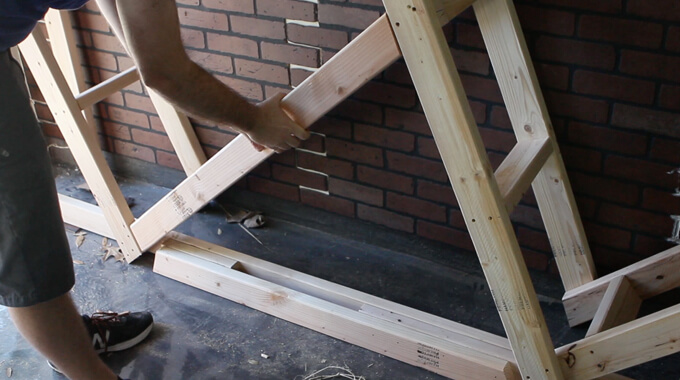
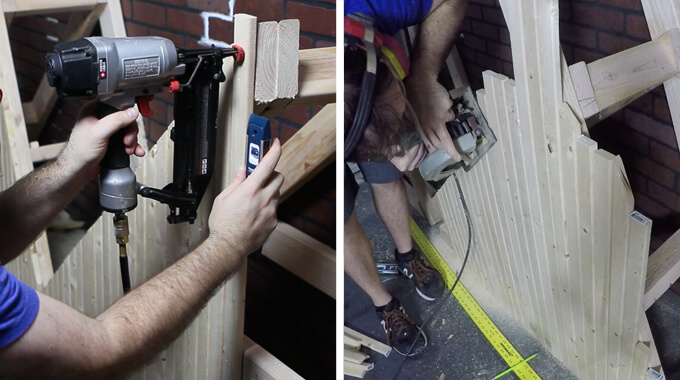

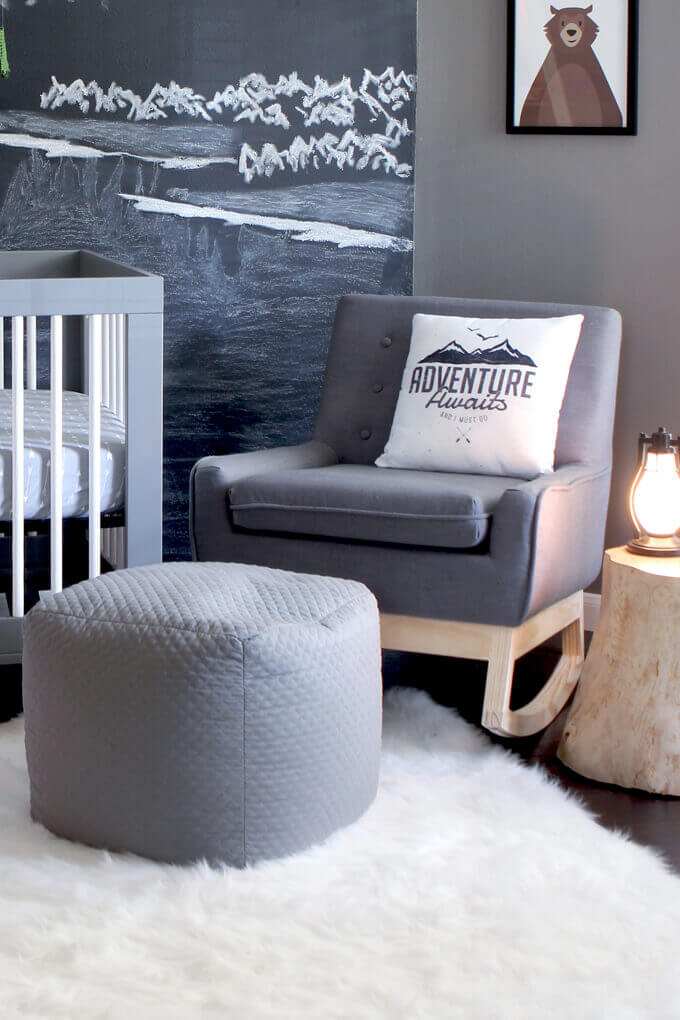 The rocking chair is a staple piece of furniture in a nursery. It has to be comfortable, functional but let’s face it, it has to look good too. Oh and if you are in rowing in the same boat as us, it has to be affordable. We put a lot of effort in the design of our nursery to blow it on a mismatched rocking chair or blow our whole budget on one we couldn’t really afford.
We shopped around. We even went so far as to try out rocking chairs at Pottery Barn Kids. When the nice sales lady asked if we were interested, we played along knowing good and well we couldn’t drop over $1,000 on a chair. If we had the money, I would have taken the one I liked home in a heartbeat. But we don’t so we had to improvise.
I feel our DIY projects that turn out the best are ones where the price of a piece of furniture we like is way up here (picture my hand way above my head) and our budget is way down here (picture my other hand below my knees). It forces us to think of a solution that is a good compromise between style and price. That is what we did for our rocking chair base build and I think it was a home run.
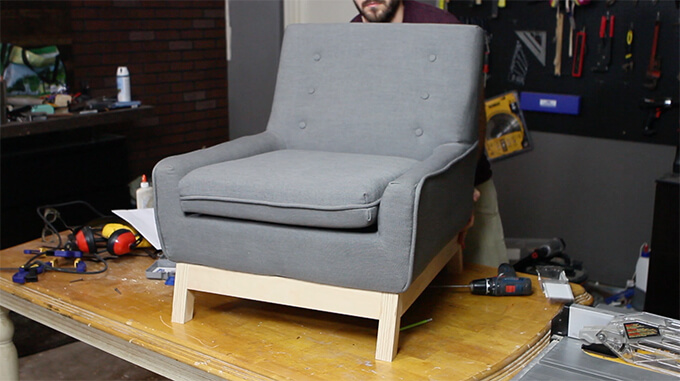
We were able to take the exact style accent chair we liked (that was in our price range) and turn it into a rocking chair by building a custom rocking chair base. Watch the video tutorial or follow along with the steps below to see our rocking chair base build tutorial.
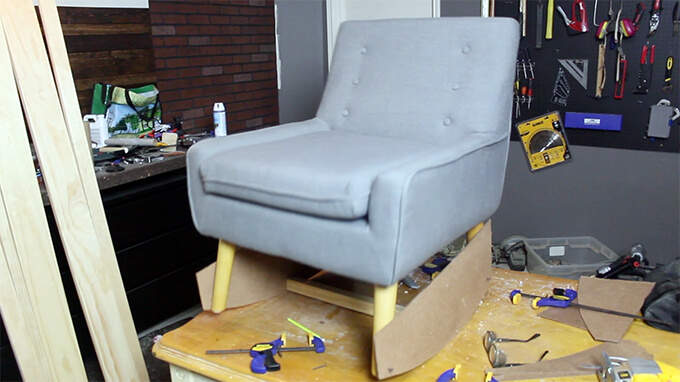
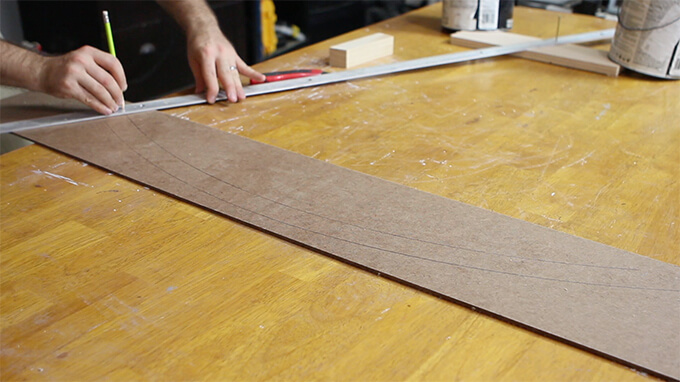
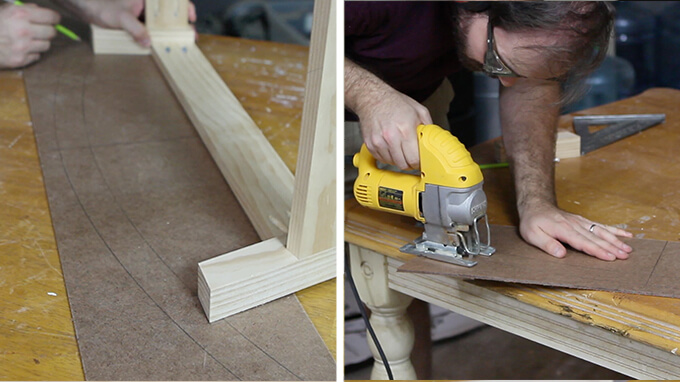
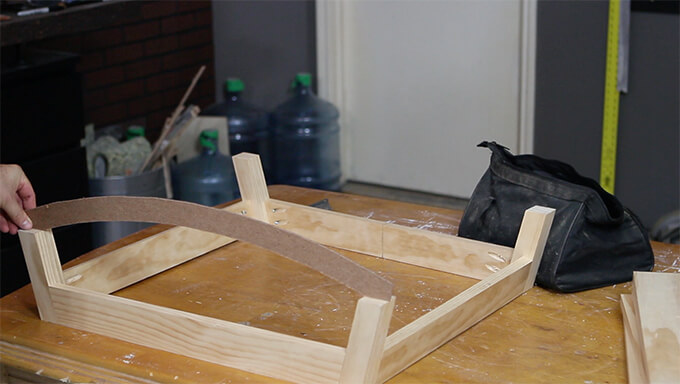 The rocker runner template fit perfectly!
