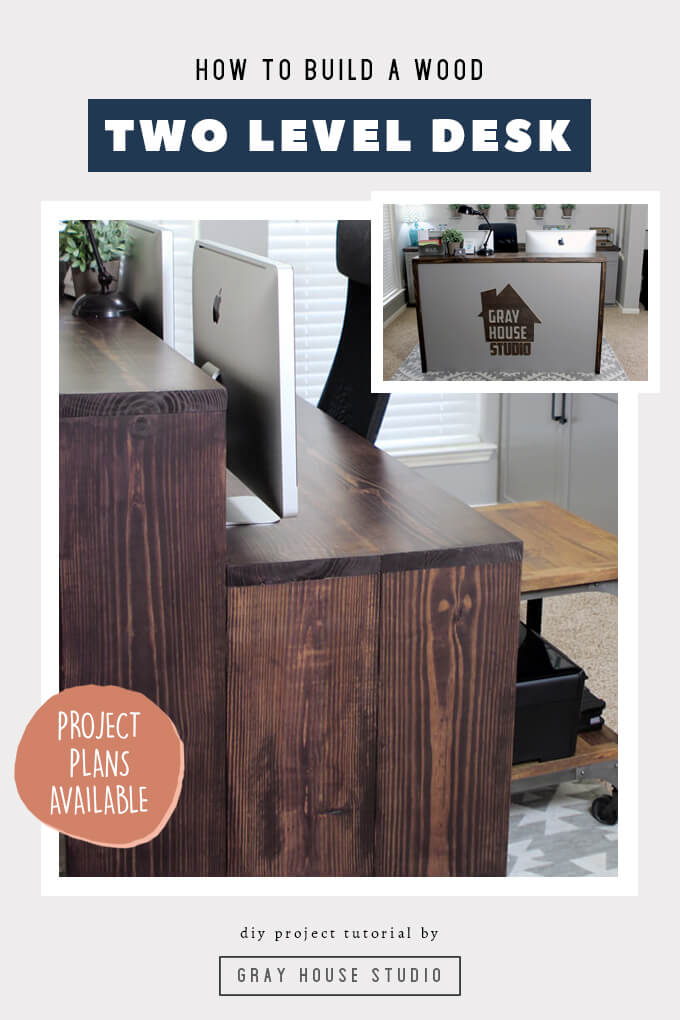
Check out to build a wood two-level desk for your home office. This is s great solution if you need a large workspace for multiple monitors. There are woodworking plans available project.
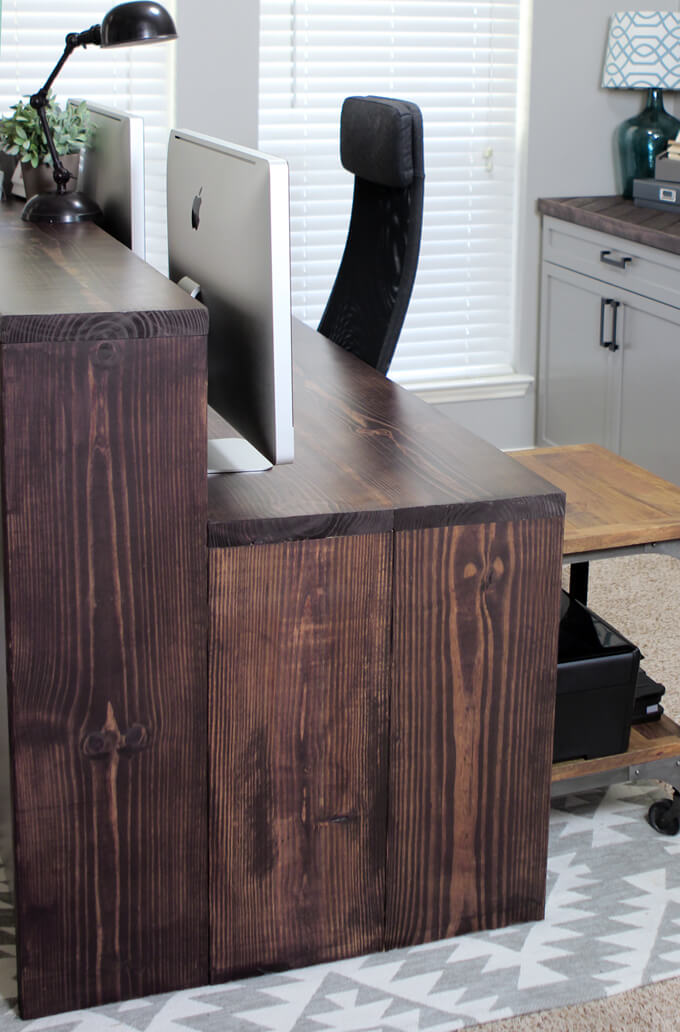
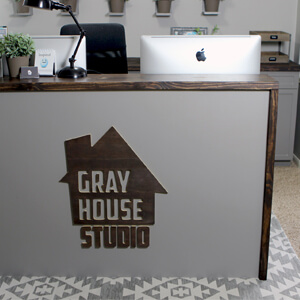
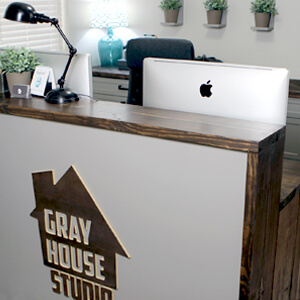
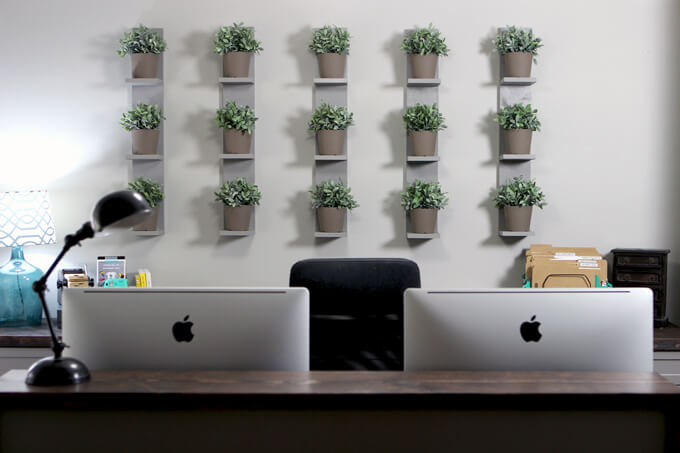
We are finally finished with our home office and are wrapping up our home office posts by sharing one more DIY furniture project and the focal point of the room, our two-level desk. This desk design is great if you need a desk with a lot of workspace and one that floats in the middle of the room because it includes a front panel for cord management.
I liked that the top level would hide most of what I had on my desk on the lower level. So we snapped a picture for inspiration and Brent drew up some plans of a modified version to use to build our desk.
How To Build a Two-Level Wood Desk
SUPPLIES
Shop the products we used for this project in one place.
- Two-Level Wood Desk Woodworking Plans
- (4) 2”x12”x120” Pine Boards
- (2) 2”x4”x96” Pine Boards
- (1) 4’x8’ 1/2″ Plywood
- 2-1/2” Pocket-Hole Screws
- 2” Finishing Nails
- Wood Glue
- Rust-Oleum Kona Wood Stain
- Wood Filler
- Miter Saw
- Kreg Pocket Hole Jig
- Drill
- Clamps
- Table Saw
- Nail Gun
- Framing Square
- Straight Edge
- Jigsaw
- Orbital Sander
FYI: This post contains a few affiliate links to products we used to make this project. Gray House Studio does receive commissions for sales from these links but at no extra cost to you. We appreciate you supporting this site. Read our privacy and disclosure policy. You can also easily shop our recommended products here.
PROJECT PLANS
Get our Wood Two-Level Desk Plans
When you purchase our DIY wood two-level desk plans you get a 10 page PDF with a detailed materials list, a cut list, exact dimensions for each piece, building instructions – we appreciate you supporting Gray House Studio!
TUTORIAL VIDEO
Subscribe to our YouTube Channel
Like our video? Subscribe and help us reach our goal of 100k subscribers.
STEP BY STEP GUIDE
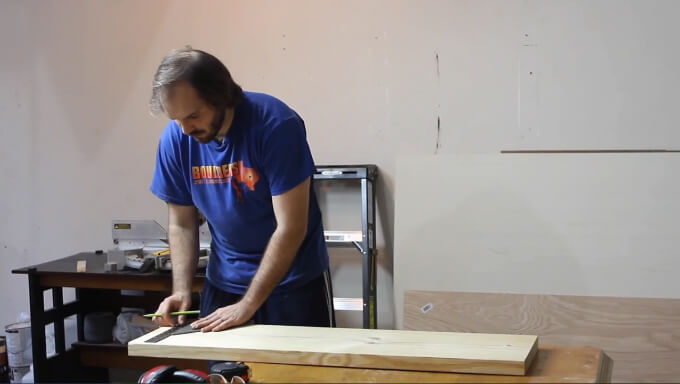
1. To make the four 2″x12″s easier to work with and transport, we had the boards cut down at the home improvement store first.
We had them cut so there was a little extra room on each side from our desk measurements since more than likely the panel saw they use wouldn’t cut the boards exactly square.
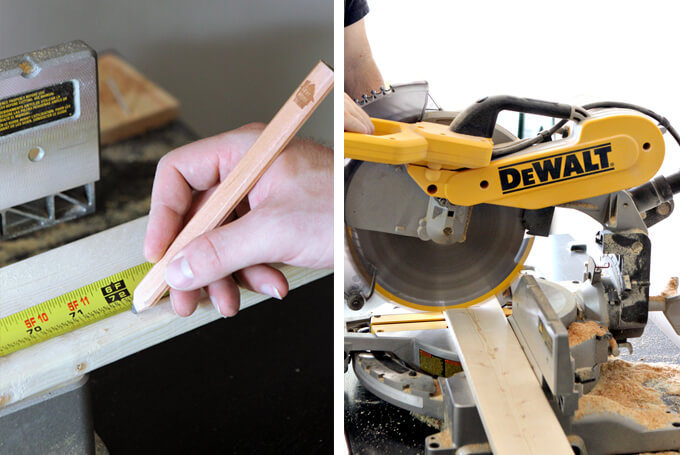
We had to make the precise cuts on our miter saw back at home but because the boards are 2”x12”s and our miter saw only cuts about eight inches, we had to cut one half of the board and then flip the board over and cut the other half.
We used a framing square to mark the cut so we could make sure the cut on the miter saw was straight and square.
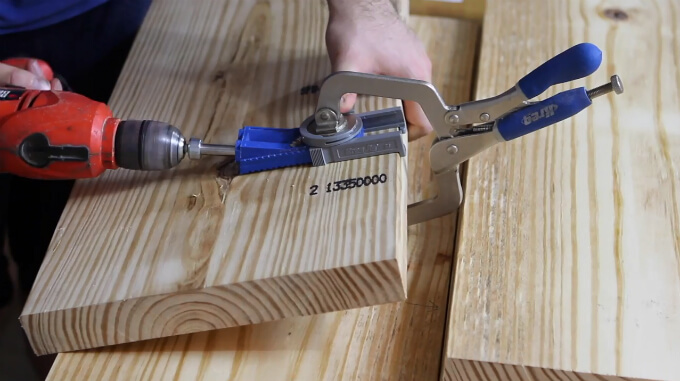
2. Each side of the desk is made up of three boards that we connected together with pocket hole screws. We used our Kreg Pocket Hole Jig and https://amzn.to/2Hg0SNh”>drill to drill pocket hole screws in the top of the legs to attach the top boards to the sides in a later step.
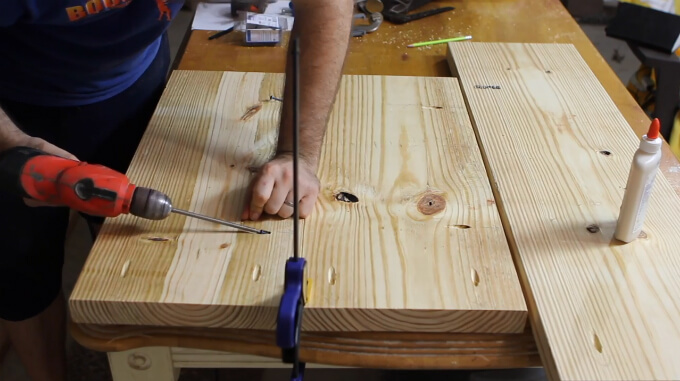
3. Before screwing the boards together, we used clamps to hold the boards to our workspace to make sure they stayed flush and didn’t move around. We connected the boards using pocket hole screws and wood glue.
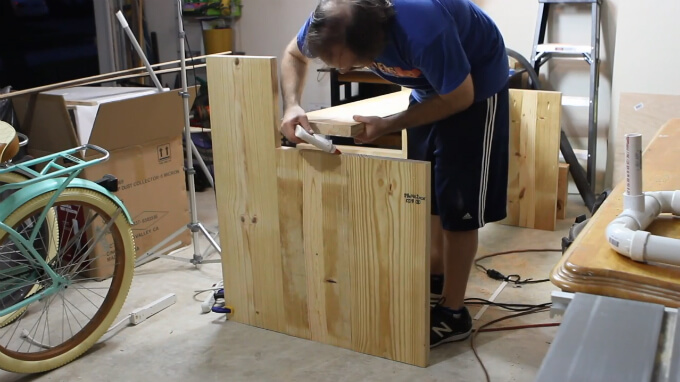
4. After both sides (legs) were assembled, we stood them up and attached clamps to the base to prevent them from falling over.
Then we started attaching the top of the desk with pocket hole screws using the pocket hole jig and wood glue.
The top of the lower part of the desk is made up of multiple 2”x12”s so before we attached them to the side of the desk we needed to attach the boards together with pocket hole screws and wood glue like we did with the sides of the desk.
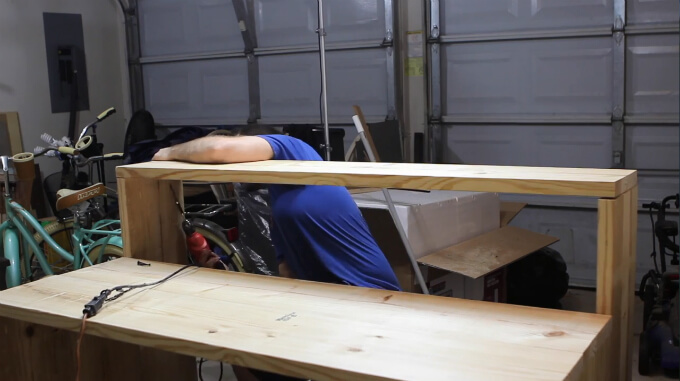
5. We used pocket holes screws to attach the top level of the desk to the sides.
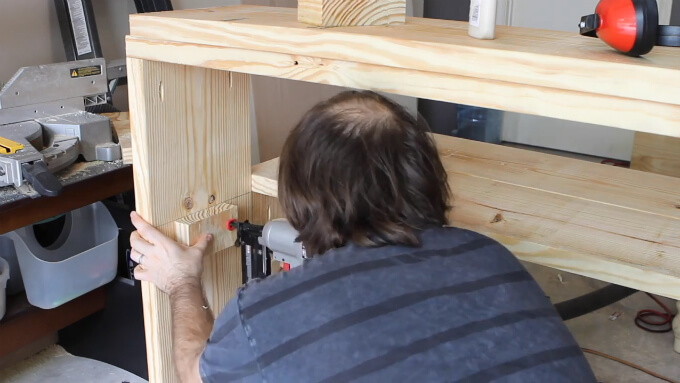
6. Next, we needed to add a back panel on the top of the desk for the plywood panel front to attach to that sits between the two taller side pieces.
We had to cut the 2”x12” down using the table saw to fit in that slot.
To make the board easier to screw in, we attached a small block of wood on the inside of each of the sides of the desk at the same level as the lower leg brace.
We used a framing square and a straight edge to make the mark to make sure the block was perfectly aligned.
Then we glued and nailed the blocks in place so we could set the 2″x12” on them to attach it to the desk.
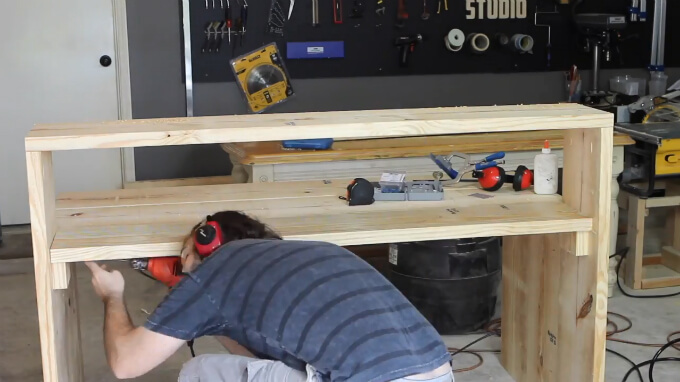
7. We attached our back panel board using wood glue and pocket hole screwed it into the existing top of the desk and the side braces.
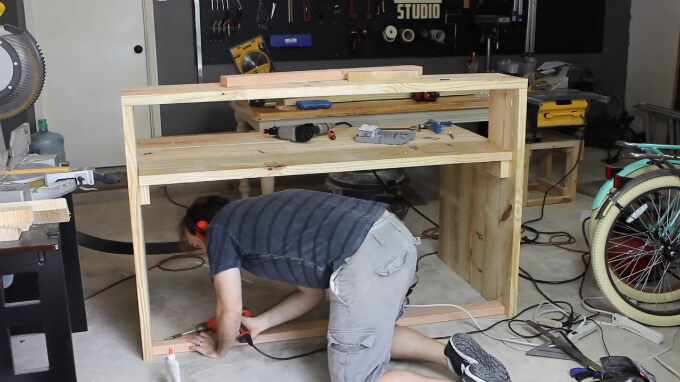
8. To give us something to attach the front panel piece to at the bottom of the desk we added a 2”x4” to the bottom of the desk that we pocket hole screwed into both sides of the legs.
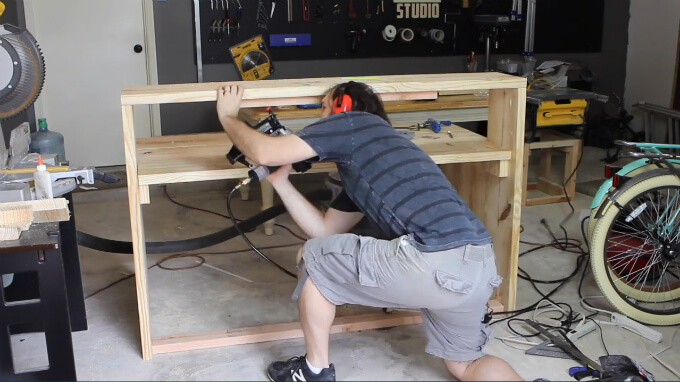
9. To give the front panel something to attach to in the middle we added a 2″x4″ even with the 2″x12″ installed previously and under the top level of the desk.
These boards allowed us to nail our large sheet of plywood into the top, middle and bottom of the desk, making sure it was nice and secure.
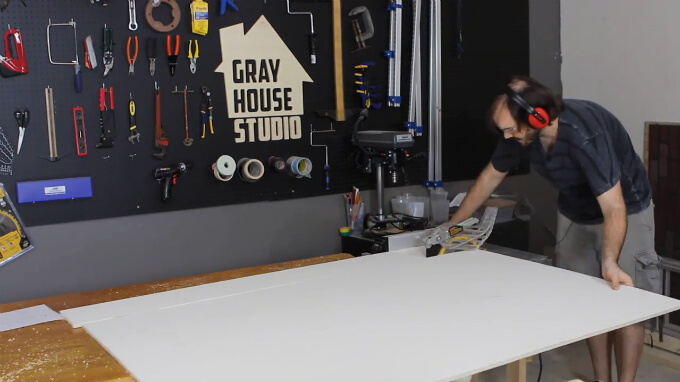
10. Next, we cut our plywood piece down to the size we needed (40-1/2” x 61“) on the table saw.
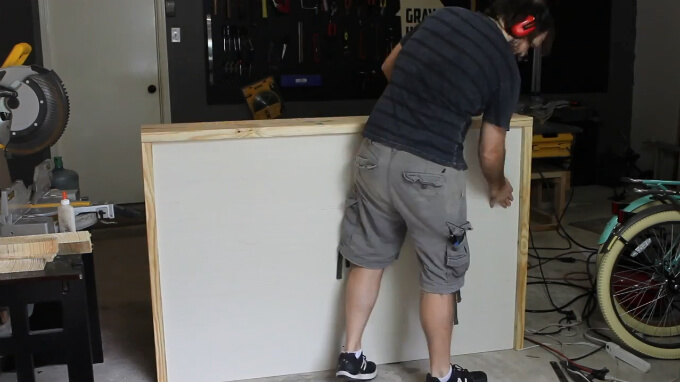
11. We didn’t install the front panel just yet, but did do a test fit to make sure it fit perfectly in the inset of the desk before taking the desk inside the house.
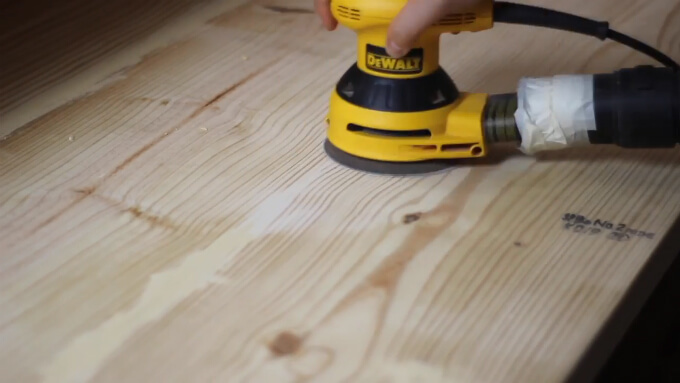
12. Because the lower level of the desk is made of multiple boards, we needed to create a smooth surface.
To do this we filled in all the joints between the boards with wood filler and then after it dried went over the entire top of the desk with an orbital sander to give it a consistent and even surface.
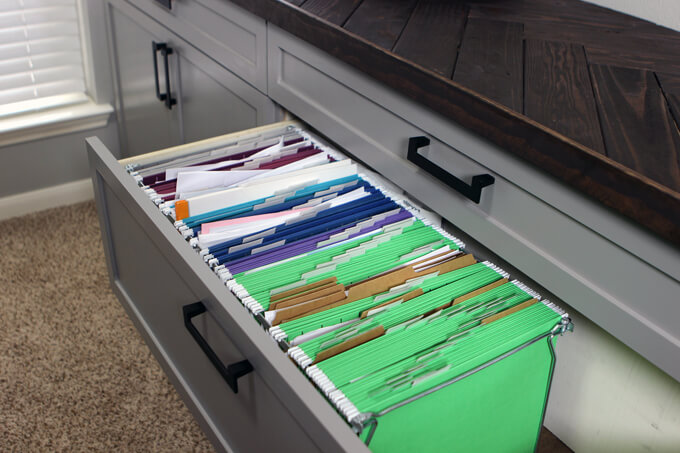
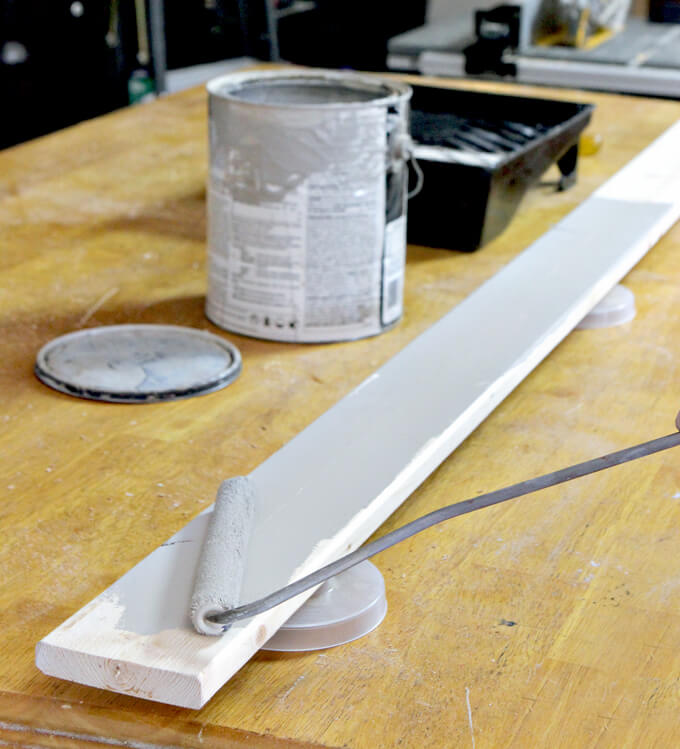
Before bringing it in the house, I stained the entire surface of the desk with our favorite stain while Brent painted the front panel of the desk gray (SW Dovetail) to match our home office cabinets we built.
13. Next, we brought the desk in the house to do the final few steps.
Thankfully, Brent’s dad was in town visiting during this part because the desk is pretty heavy duty and there was no way I was going to be able to even lift it let alone carry it from the garage to the front of the house.
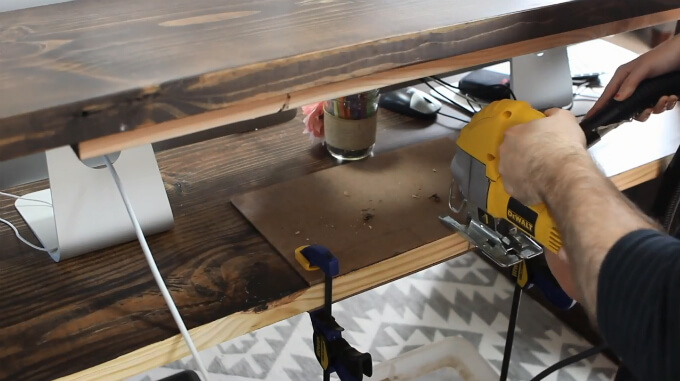
The final step before we permanently attached the front plywood panel was to cut a hole in the the back of the top of the lower level of the desk for our computer cords to run through.
We did this by drilling two holes in the desk and cutting sections of the wood away using a jigsaw.
The two holes allowed the jigsaw to rotate at the corners of the cut. We also attached a thin piece of wood by use clamps to attach it to the top and bottom of the lower level of the desk to prevent the wood from splintering during the cut.
Since the jigsaw can make a bit of a mess, while Brent was making the cut, I followed close behind with a shop vacuum to minimize the mess.
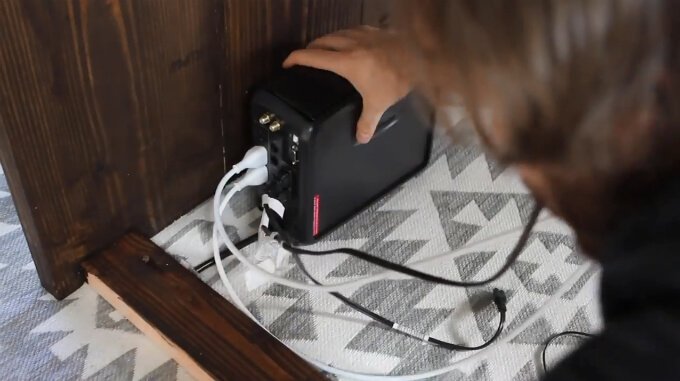
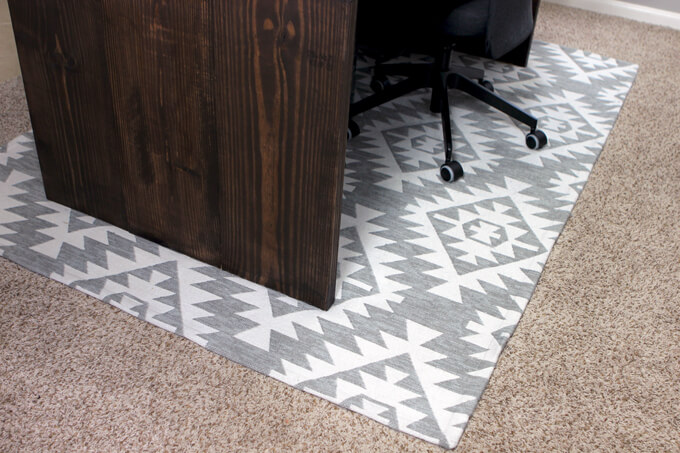
14. To hide the cords running from the desk to the outlet, we cut a small hole in the rug under the desk and ran the cords under the rug making them completely invisible and out of the way when looking at the desk.
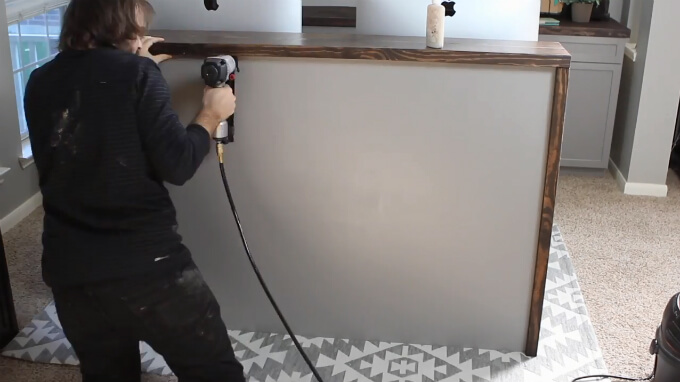
15. Finally, once all the cables and cords were run out from under the desk, we attached the front panel to the desk using a nail gun and finishing nails to hold it in place.
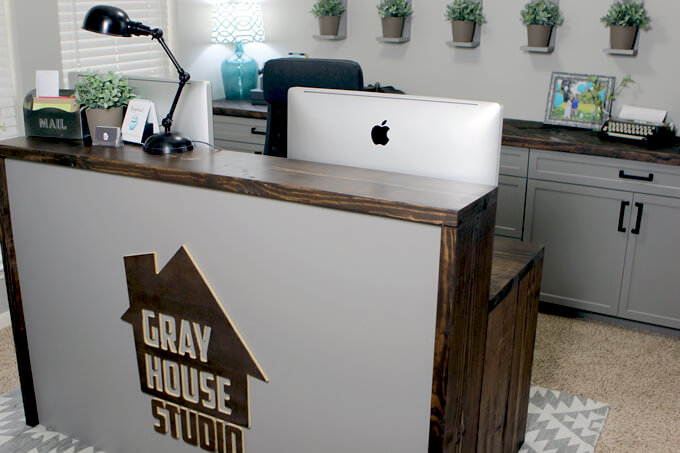
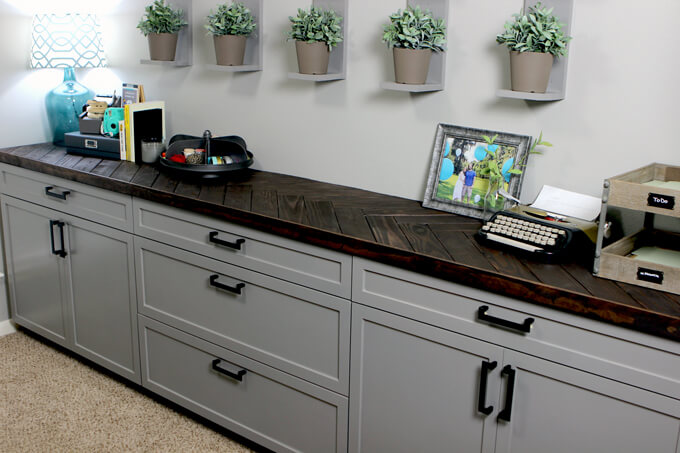
After the desk was complete, I added a few decor and organization pieces to finish off the industrial/rustic look we are going for in our home office.
Check out the post below on all the organization pieces I used in our home office.
We are really happy with the design of the desk and how well it works in this space. Jake the cat loves to lay on the top level of the desk while I work which I love because it keeps him off my keyboard.
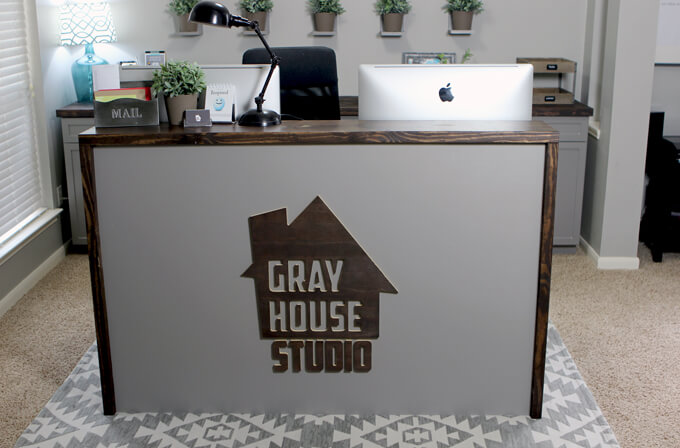
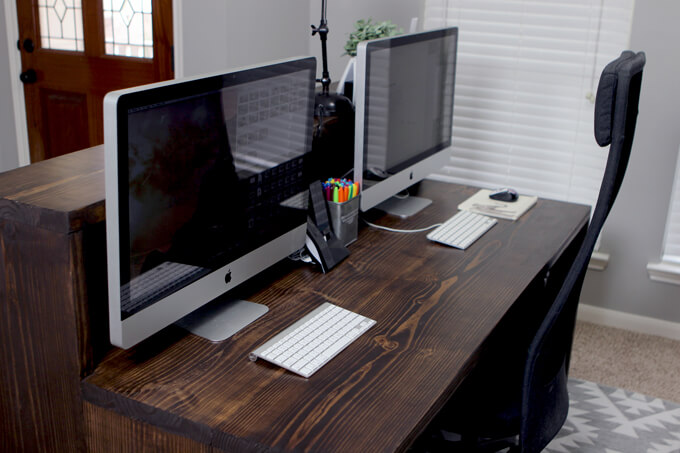
We have plenty of surface space for both our computers and lots of room for me to spread out with all of my planners, binders and notebooks that I use on a daily basis. My two favorite aspects of this desk is obviously the cord management solution as well as it is tall enough to store a printer stand on casters underneath keeping the less attractive aspects of a home office out of sight.
Be sure to check out our home office makeover to see all of our home office projects and take a video tour!
PIN IT FOR LATER
