Seasonal

Fall DIY Front Porch Projects

4 Fall DIY Front Porch Projects

Looking for easy ways to decorate you front porch this Fall? Check out these 4 Fall DIY front porch projects we came up with to make your front porch festive for the Fall season without spending a fortune. These simple DIY Fall projects are not only adorable, they are inexpensive too!

Fall DIY Front Porch Projects

I am lighting my favorite fall scented candle (leaves from Bath & Body Works) today because it is officially autumn!

This time last year Brent and I visited Boston and my favorite part was to see all the leaves changing colors on the trees, they were gorgeous! I wanted to pack up all the foliage in my suitcase and bring it home with me since it usually takes awhile to see and feel fall outside here in Houston.

I love autumn but Brent and I have never been big on decorating for the seasons. One reason is lack of budget and another reason is a lack of storage. We just don’t have enough space to store decor for spring, summer, winter and fall.

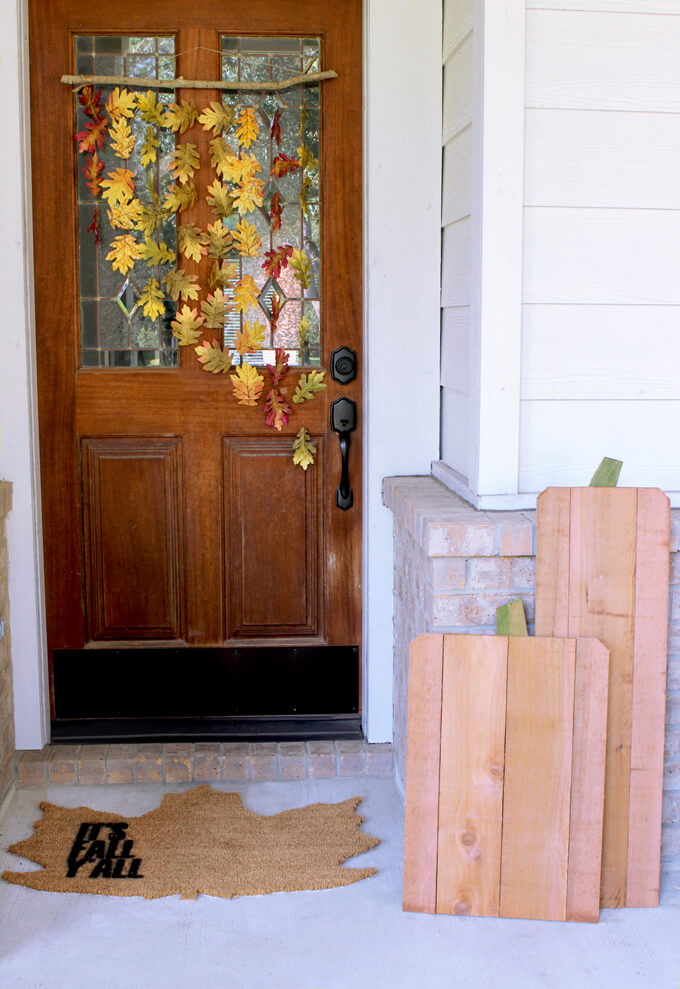
However, we have this great covered front porch that is spacious and we like to spend a lot of time on in the cooler months and I mean who doesn’t love a porch decorated for fall?

We wanted to bring fall to our front porch this year so we got to thinking and came up with four fall DIY front porch projects that included the following criteria.

Inexpensiveprojects that would allow us to use the free decor from nature laying around in our yard
Easy to storeprojects that didn’t include a lot of pieces and could lay flat
OR
Can effortlessly transitionprojects that we could use for the next season or recycle for another project

2022 Personalized Christmas Ornaments
*** Thanks so much for supporting our small shop – Moon Rock Prints – this holiday season! ***

Here are our DIY Fall Front Porch Projects

Fall DIY Front Porch Projects

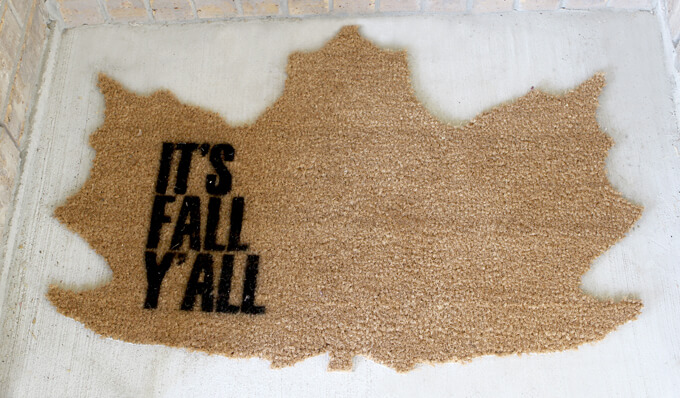
1. Leaf-Shaped Doormat
The first thing we made was a Fall themed custom shaped doormat for our doorstep. This one is inexpensive and easy to create so it was a no brainer.

Plus, it lays flat so it should be easy to wrap in plastic and store under a bed if it is still in good condition by the end of the season. If not, the doormat only cost us $10 so it wouldn’t be a huge loss if it gets a lot of love and needs to be tossed by the time December rolls around.

We purchased our plain doormat from IKEA and decided to cut out a maple leaf shape. Because we live down here in Texas we spray painted the saying “It’s Fall Y’all” onto it. Sure, it is a little corny but that way when we walk out the door our doormat can remind us that despite the temperature, it is in fact Fall.

Whether you have a huge front porch or live in an apartment with just a doorstep, this is a great way to bring a little fall or Halloween decor to your outside entry.

To see how to make this project, check out our full tutorial on our custom shaped doormats.

Fall DIY Front Porch Projects

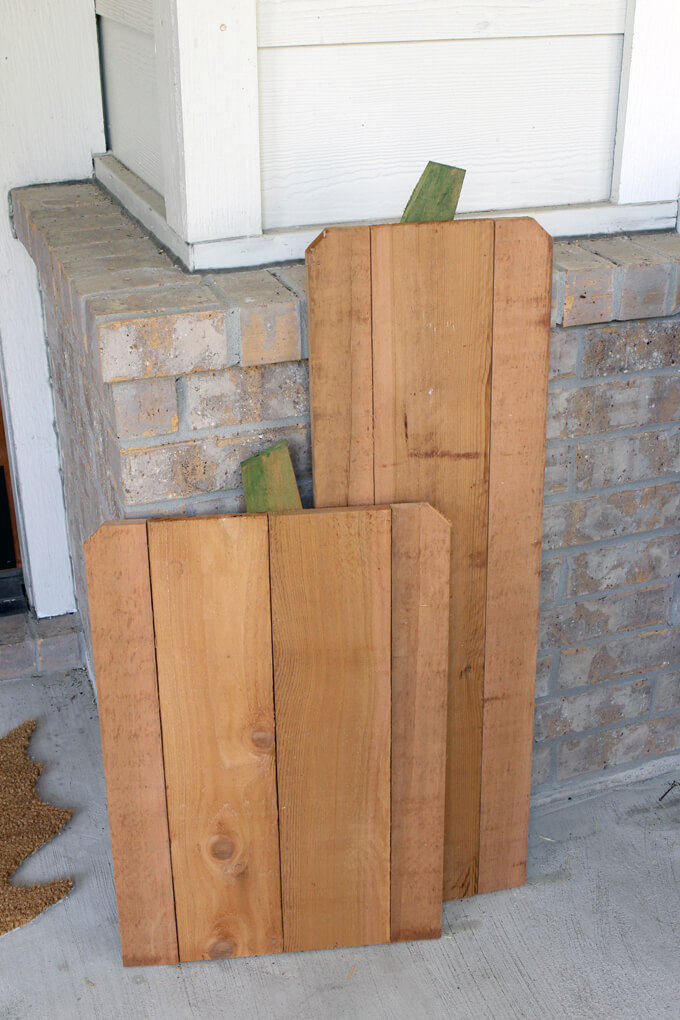
2. Cedar Picket Pumpkins

Our next project to tackle was to make a pair of rustic pumpkins out of cedar dog-ear wood fence pickets. This is another extremely inexpensive project because each piece of fence costs around $2 and each pumpkin only needs one fence picket.

It was really quick to make as well because we dug around the stack of fence pickets at the hardware store until we found two that had the deepest natural orange shade so we didn’t even have to paint them!

SUPPLIES

FYI: This post contains a few affiliate links to products we used to make this project. Gray House Studio does receive commissions for sales from these links but at no extra cost to you. We appreciate you supporting this site. Read our privacy and disclosure policy. You can also easily shop our recommended products here.

We wanted two pumpkins that were different heights so for the taller pumpkin Brent cut the cedar fence picket in half with a miter saw to create two pieces that were the same length.

For the shorter pumpkin he cut three pieces the same length. Then for the piece that had the corners cut off he cut it in half vertically using a table saw and placed each piece on the outside of the middle board(s) for each pumpkin.

To attach the boards together, Brent cut a strip of 1/8 inch masonite the width of the pumpkin and used a drill to screw through the masonite into each picket with 1/2″ screws.

He created the stems by cutting a scrap piece of wood into trapezoids and then painted them with watered down green paint.

He attached the stem to the pumpkin with a 3/4″ screw.

They are flat so they would also be easy to store under a bed or because we did nothing to the wood, we could recycle and use it for another project such as making a box or a tray.

Fall DIY Front Porch Projects

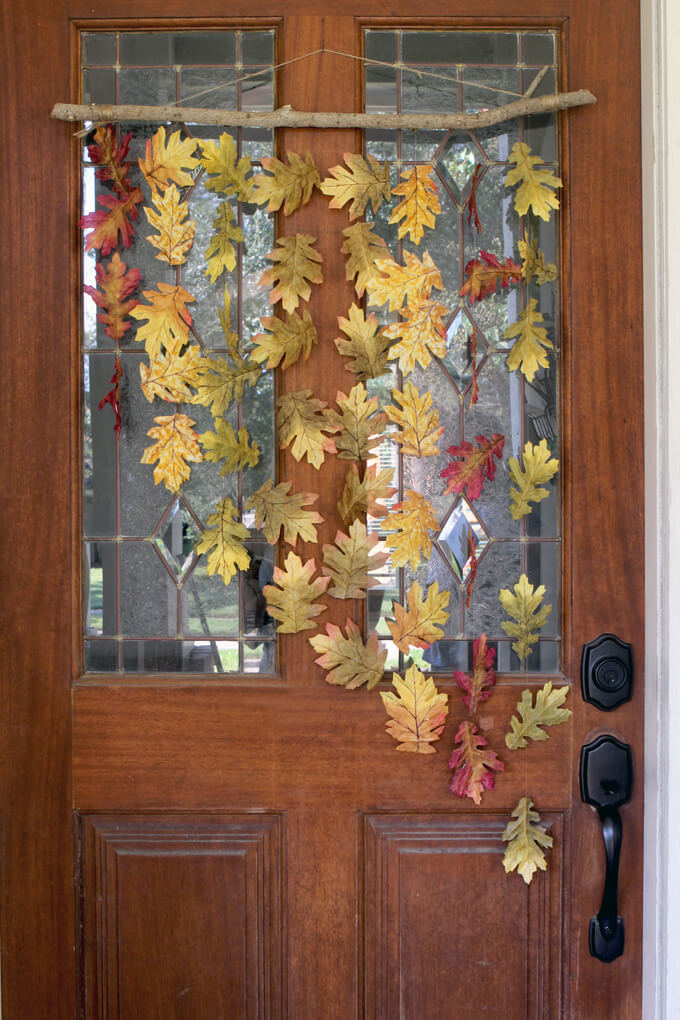
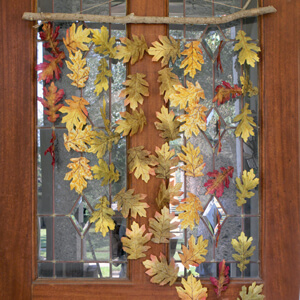
3. Natural Leaf and Branch Door Hanging

For our third project we were in search of an alternative to a traditional fall wreath for our front door.

We decided to make a natural leaf and branch door hanging. This one cost us around $12 only because we couldn’t find any leaves outside I liked where we lived. We don’t have the best looking leaves in our yard so we opted to buy some artificial leaves. You could use also paint leaves from outside or make paper leaves.

SUPPLIES

FYI: This post contains a few affiliate links to products we used to make this project. Gray House Studio does receive commissions for sales from these links but at no extra cost to you. We appreciate you supporting this site. Read our privacy and disclosure policy. You can also easily shop our recommended products here.

To make it we used a branch off one of our trees that we had just trimmed and cut it down to fit our door. You could also used one of these pretty faux birch branches.

Then we used a needle to thread clear fishing line though the leaves. We varied the lengths of the strands of the leaves and situated the individual leaves in different positions to give the appearance that they were falling and to create visual interest.

For the bottom leaf on each strand we positioned a washer between two leaves so that it would hold the weight of the strands of leaves down and prevent them from blowing around and getting tangled.

We attached each line of leaves to the branch with thumb tacks.

Finally, we wrapped jute twine around the branch to create a loop to hang the leaf and branch display on a hook on our front door.

I love this project because it looks like the leaves are just floating on my front door.

To store this one I will most likely pull off the silk leaves, washers and thumb tacks and store them in a plastic bag and discard the branch. That way I don’t have to store the entire thing and I can start fresh next season with a new branch and create a new pattern.

Fall DIY Front Porch Projects

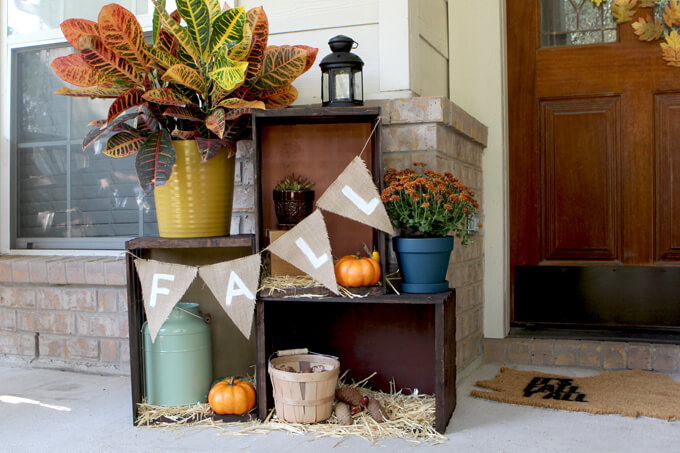
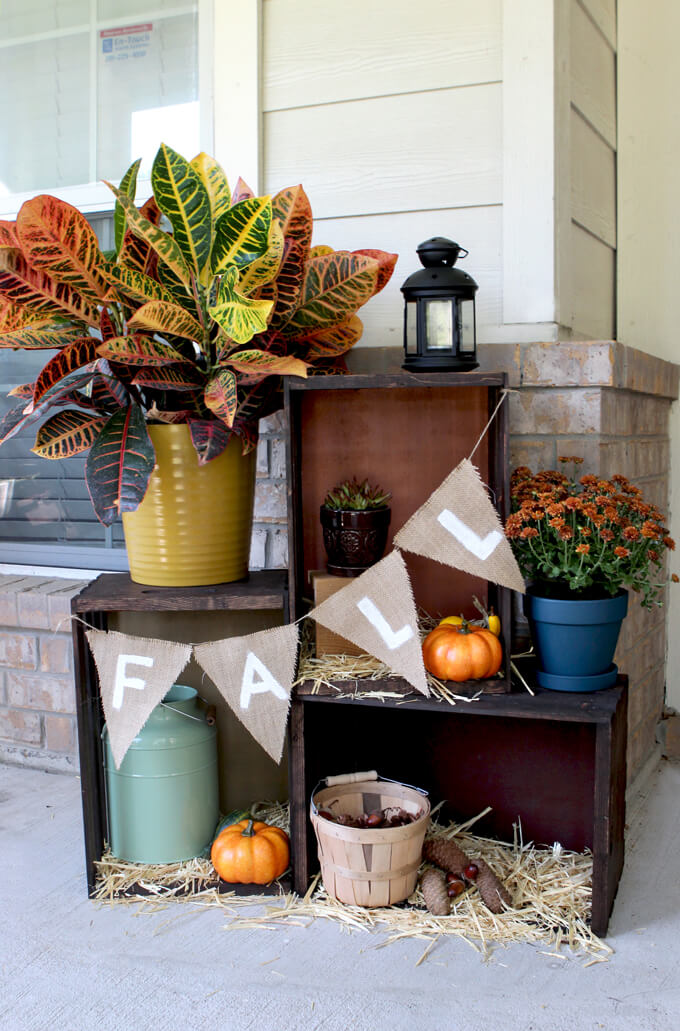
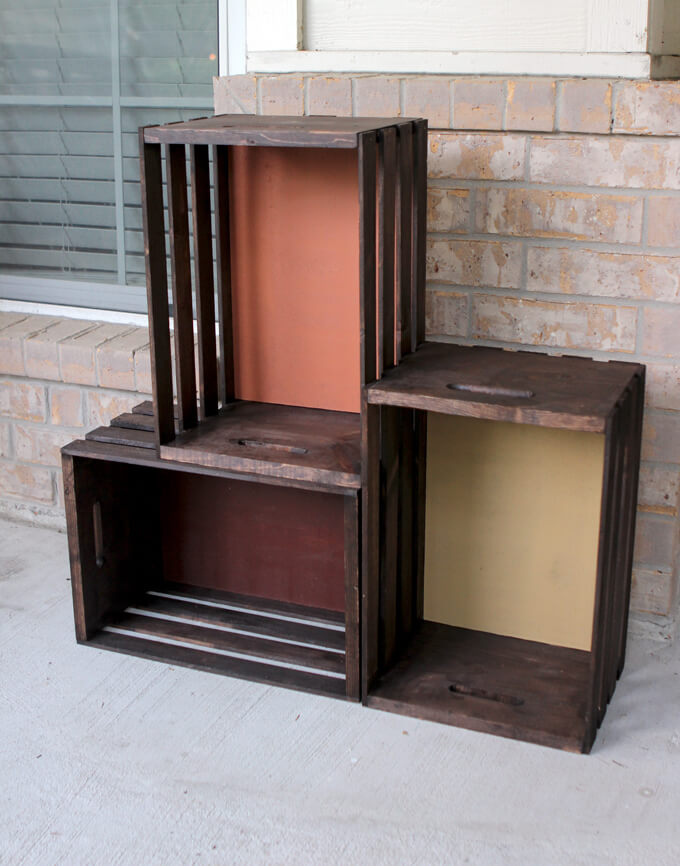
4. DIY Fall Crate Display

We wanted to create a display on our porch where we could pull together a few additional decor items into a place with purpose. Using crates to give varying heights allowed us to incorporate a variety of items.

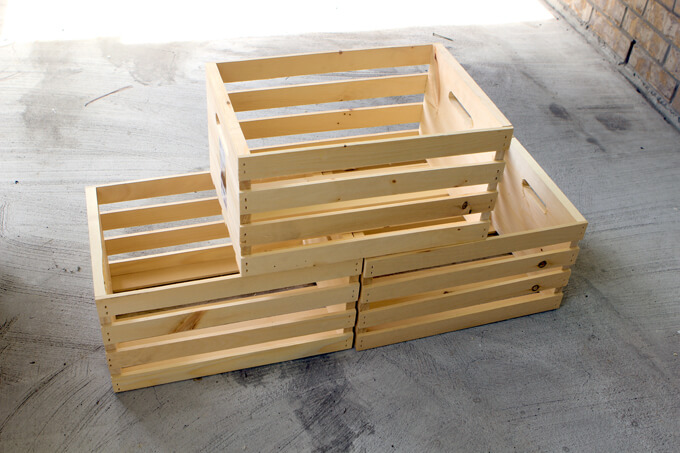
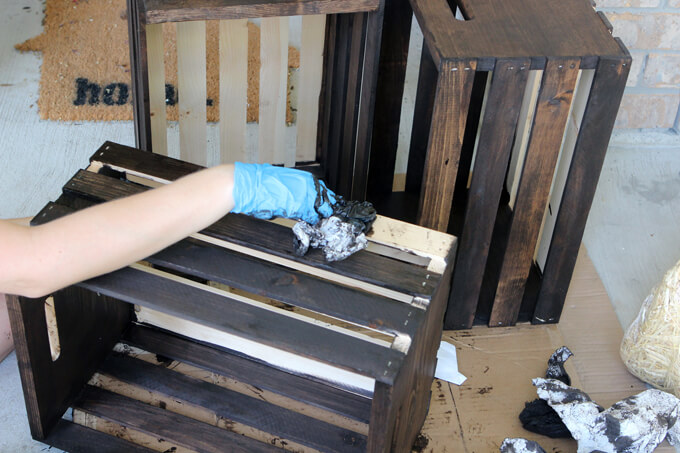
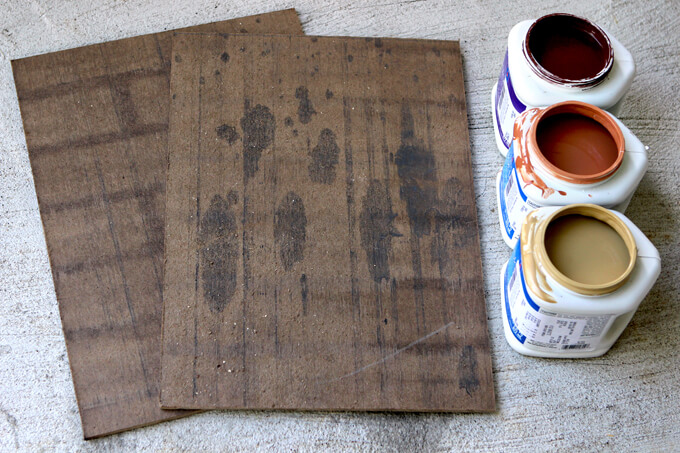
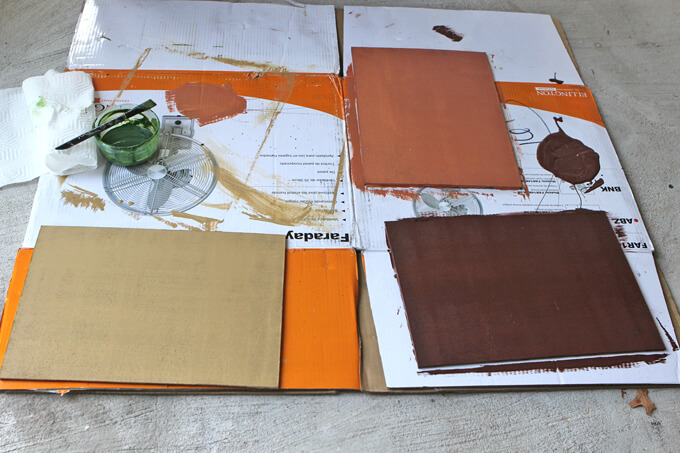
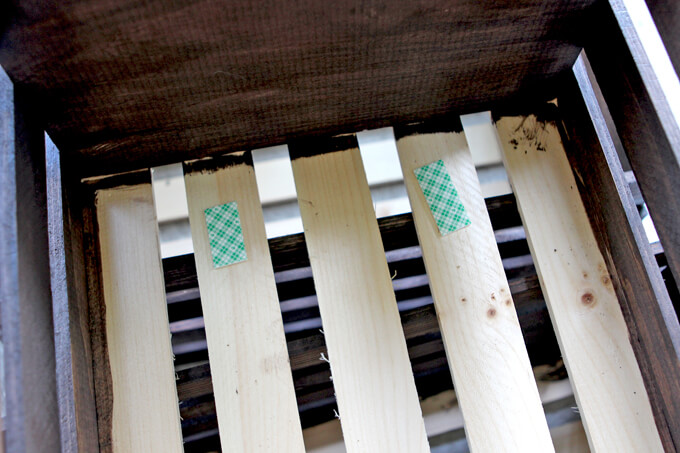
The three wood crates were the most expensive item we purchased for these projects but the beauty of them is they can easily transition with each season by just switching out the back panels we created and adding different natural decor and seasonal flowers.

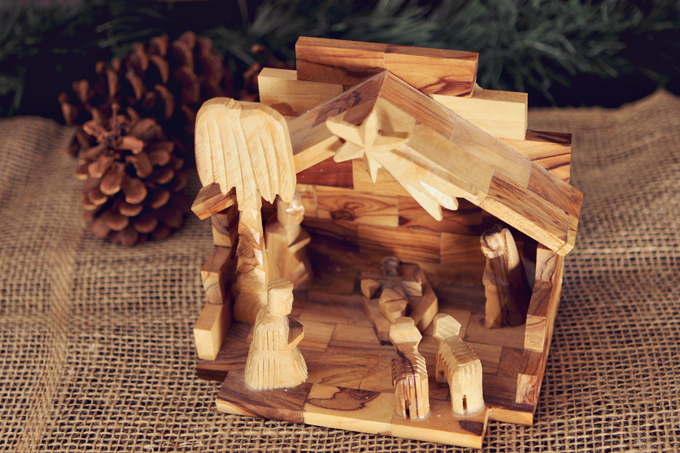
The majority of the items we put in and on the crates we already had around the house such as the lantern and the green tin. We picked up some new plants and some hay to finish the look.

To see how to make this project, check out our full tutorial on our fall crate display.

Fall DIY Front Porch Projects

We completed all of our fall DIY porch projects on one Sunday afternoon and now our entry way is ready for fall!

Fall DIY Front Porch Projects

We had the fun opportunity to share these Fall DIY front porch projects on Great Day Houston last week. It was our first time on TV and it was live so we were a little nervous but host Deborah Duncan is so sweet and fun and we had a blast spending the morning at the studio.

If you missed it live or don’t live in Houston, you can watch via the link below to see and hear more about our do-it-yourself fall decorations.

Watch our DIY segment on Great Day Houston

PIN FOR LATER

Looking for easy ways to decorate you front porch this Fall? Check out these 4 Fall DIY front porch projects we came up with to make your front porch festive for the Fall season without spending a fortune. These simple DIY Fall projects are not only adorable, they are inexpensive too!

Fall Crate Display

Fall Crate Display

Create a fall crate display to decorate your front porch for the Fall season.

Fall Front Porch Decor

Even though you can’t tell by the weather here in Houston (Is it sad that when it gets to be about 96 degrees we say it feels good outside?) fall is fast approaching.

This year we decided to get a jump on the season and create a few DIY fall decor projects for our front porch. So when those cooler temperatures finally reach us way down here in Houston, we will be ready.

The first project we are going to share with you today is our Fall Crate Display. This is a really simple decor project to create and customize and can be set up anywhere from on your porch to in front of your fireplace.

Plus, it transitions well with the seasons so with just a little switching out it can become a winter crate display.

2022 Personalized Christmas Ornaments
*** Thanks so much for supporting our small shop – Moon Rock Prints – this holiday season! ***

How to Create a Fall Crate Display

SUPPLIES

FYI: This post contains a few affiliate links to products we used to make this project. Gray House Studio does receive commissions for sales from these links but at no extra cost to you. We appreciate you supporting this site. Read our privacy and disclosure policy. You can also easily shop our recommended products here.

STEP BY STEP GUIDE

Fall Crate Display

1. We bought three wooden crates. The ones we were made of unfinished pine.

You can have as many crates as you like in your display depending on the amount of decor pieces you intend to add. You can even incorporate different sizes of crate to create interesting shapes.

Fall Crate Display

2. The next step was to stain the crates to give them a more high end feel. We used our favorite Kona color stain.

Staining these crates was kind of a pain and time consuming. It is not a hard task, just a tedious one.

Fall Crate Display

3. Once I was done it was worth it. We didn’t bother to stain the bottom of the crates and I will explain why in the next step.

Depending on the look you are going for you can rough up and weather the wood or even add a graphic or text to make it look like a vintage crate.

Fall Crate Display

4. We decided to take it a step further. To transform the crates into a cohesive display and add in more color to this set up.

We used scrap pieces of wood but you could also use plywood to cover the bottom of the crates.

When we flipped the crates on their sides these boards would be the background. There are endless possibilities in what you can do to create cool backgrounds.

Fall Crate Display

5. We decided to stick with simple backgrounds and paint them with mute fall colors. We used some sample paint colors we had left over from another project.

We used a high-density foam paint roller to paint the plywood boards Cavern Clay Sample Paint, Baguette Sample Paint, and Fiery Hue Sample Paint.

You won’t need much paint for these boards so inexpensive cans of sample paint are the way to go. I just poured some paint onto a piece of cardboard and rolled in onto my scrap pieces of wood that would become my crate back.

Fall Crate Display

6. Once the painted pieces of wood dried, we secured them to the bottom of the crate with foam tape.

Fall Crate Display

7. Next, we arranged and rearranged them until we found the best combination that would fit our decor pieces.

I tilted the crate that sits on top of the other crate at a slight angle to allow for more surface space so the items could spill out of the bottom of top crate onto the top of the bottom crate.

Fall Crate Display

8. The last part is the fun part! To decorate our fall crate display we mixed traditional fall decor items such as pumpkins and a burlap banner with natural elements such as pine cones, acorns and leaves (which depending on your location you can find just laying around outside).

Adding flowers and plants to our front porch is always fun so we paired pretty colored mums with the more unique looking Croton plant.

Adding some hay to the bottom of the crates adds some texture, defines the bottom of the crate, breaks up the dark color of the crates and definitely gives it that authentic barn feel (and smell).

We have a lot of warm tones going on so we mixed in some contrasting color like shades of blue in the flower pot and tins to really make them pop. We have learned you don’t always have to buy a bunch of new pieces but can re-purpose things you may have sitting around somewhere else.

For this display we incorporated a lantern and tin we had sitting around inside to give it a rustic/barn feeling. When styling the crates we always try to pair taller items with shorter pieces to maximize space without making it look overcrowded.

What we love about this fall crate display is it creates a purposeful space for arranging and showcasing fall decor pieces on our front porch. The beauty of it is with just a switch of the back piece of wood and decor items it can effortlessly transition from a rustic fall look to a rustic winter look come December.

Looking for more fall inspiration? Check out these easy DIY fall porch decor projects or how to throw a fall party!

PIN IT FOR LATER

Create a fall crate display to decorate your front porch for the Fall season.

Simple Christmas Decorations

Simple Christmas Decorations

Simple White and Silver Rustic Christmas Tree 2014

This weekend we finally broke out the Christmas decorations and decorated our home for Christmas! When it comes to decorating for Christmas we tend to keep it pretty simple around here. The less you put up, the less you have to take down come January, right? Also, this is the first Christmas we have really decorated our home and what decorations filled up an apartment don’t quite fill up a house but we are okay with that. We plan on adding one or two new pieces that we really like each year.

Decorating a Christmas tree with white and silver ornaments
Last year we put up the Christmas tree in our living room where our nook is now so we decided to move it to our front room that currently has nothing in it. This location is nice because we can open up the windows and it can bee seen from outside. Bonus… we don’t have to worry about the cat knocking off the ornaments and them breaking on the tile.

2022 Personalized Christmas Ornaments
*** Thanks so much for supporting our small shop – Moon Rock Prints – this holiday season! ***

Planning a Craft Cabinet
There is something I love about a monochromatic tree. We opt for white lights, white and silver ornaments and a white tree skirt. It just feels so simple, cozy and warm. In the past I became quickly frustrated when I couldn’t get the lights exactly right, the ornaments perfectly spaced or the tree fluffed so there were no empty spaces but over the years I have relaxed and don’t worry so much about perfection but just enjoy the process of decorating the tree.

white snowflake ornament
^ My favorite ornament.

Rustic Christmas Tree Topper
^ I (Courtney) found our tree topper about four years ago. I love how it has a more natural look integrating the branches and berries. It ties perfectly into our rustic/winter decorating theme we have going.

Rustic tree topper
But I have to admit that tree topper is a beast to try and get on up there. I am so glad Brent now handles the struggle that is putting the topper on the tree. I may or may not have fallen into the tree in past years trying to get that thing wrapped around the top branches.

Wood Nativity Scene Family Heirloom
I love incorporating pieces that have special meaning into our decor like this Nativity Scene that was given to my parents as a gift the first Christmas after they were married. It has sentimental value and fits perfectly with our style.

Fireplace Mantle Christmas Decorations
For our mantle this year, we kept a lot of our every day pieces and mixed in some rustic winter decor such as evergreen garland, small led string lights, a burlap runner, mason jars with fresh evergreen, berries and baby’s breath and of course pinecones!

DIY Christmas Wine Bottle Vases
Our DIY Christmas project this year were these Christmas vases made from recycled wine bottles.

Paint Wine Bottles for vases
^ First, we painted three wine bottles white.

Use stickers or paint letters on bottles
^ My brother has a vinyl cutter plotter so I asked him to cut me the letters j,o,y and snowflakes stickers at the appropriate size. I have seen where you can paint the letters on but I don’t have a steady hand when it comes to painting and stickers were so much easier. I like the look of silver letters because they are subtle and match our tree.

Applied Stickers to Wine Bottles
^ Next, I just stuck the letters on the bottles. That part was super easy!

Add the winter plants
^ The final step was to add the evergreen, berries and baby’s breath.

Decorating the Christmas Tree
^ The decorating festivities would not be complete without hot chocolate!

Merry Christmas from Gray House Studio

We would love to hear how you decorate your home for Christmas and the holidays. Do you have a specific theme or color scheme when it comes to Christmas decorations? Do you have pieces that have sentimental value that you put up every year? Share with us in the comments.