Last weekend Brent and I had a blast throwing a fall party on my family’s boat dock. I love planning and hosting parties. In another life maybe I will be a party planner but for now I will just have to settle on hosting festive get-togethers when the occasion rises.

FYI: This post contains affiliate links to products we used and liked for our fall party on a boat dock. As an Amazon Associate Gray House Studio earns from qualifying purchases. This is at no extra cost to you. We appreciate you supporting this site. Read our privacy and disclosure policy.
I’m an introvert so I am not a huge fan of big blow out bashes but rather intimate gatherings with friends and families with lots of time to chat one on one and nice thought out details to enjoy. I contribute this love to my parents always throwing me fantastic birthday parties growing up.


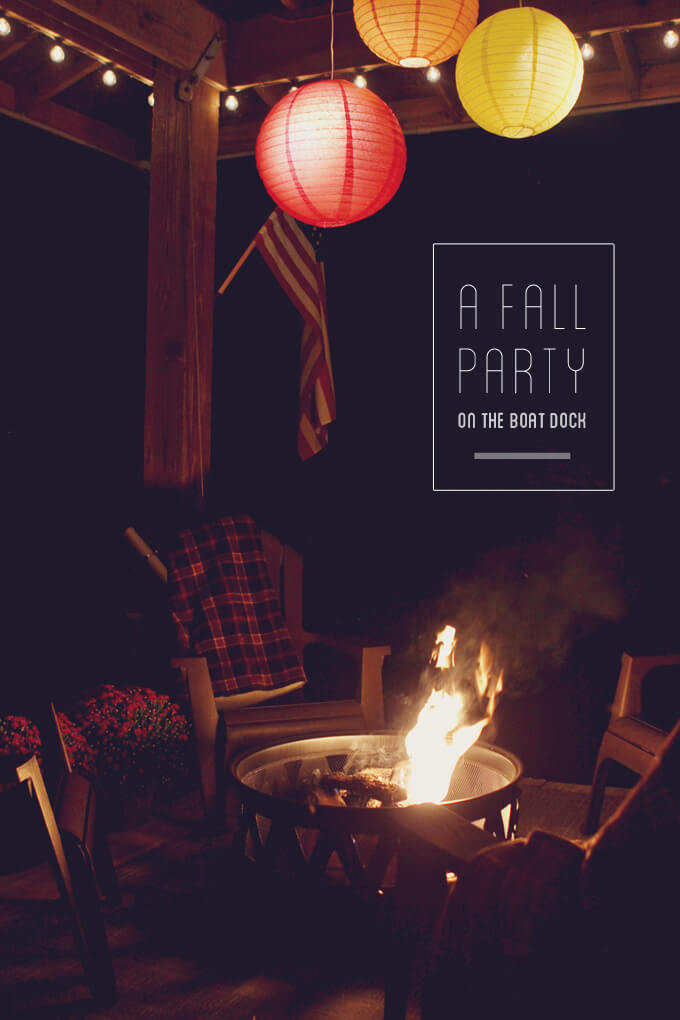
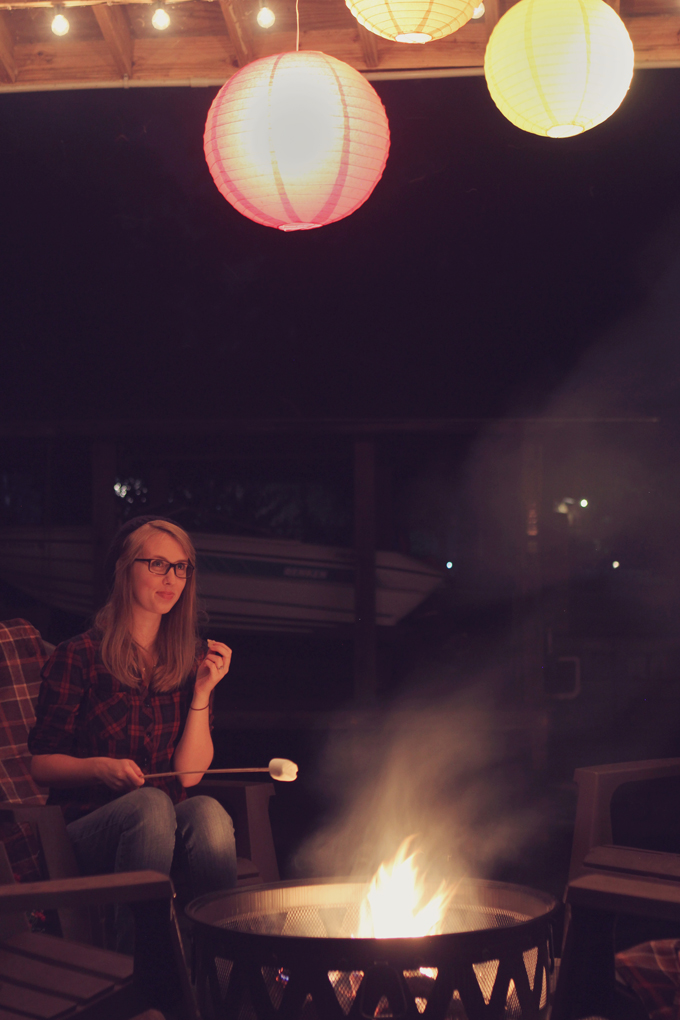
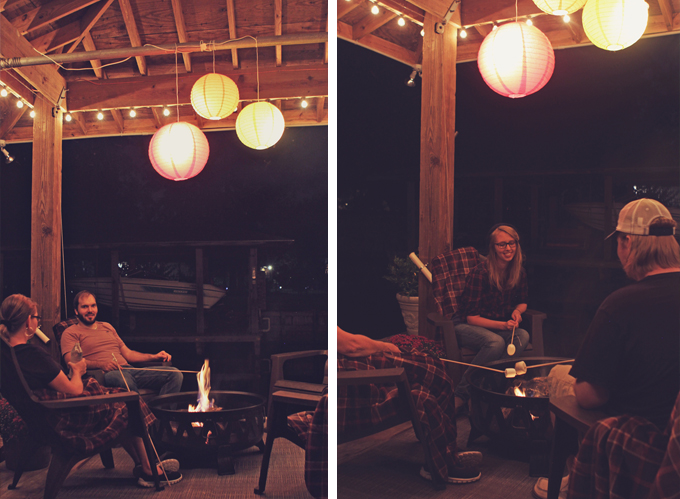
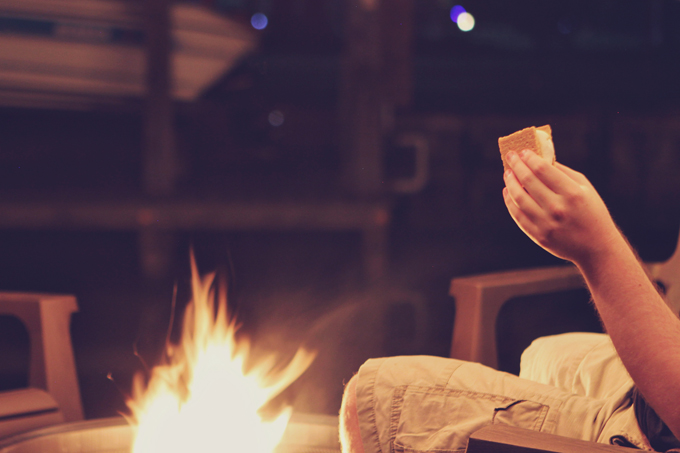
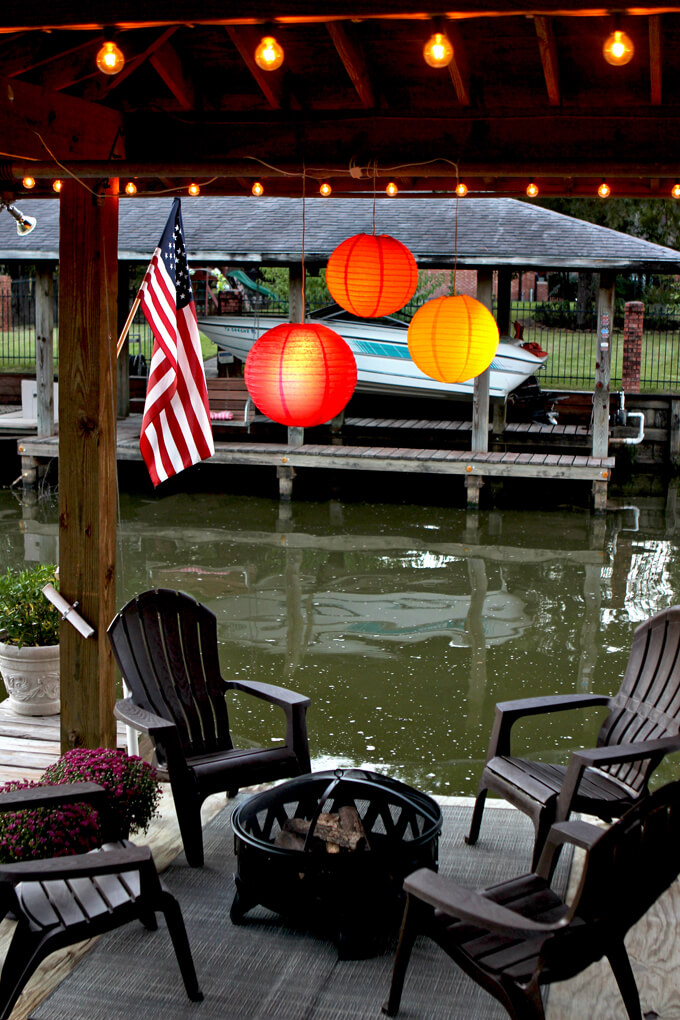
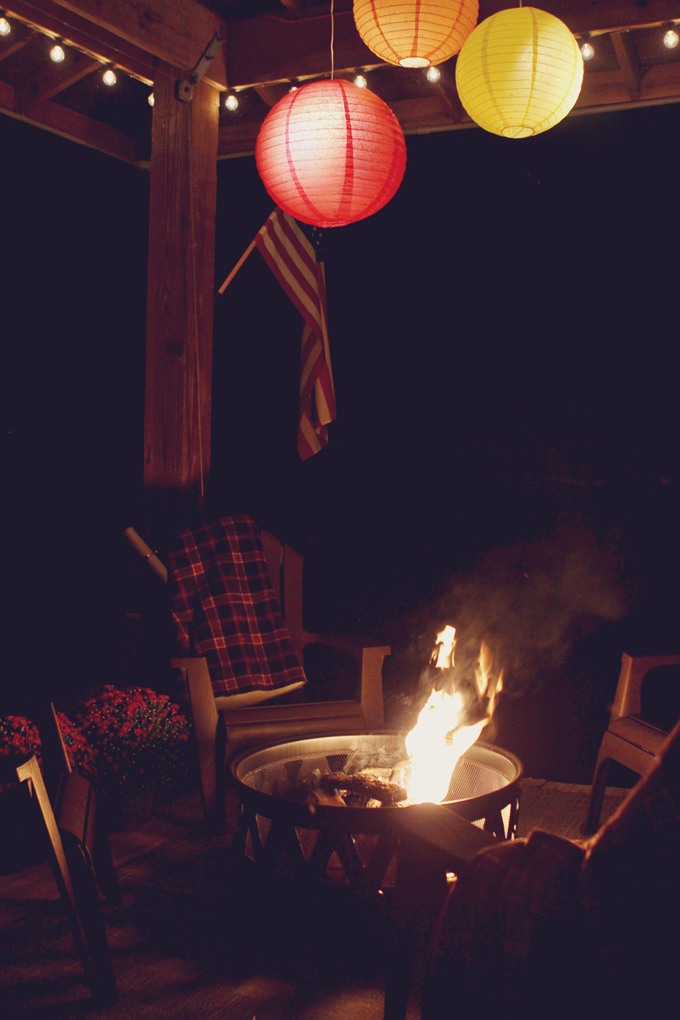
It was a cool (by Houston standards) October night as we gathered on the boat dock under the cozy string lights and carved pumpkins, drank apple cider from jars and sat around the fire talking and laughing while we made and ate our very messy s’mores.

When it comes to parties, we really enjoy creating an atmosphere where guests can feel totally immersed in the setting from the music to the food, to the lighting and location. I wanted guests to feel transported to a cozy fall cabin in the woods even though we were really in the suburbs in Houston!

It is easy for Brent and I to get lost in all of our home projects and day jobs so it was a great opportunity to slow down for a bit and enjoy an evening with close friends and family where the hardest decision was one s’more or two.

This party was a fun change of pace. We had a goal to keep it fairly simple and stick to a budget of next to nothing and it turned out better than we could have imagined. Below are the details of our fall party on the boat dock.
Fall Party Details
location: boat dock

A boat dock may seem like a strange location for a fall party but I like a challenge. Thinking outside the box when it comes to the location for a party just adds that extra element needed to transport guests to a different place. Working with the smaller space forced me to get creative thinking about the different areas guest could enjoy but the unique setting on the water made it feel really peaceful, cozy and intimate.
** We are aware that this location wouldn’t have worked if we had more than 15 people at our fall party, there were small children in attendance or if a large amount of alcohol was consumed because it was dark and three out of the four sides were surrounded by water so there is a good possibility that if any of those factors had been present, someone would have taken a step in the wrong direction and ended up in the water.
That is why we make sure to pick our location first and plan the details accordingly. I am happy to report we all stayed perfectly dry.
lighting: string lights + paper lanterns

If you know anything about me by now, you know I am a sucker for string lights so it was a no brainer that I wanted them at the party. String lights just scream cozy to me. We used our favorite string lights from Hometown Evolution.
They are the same kind we used to create a canopy of string lights in our backyard and we love them because they hold up great (ours are still going strong in our backyard), are easy to install, look amazing and create the perfect ambiance.
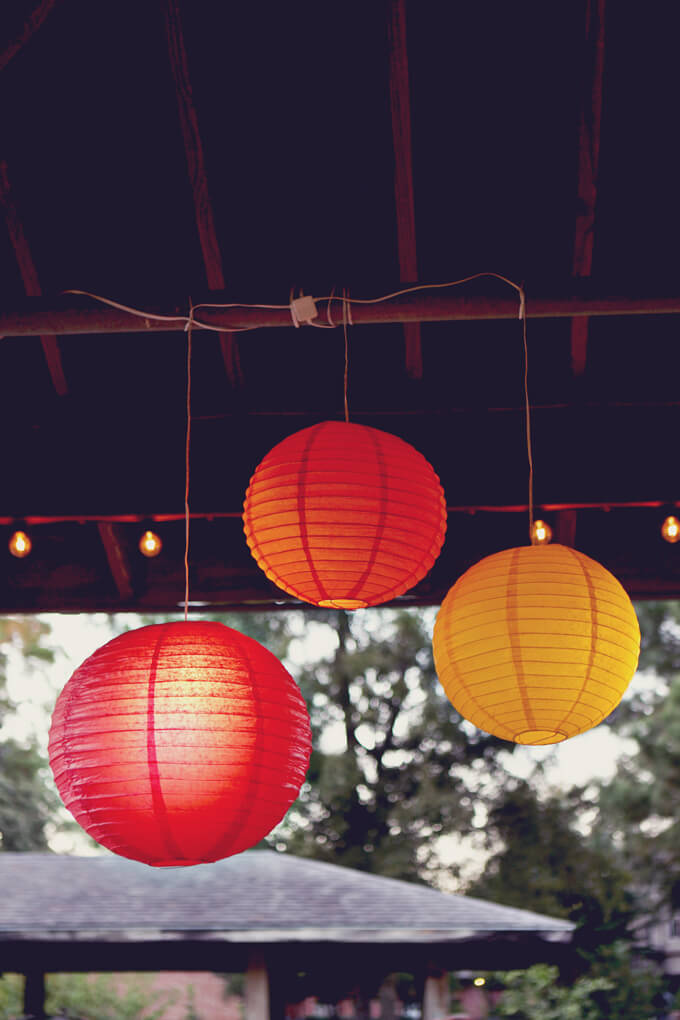
We also tried out Hometown Evolution’s paper lanterns and they worked great for our party. We hung one large lantern and two small lanterns in fall colors over our conversational area. We used some LED lights from IKEA that were left over from our coffee bar inside of them and it worked perfectly. They really completed the whole magical lighting look we wanted.
activity: pumpkin carving

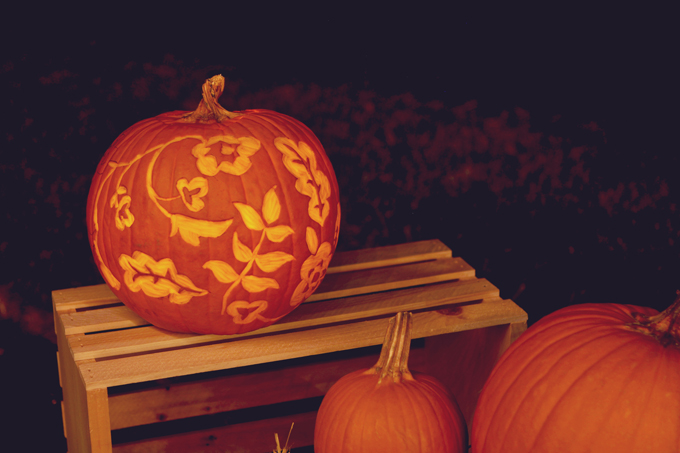
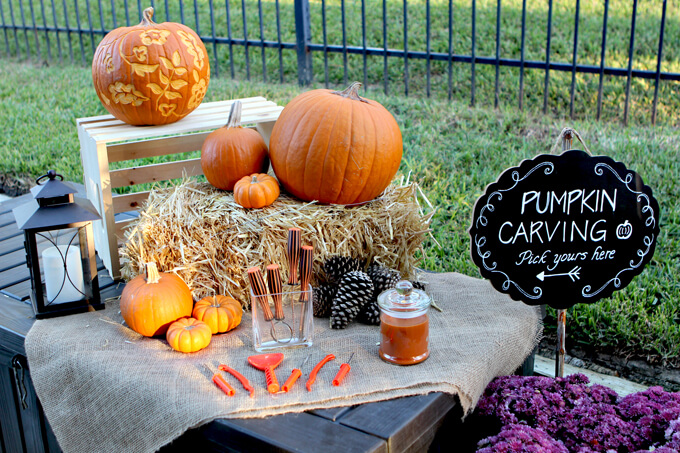
My family is big on pumpkin carving. We have a yearly tradition of getting together to carve pumpkins and then making it into a contest by posting them online for our friends and family to vote to see who wins bragging rights. It’s all for the sake of friendly competition.
This year we decided to incorporate this family custom into our fall party. We created a pumpkin carving area. We asked guests to BYOP (bring your own pumpkin) but also made sure to have a few extras on hand in case anyone forgot. We supplied carving supplies and extra patterns for those who didn’t bring their own. If party goers were up to the challenge, they could enter their pumpkin in our annual contest.
Stay tuned because we will be posting this year’s entries next week for you to vote for your favorite and help us pick a winner!
drinks: apple cider station

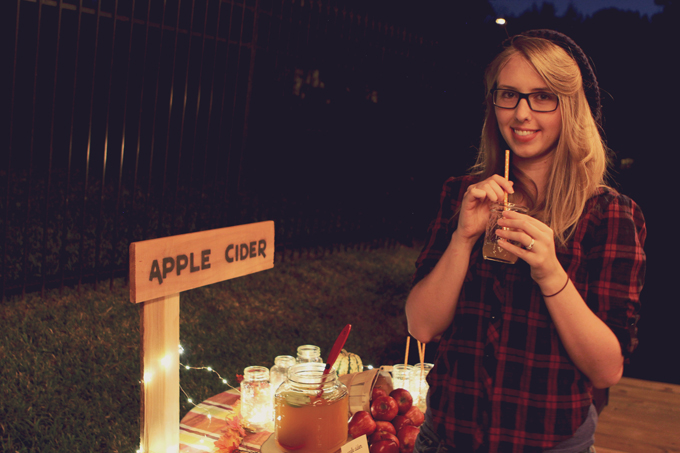
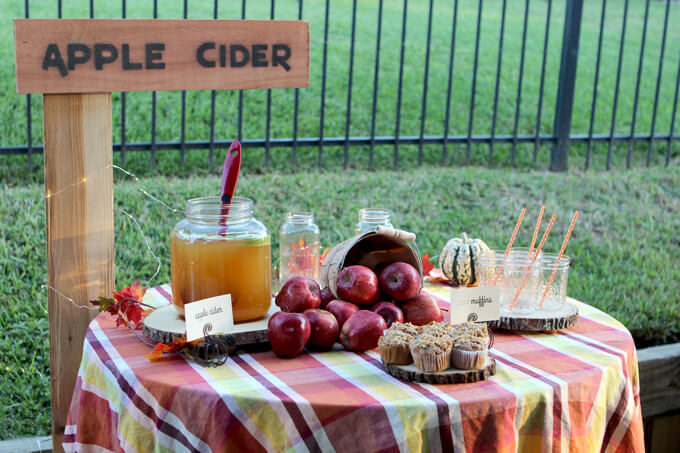
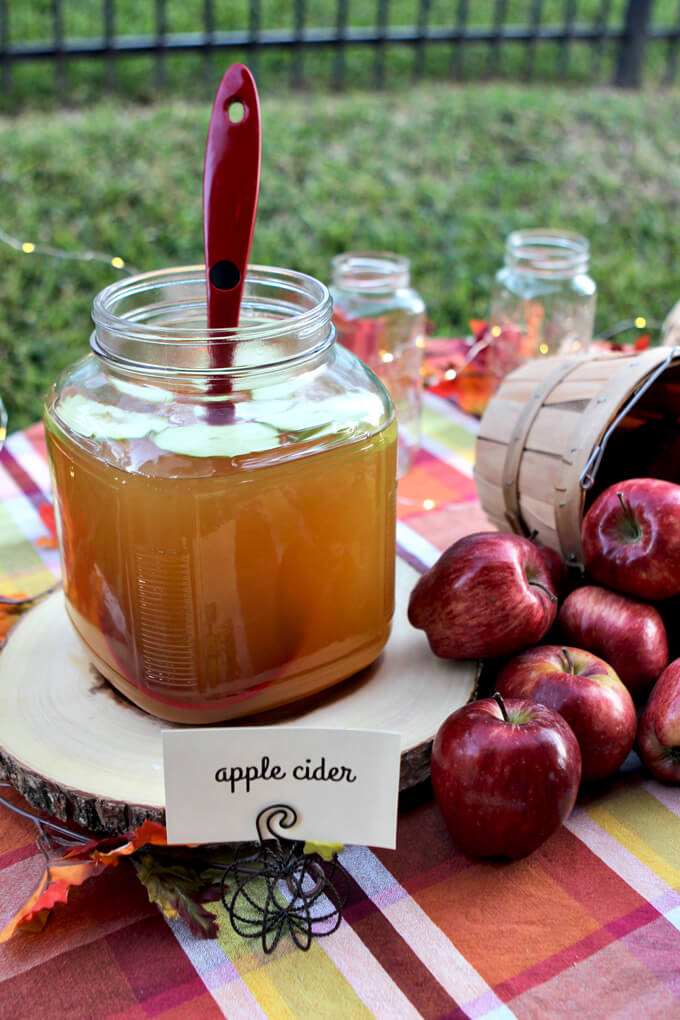
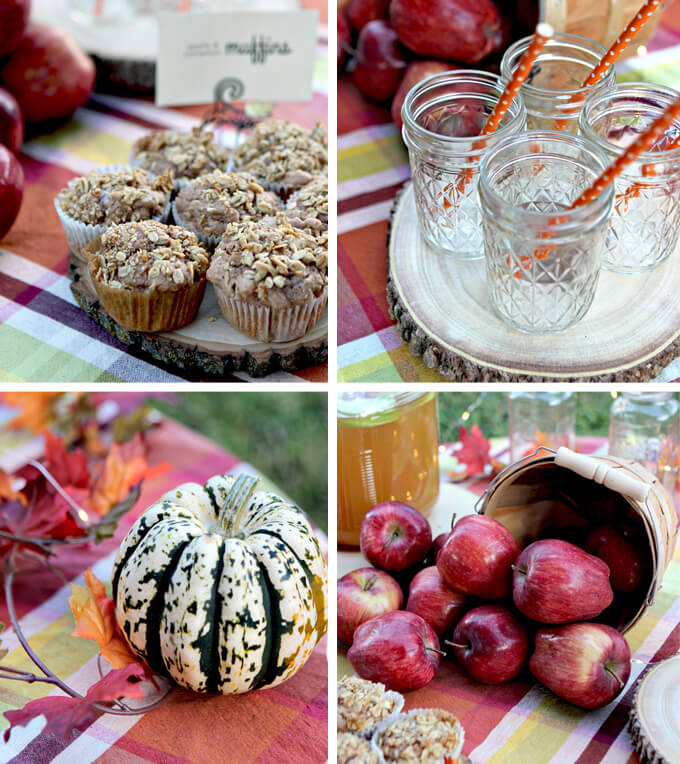
What is fall without apple cider? We created an apple cider station where guests could help themselves to cold apple cider (we are in Houston so it is not quite cold enough for hot apple cider) and apple and cinnamon muffins. My favorite part is the sign we made using two $3 cedar pickets, a stencil and spray paint.


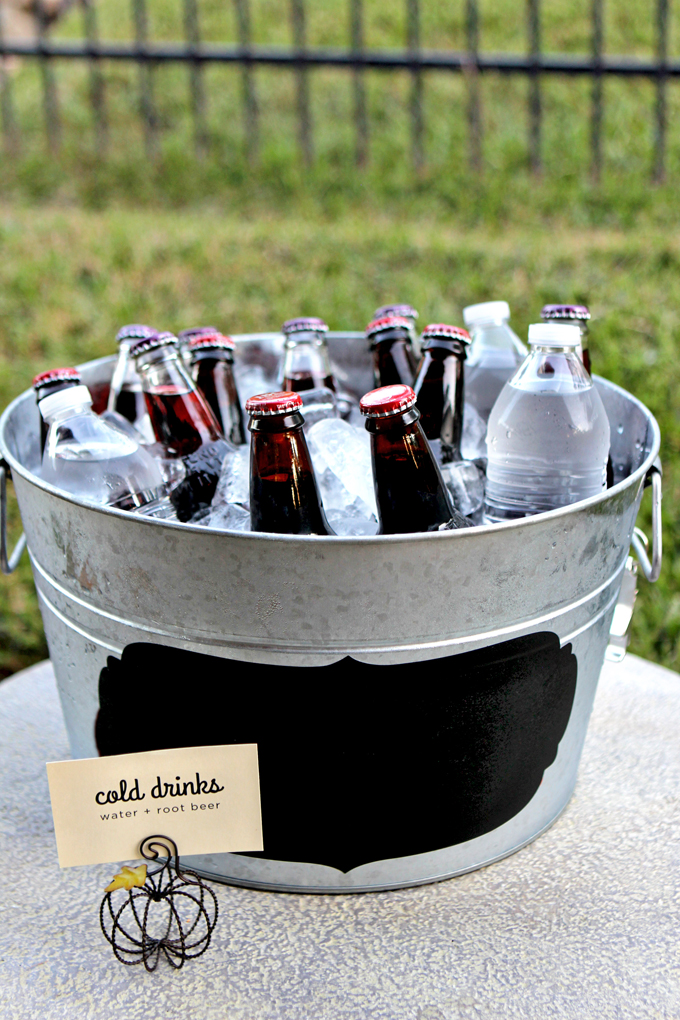
If guests were not into apple cider we also had cold water and root beer on hand as well.
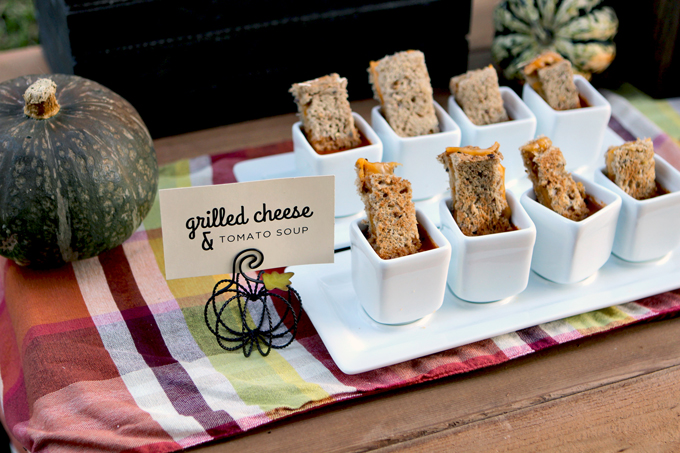
snacks: s’mores bar + grilled cheese

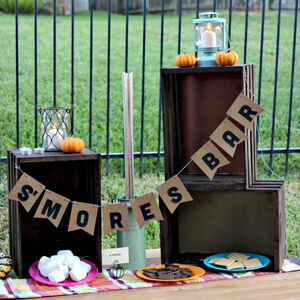
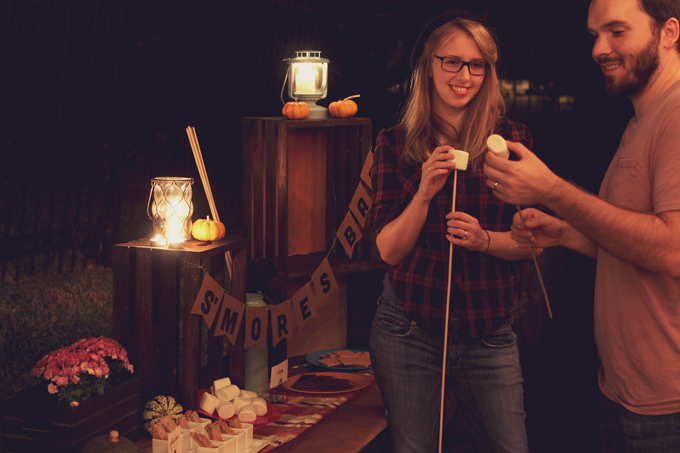
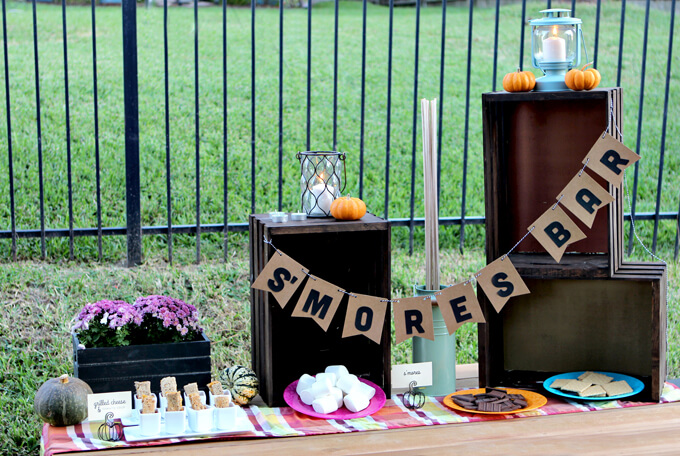
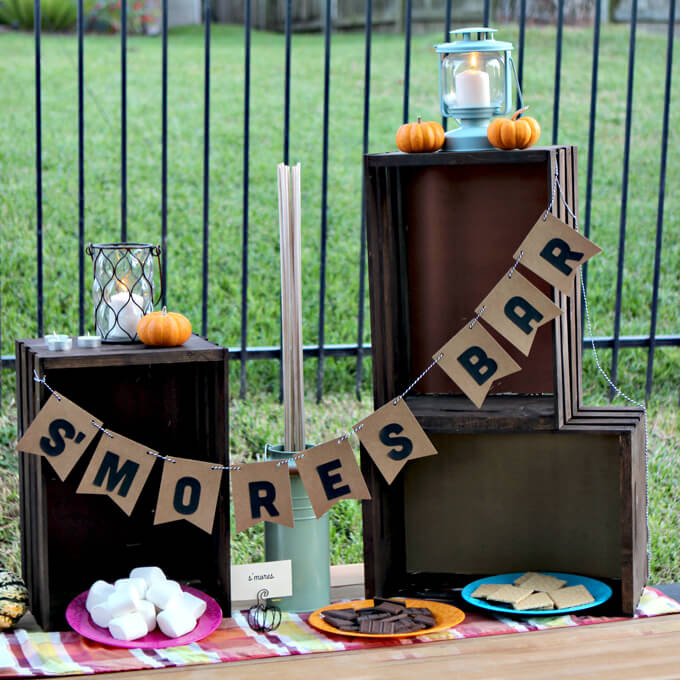
Our party started later in the evening so we had snacks and dessert available for guests. I recycled our fall crate display by cleaning the crates out and adding a new banner to make our s’mores bar. We used extra cedar pickets to create a wood plank table top and added a plaid table runner.


details: pumpkins + lanterns + blankets

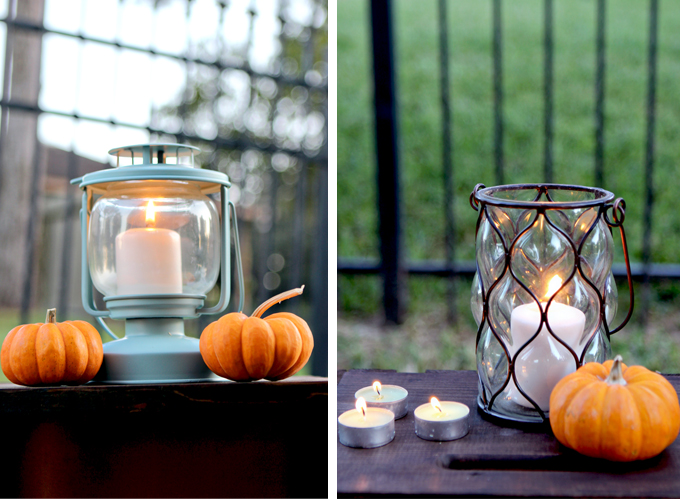
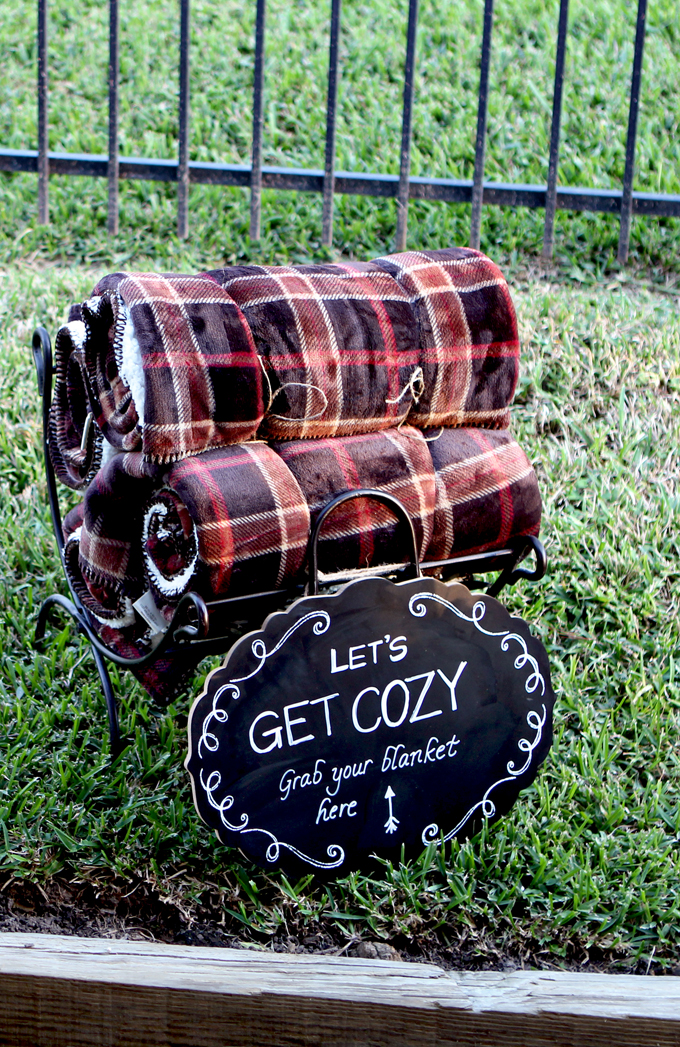
Mini pumpkins, lanterns and plaid blankets rounded out the details for our fall party to give it a rustic cabin vibe. I love the idea I saw of providing blankets to guests for when it gets chilly. It was fun to snuggle up so the conversation could continue even as the temperature dropped.

And there you have it, our fall party on a boat dock. It was the perfect way to spend a fall evening and it was so much fun to plan and decorate. I think I have just as much fun setting up and photographing all the details as anything else. Do your friends and family have any fall traditions? Share them with us below!

*Thanks to Hometown Evolution for providing the string lights and paper lanterns for our fall party.

