Decor

DIY Record Stand

DIY Record Stand

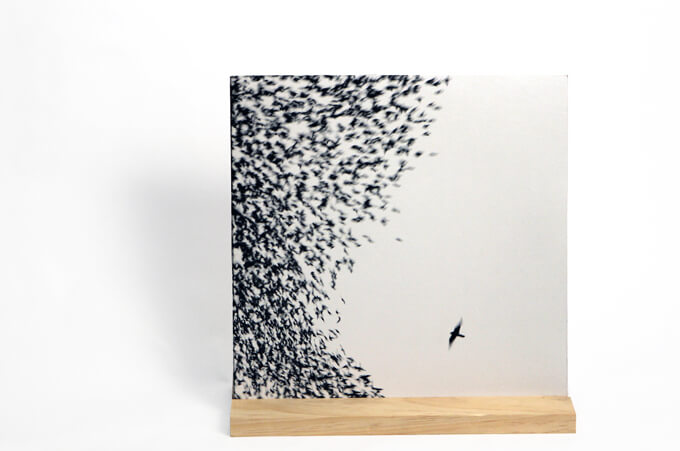
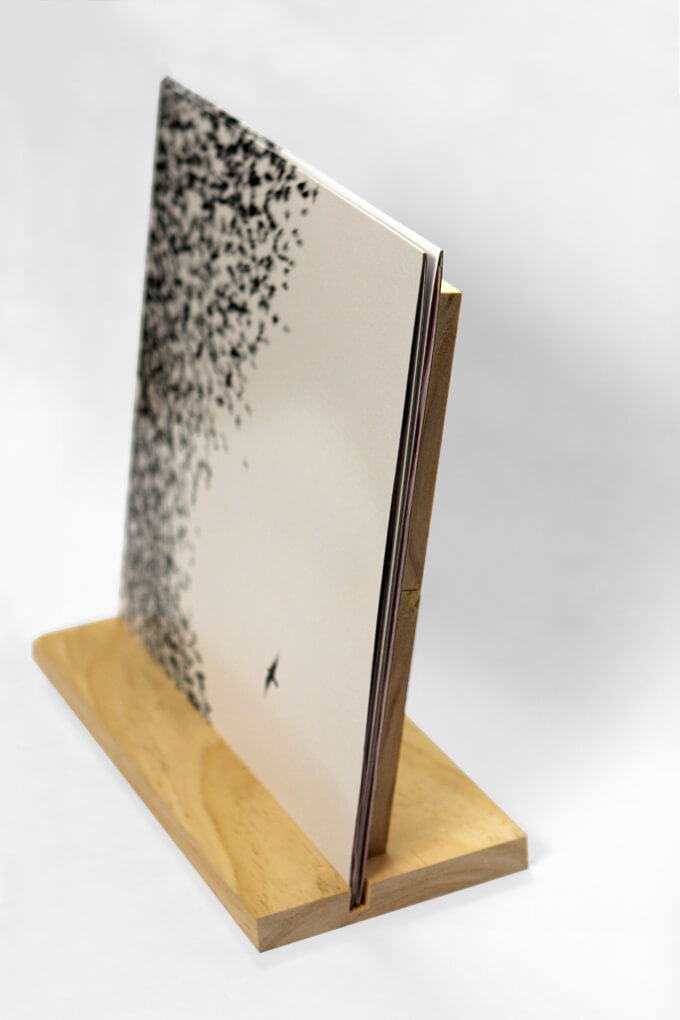
For all our fellow record lovers out there, check out this quick and easy project, our DIY record stand, to show off your favorite albums in your home.
Gray House Studio DIY Record Stand

You may have noticed in our last post on our library shelves that we are displaying a few of our favorite records on the shelves.

They are sitting in custom built stands that Brent built out of wood. By displaying them on these stands we have easy access to grab our favorites.

If you have a few of your favorite records that you want to display but want to make sure they stay in good shape, this DIY record stand is a great solution.

Plus, it is completely customizable. After it is built you can stain it or paint it whatever color you want to match your decor.

How to Make a DIY Record Stand Out of Wood

SUPPLIES

FYI: This post contains affiliate links to products we used and liked for our DIY record stand. As an Amazon Associate Gray House Studio earns from qualifying purchases. This is at no extra cost to you. We appreciate you supporting this site. Read our privacy and disclosure policy.

STEPS
Gray House Studio DIY Record Stand

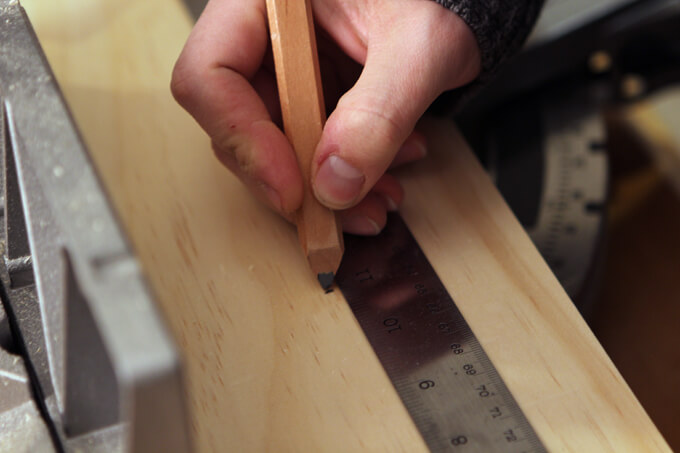
1. First, we measured the 1 in. x 6 in. select pine board to prepare to cut the base of the stand and the top braces. The base is 12 1/2 inches wide. The two top braces are 11 inches wide.

For more details on the exact dimensions, download our DIY record stand plans for accurate measurements.

Gray House Studio DIY Record Stand

2. Next, we used a miter saw to cut the boards to the sizes we measured.
Gray House Studio DIY Record Stand

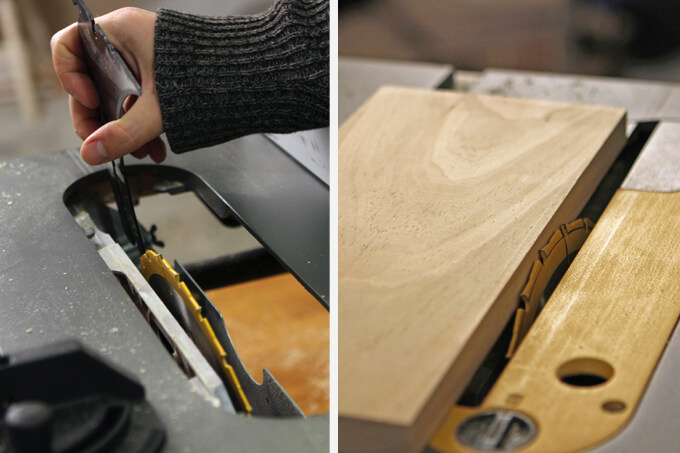
3. To create a slot in the base for the record to sit in, the blade guard of the table saw needed to be removed.

This allows the blade to cut only partially through the board. By placing the board next the blade it is easy to see how deep the slot will be in the base.
Gray House Studio DIY Record Stand

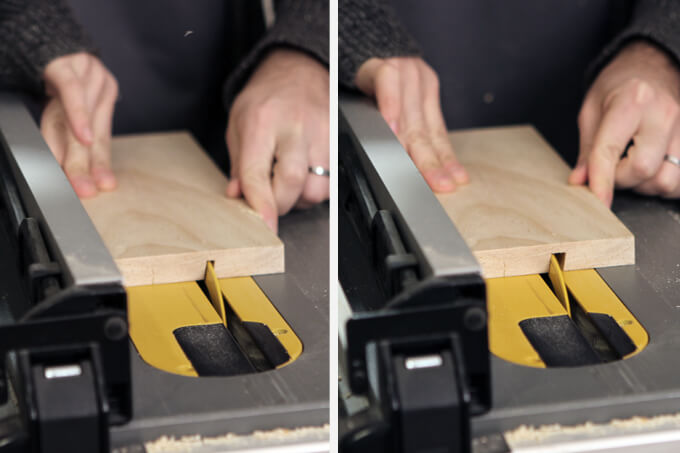
4. After each pass over the table saw blade, we moved the table saw fence slightly to cut a wide slot.
Gray House Studio DIY Record Stand

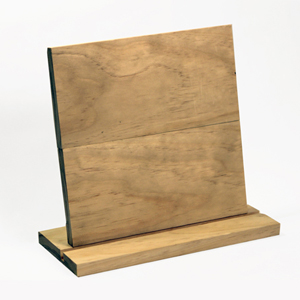
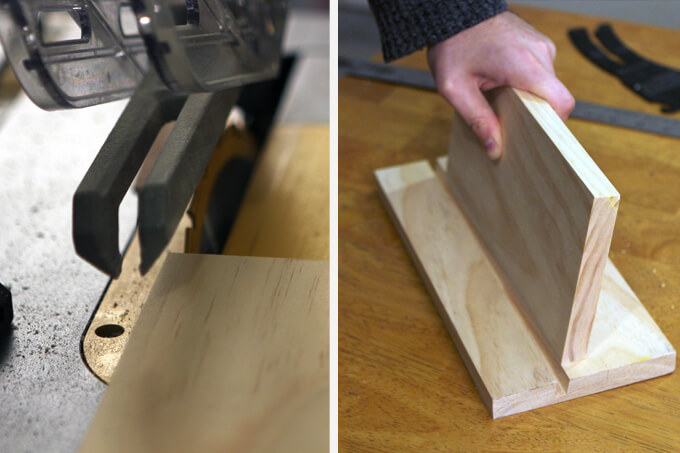
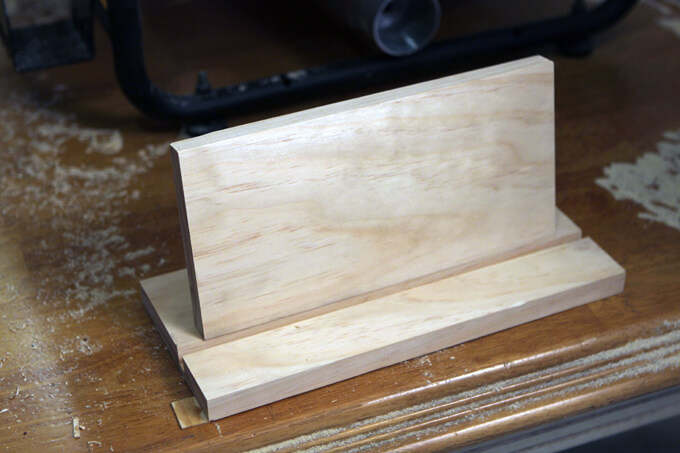
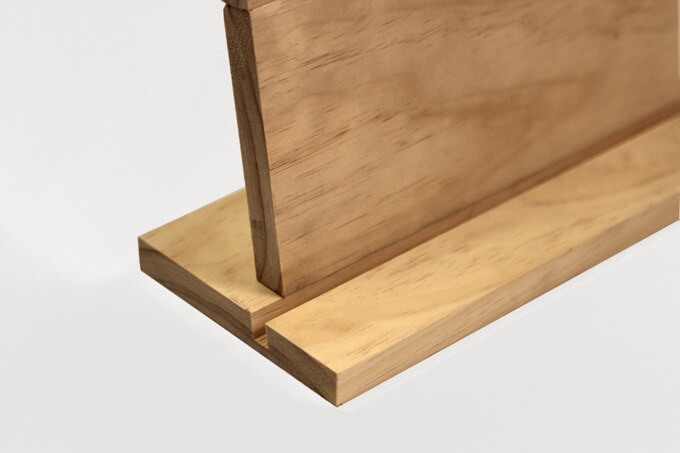
The back of the stand needs to sit at an 80 degree angle so we had to cut the bottom of the bottom brace at a 10 degree angle.
Gray House Studio DIY Record Stand

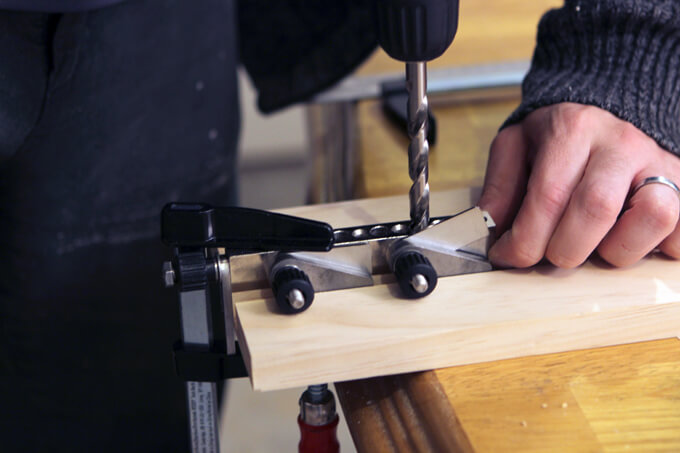
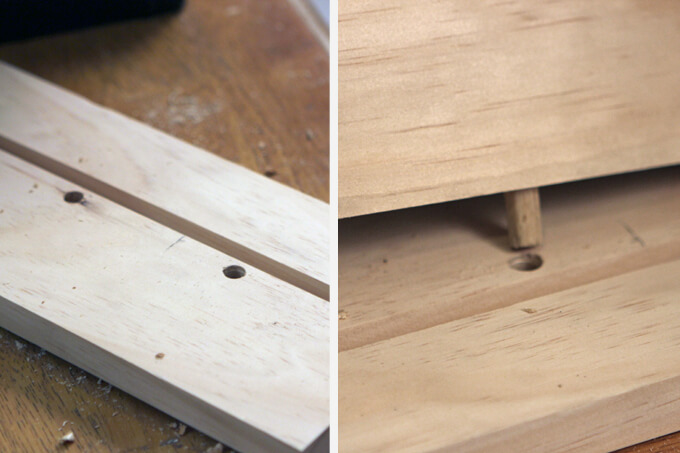
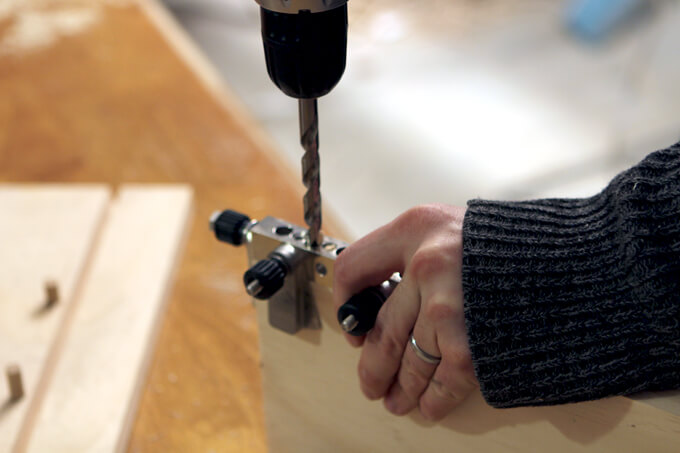
5. We used the Joint Genie and a drill to make holes that would connect the pieces via dowel pins.
Gray House Studio DIY Record Stand

6. The Joint Genie makes it really easy to line up the holes with the dowel pins.
Gray House Studio DIY Record Stand

7. No matter how many times Brent drills holes to join two blocks of wood together with a dowel pins, he still gets excited about the final result every time.
Gray House Studio DIY Record Stand

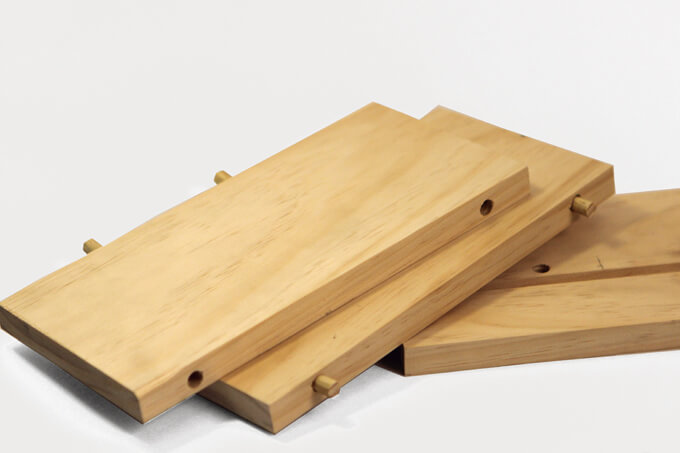
8. Once the base was connected to the bottom vertical brace, we drilled holes into the two vertical braces so we could connect them with the dowel pins.
Gray House Studio DIY Record Stand

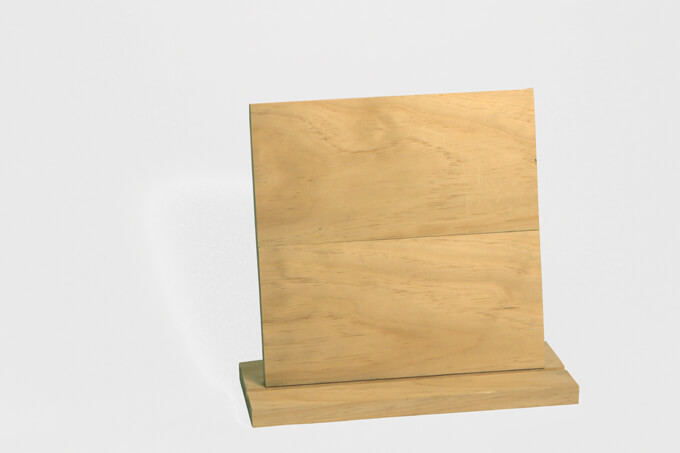
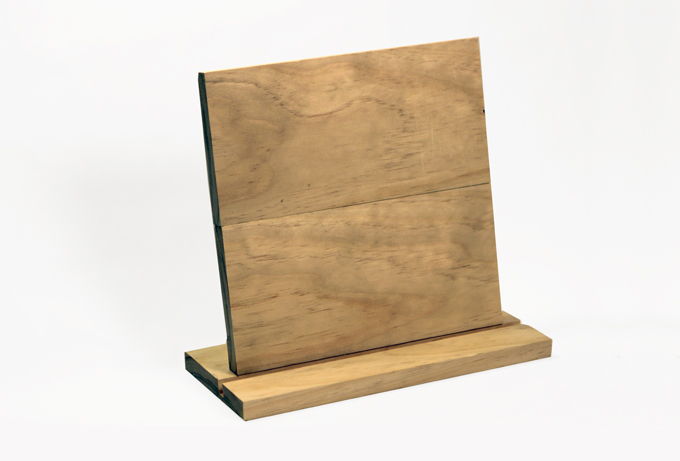
The great thing about building the stand this way is that no glue is needed so it can easily be disassembled and reassembled and consists of just three pieces.
Gray House Studio DIY Record Stand

Gray House Studio DIY Record Stand

Gray House Studio DIY Record Stand

Also, album cover artwork can make for an interesting alternative to traditional art. The six records we choose for our library were ones where we liked the design of the covers and thought had a visual appeal similar to the other art in our home.

We searched for record stands but most of the ones we found had no back or had a back that was half the height of the record. We have found that stands built these ways do not fully support the record and can eventually damage it by warping it over time.

We couldn’t find one out there that exactly fit our needs so we built our own that was all these things we were looking for: simple, sturdy and supportive.
Gray House Studio DIY Record Stand

PIN IT FOR LATER
How to build a DIY wood record stand to display album covers.

DIY String Art on Canvas

DIY String Art

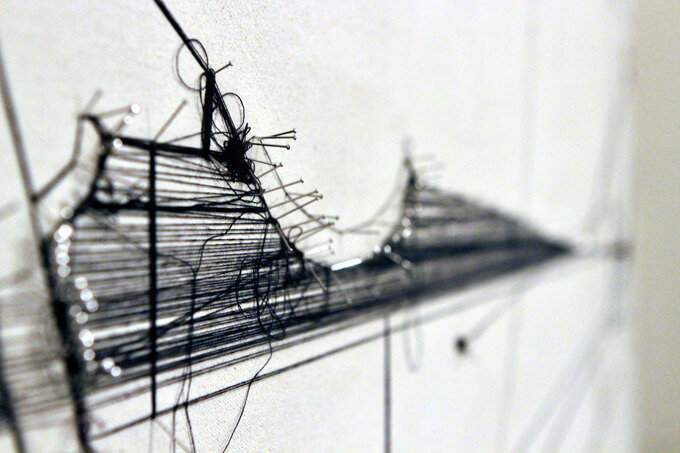
How to make DIY string art of a vintage plane schematic on a large canvas.

DIY String Art

Valentine’s Day is right around the corner so Brent and I were looking for a fun alternative to just buying each other presents this year. We wanted to do something that was affordable since we are currently in the process of putting together our library and getting ready to install a sprinkler system in our yard (I mean pay someone to put a sprinkler system in our yard).

Our solution was to make some DIY string art together! It was a fun way to spend some quality time collaborating and being creative. Plus, it would be something we could both enjoy for many years knowing that we created it with each other and it fills up the empty wall space we had. We knew we wanted to make a diy string art piece, we wanted it to be on canvas and we wanted it to be BIG. We are hanging it in our very front room (it will eventually be our photo studio) over the craft cabinet so we wanted to build the canvas to be the same width as the cabinet will be.

Since we created it with a lot of the supplies we already had in the garage we made the entire piece (canvas and all) for around $20 and I think it looks pretty awesome. But Brent did get his masters degree in art so I was pretty confident that he could pick up some (most) of the slack due to my lack of artistic abilities. I just loved being able to learn from him, spend time with him and watch him work his magic! I would definitely call this project a success.

TIME LAPSE

To see new DIY videos on Thursdays, be sure to subscribe to our channel ⇾


SUPPLIES

MATERIALS

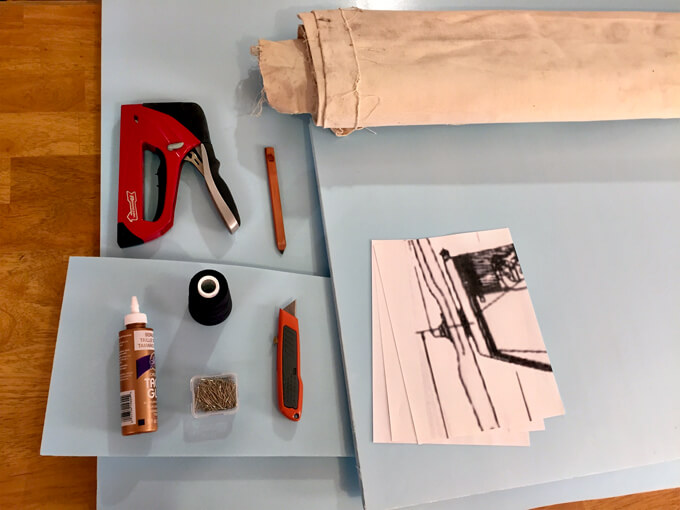
  • Large piece of foam board
  • Cotton Fabric
  • Tacky Glue
  • All Purpose Black Thread
  • Corsage Pins
  • Print out of an image (on several pieces of paper since it is large)
TOOLS

  • Box Cutter
  • Staple Gun
  • Ruler

DIY String Art

How we Created Our DIY String Art

DIY String Art
1. First we needed to build our canvas. We tried something different with this piece and built the frame or the stretcher of the canvas out of foam board. The reasoning behind this was we needed something for the pins we would be using to attach the string to stick into.

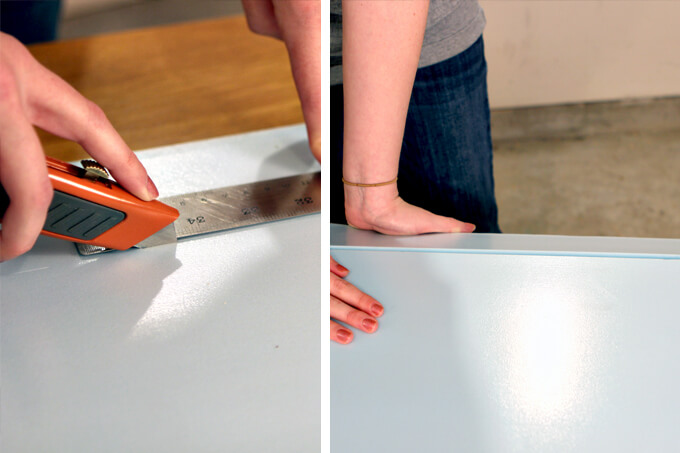
They needed more substance than just the canvas to stay in place. Plus, using the foam made this piece a lot lighter. I cut the foam to size using a box cutter and the cool thing about the foam board is you can easily break off the piece you cut. It pops right off and you have a straight edge.

DIY String Art
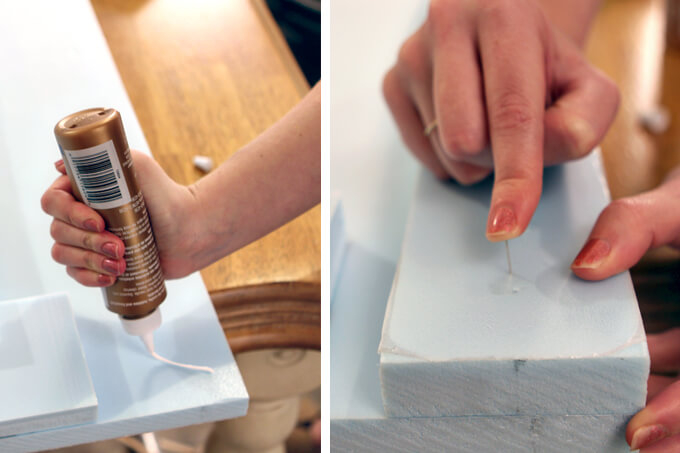
2. Next, I used the extra pieces I cut off and glued them on around the rim as a second layer to provide extra strength and stability. Because I am impatient and the glue I used didn’t dry very fast, I used a few corsage pins to hold the two layers together so these pieces didn’t fall off while I was handling it.

DIY String Art
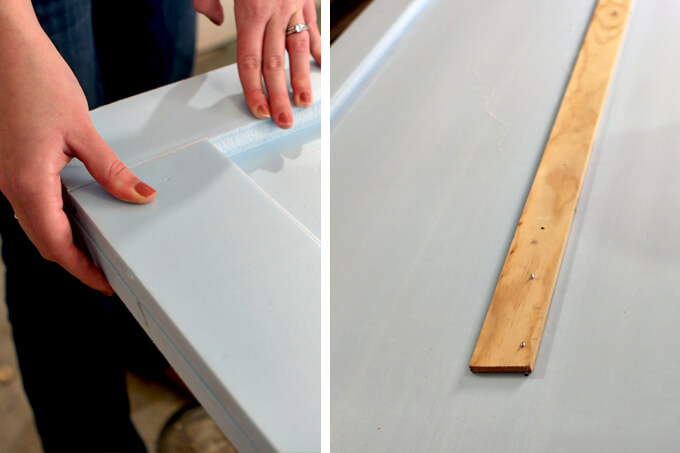
3. Now I had a nice thick layer around the rim to attach the canvas to and give more depth to the frame. I also attached a piece of board to the back of the foam board in the middle to help keep the foam from bending or warping too much. This also is where we attached the wire to hang it on the wall.

DIY String Art
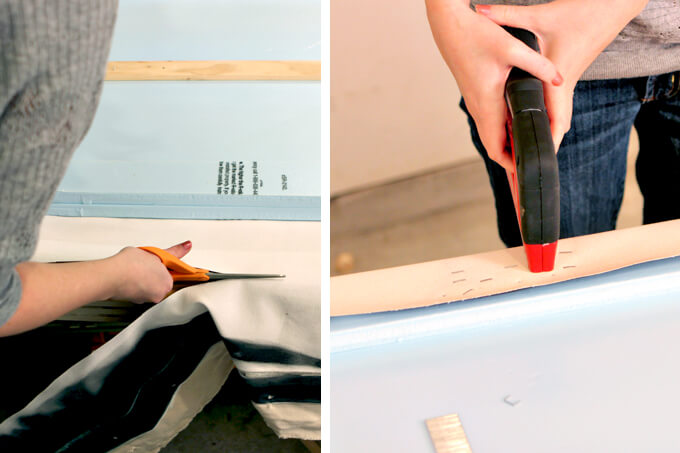
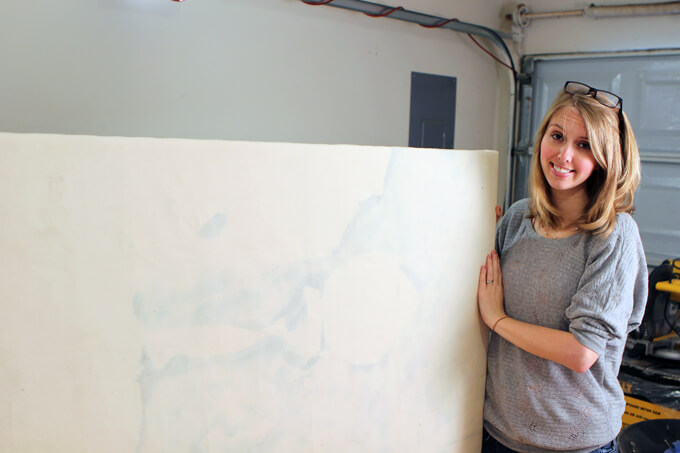
4. Brent had some canvas left over from his school days. This particular piece had some stuff on the back of it so I turned it over to use the opposite side and cut it to fit the stretcher and then stretched the canvas and stapled it to the foam rim of the frame.

DIY String Art
It looks like a canvas!

DIY String Art
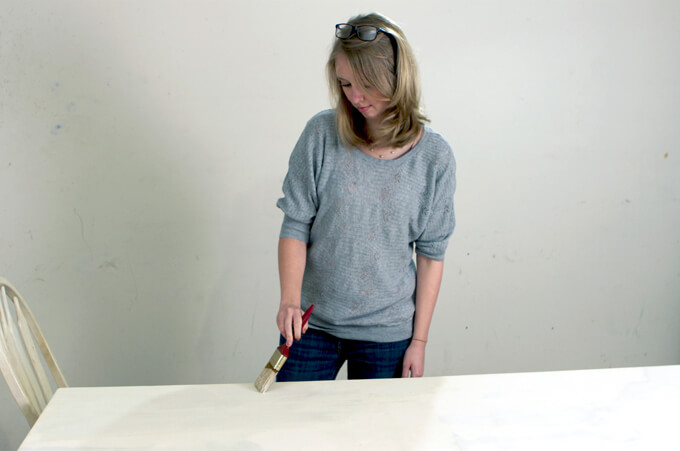
5. Finally, I needed to paint over whatever was already on the canvas. I just used some really old off white paint from a can that we found in the garage left from the previous owner. It was kind of gross and in a very liquid state but it covered the canvas and the color wasn’t too bad. It gave it a vintage feel (since it felt like I was using vintage paint, no telling how old that stuff was) but I guess you get what you pay for and I didn’t spend a dime on paint.

DIY String Art
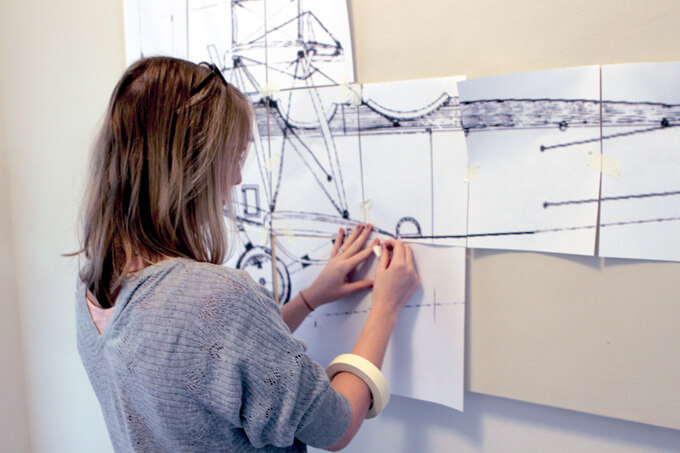
6. After the canvas dried, I brought it inside and taped our image to the canvas. We chose this cool vintage airplane schematic and printed it out on multiple pieces of paper so that it would be the correct scale. I then used masking tape to tape the pieces together and to the canvas.

DIY String Art
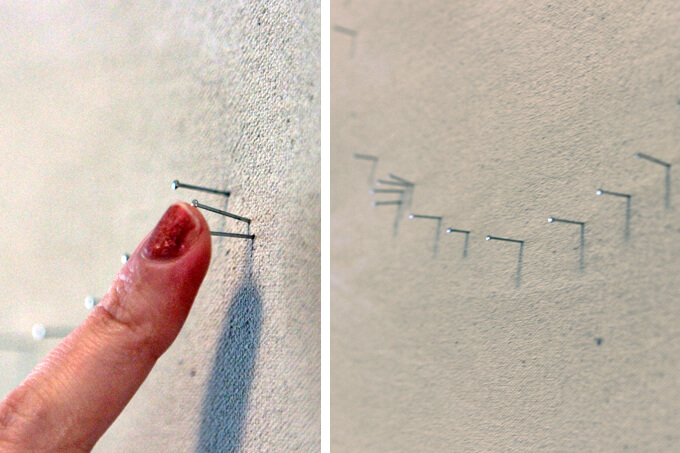
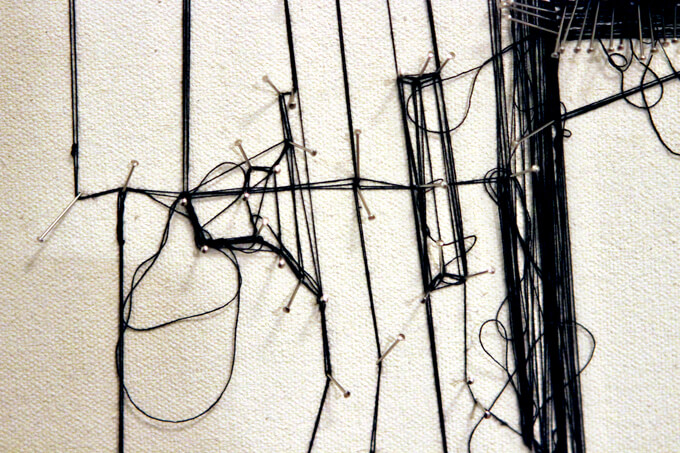
7. We took the corsage pins and poked holes all around the outside lines of the image. After that we pulled the paper back off the canvas and then stuck the pins back into the canvas where the holes were.

DIY String Art
8. It was around this point that the actual creating of the art was ready to begin. It was a very detail oriented task and involved a lot of tedious work, a good eye for design and strong fingers. It really was a one man job and who better than the man with the art degree so I was happy to sit back and watch him create.

I was pretty impressed how Brent free handed the inside of the plane to match the image by just looking at the picture and placing the pins and string accordingly.

DIY String Art
9. He left the string loose in some areas creating knots and bunches of thread to add variation and visual interest. I thought it gave it a worn look like we inherited this artwork that was created years ago rather than it being brand new.

DIY String Art
The finished DIY string art piece! (the spool of thread will not be staying it is strictly there for documentation purposes)

PIN THIS PROJECT

DIY String Art

Wood Barn Door in Master Bedroom

Wood Barn Door

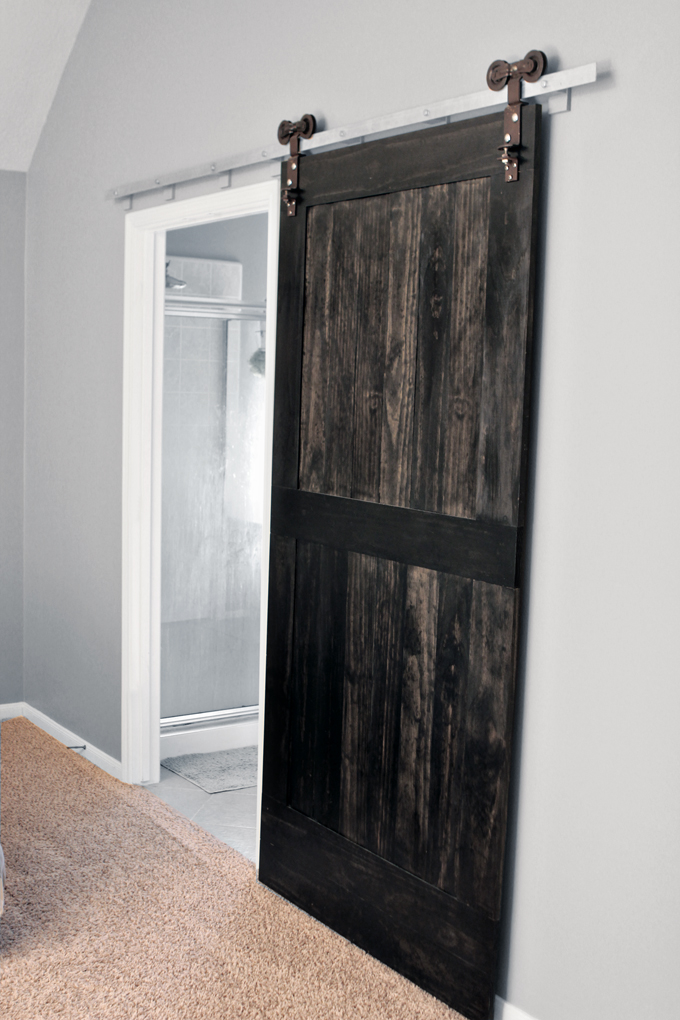
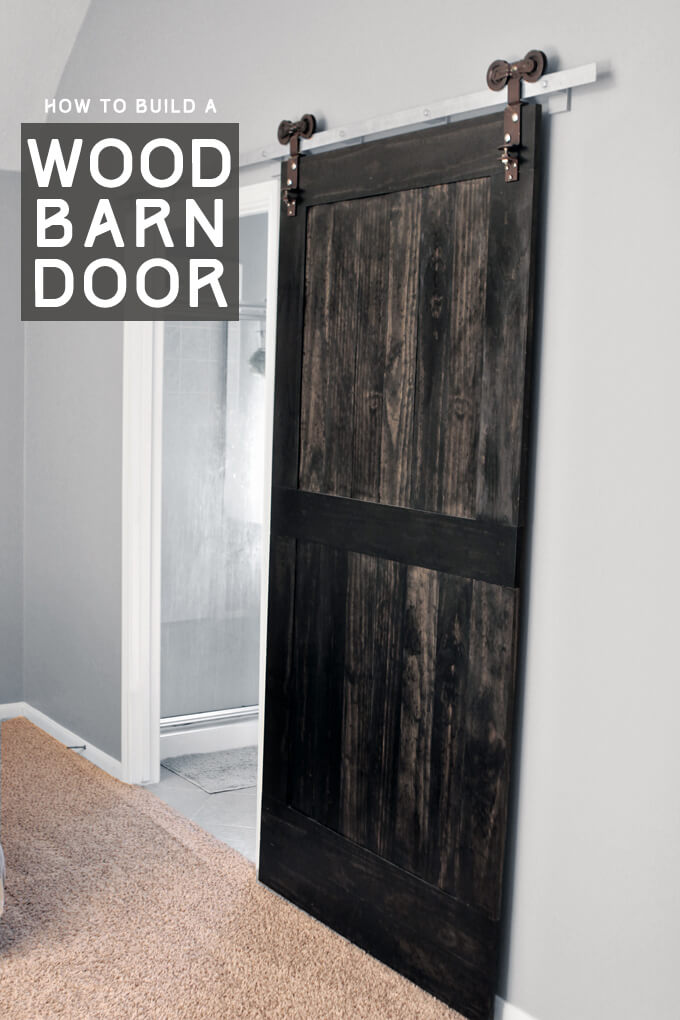
We built a custom sized wood barn door to separate our bedroom and bathroom.

Wood Barn Door

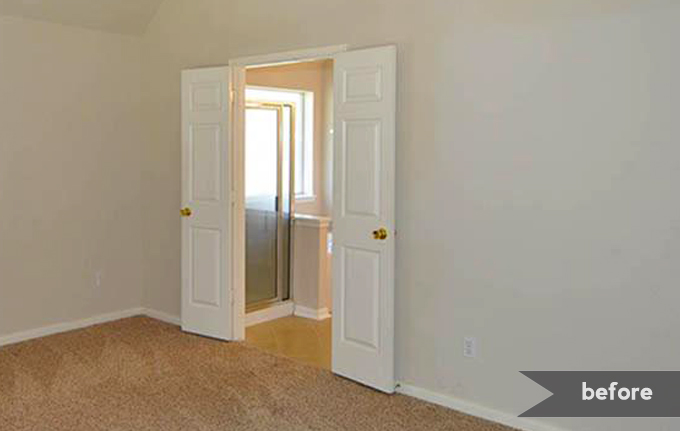
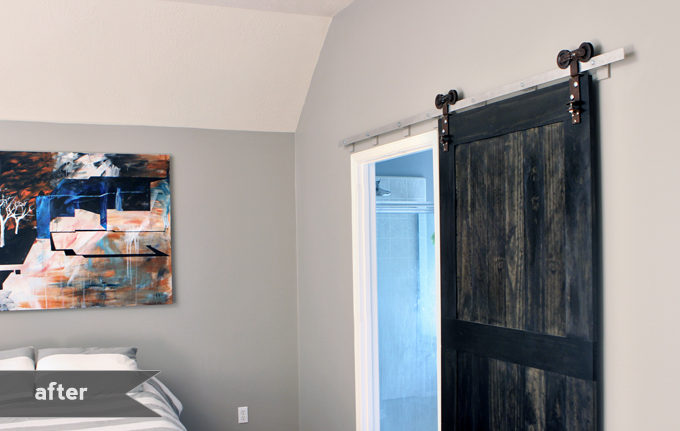
Today we are sharing a project that made a huge difference in the look and feel of our master bedroom. We took off the chunky double doors with the hideous gold doorknobs to the master bathroom and replaced it with a large, custom made wood barn door. We bought a set of old/worn/heavy barn door rollers from eBay that came from an actual barn door and from there started to build our wood barn door.

Wood Barn Door
Here is what the wall and door in our master bedroom looked liked when we moved in. The whole house had those gold door knobs. They were the first thing to go.

This project didn’t come without it’s challenges. A large problem we encountered right off the bat was we lost one of the metal rollers. We took one with us to as inspiration and a guide as we were shopping for the various supplies we needed for the wood barn door and wouldn’t you know we got home and realized that we only had one roller. Panic may or may not have set in.

Yes, in our eagerness and excitement to start the project, we left the roller in the shopping cart in the middle of the parking lot. So we had to drive all the way back to the home improvement store. We drove all around the parking lot looking for our abandoned cart that had this priceless (to us) yet probably unrecognizable (to whomever may have found it) hunk of metal in the front of a cart in the cart return. We couldn’t find our (or any cart) in the parking lot. Dang shopping cart wranglers doing their job.

We finally went inside to the customer service desk as a last resort and tried to describe the item we had lost. Thank goodness a nice shopper dropped off our roller and it was returned to our possession. If not that could have been the end of our wood barn door project.

Wood Barn Door
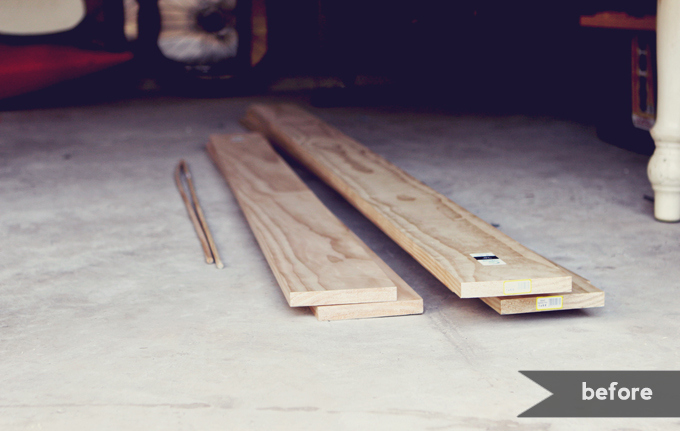
Our wood door before it was a door was just wood.

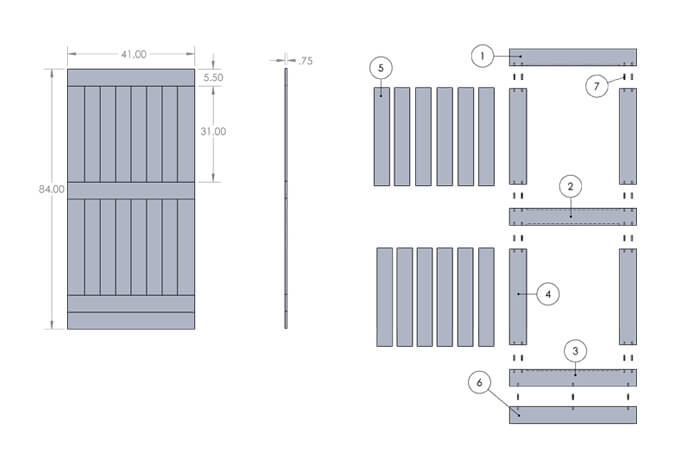
In just a little over a week, Brent came up with a plan for the construction and we built a functional wood barn door complete with a metal track and rollers. Doing it ourselves saved us a lot of money and allowed us to customize the look to exactly what we wanted for our master bedroom.

FREE PLANS

If you are interested in building your own barn door, get our FREE barn door plans.

Download Free Barn Door Plans

Get Free Barn Door Plans (PDF)

How We Built Our Wood Barn Door

Wood Barn Door
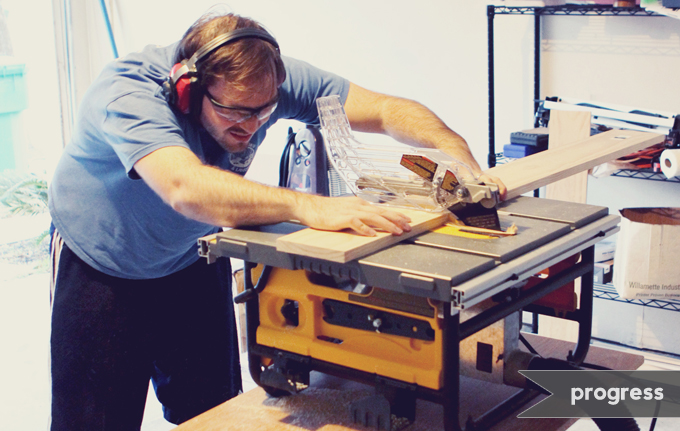
1. Brent began by cutting the boards to length to frame the door.

Wood Barn Door
2. Once all the boards were cut, we laid them out to make sure they all fit together.

Wood Barn Door
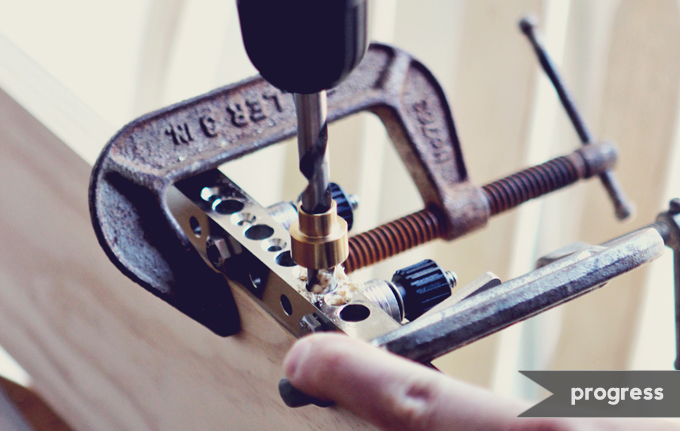
3. Brent used the Joint Genie to drill holes for dowel rods to make a stronger glued joint.

Wood Barn Door
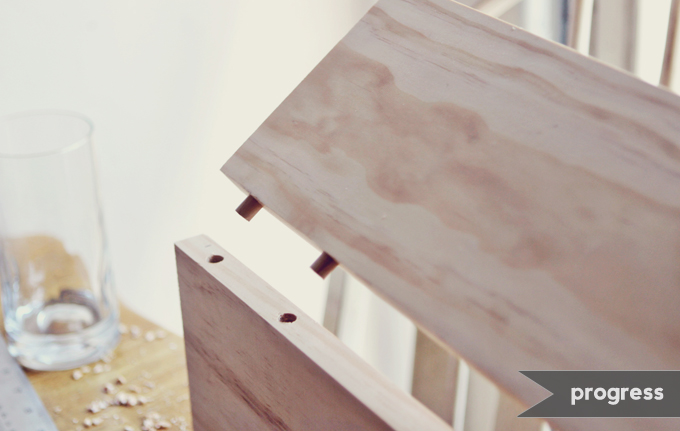
4. Then he joined the boards with glue and dowel rods.

Wood Barn Door
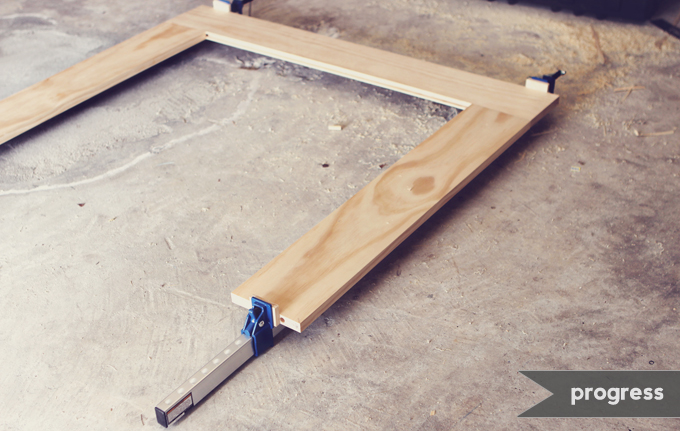
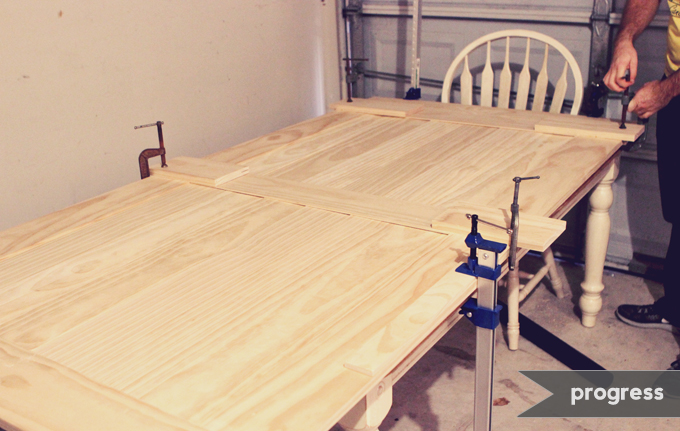
5. Next, we clamped the boards. we used wooden blocks to keep the clamps from scarring the surface of the door.

Wood Barn Door
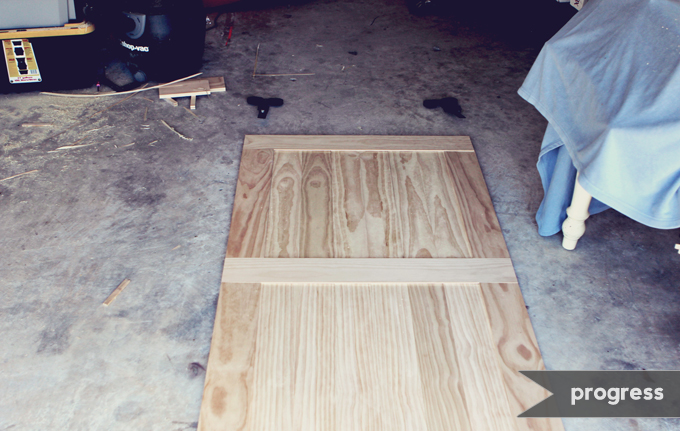
6. With all the slats situated in their groves, the door could be glued and clamped together.

Wood Barn Door
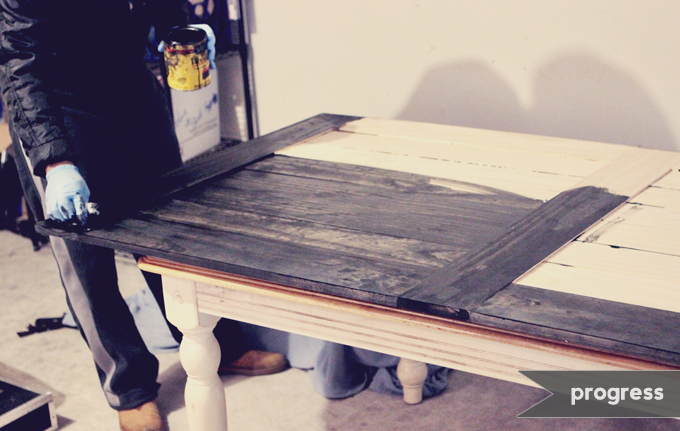
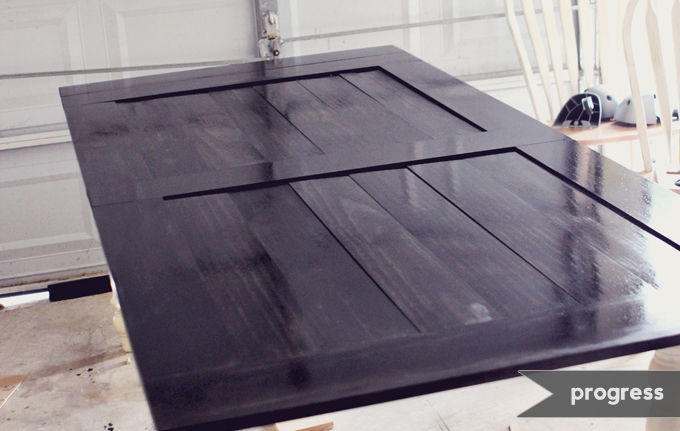
7. After a day of drying, the door was ready to be stained. We chose Minwax Ebony so it would match our bedroom furniture. Although oil based stain can be annoying and messy, we found they are better at achieving a dark stain on pine.

Wood Barn Door
8. The door was stained and had to sit and dry for a couple days.

Wood Barn Door
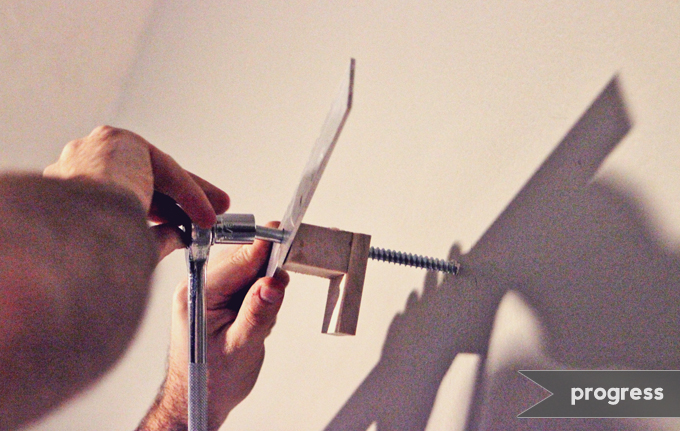
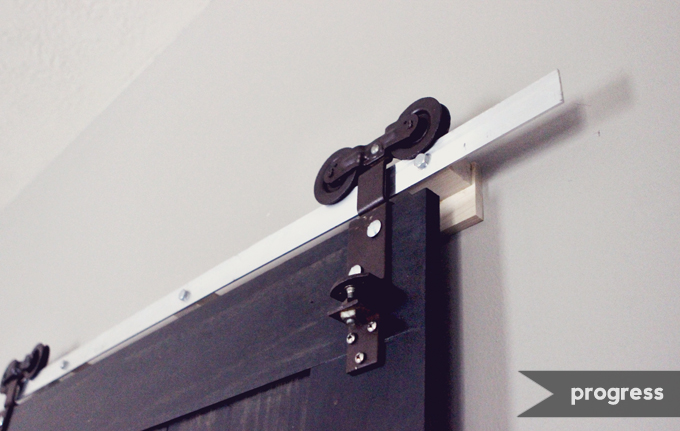
9. For the rail we used a piece of aluminum and cut wooden blocks spacers to extend the rail away from the wall. The tab at the bottom of the spacer is to add extra support as the door pulls down on the rail. If not for the tab, the block would eventually dig in to the dry wall.

Wood Barn Door Bathroom Door Before
10. Although it was tempting to use spare bolts and screws to attach the rollers, we made a special trip to the hardware store and picked up the appropriate sized screws and bolts so everything was uniform.

Wood Barn Door
So there you have it, our fully functional wood barn door made from scratch. We love how the large door fills up the wall in our master bedroom and pops against our new wall color (Functional Gray from Sherwin-Williams).

Don’t forget you can get FREE plans to build your own custom wood barn door and check out our DIY tutorial for installing a barn door!

PIN THIS PROJECT

Wood Barn Door

Linked up at Remodelaholic.