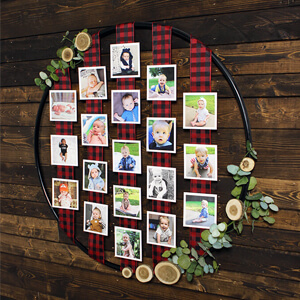
This DIY Photo holder made from a hula hoop is an inexpensive way to show off photos at a party or display Christmas cards.
DIY Tiki Bar Top
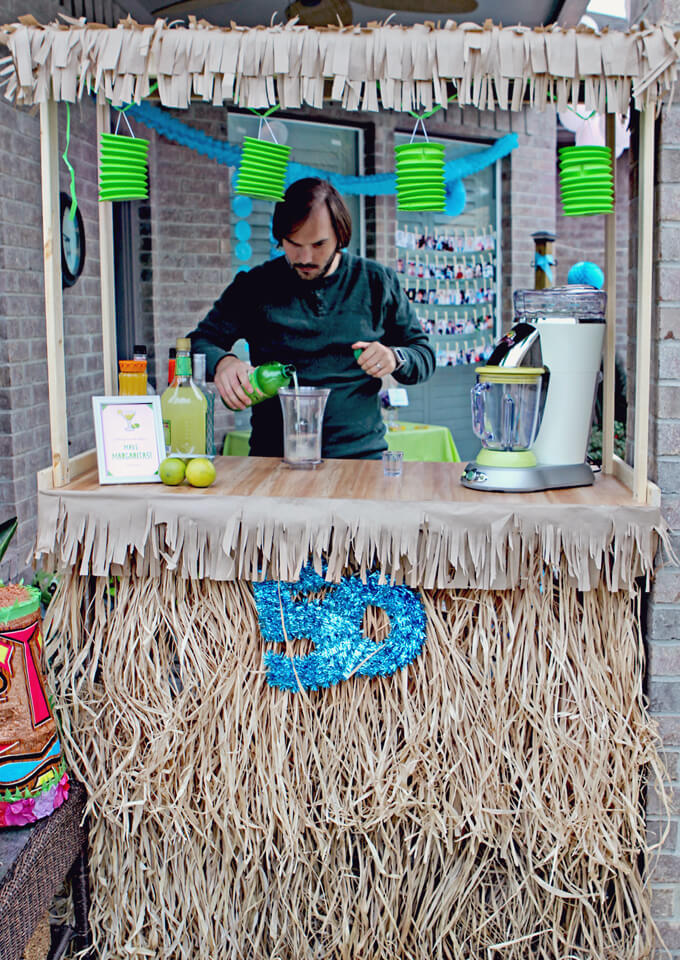
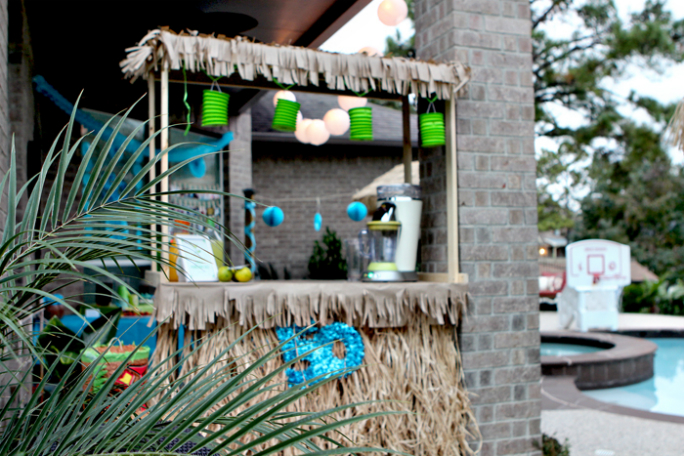
We made a DIY tiki bar top to put on a table for a summer tropical party.

A couple of weeks ago I decided I wanted to put on my party planner hat and throw my dad a surprise Margaritaville/Key West themed party for his 50th birthday. My parents have a gorgeous backyard that lends itself nicely as a setting for a tropical party so my mom took my dad out shopping while we set up for the day.
A Margaritaville party would be nothing without margaritas and a margarita is best served from a tiki bar, so I asked Brent if he could help build the centerpiece for the party.
Ideally I wanted something that was lightweight, easy to set up and portable. Brent came up with a great design using mostly things we had left over in our garage. That’s what I call a win-win. The best part of all it was a huge hit and really made the party.
I thought that living in Houston there would be a pretty good chance that the weather would be mild in the middle of November. However, as luck would NOT have it, the night of the party was the coldest night we have had in Houston all year.
So a group of us are outside drinking our frozen margaritas from our tiki bar in 40 degree weather all bundled up with jackets and scarves. I’m sure my parent’s neighbors thought we were a little bit crazy but it was a blast.
Brent built the tiki bar top so it could pretty much be set up on any type of surface. We set it up on a metal rolling cart for the party but the second time my dad used it he set it up on a folding table. The nice thing is it breaks down fairly easy so it can be stored and set up again next year!
How We Built Our DIY Tiki Bar Top
SUPPLIES
Shop the products we used for this project in one place.
- MDF Board
- Vinyl Floor Planks
- Low grade pine
- Angle Brackets
- Screws
- Landscaping Fabric
- Kraft Paper Roll
- Metal cart / Folding table
- Grass Table Skirt
- Lantern Garland
- Table Saw
- Screwdriver
- Box Cutter
- Stapler
- Straightedge Ruler
FYI: This post contains affiliate links to products we used and liked for our DIY Tiki bar top. As an Amazon Associate Gray House Studio earns from qualifying purchases. This is at no extra cost to you. We appreciate you supporting this site. Read our privacy and disclosure policy.
STEPS
1. First, we cut the MDF board to the size we needed (we made it a few inches larger than the table we put it on) with our table saw.
We used a MDF board because it is heavy so the table would be sturdy and it has a consistent surface so the vinyl floor planks would stick really well.
2. After that we created a lip using the pine on either side of the base to add support for the canopy and to make a large surface to screw in the legs for the canopy.
3. Next we used a straight edge ruler and a box cutter to score the vinyl floor planks to the appropriate size of the MDF board. Then we stuck each piece onto the board.
4. We made the structure of the canopy by cutting the boards to the size of the table top and attached them together using the using angle brackets.
We needed the canopy to be light so we used thin wood but because the wood was thin, it didn’t give a large surface to screw the boards together so we had to use angle brackets.
5. The next step was to stretch the landscaping fabric over the canopy structure. We then stapled it to the top of the canopy. We cut off the excess fabric.
6. We took the roll of kraft paper and scored the bottom half of it to get a fringe look. After that we started with the front and stapled the paper to the side of the wood.
We placed the next layer of fringe paper so it overlapped the staple from the previous layer of paper. We continue doing this going up the top of the canopy.
7. The next thing we did was cut the legs for the canopy out of the same pine wood. The front legs were cut shorter than the back legs to create a pitched roof. We assembled the table by screwing the four legs into the table top lip and the canopy.

8. We added a grass table skirt around the bottom of the metal cart to hide it. And finalized the tiki bar by adding a few tropical decorations such as paper lanterns.
Over all this project cost us around $40 because we had most of the supplies laying around and it took about two or three hours to put together. Cheers to a successful one day project!
PIN IT FOR LATER


