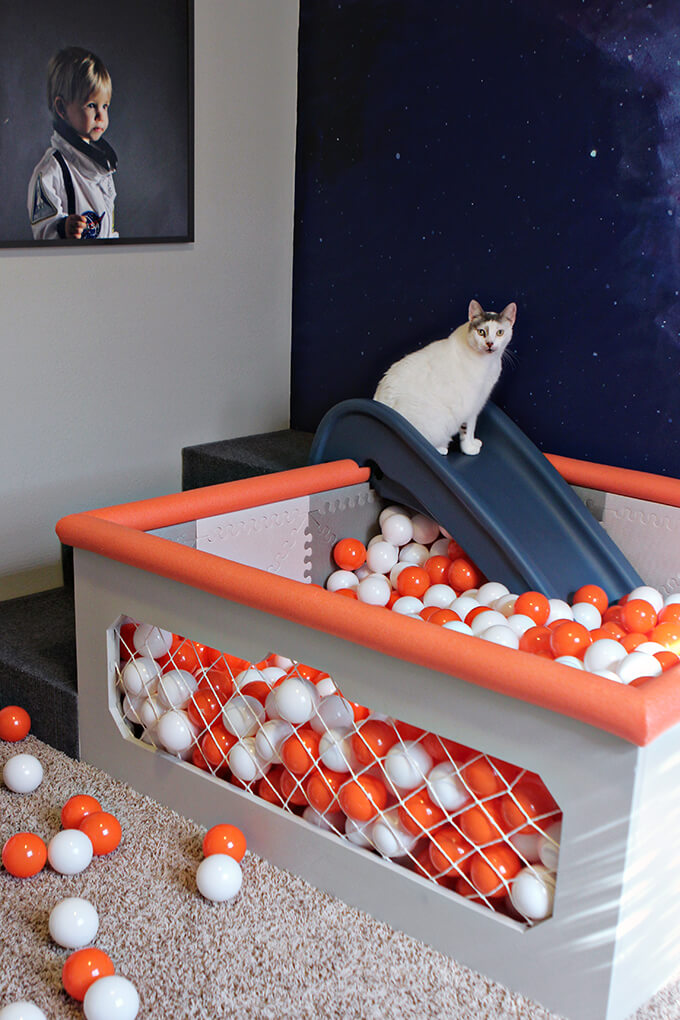
If we have learned anything about little kids it is they love plastic balls and the more there are, the better. So in the spirit of making toddler dreams come true around here we built a DIY ball pit with a slide and stairs out of plywood for our son’s spaceship themed playroom.
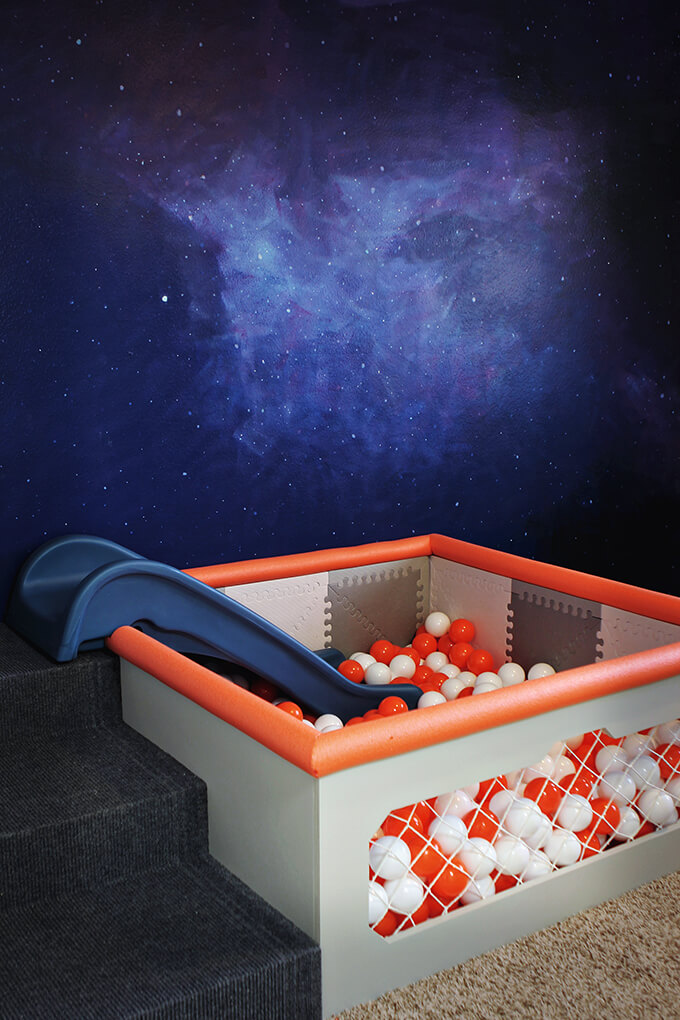
We are slowly chugging along building projects for the spaceship themed playroom. The first large DIY project we built for this room was a ball pit with a slide. Our son is an active little guy and we wanted an area in this room where he could exert some energy. He loves climbing the stairs and sliding down the slide.
We are known to climb in with him from time to time to play too because who doesn’t get joy from hiding in a ball pit? Ball pits are fun no matter your age.
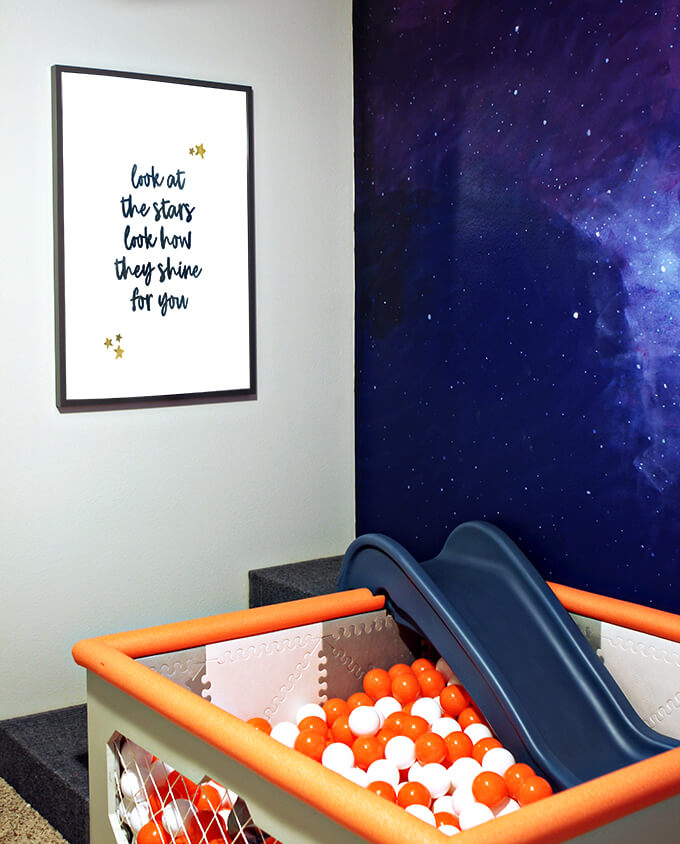
> Check out our “Look at the Stars Print” featured in this room.
Read on to see how we created our diy ball pit for our son’s playroom.
How We Made Our DIY Ball Pit With Slide
SUPPLIES
Shop the products we used for this project in one place.
- v
- Look at the Stars Print
- (500) Orange Ball Pit Balls
- (500) White Ball Pit Balls
- Step2 Play and Fold Jr. Kids Slide
- (2) Sheets of 3/4″ Plywood
- Gray Runner Rug
- 4 Pack of Orange Foam Pool Noodles
- White Cargo Rope Net
- Skip Hop Geo Playspot Foam Floor Tile Playmat
- Table Saw
- Drill
- 1 1/2″ decking screws (for stairs)
- Indoor/Outdoor Carpet Adhesive
- Clamps
- Sherwin-Williams ProClassic® Waterbased Paint in Repose Gray
- Sandpaper
- Kreg Pocket Hole Jig System
- Pocket Hole Screws
- Jigsaw
- Stud Finder
- Level
- Staple Gun
- Hot Glue Gun & Hot Glue Sticks
FYI: This post contains affiliate links to the supplies and tools we used to make our DIY ball pit. As an Amazon Associate Gray House Studio earns from qualifying purchases. This is at no extra cost to you. We appreciate you supporting this site. Read our privacy and disclosure policy.
TUTORIAL VIDEO
STEPS
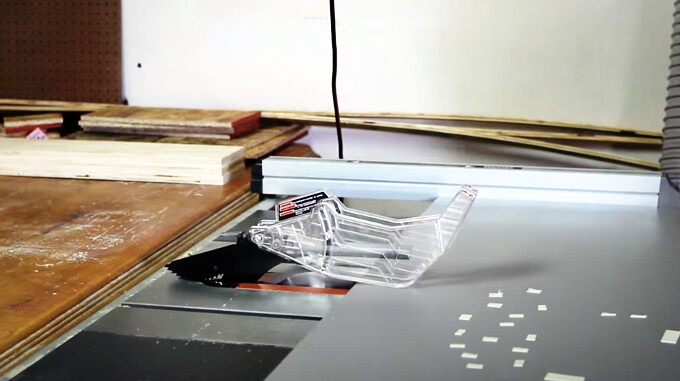
1. To get this project started we first cut our plywood down on the table saw to create the four sides of the DIY ball pit.
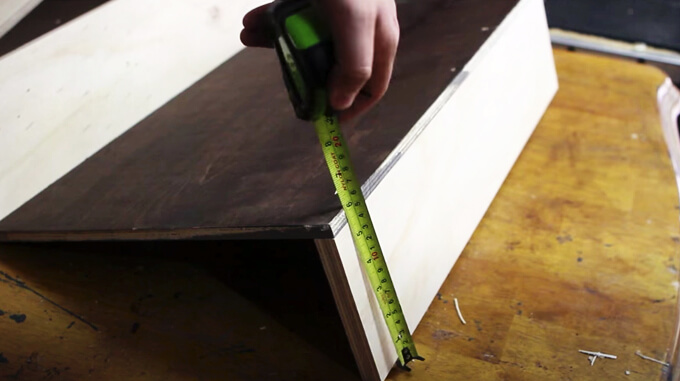
We also cut all the boards for the stairs to the appropriate size. We needed the height of the three stairs combined to be 18 inches so we made each stair six inches tall.
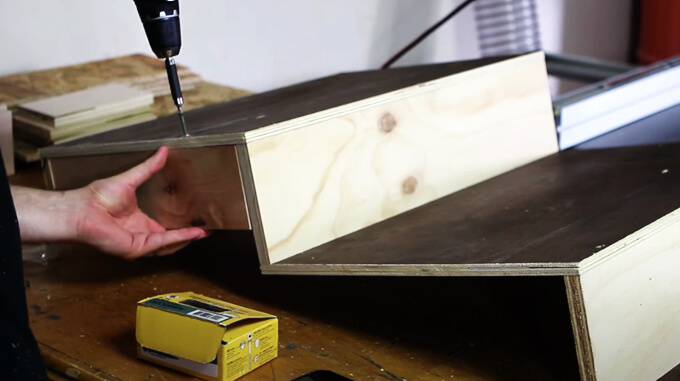
2. We used plywood, decking screws, and a drill to build the stairs.
To save on materials we did not build traditional stair stringers. Instead, the braces on the left side were screwed into the wall studs and the braces on the right were screwed into the side of the DIY ball pit.
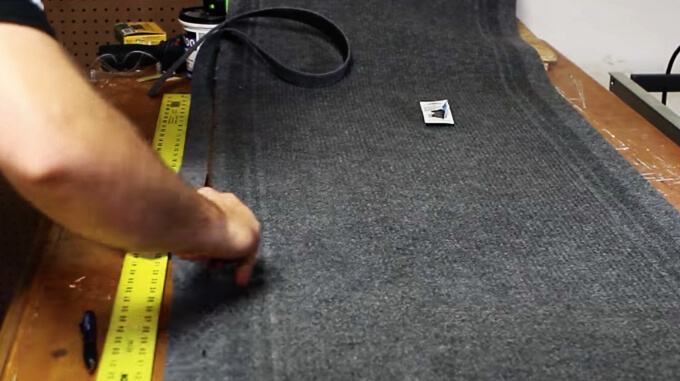
3. Once the stairs were assembled, we cut the rug to size using a straightedge and a razor blade.
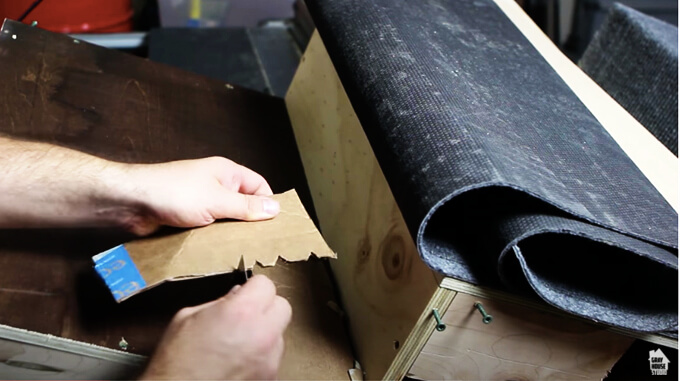
4. While there is a tool made to spread glue, we made our own out of cardboard by cutting notches into the bottom of the cardboard with a razor blade.
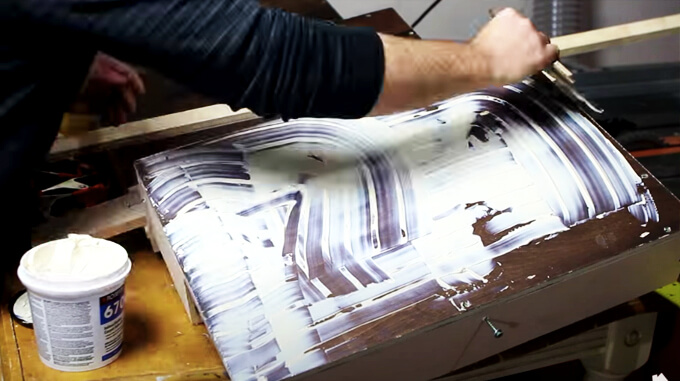
5. We used the tool we made with cardboard to spread the carpet adhesive on the first stair.
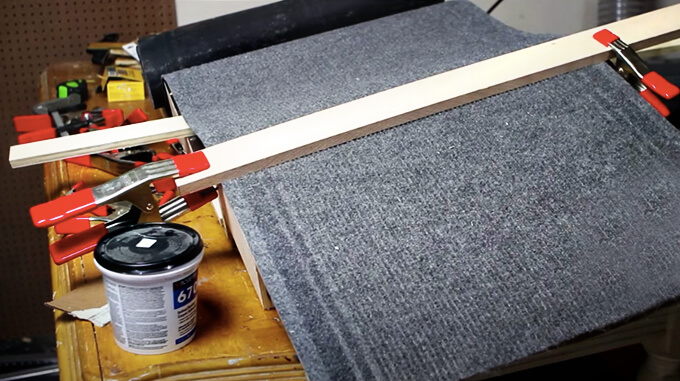
7. The rug was held to the stairs with a scrap board and clamps to provide time for the adhesive to dry.
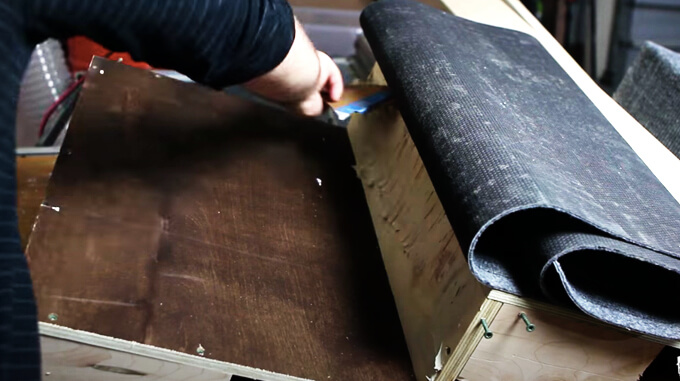
8. Once the adhesive on the first stair was dry, we moved onto the second stair and repeated the process until all three stairs were covered with the rug.
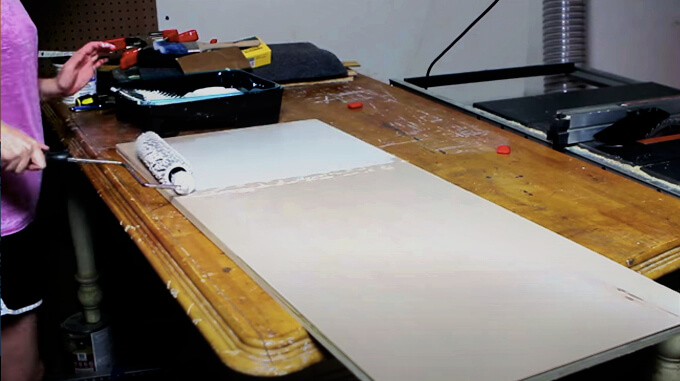
9. Next, we painted the four walls of the DIY ball pit with Sherwin-Williams ProClassic® Waterbased Paint in Repose Gray.
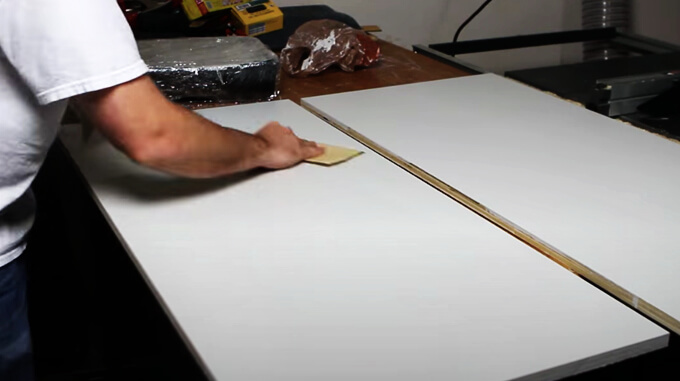
10. In between the two coats of paint, we used sandpaper to sand each of the sides.
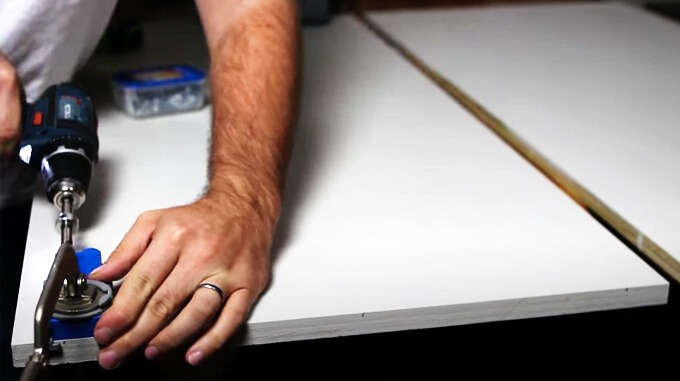
11. To hold the walls of the DIY ball pit together we used a Kreg pocket hole jig to drill holes in the boards and then in a later step used pocket hole screws to secure the boards together creating the four walls.
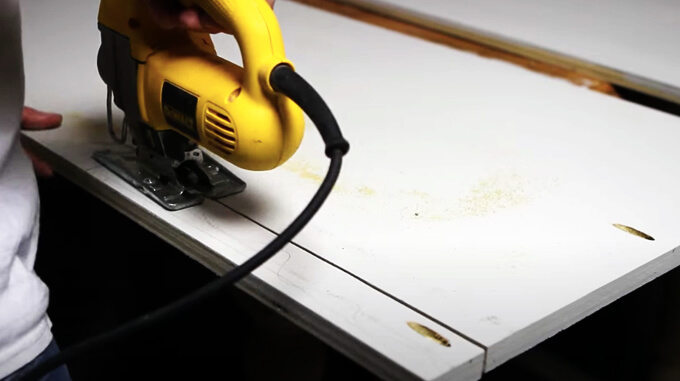
12. We designed the DIY ball pit to have our Step2 slide recessed into the top of one of the walls. We used a jigsaw to cut out a slot in one of the boards for the slide.
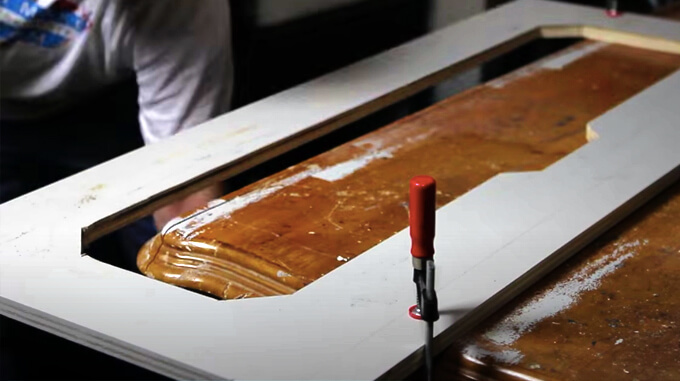
13. Next, we used a jigsaw to cut a decorative window out of the front wall panel. We then made sure all the sides inside the window were painted.
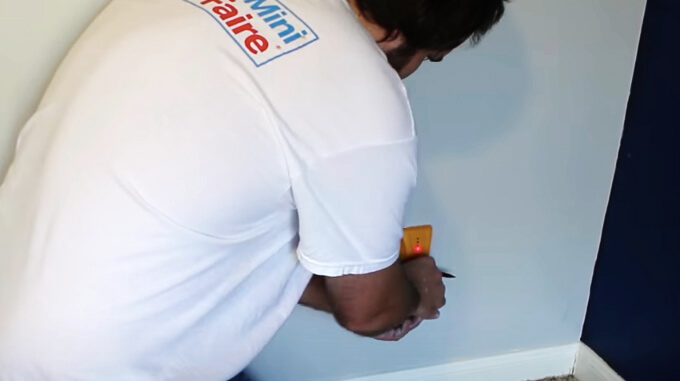
14. Finally, our DIY ball pit was ready to be installed. We used a stud finder to mark the studs in the wall where our stairs would be attached.
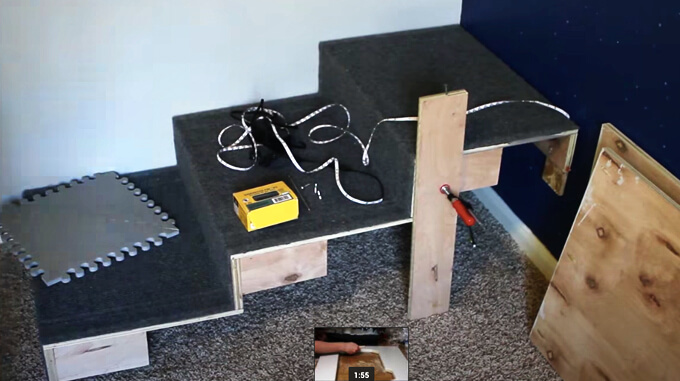
15. Using our drill, we secured one side of the stairs into the studs in the wall.
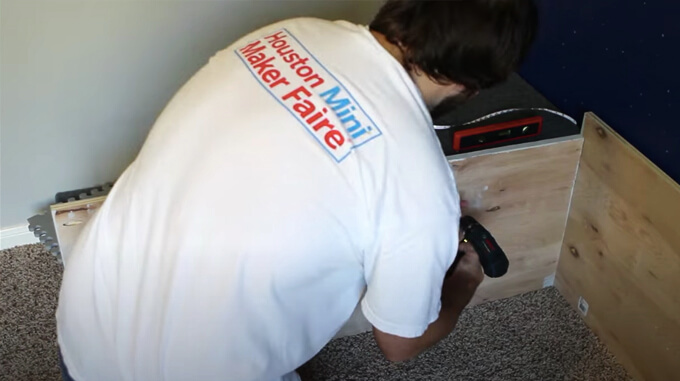
16. Then we attached the first side of the ball pit wall to the stairs, checking that the stairs were even with a level as we went.
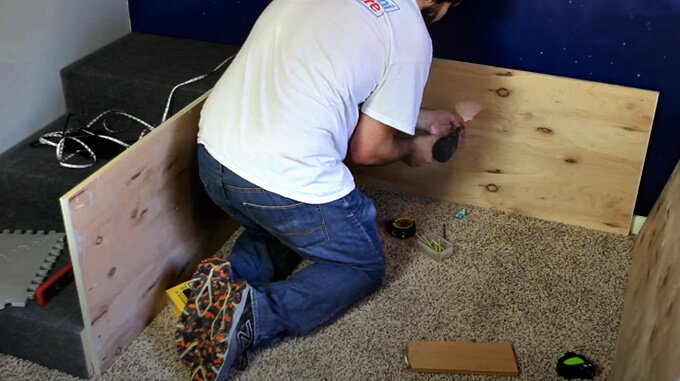
17. Next, the back ball pit wall was anchored to the wall.
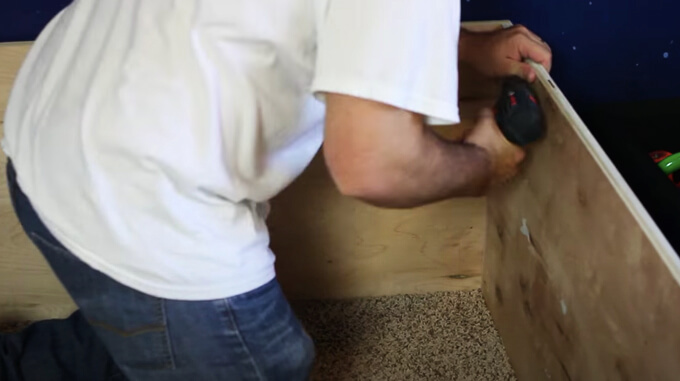
18. The final two wall panels were attached with pocket hole screws.
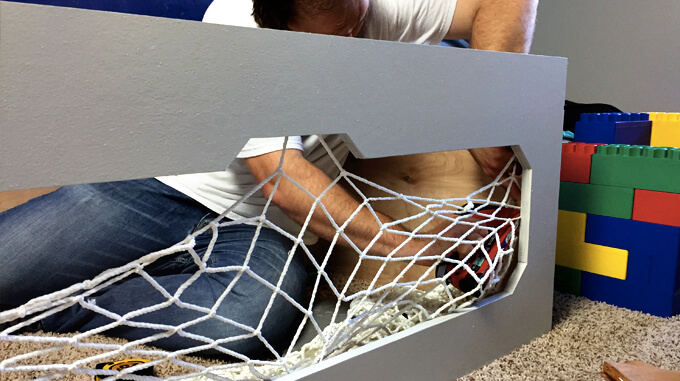
19. The white cargo rope net on the front of the ball pit wall was attached using a staple gun.
The staples were eventually covered up with padding.
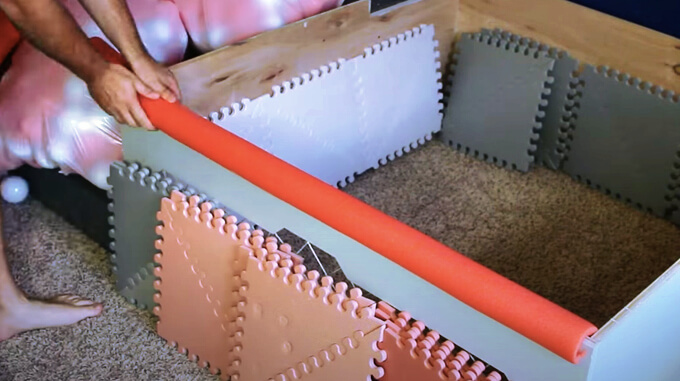
20. As a safety feature, we lined the top of the ball pit wall with foam pool noodles. We cut all the way down the center of each pool noodle and placed it over the edge of one of the sides of the wall.
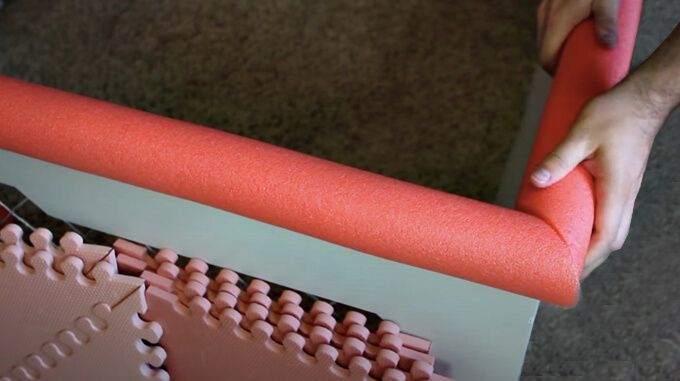
21. To join the pool noodles together we cut a 45 degree angle on each side. The edges of the pool noodles were then joined by using a hot glue gun which is surprisingly secure.
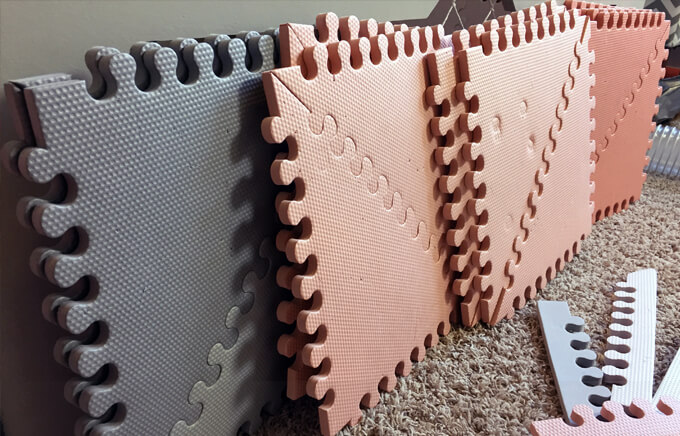
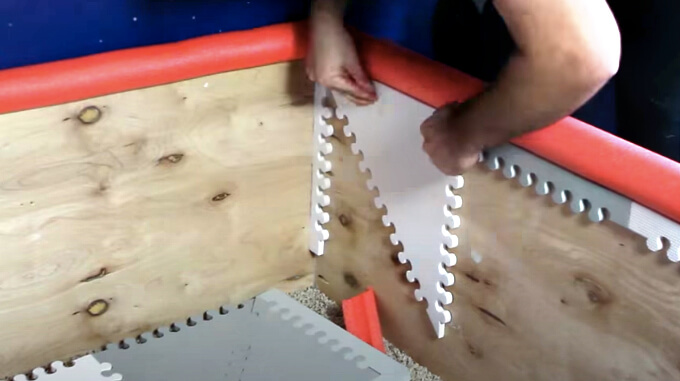
22. Finally, the inside of the ball pit walls was lined with Skip Hop foam floor tiles.
We were using these as a playmat but our son had out grown needing them on the floor so we decided to repurpose them as padding in his ball pit. We used hot glue to attach them to the wall panels.
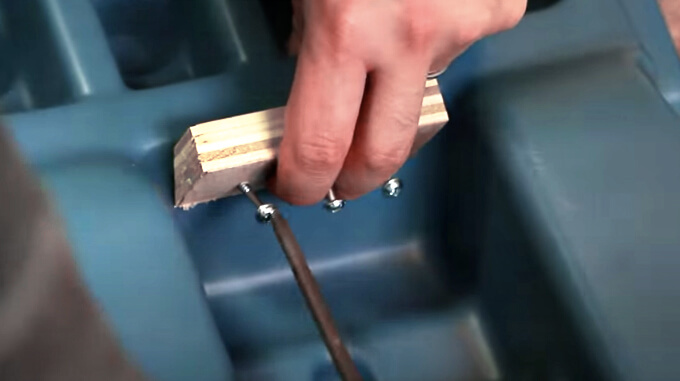
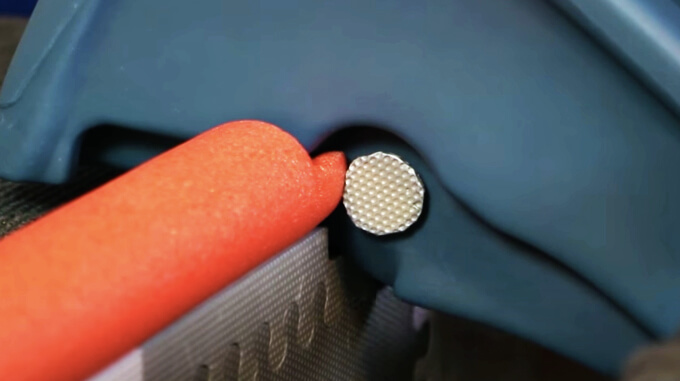
23. Adding the slide was simpler than we thought.
We attached a wood block to the under side of the slide and then screwed the wood block into the side the ball pit.
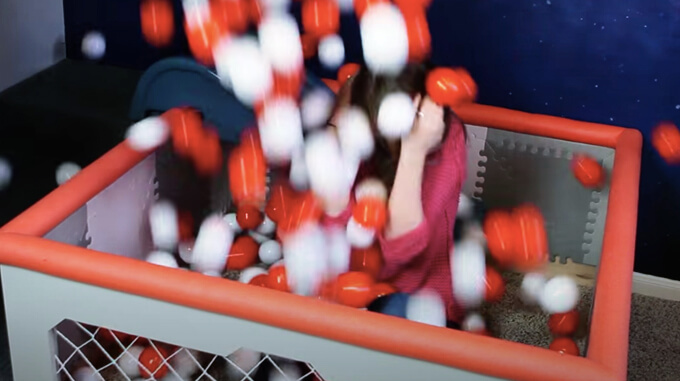
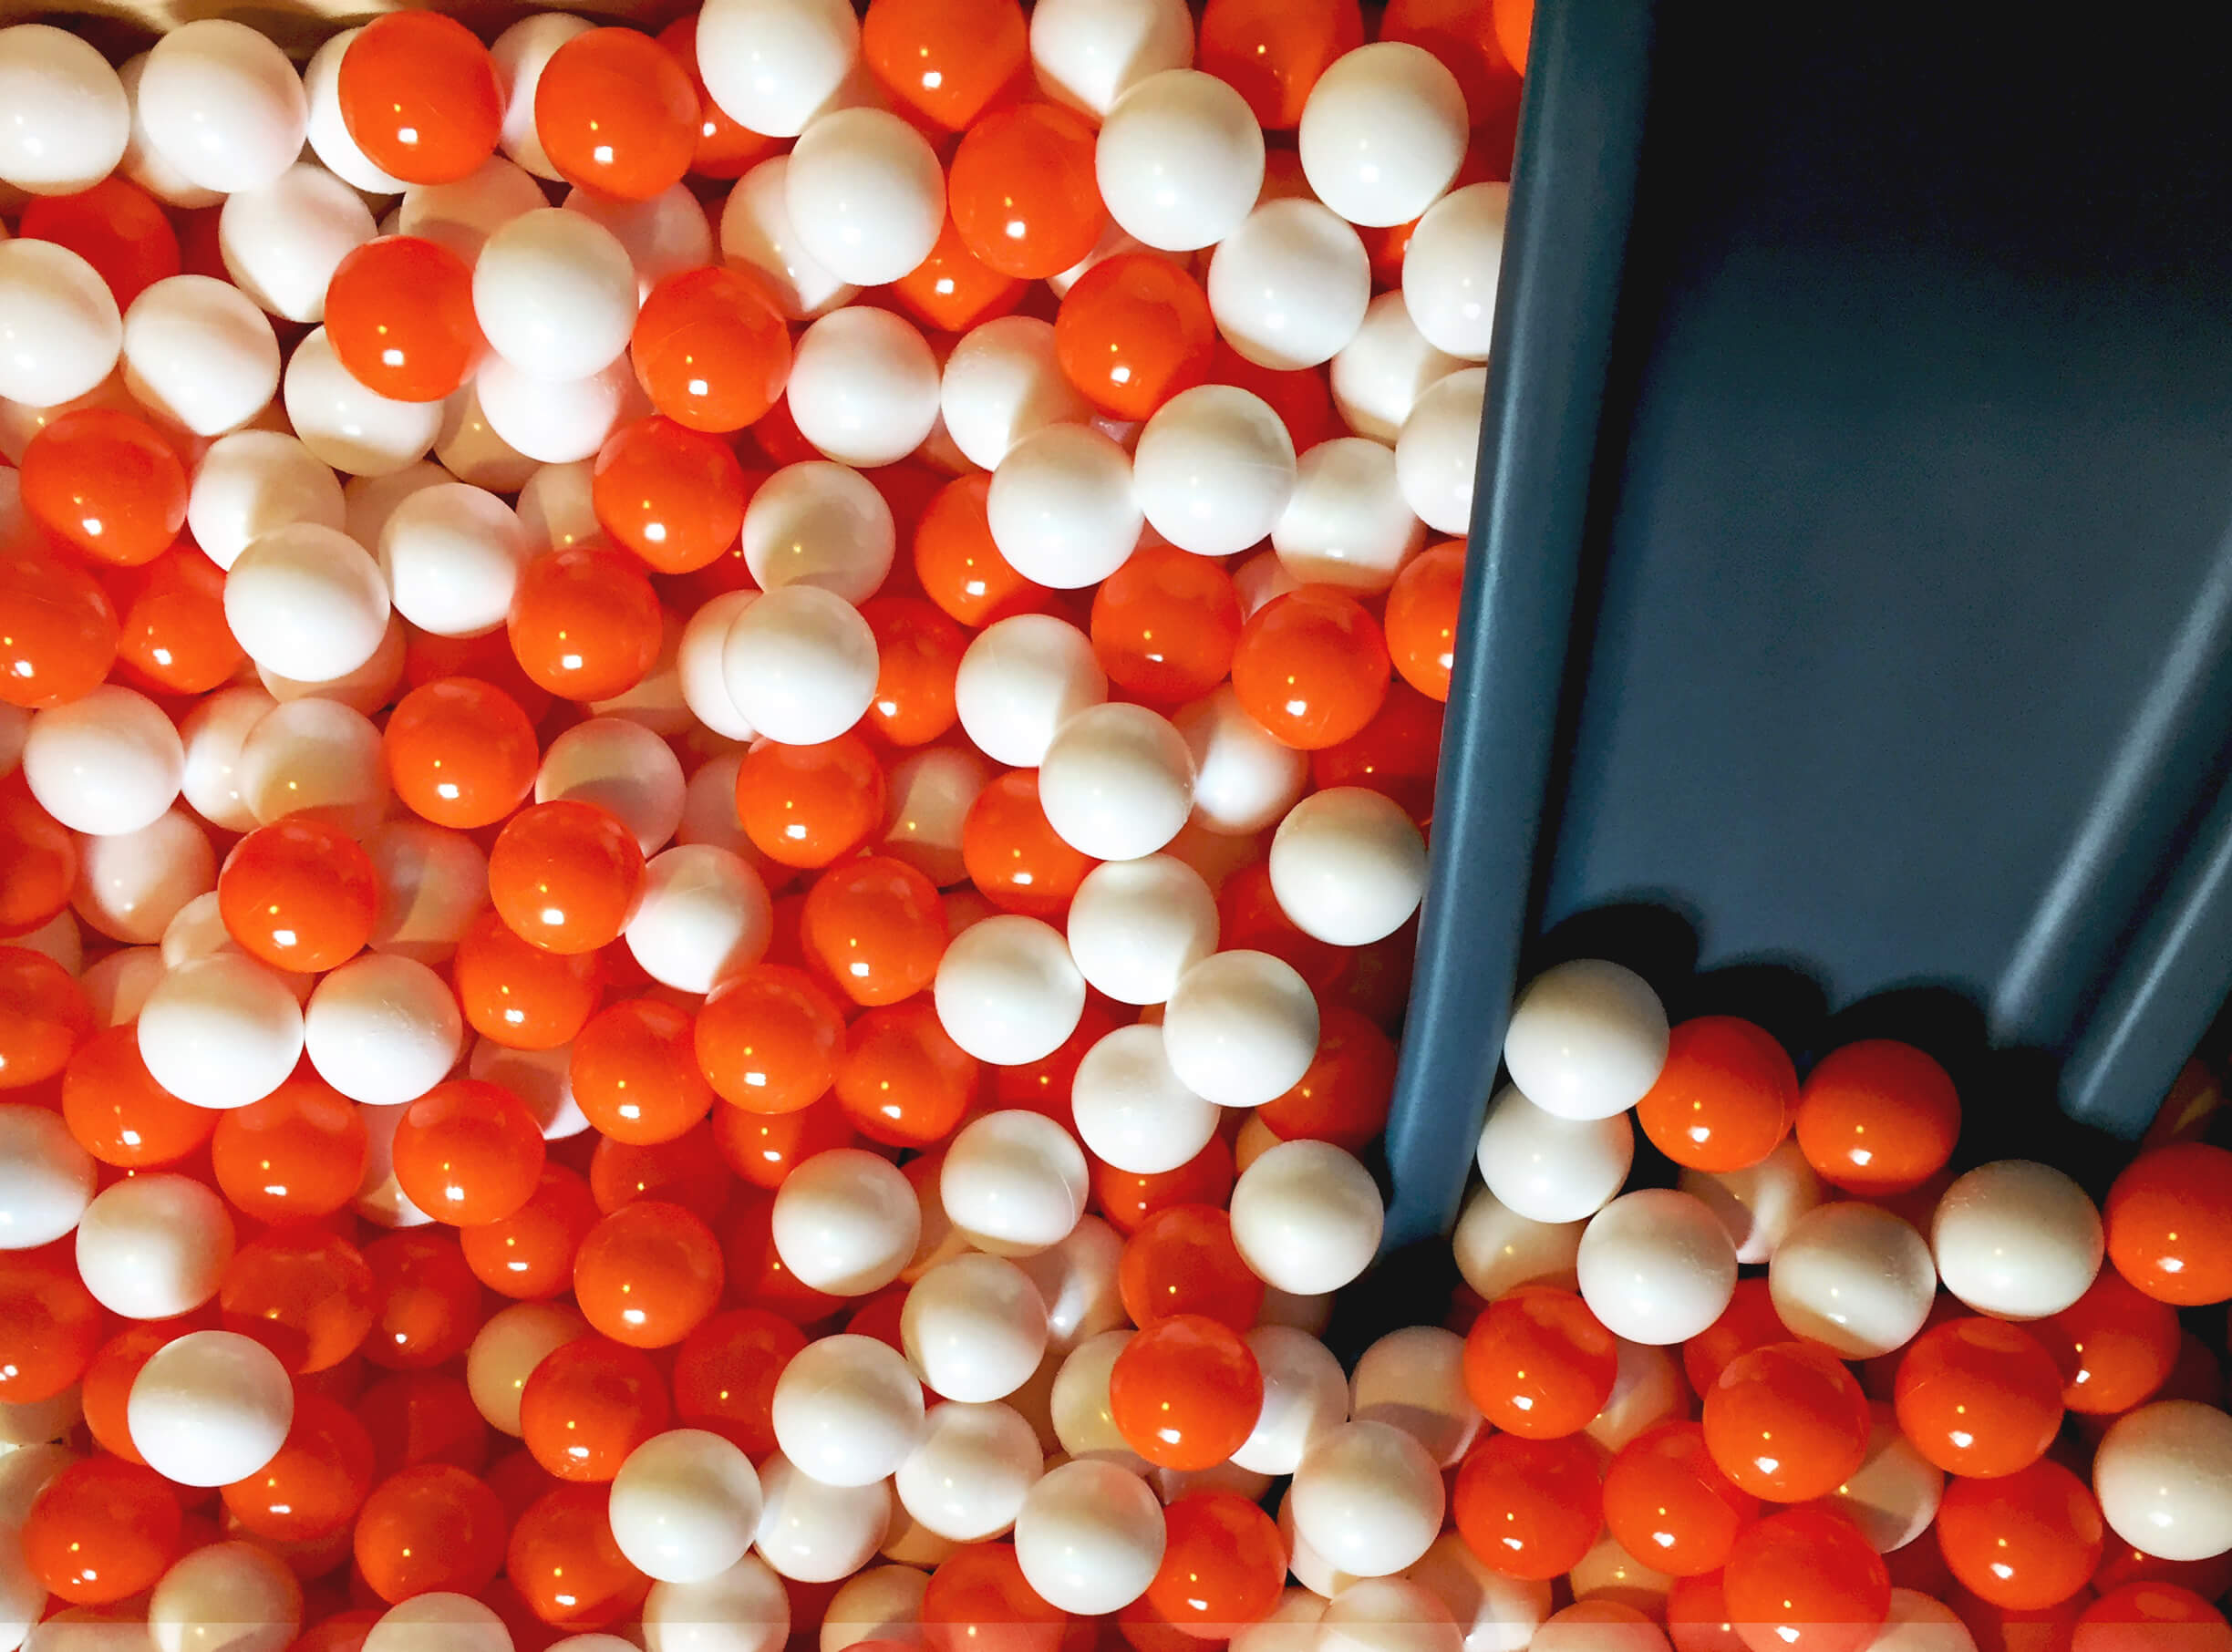
24. Once the ball pit was assembled, it was time to fill it up with the orange ball pit balls and the white ball pit balls. We ordered 500 pieces of each color but didn’t quite need that many to fill it up.
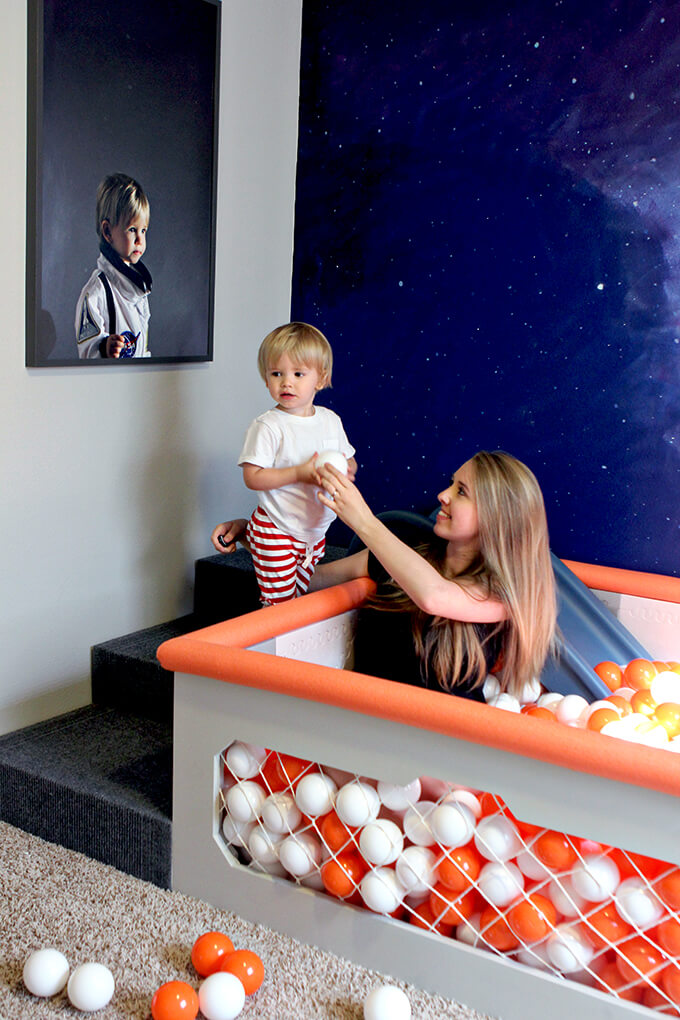
We are really happy with how our DIY ball pit turned out. It definitely grabs your attention when you walk into the playroom and the orange is a nice contrast with the blue and purple on the wall behind it.
The most important part is it is toddler approved. Connor loves climbing in and out of it and pushing all his toys down the slide….er I mean escape hatch.
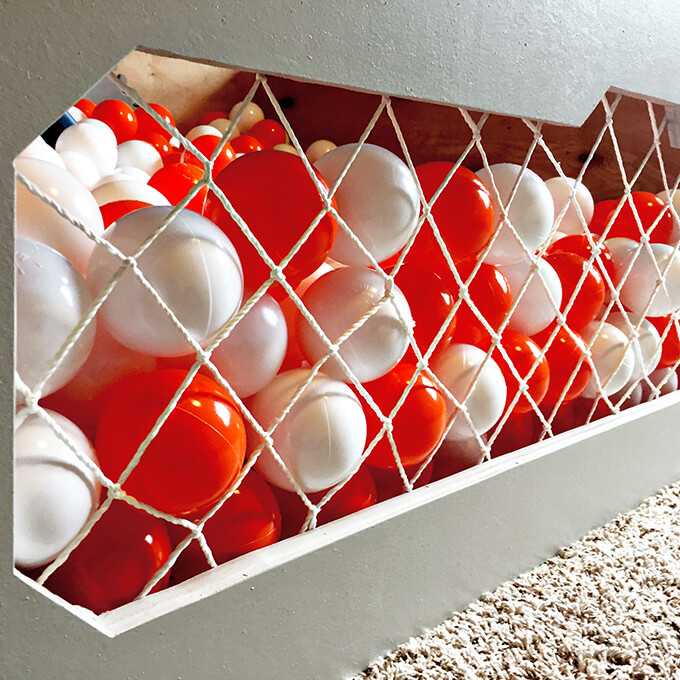
I like how Brent designed the shape of the window in the front to showcase the ball pit balls but how it also feels like it would belong in a spaceship.
Our son is supervised 100% of the time while playing on this piece. 98% of the time one of us is most likely in the ball pit with him.
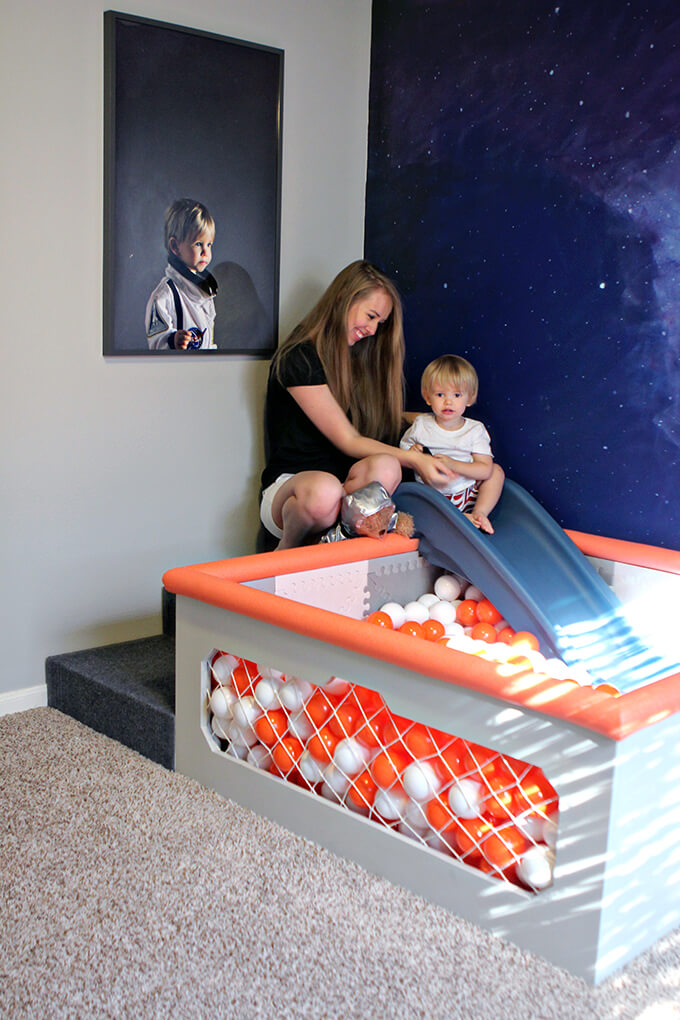
Jake, our cat with a bad case of FOMO, also enjoys sliding into the ball pit.
PIN FOR LATER



What the dimensions of the ball pit and stairs for this project ?
What are the dimensions of the ball pit?
Great blog. This DIY of Soft play ball pool easily understand & very useful. Thanks for sharing this DIY. definitely, I will try at home for my kids.
How would you upsize this for a adult…
Hi Sam! Hm… Maybe start with a slide an adult could fit on and then build the walls and stairs around that slide. I would think if you doubled the size of this ball pit an adult could fit in it comfortably.