Making your own DIY doormat is an easy and fun way to bring a little personality to your doorstep! The options are endless with what shapes you can create.
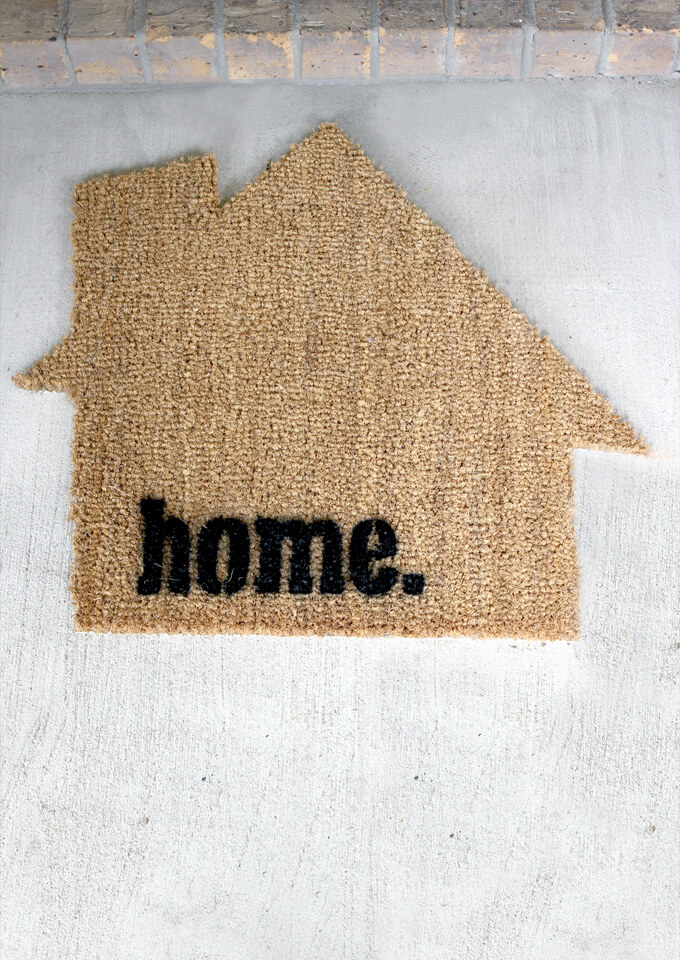
Today we sharing a quick, easy and inexpensive do it yourself project that will bring a punch of personality to your doorstep! We are walking through how we made a DIY doormat.
It is just me or does it seem as though doormats have a lot of pressure on them lately? Gone are the days where they only had two jobs, to give a friendly welcome and to subtly remind people to wipe their feet so they didn’t track dirt into your home.
Now doormats have the added expectation to be funny, clever, relevant or stylish. The more personality and quirkiness the better!
I’m not judging this trend. In fact I am all about jumping on the bandwagon. I saw a few doormats in stores that caught my eye because they were different shapes then the typical rectangle mat and thought that would be a fun touch for our front porch but the price tag was a little high for a mat that is going to get walked all over.
So we decided to make our own custom shaped doormat. We kept it simple and created a Gray House logo shaped welcome mat for our front porch.
Interested in creating your own DIY doormat? Watch the video or follow along with the steps below to see how easy they are to make.
How to Make a DIY Doormat in a Custom Shape
SUPPLIES
- Plain doormat (We bought a TRAMPA doormat from IKEA)
- Permanent Marker
- Cardboard
- Paper Template of Shape
- Paper Template of Word or Phrase
- Spray Paint
- Plastic Sheeting
- Painters Tape
- Ruler
- Box Cutter
- X-Acto Precision Knife
FYI: This post contains affiliate links to the supplies and tools we used to make our DIY ball pit. As an Amazon Associate Gray House Studio earns from qualifying purchases. This is at no extra cost to you. We appreciate you supporting this site. Read our privacy and disclosure policy.
TUTORIAL VIDEO
Subscribe to our YouTube Channel
Like our video? Subscribe and help us reach our goal of 100k subscribers.
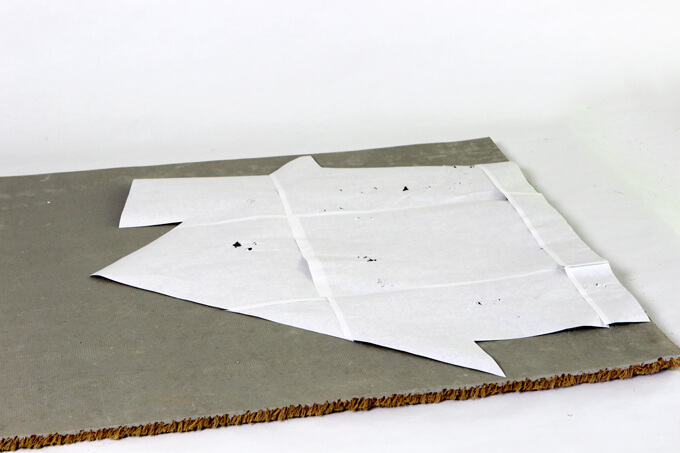
1. The first thing I did was to flip the doormat over so the rubber back was face up. Then I took our large template and also placed it face down on the back of the mat.
I made our custom template by printing off our Gray House logo onto multiple sheets of paper and cutting and taping the pieces together
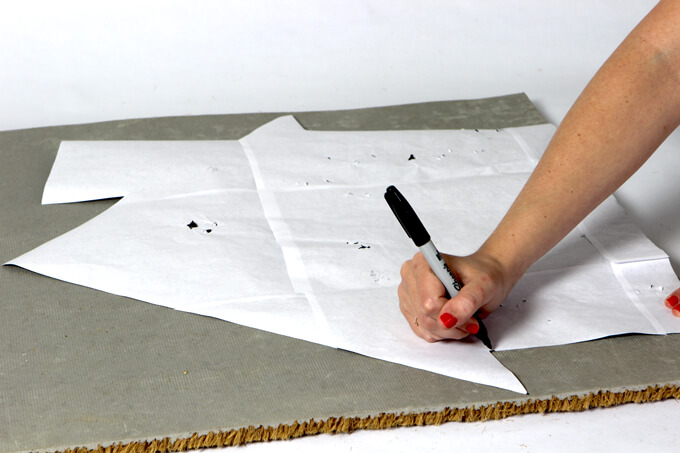
2. Next, I used a permanent marker to mark all the corners of my template. The trick was to trace my shape on the back of the mat in reverse so when I flip the mat back over the shape looks correct and none of the lines I traced are visible .
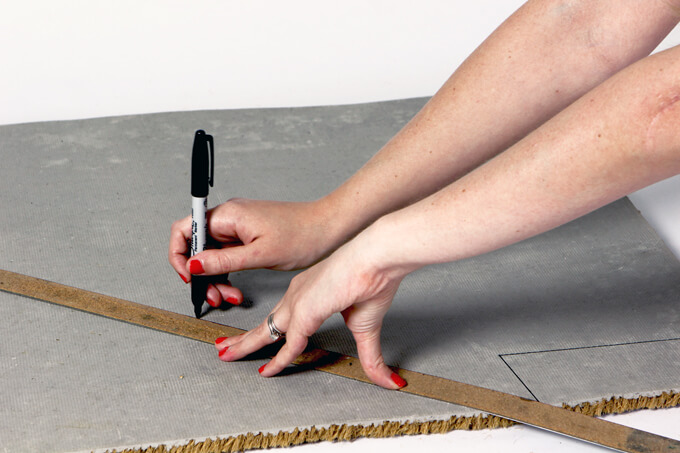
3. I used a large ruler to connect all the corners I marked so that the lines would be nice and straight.
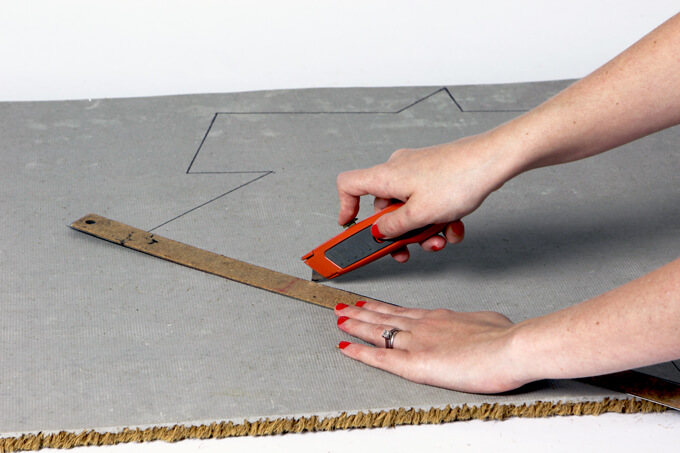
4. Once I was finished tracing I had a reverse image of my shape. This particular mat worked really well because the latex back was a light gray and it made it easy to see the shape.
Next, I took a box cutter with a fresh blade and used a ruler to cut along the lines I traced.
The blade cut through the rubber easily and I was able to pull away all the excess pieces of the mat.
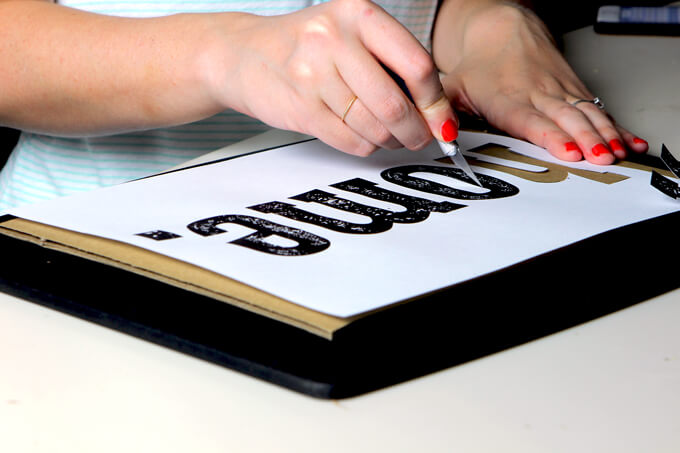
5. To add an extra touch, I created a stencil with the word “home” out of cardboard.
I printed out the word in the font I wanted and then used an X-Acto Precision Knife to cut through the paper template and cardboard.
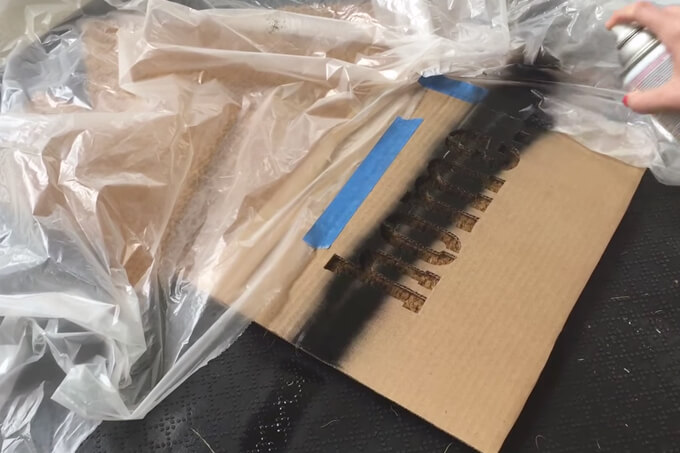
6. Finally, using a piece of plastic sheeting and painters tape I covered the entire mat except where I placed my stencil.
Then spray painted over the stencil with a can of black spray paint.
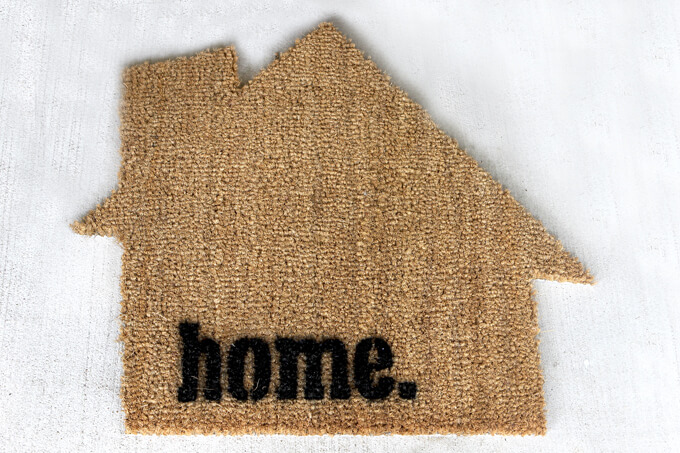
Our new custom Gray House shaped doormat!
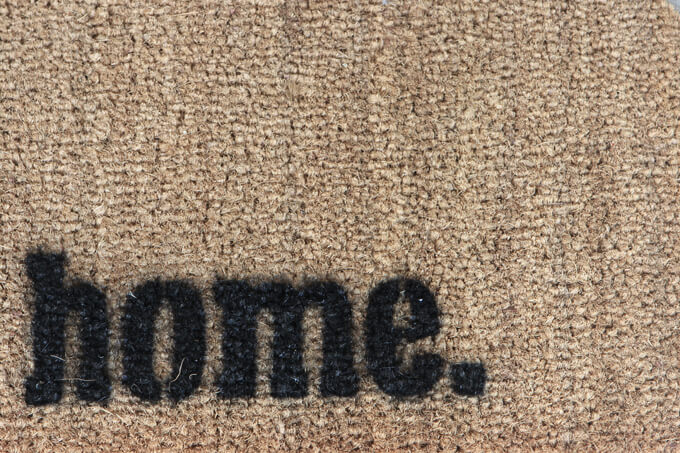
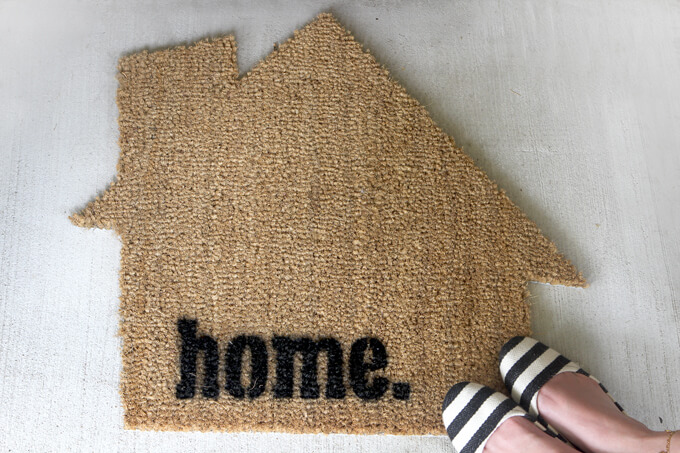
We hope you find this quick and easy welcome mat project is a fun way to bring personality to your doorstep. This project was an enjoyable and affordable DIY project that I was able to complete in under an hour and for under $25. I like that the doormat is unique and we didn’t have to spend a lot of money on it.
I see us making more custom shaped mats in the future so we can change them in and out depending on season or even mood.
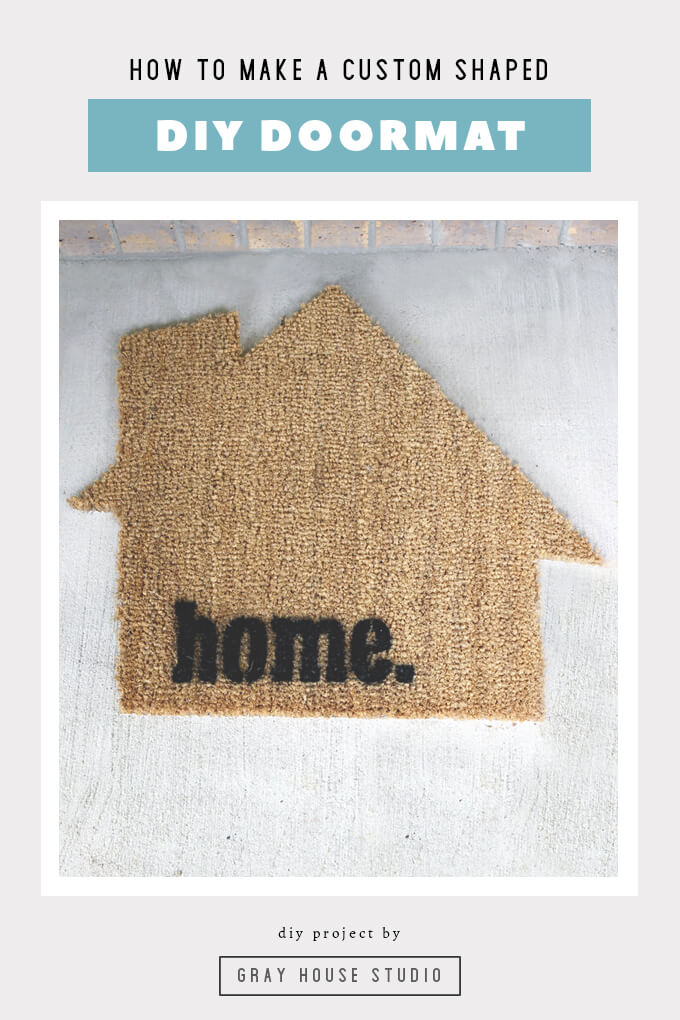
PIN FOR LATER


What a fantastic idea! I love this thank you for the inspiration!
Thanks Kelli! We’re so glad to hear you like it. Thanks for checking it out and stopping by our blog. If you make one of your own, we would love to see it! 🙂 – Courtney
This is such a fun idea! My mind is thinking of all the ways I could cut a mat.
(New reader here. Recently found you via Instagram and I’m loving checking out your blog and projects. ;))
Thanks so much Kim! We would love to hear some of your ideas. (: