To create an office pegboard organization system, we painted and installed a pegboard on a wall in our office to add additional storage.
When you are working out of your home, it is easy for personal mail to get lumped in with client invoices and before you know it you have a mountain of all different kinds of paperwork mixed together sitting on your desk.
I am the type of person who loves to be organized but can only stay organized if I have a designated place to put everything. If not, no matter how many times I straighten things up, the paper mountain returns or just moves to a different location.
I had been on the lookout for a solution to keeping all of the paperwork associated with my current projects organized as well as readily available to grab each morning when I sit down to work.
I have tried several methods for organizing my current web design projects so I can easily keep all the associated mockups, invoices, client information, etc. in one location as well as visibly display the phase each project is in.
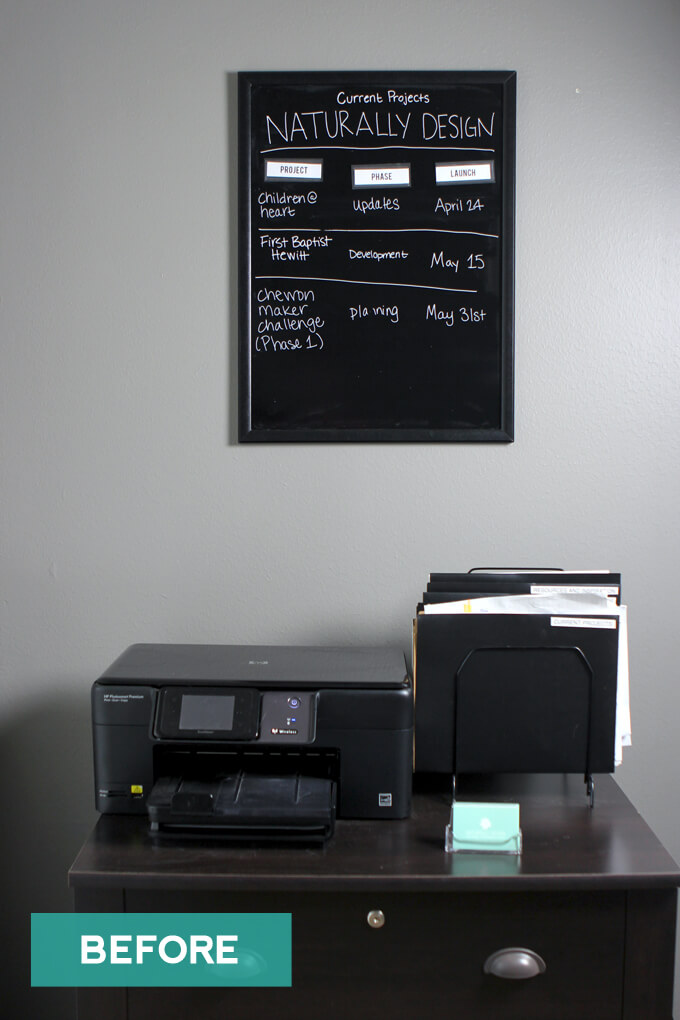
For awhile I had a dry erase board with my current schedule and kept all the in-progress client folders in a file rack. This situation was not ideal because visually the dry erase board did not fill up the wall and the top of the file cabinet felt cluttered.
Office Pegboard Organization Wall
SUPPLIES
- Clipboards
- 150 Grit Sandpaper
- Brown Kraft Paper
- Teal Spray Paint
- Pegboard
- Pegboard Hooks
- SW Dovetail Paint
- Drill
FYI: This post contains a few affiliate links to products we used to make this project. Gray House Studio does receive commissions for sales from these links but at no extra cost to you. We appreciate you supporting this site. Read our privacy and disclosure policy. You can also easily shop our recommended products here.
STEP BY STEP GUIDE
1. First we sanded down our two pegboard pieces with 150 grit sandpaper.
2. Next, we painted the pegboards with SW Dovetail Paint.
3. Then it was time to hang the pegboards up. It was our visual preference to leave a little bit of space between the two boards.
We put small blocks of wood behind the areas where we planned on hanging clipboards and used a drill to drill into the wall through the wood so that the pegboard would appear as if it was floating off the wall and we could put metal pegboard hooks in it to hang the clipboards.
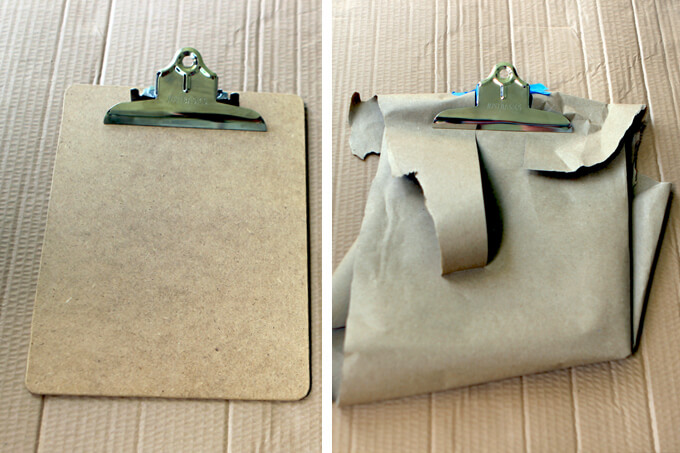
4. Another part of this project was to spruce up some clipboards we had lying around.
We wrapped all the areas we did not want to paint with brown kraft paper.
A roll of non-adhesive kraft paper is cheap and comes in handy for a lot of our projects.
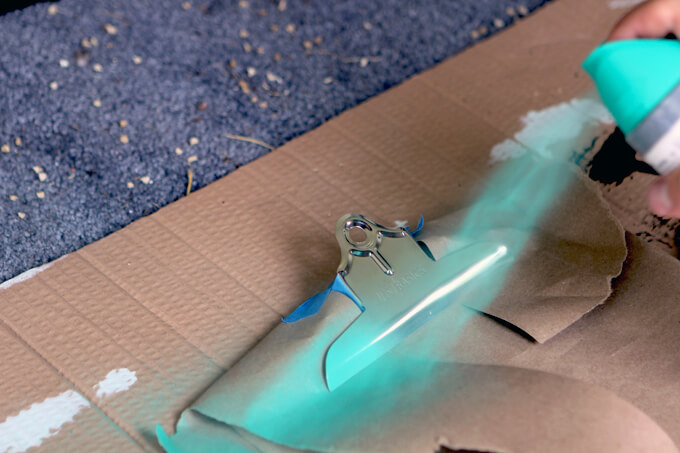
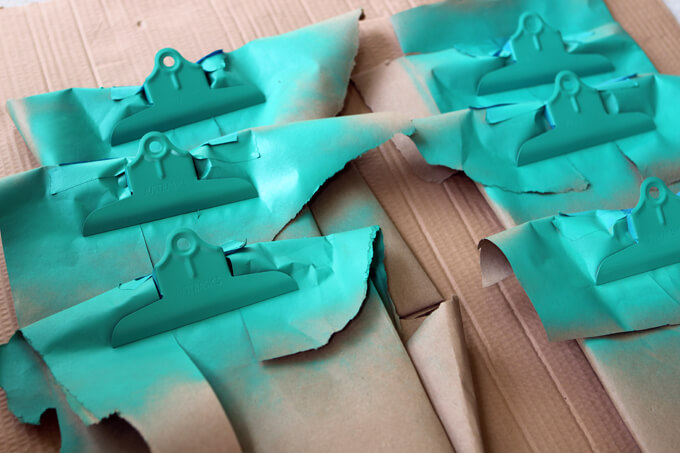
5. Finally, we spray painted just the front metal clip with teal spray paint to add a bit of color and to make the clipboards pop against the gray pegboard.
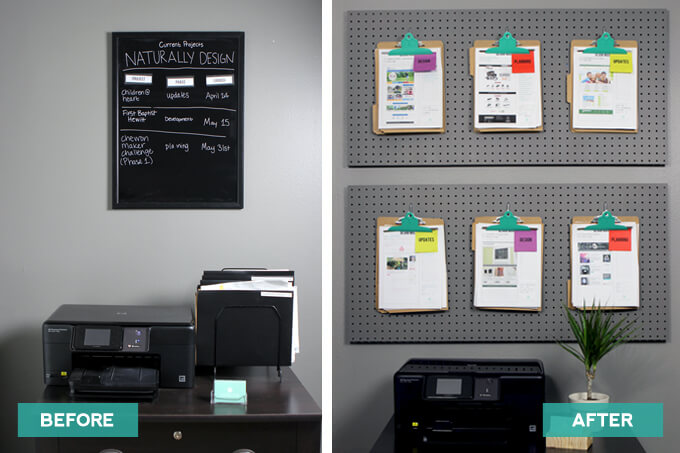
Once the clipboards were dry, we hung them up on the metal hooks on our pegboard!
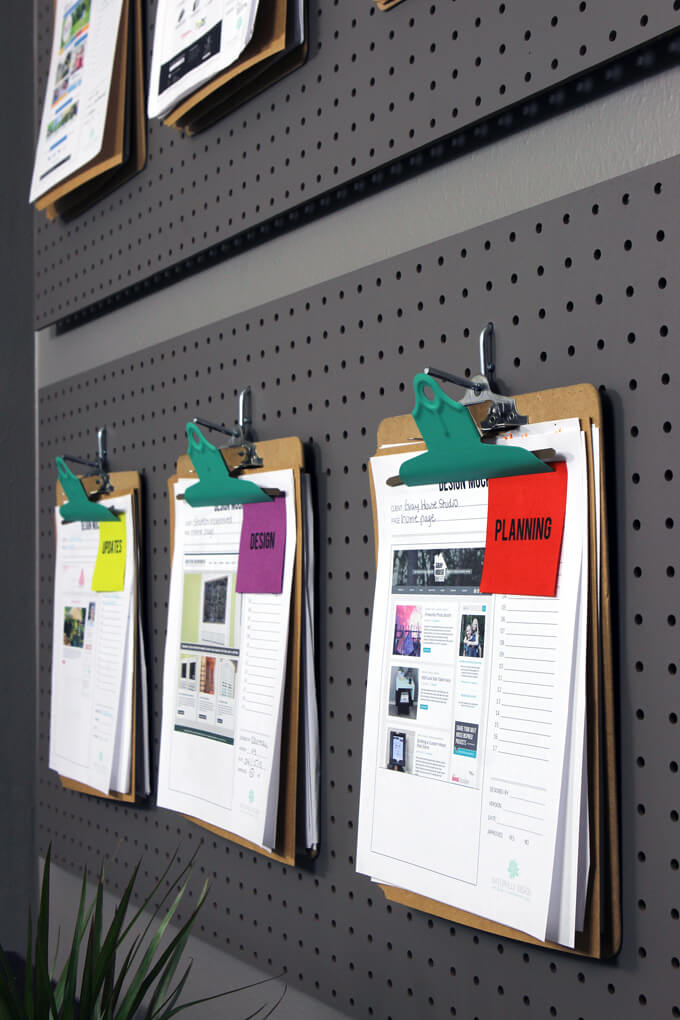
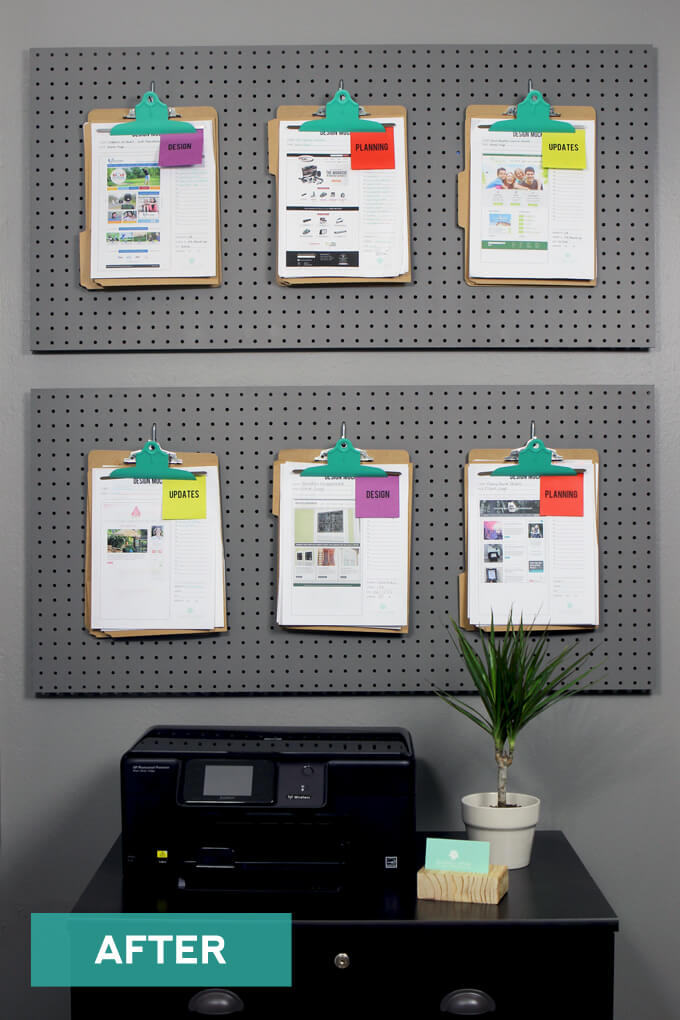
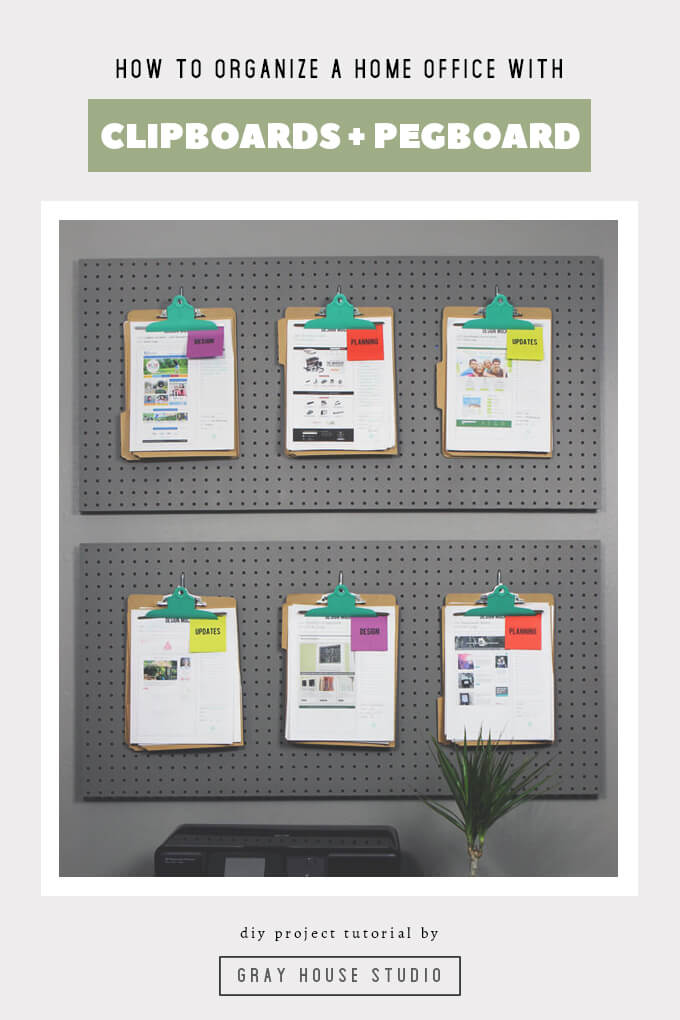
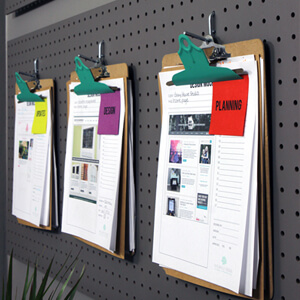
For each client I put all the associated paperwork in a folder and then attached it to a clipboard.
I ran several post-it notes through the printer with each phase of my design process.
The color represents the phase of the project and I can easily remove and stick a new note once the the project moves into the next phase.
Not only does the office pegboard organization make for a colorful display, I can easily see where each of my project stands and grab the one I need to work on that day off my project board.
I ordered them so the new projects are at the top and the ones with the closest launch date are on the bottom. Once a project is complete, I will file it away in my file cabinet below and a clipboard opens up for a new project to begin!
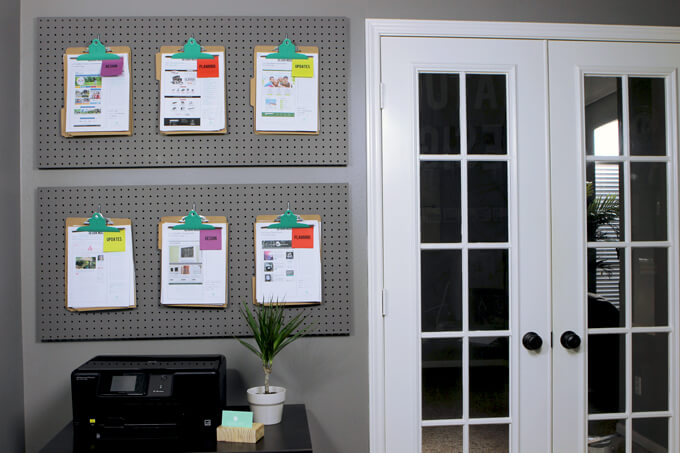
This DIY home office project was easy, quick to put together and actually only cost us one can of green spray paint since all the other supplies we used were left over from other projects.
I really like how visually the whole wall is filled up now and the space feels much more complete than it did before with this office pegboard organization solution.
I believe the office pegboard organization system will work really well for keeping all my projects organized. Now the paper mountain will be more of a paper hill while I move on to figuring out a good solution for sorting the mail more efficiently.
PIN IT FOR LATER



Hi Judy. I am the Judy from Jersey ..a life long friend of your grandmother Elaine. Look forward to seeing your projects.
Sorry. Make that Courtney.
Hello Judy! I have heard a lot about you from my grandmother. (: Thanks so much for following along with our blog!
-Courtney
I love this! What a fantastic way to keep all of my current projects and research organized! I currently use binders a lot (truly a LOT), but I love that this keeps it where I can easily see and assess it!
Thanks Marie! Awesome! I am right there with you, I was using binders too. I am one week into using my new pegboard organization system and so far so good! (:
-Courtney