Follow along as we share how to DIY gutter installation. We decided to add gutters to the back of our house to keep the water off our back patio.
Today I (Brent) am sharing our latest unexpected project. Well, I don’t know if you can call it unexpected because it has been long over due but it was one of those boring home maintenance projects that is necessary but not the most fun way to spend a Saturday. The project I am talking about is DIY gutter installation.
The saying goes when it rains, it pours and that literally couldn’t be more true about the weather the past few weeks in Houston and all over Texas. Although the water on our street was at one point up over our curb, we count ourselves extremely fortunate that we didn’t experience any major damage. Our problem was insignificant compared to what many others faced and we are so thankful for that.
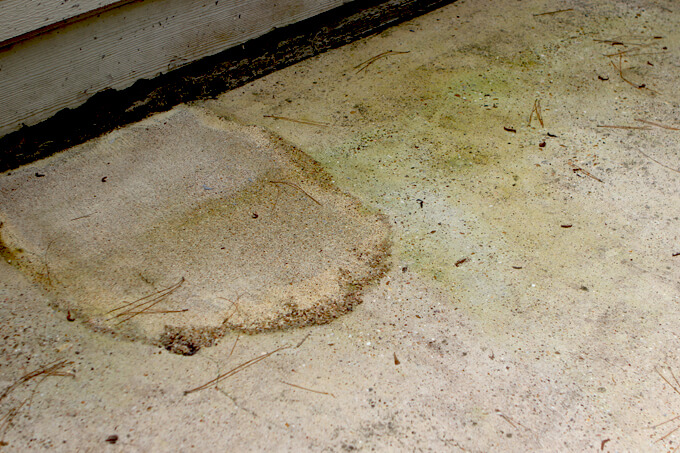
Our issue was we had no gutters on the back of the house and the concrete back patio was proof that this was not an ideal situation to be in with all this rain.
The inadequate drainage had spelled disaster for the slabs. Let’s just say the concrete has turned all kind of unnatural colors. Heavy rain also caused the run off from the roof to splash off the concrete and hit the back of our house causing problems with the siding.
We had to bite the bullet and install gutters to help avoid any excess water from pooling on the concrete and causing mold and mildew to grow.
DIY Gutter Installation
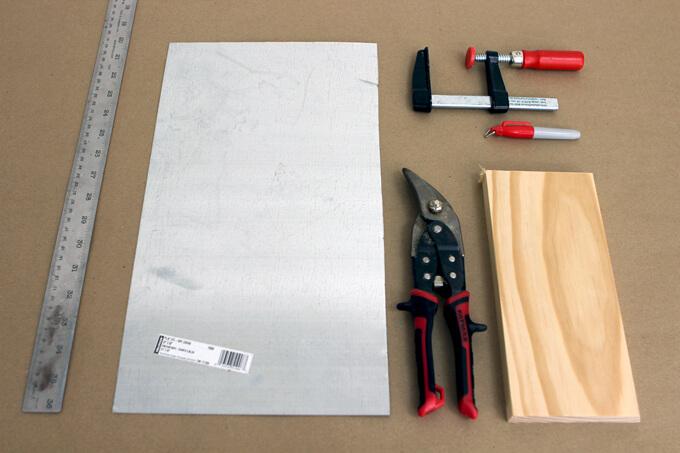
SUPPLIES
- (2) 5″ K-Style Aluminum Gutter Pieces
- Offset Snips
- 5″ Aluminum End Caps for K Style Gutters
- Black Paintable Caulk
- Vise Grip Pliers
- 5″ Hidden Rain Gutter Bracket Hook Hangers
- Drill
- 5-Inch Galvanized Slip Joint
- Downspout Outlet
- Rivet Gun Kit
- Downspout Clips
- (2) Aluminum Downspouts
- 3″ x 4″ Aluminum Elbow
- Downspout Extension
FYI: This post contains a few affiliate links to products we used to make this project. Gray House Studio does receive commissions for sales from these links but at no extra cost to you. We appreciate you supporting this site. Read our privacy and disclosure policy. You can also easily shop our recommended products here.
STEPS
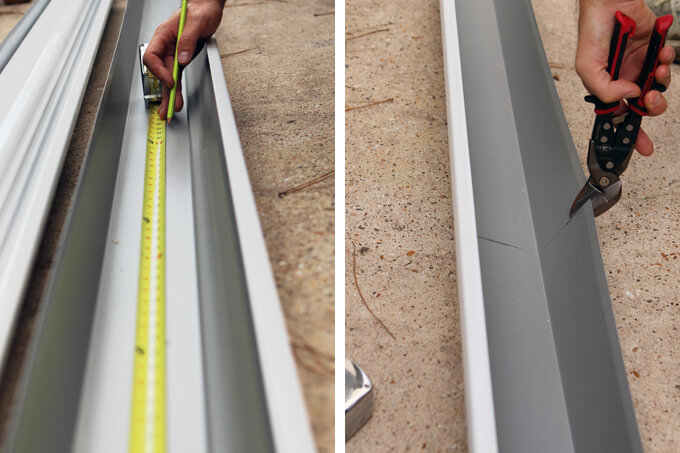
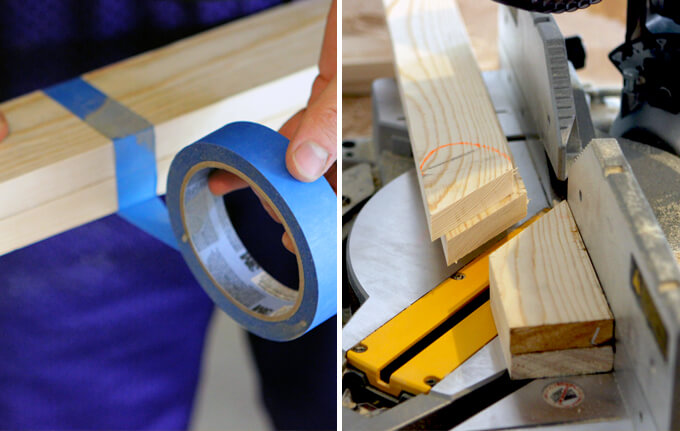
1. The span of the roof over the patio is 16 feet wide and since the gutters that can be purchased from our local hardware store only come in 10 foot lengths we had to use offset snips to cut the second section of gutter to the correct length.
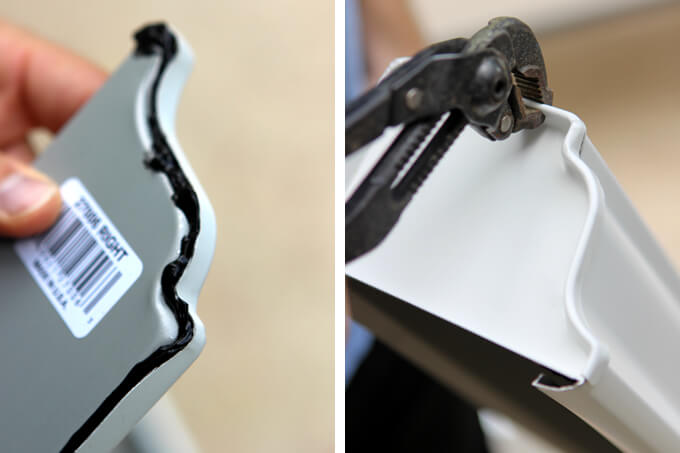
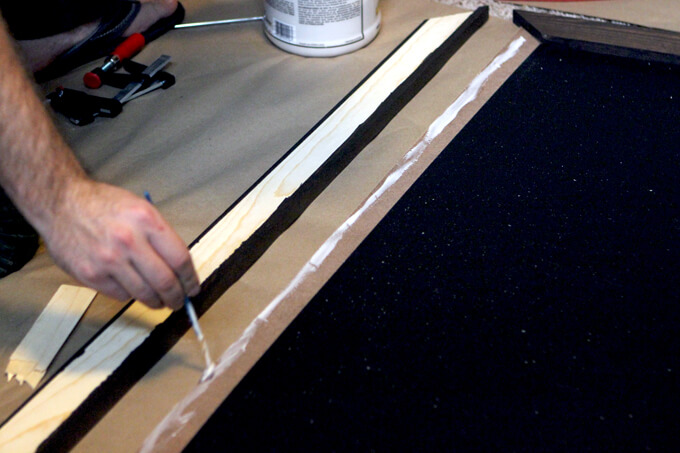
2. Before hanging the gutters on the eave of the roof we installed the end caps on each side of the gutters.
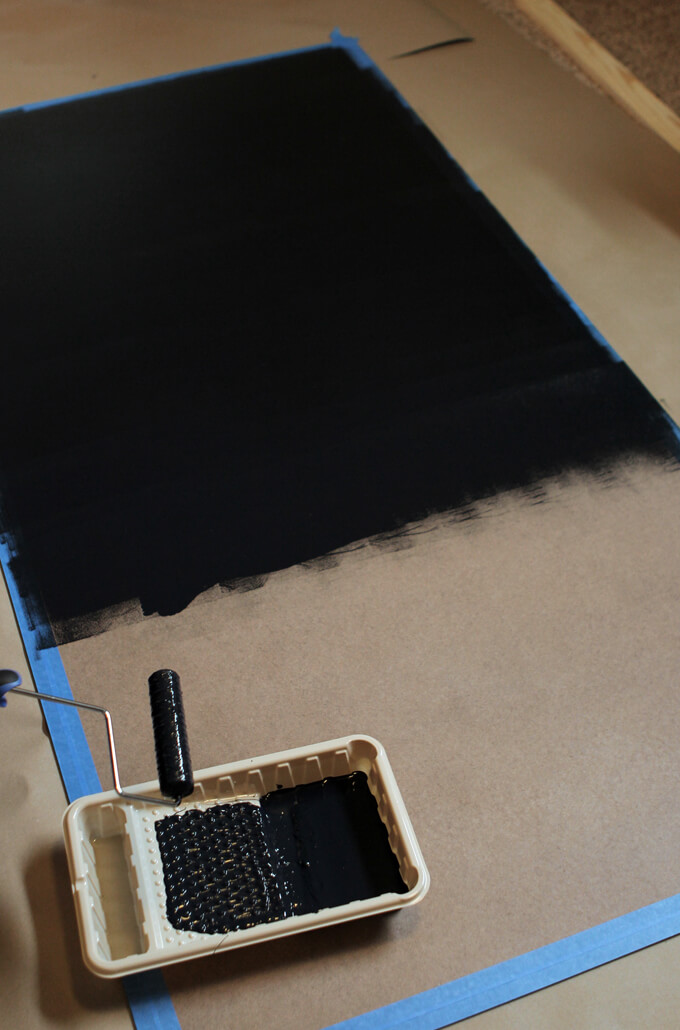
We will eventually be painting the gutters to match the eave so we used a black paintable caulk to seal the joint between the gutter and the end cap.
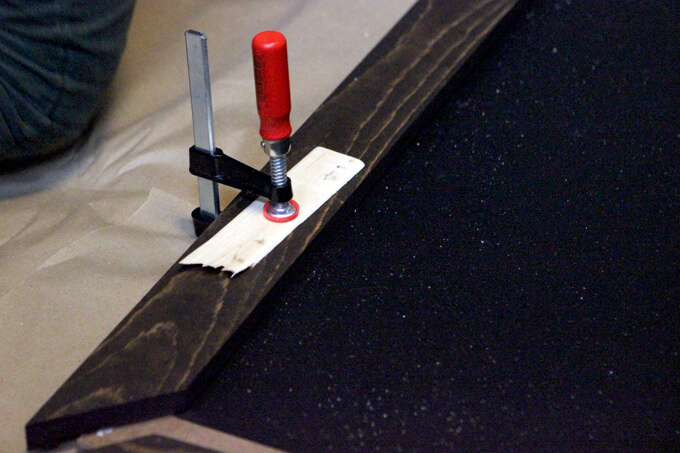
We used a pair of vise grip pliers to crimp the cap to the gutters.
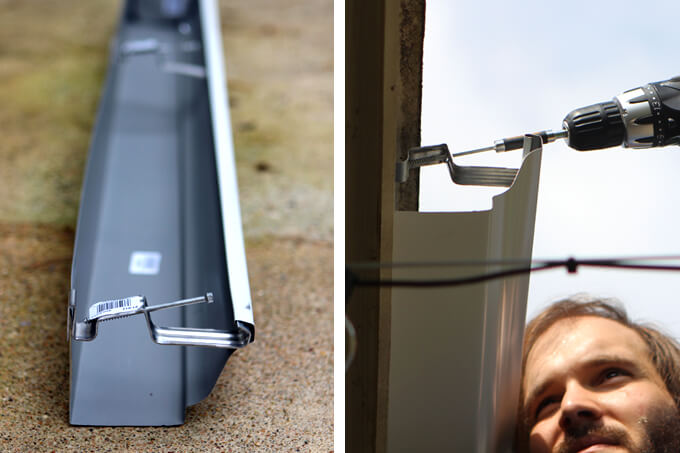
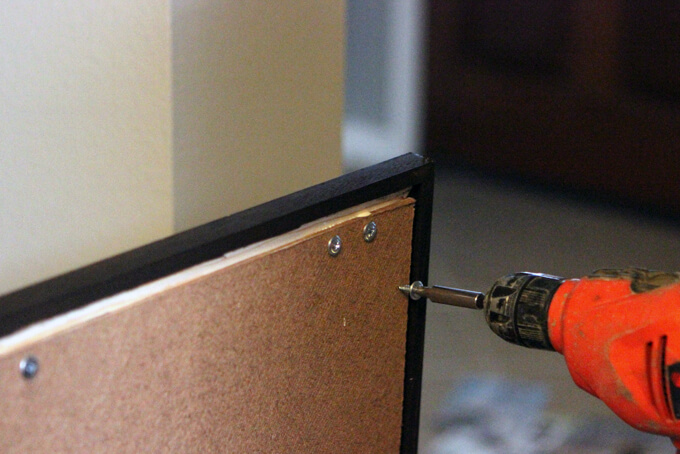
3. There are several different types of hangers to secure the gutters to the eave of the house.
We chose to use gutter bracket hangers that slide into the gutter and can’t be seen from the ground when the gutter is installed.
We used our drill to secure each screw through the siding into a roof rafter.
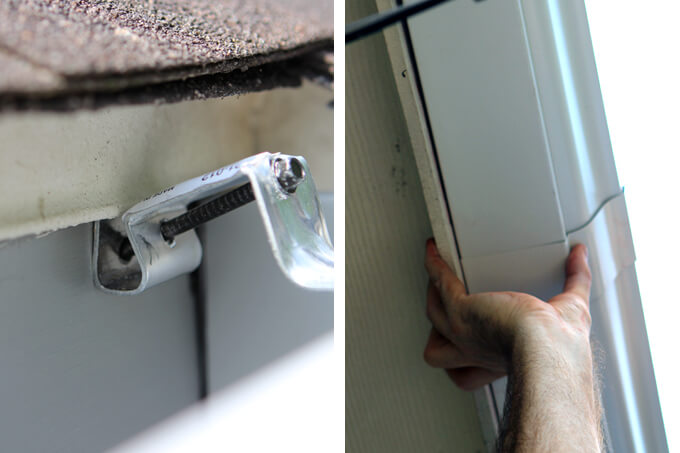
4. To make certain that the maximum amount of water enters the gutter and stays in the gutter, we installed flashing under the shingles and over the back edge of the gutter.
This prevents water from getting underneath the shingles and on the roof sheathing. For the seam where the two pieces of gutters connect, we wrapped a slip joint over that seam and applied caulk to prevent leaking.
5. To allow the gutter to drain effectively, the gutter was installed at a slight angle and on the low side we installed a downspout.
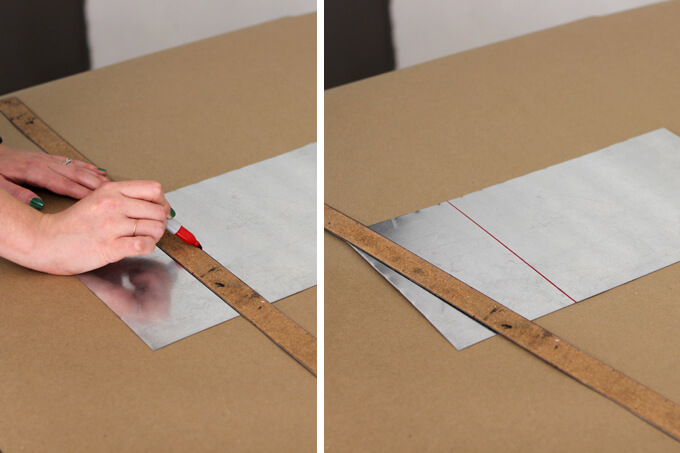
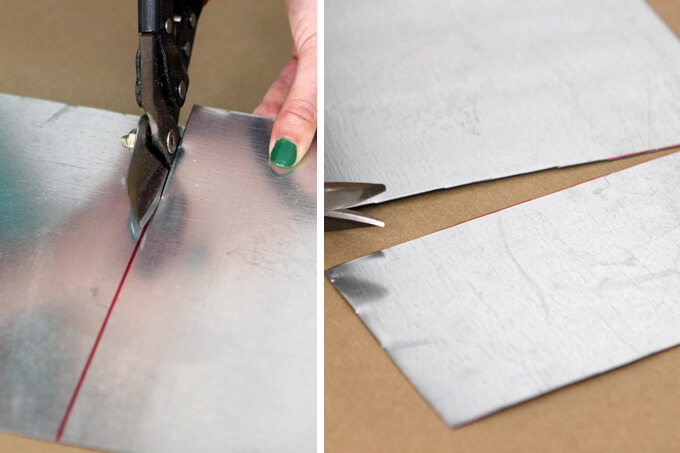
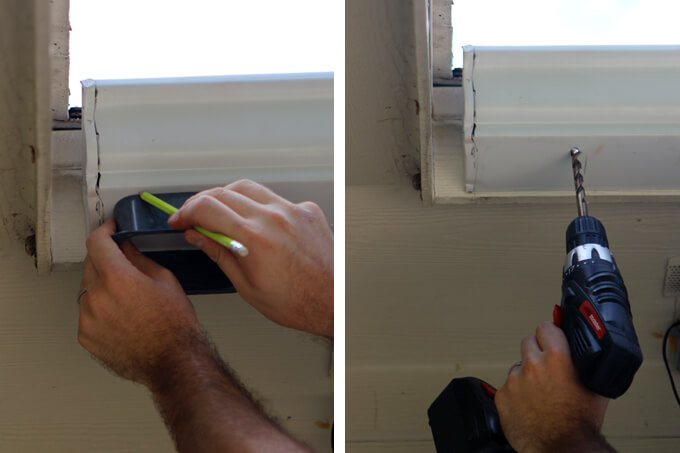
To install the downspout, we marked a hole the size of the downspout outlet. Then we used a drill to make a hole next to each place where we marked to make it easier to cut open the hole for the outlet with offset snips.
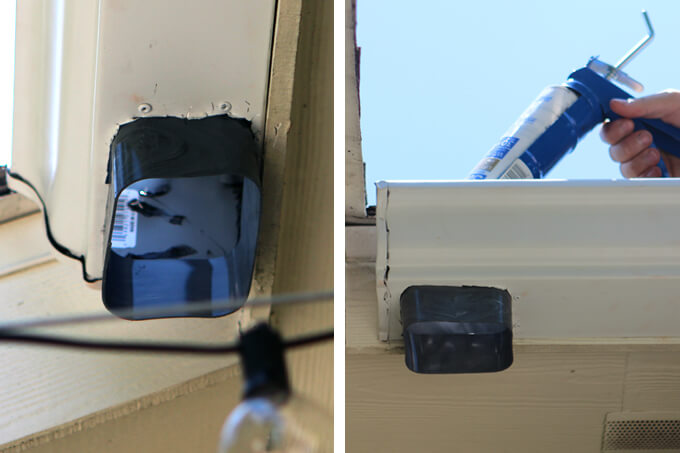
6. The downspout outlet was installed with a rivet gun and rivets to avoid having the sharp point of a screw being exposed through the bottom of the gutter.
After we installed the connector we used caulk to seal all the seams inside the gutter.
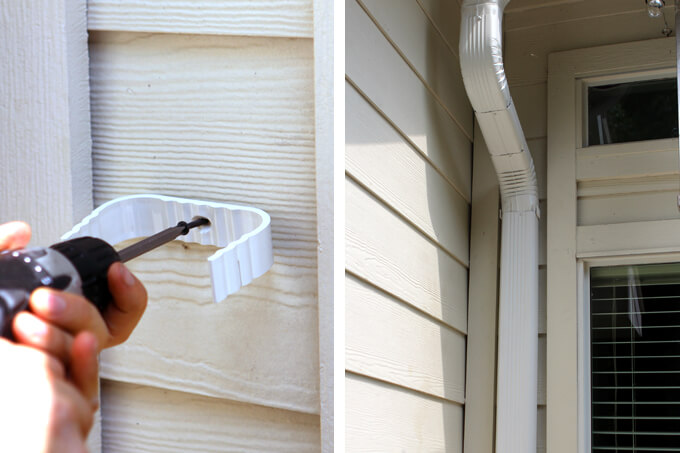
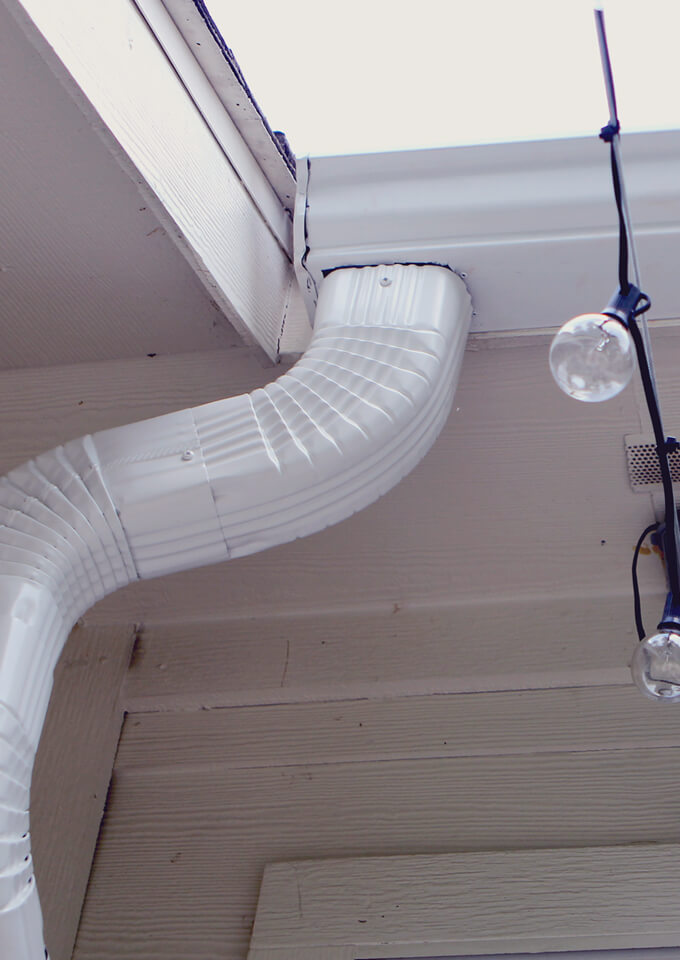
7. The downspout pipe is held to the siding of the house with downspout clips.
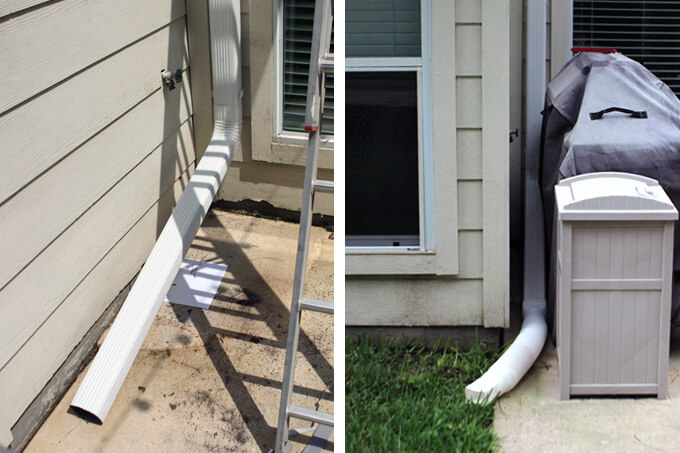
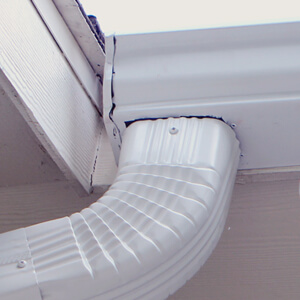
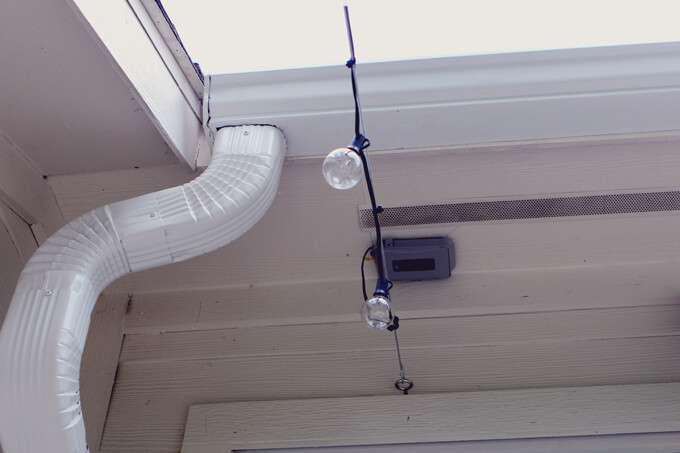
8. One foot off the ground we turned the downspout away from the house using an an elbow piece to allow the pipe to have a gradual slope.
Once past the house the downspout was finished off with a plastic flexible pipe.
As we finished the last several steps, we started hearing thunder in the distance. Which was not a bit surprising. It wasn’t long before we were running around frantically trying to get the tools inside before the next downpour.
On the bright side we got to put the gutters through the ringer within minutes of installation and so far so good.
The backyard still has a long way to go and I promise the projects to come in the backyard will be much more exciting. Now that we have solved the water drainage problem, we are hoping to start working on a deck.
PIN FOR LATER