In this tool tip tutorial we are explaining why choosing the right drill bit for the project is important.
FYI: This post contains affiliate links to drill bits we use. As an Amazon Associate Gray House Studio earns from qualifying purchases. This is at no extra cost to you. We appreciate you supporting this site. Read our privacy and disclosure policy.
One thing we have learned so far while working on home renovation projects is that having the right tools for the job is key to a successful outcome.
Today we are talking specifically about choosing the right drill bit. If you asked me a year ago I would have told you a drill bit is just a drill bit.
They are all the same, right? But the past few projects (and Brent) have taught me that is not true at all. Not all drill bits are the same and they do not all produce the same results.
Below we are highlighting three drill bits that we have used for our latest projects.
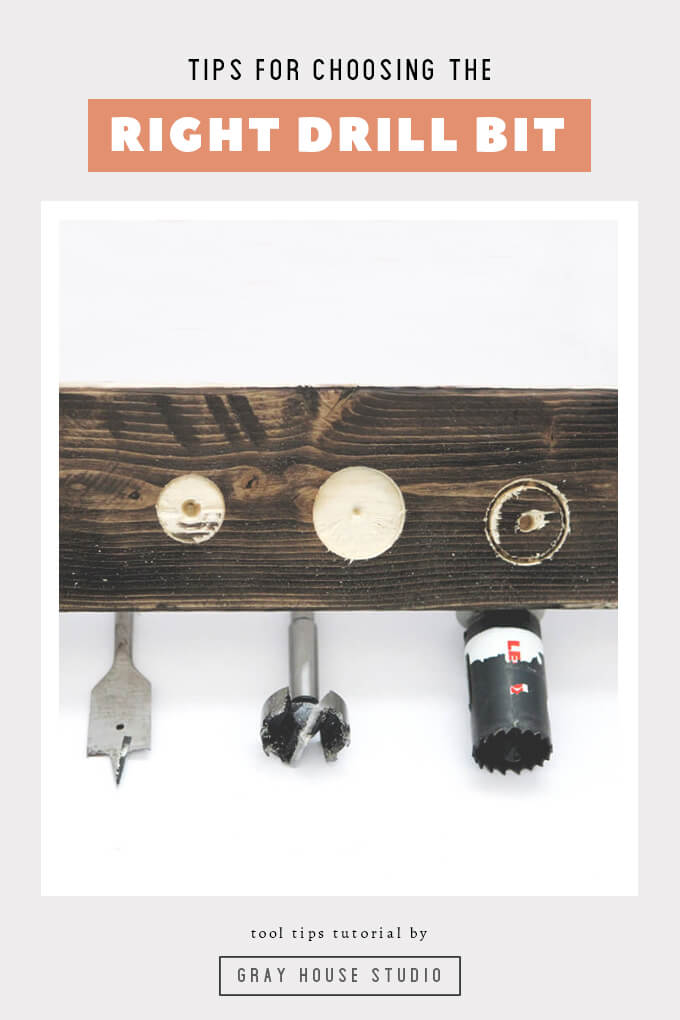
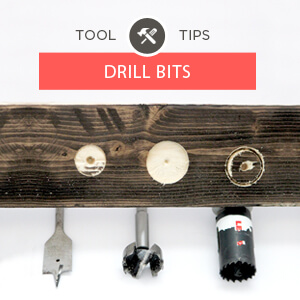
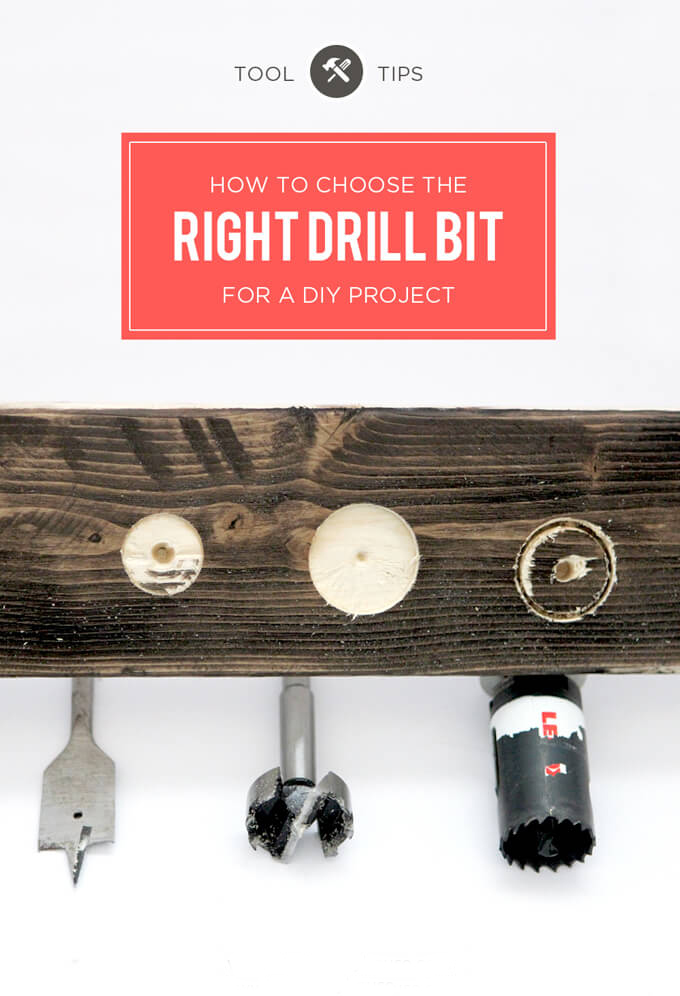
Choosing the Right Drill Bit
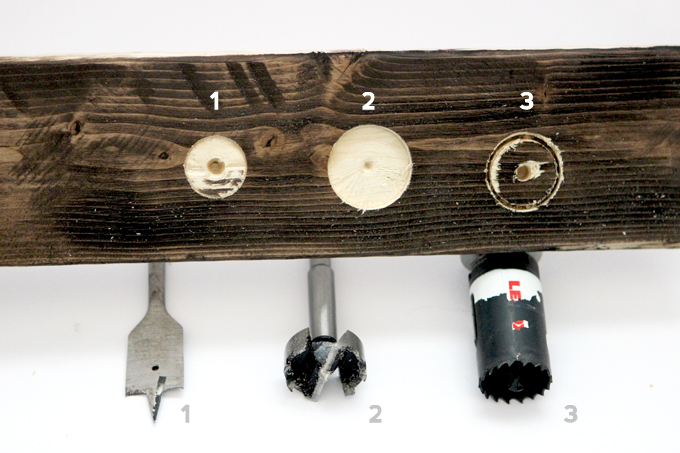
Below we are highlighting three drill bits that we have used for our latest projects.
1. Paddle Bit/Spade Drill Bit
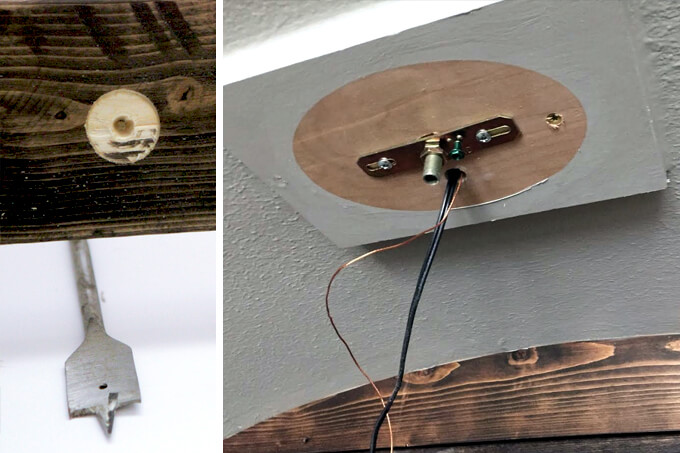
What it looks like: The paddle bit bit has a long point in the middle to keep the blade from walking as it spins. The flat parts next to the tip bore a hole the size labeled on the bit.
When to use this bit: This bit is great for drilling large holes all the way through a material especially if the hole needs to be deeper than one or two inches.
Pros: The main reason to use a paddle bit over other types of bits is the price point. You can get a set of these bits for the price of one of the other bits.
Cons: They are not great for boring holes partially through a board. Another downside with this type of drill bit has to do with safety. If the drill is not kept level while drilling a hole and the bit digs into the wood unevenly or hits a knot, it can catch the work piece and whip the drill from your hand.
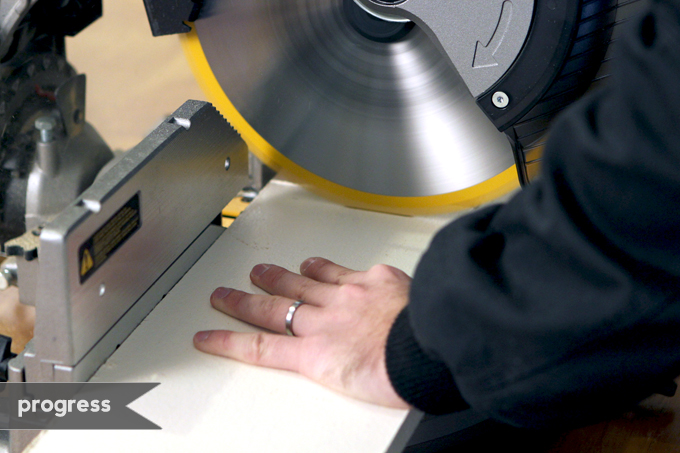
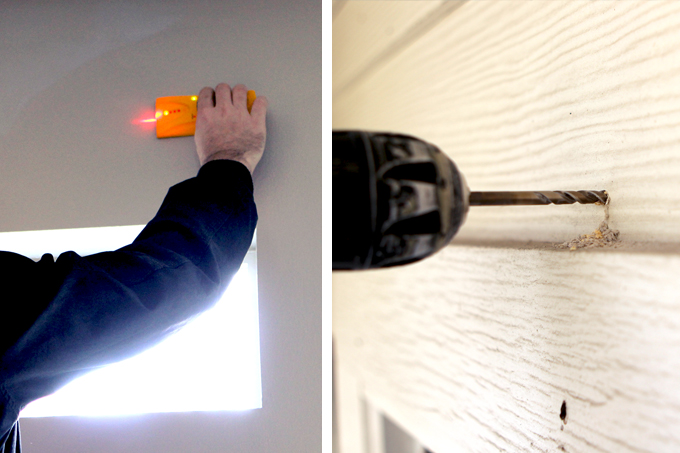
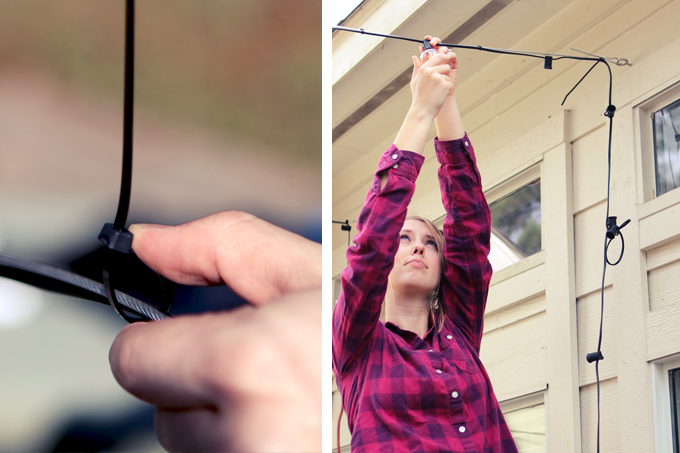
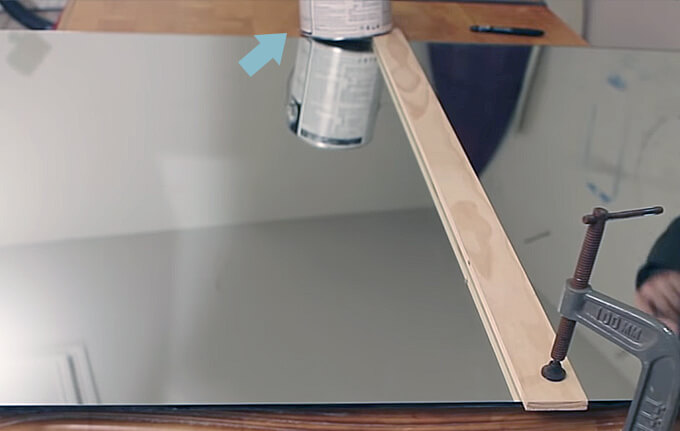
Real Project Use: We used a paddle bit when drilling the hole in the ceiling to run the wire for the light fixture in the reading nook. It was the only bit that could make a 6 inch deep cut. Read more about how we built our reading nook.
> shop the paddle bit set we use
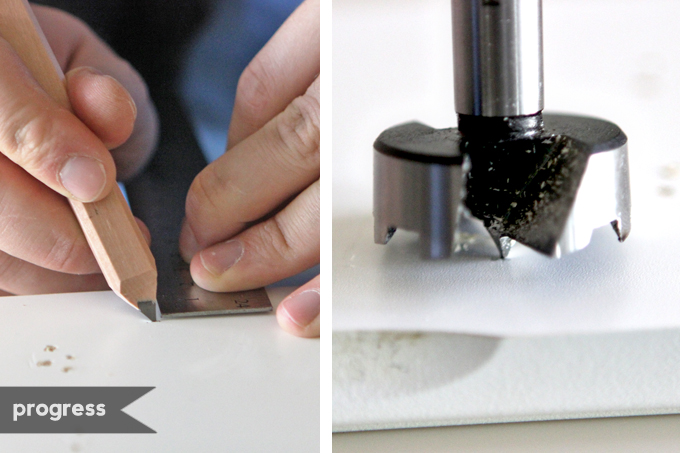
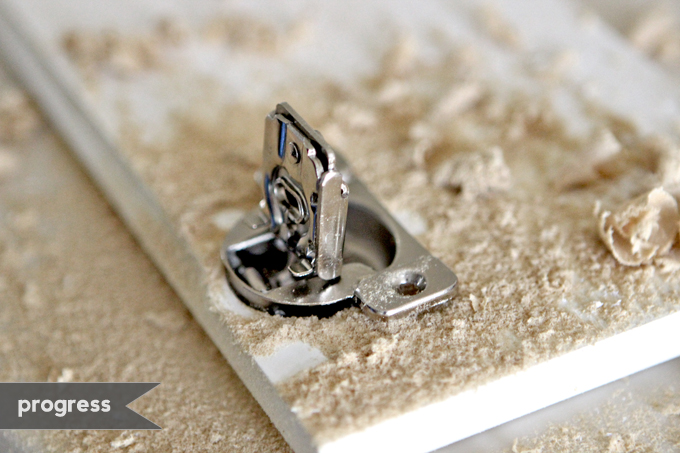
2. Forstner Bit
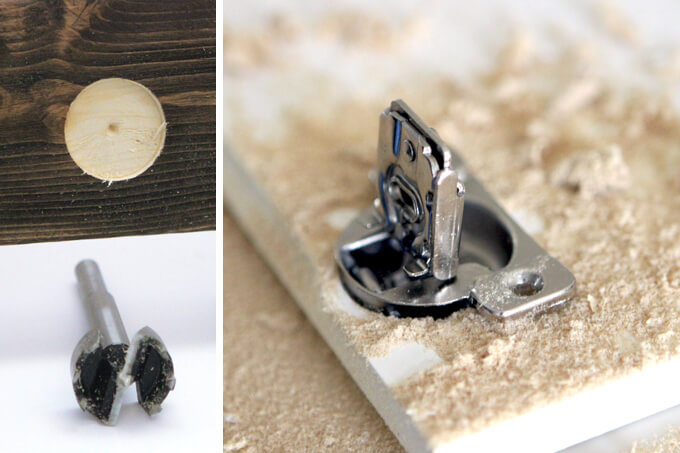
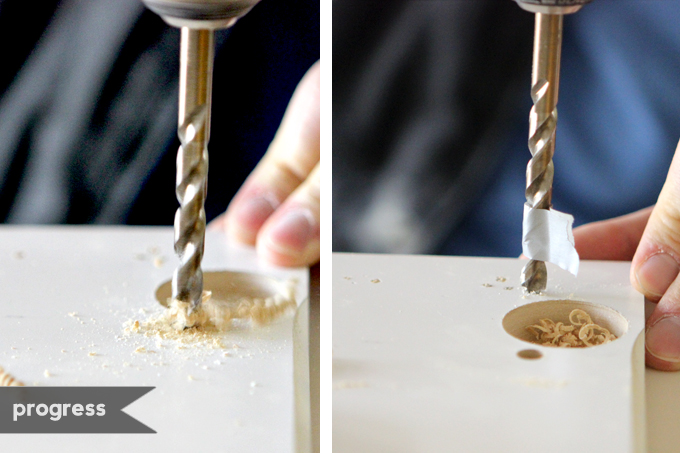
What it looks like: The forstner bit has a small point in the middle just long enough to help center the bit and two blades that span the radius. The outside of the bit has teeth to clean up the outside of the cut.
When to use this bit: This bit is great for drilling holes that need to be a specific depth.
Pros: With two blades running along the radius of the cutting surface, the bit shaves off small layers of wood at a time and allows for a very precise cut.
Cons: These bits are more on the expensive side.
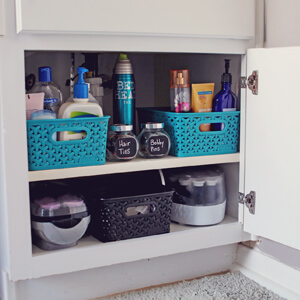
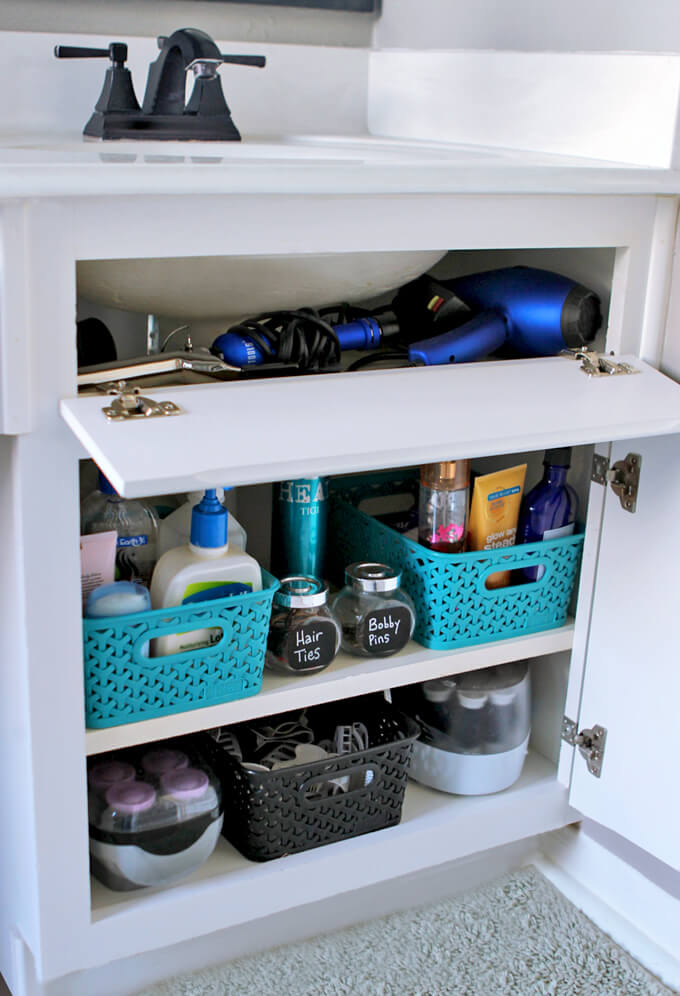
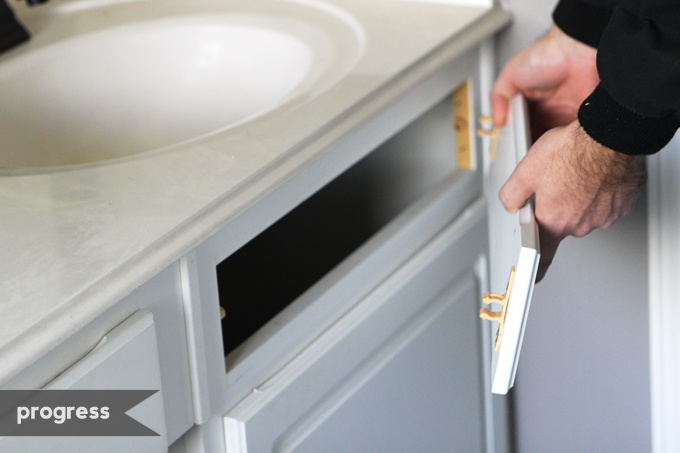
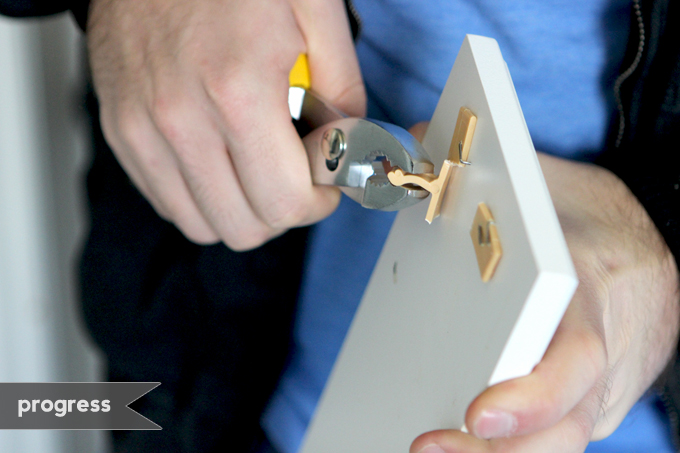
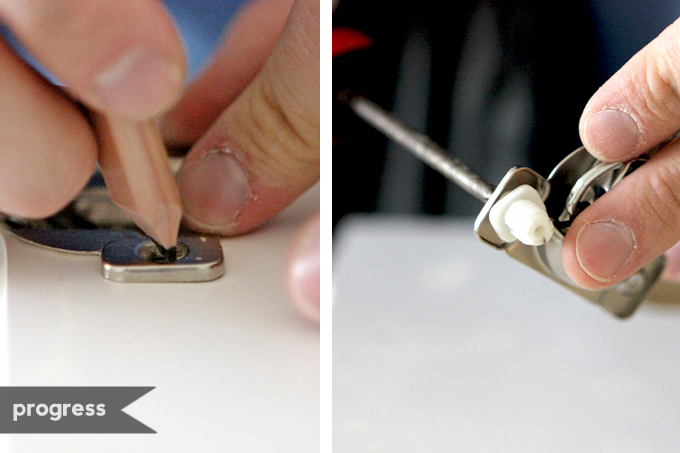
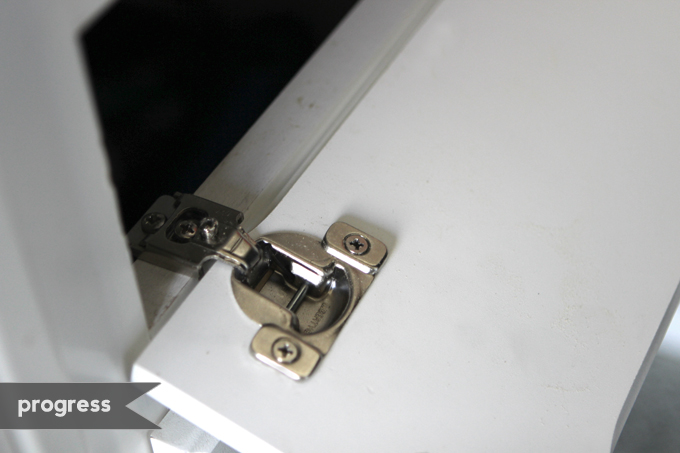
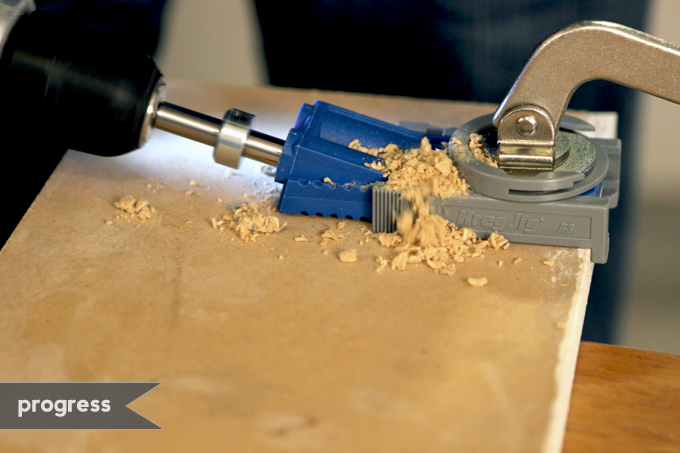
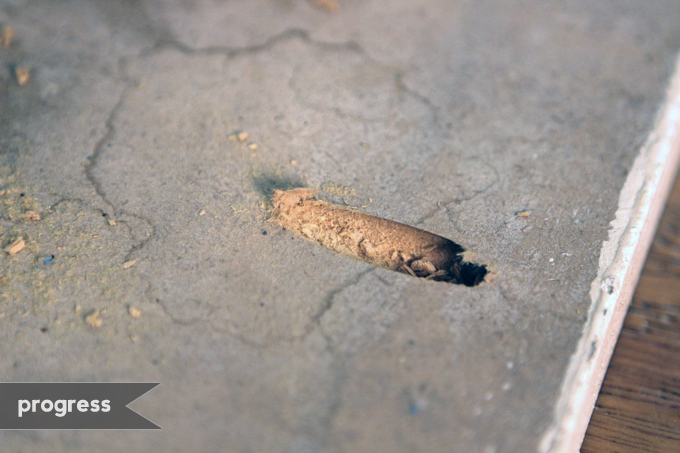
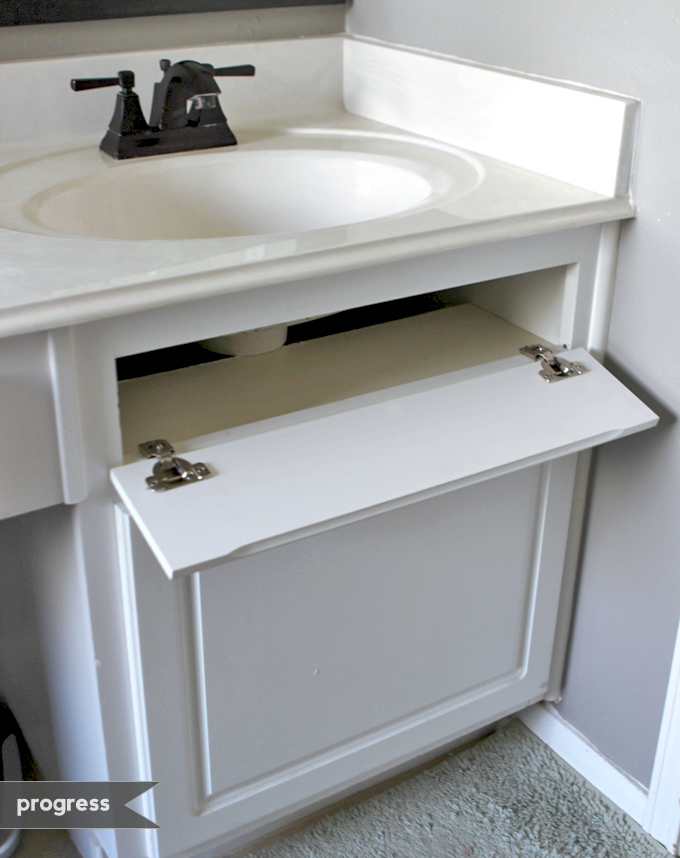
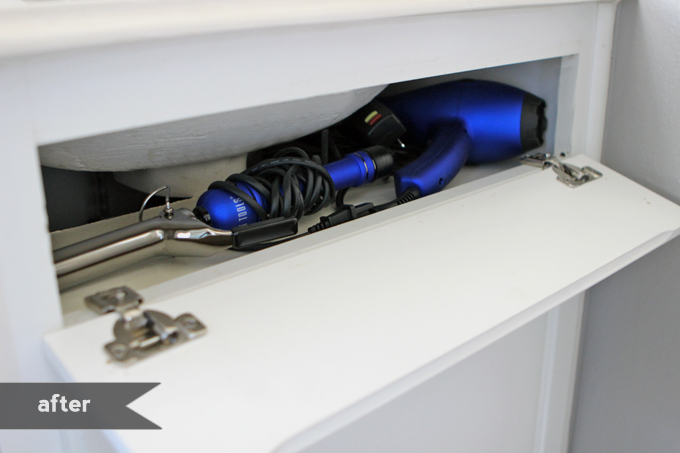
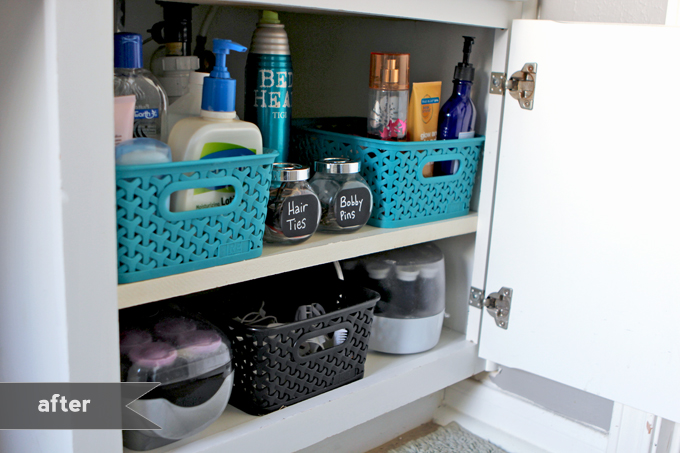
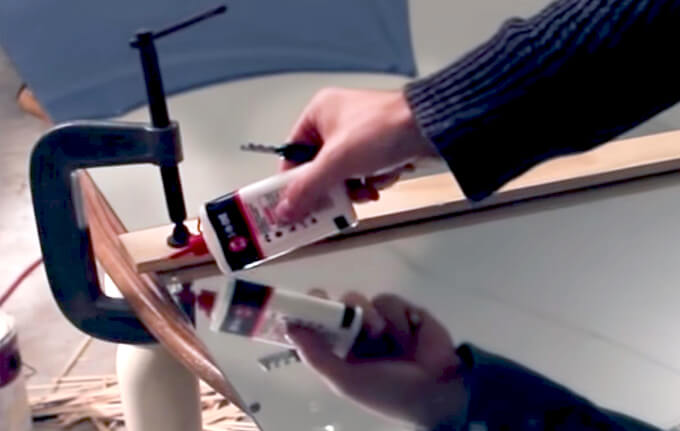
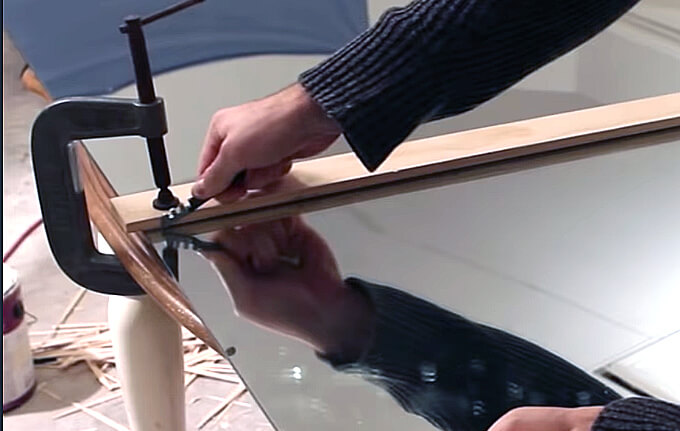
Real Project Use: We used a forstner bit to drill out a hole for the hinge on our bathroom cabinet door. Read more about how we added shelves to our bathroom cabinets.
> shop the forstner bit set we use
3. Hole Cutter / Hole Saw
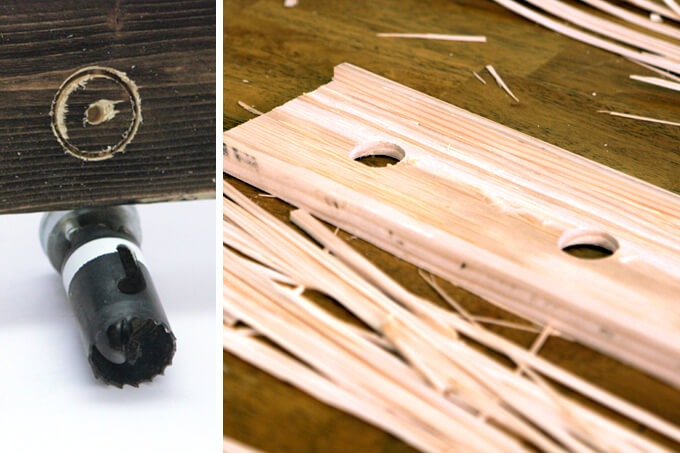
What it looks like:The hole saw has a central drill bit that attaches to the drill and extends through the middle of a circular saw.
When to use this bit: The most common use for this bit is for cutting holes for door knobs. The quality of the cut does not usually matter because the plate behind the knob completely covers the hole.
Pros: The saw can be removed from the central bit allowing you to have multiple saw diameters with only one bit that connects to the drill.
Cons: There is a limit on the thickness of material that this bit can cut. The drill bit can only cut as deep as the cup of the saw.
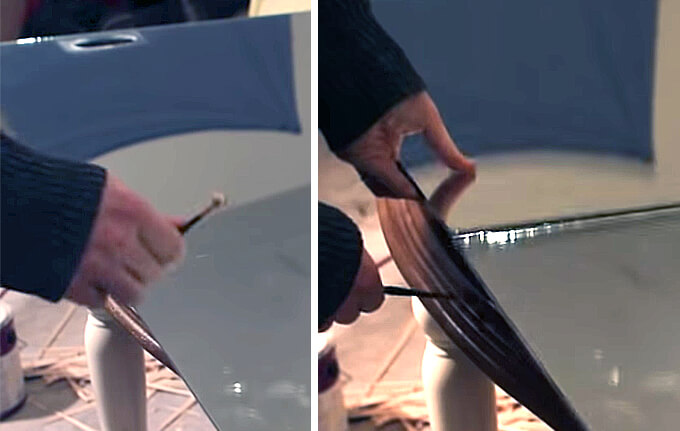
Real Project Use: We used the hole cutter to make six holes for the wood light fixture in our master bathroom. Read more about how we built our wood light fixture.
> shop the hole saw set we use
We chose to highlight these three drill bits because they all do the same thing but with slightly different outcomes making each one better suited for certain tasks and certain projects.
If you have any questions about choosing the right drill bit for your next project, feel free to leave them below.
PIN IT FOR LATER