We built a rustic Christmas tree stand box as an alternative to a Christmas tree skirt.

About a week after we put up our Christmas tree and had it all decorated, we decided we wanted to do something different under the tree. I liked how our white tree skirt looked but was growing tired of how it showed every little thing that landed on it and it was always getting all crumpled up. Mostly because it is Jake the cat’s favorite pastime to lay under it and try and chew on the branches.
Brent’s reasoning is it reminds him of a poodle skirt. Okay… But he admits he hasn’t seen a poodle skirt in a long time. Which I then in return question how old he is that he remembers seeing a poodle skirt. I hope he is just referring to a Halloween costume and not when it was in style. Because then the only logical explanation for that would be he is a vampire. And that would be a bummer because I am not into vampires.
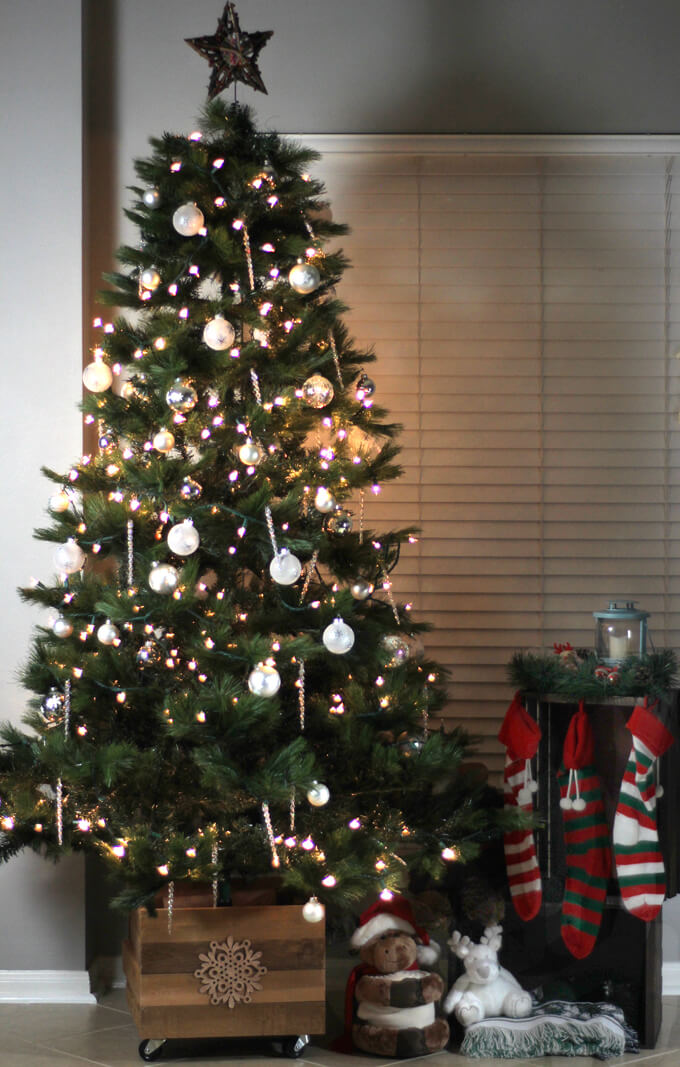
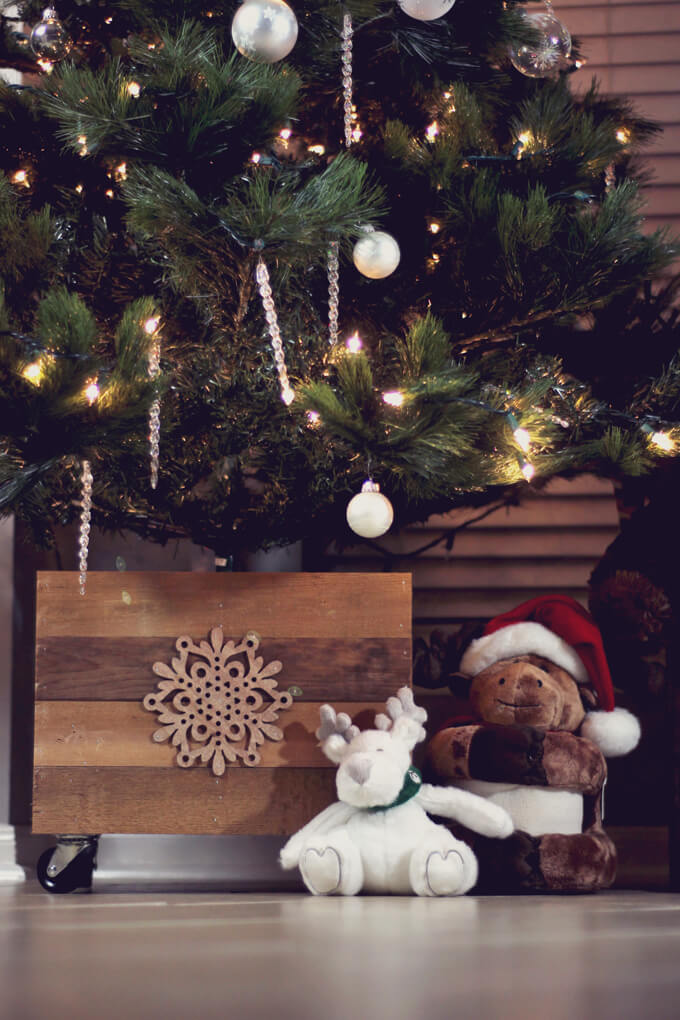
Anyway, we had seen a few examples of Christmas tree stand boxes and really liked how they looked under the tree. For one it would make the tree sit up a little higher and it would better hide our unappealing stand. We wanted it to have a rustic appearance to tie in with our rustic tree topper we got several years ago AND we wanted to put in on casters.
I joked with Brent that we could put it on casters so I could wheel it into each room I am in at the time. Which was met with an eye roll from Brent. But hey if the majority of our house is going to be covered in tile for the time being, I might as well take advantage of it around the holidays.

For more practical reasons it could be really helpful to have the tree on wheels when you are decorating so you can roll it out away from the wall to easily decorate all sides. Because whether we like to admit or not we have all accidentally fallen into the tree or at least had a really close call trying to reach around to to hang an ornament in that “perfect” spot. Then you can just gently roll it back against the wall when you are done.
Or if you are one of those lucky few that I have been reading about that have an entire closet dedicated to storing a Christmas tree, you can just wheel it right in with ease. Every December and January I am tempted to ditch the coat closet and turn it into a Christmas tree closet because I dread the tedious task of setting up and taking down the tree and the whole stuffing it back into the box part.
So this week we set out to build our own version of a rustic Christmas tree stand box. You can follow along with our project in the video below or the steps below that. We have also included the plans for our rustic Christmas tree stand box if you want to make your own.
How We Made A Rustic Christmas Tree Stand Box
SUPPLIES
FYI: This post contains affiliate links to the supplies and tools we used to make our rustic Christmas tree stand box. As an Amazon Associate Gray House Studio earns from qualifying purchases. This is at no extra cost to you. We appreciate you supporting this site. Read our privacy and disclosure policy.
PROJECT PLANS

Get our Rustic Tree Box Plans
When you purchase our rustic Christmas tree stand box plans you get a 6 page PDF with a detailed materials list, a cut list, dimensions for each piece, and building instructions – all for only $3. We appreciate your support of Gray House Studio!
STEPS
Be sure to get our rustic Christmas tree box plans to help with this DIY project!

1. My first step was to measure our existing tree stand to determine the size of our box.
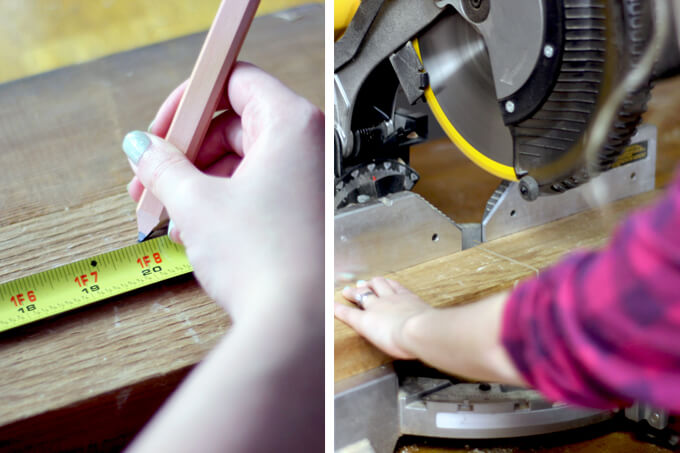
I took that measurement and using a tape measure marked the width on two cedar 2″x4″ boards.
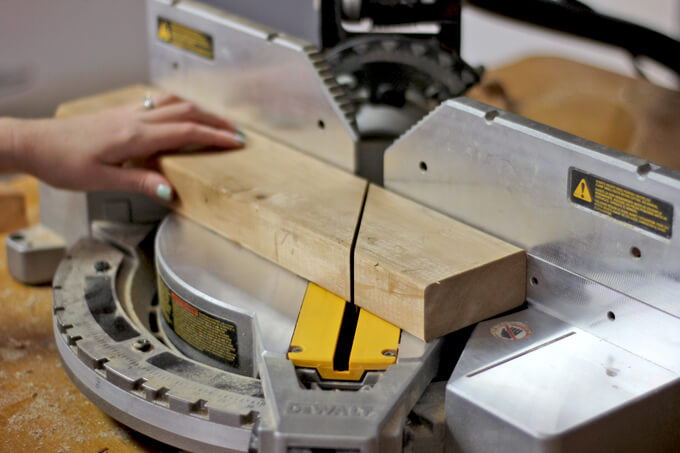
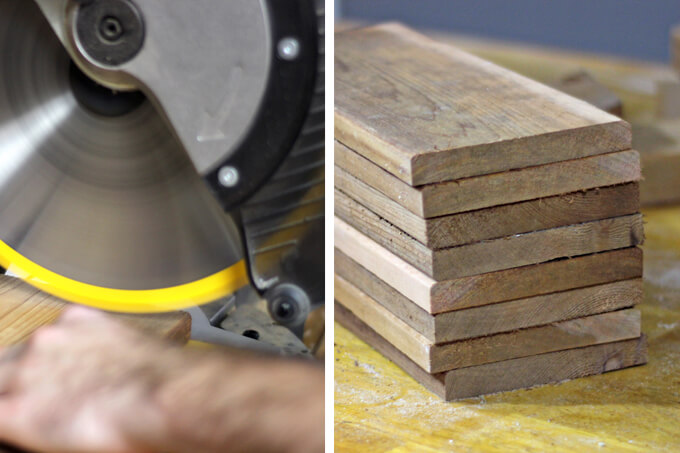
It is a good idea to give yourself a little extra padding to make sure your stand will fit all the way in the box. Using a miter saw, I cut the two cedar boards to the size we needed.

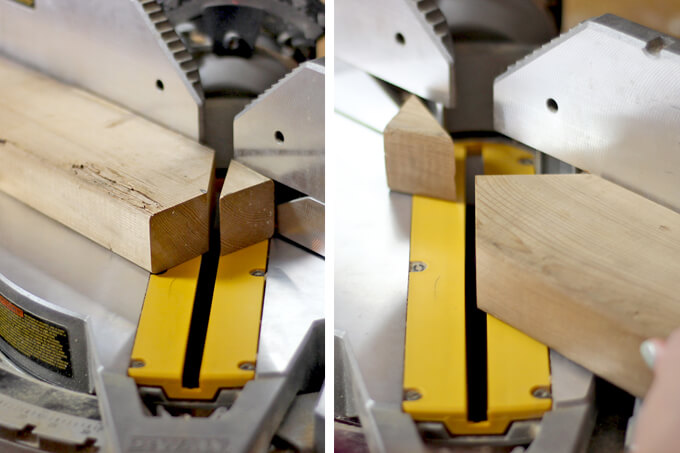
2. Once I had them cut, at the ends of the boards I measured and marked the center. Using that mark as a reference I cut off the corners of the board at a 45 degree angle with the miter saw.
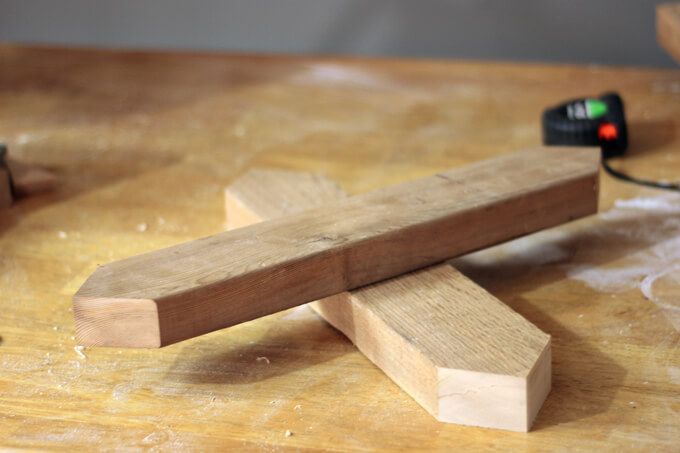
This created an arrow shape on both ends of the board. I did this for both boards.

These pieces formed the corners of our box.

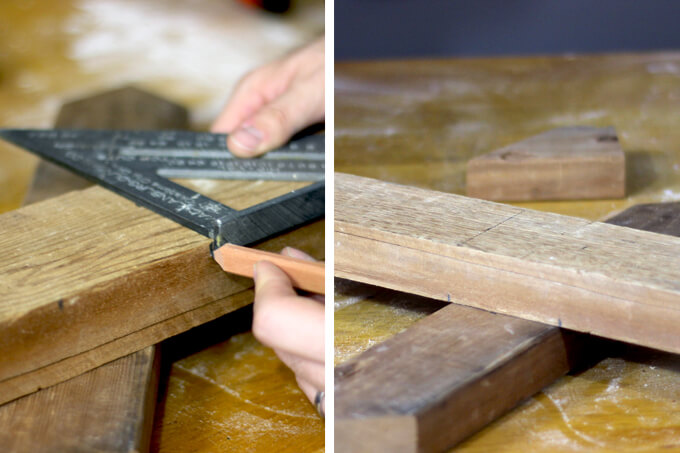
3. Next, Brent marked the center of each of these boards and used a square to draw a line on the top and sides of the boards indicating how the boards needed to fit together at a 90 degree angle.

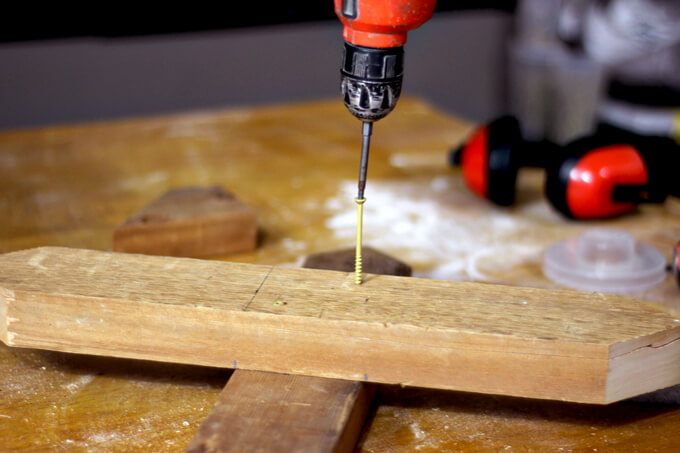
4. Using a drill and two 2 1/2 inch decking screws, Brent attached the two boards together.

5. Using the extra piece of cedar 2″x4″, I cut four smaller pieces at a 45 degree angle on the miter saw.

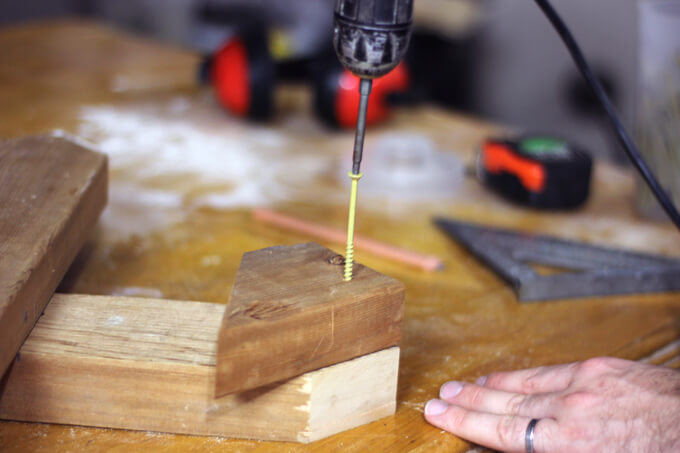
6. Brent used 2 1/2 inch decking screws to attach the small pieces I cut to the ends of each board to make all the corners of the box the same height.

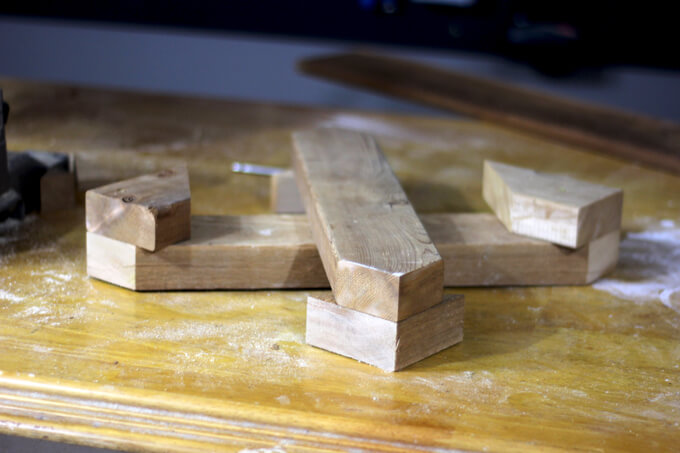
Now we had our x base assembled.

7. Next, Brent used the miter saw to cut the cedar fence planks down to the length we needed in order to create the frame of the box.

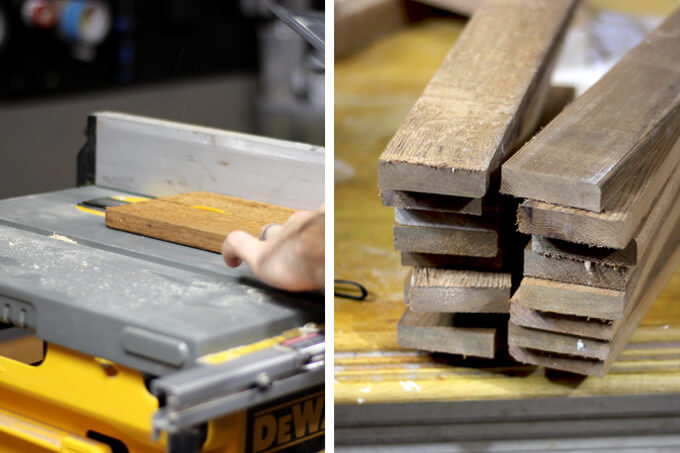
8. I wanted the planks on the side of the box to be more narrow to Brent used a table saw to cut each piece in half.

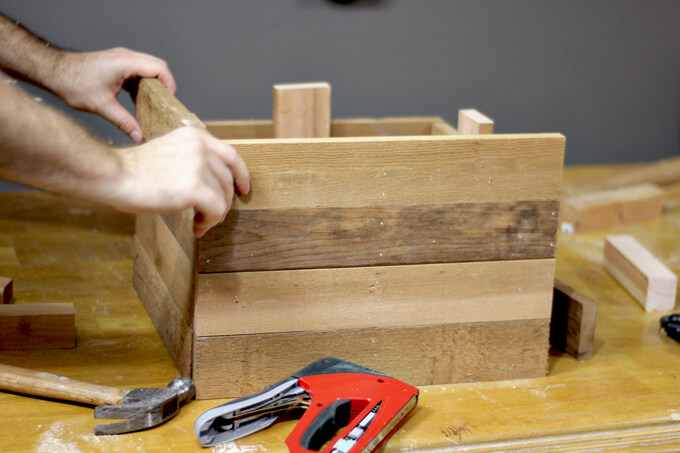
9. Brent used a staple gun that holds 1 1/2 inch finishing nails to attach all the planks to the base and also a center support. To achieve the look we were going for we alternated between using light and dark planks.

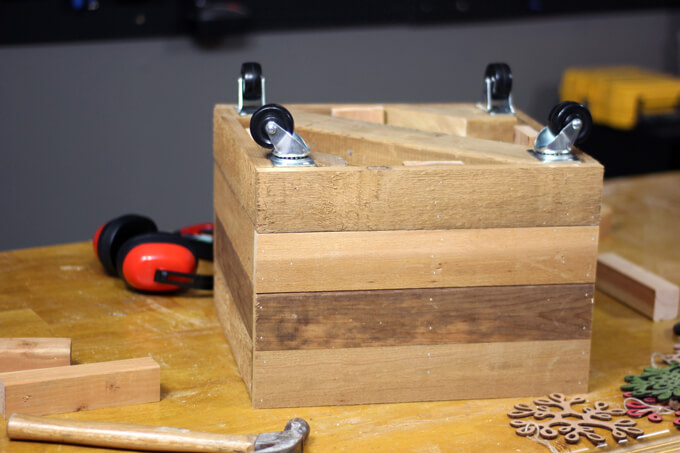
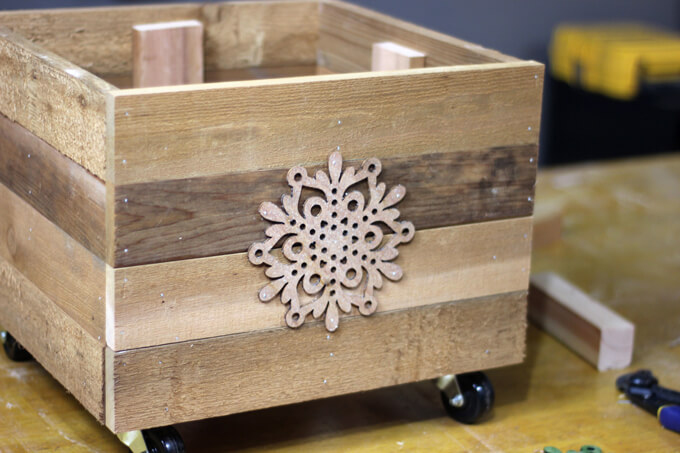
10. Once the box was complete, Brent flipped it over and attached casters to the bottom using 1 inch screws.
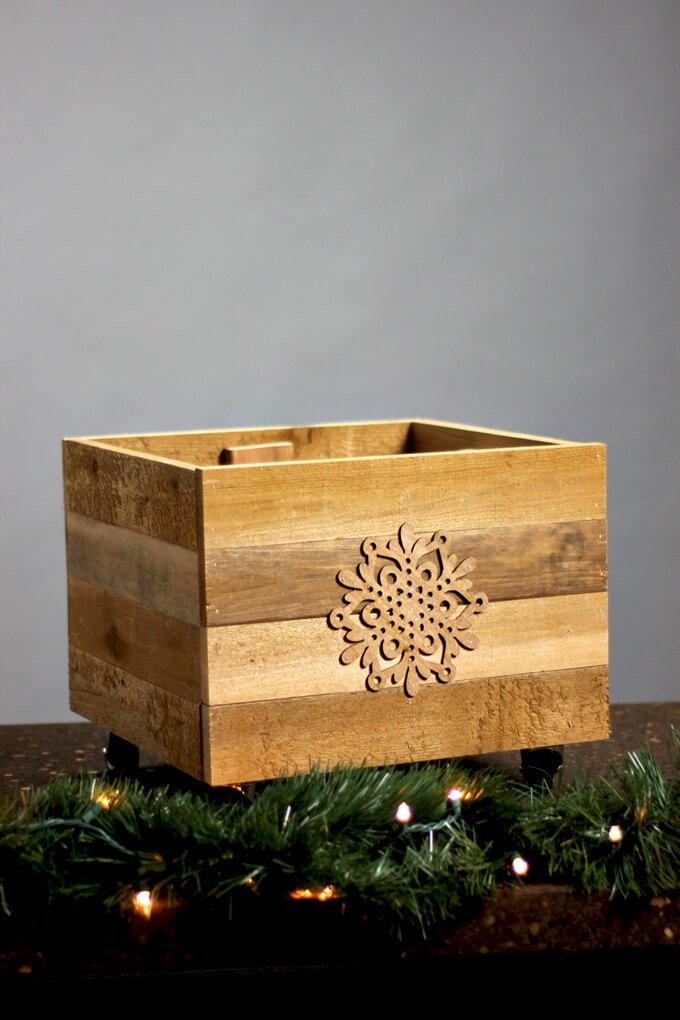
We used two different types of casters, swivel casters on the back and rigid casters on the front.

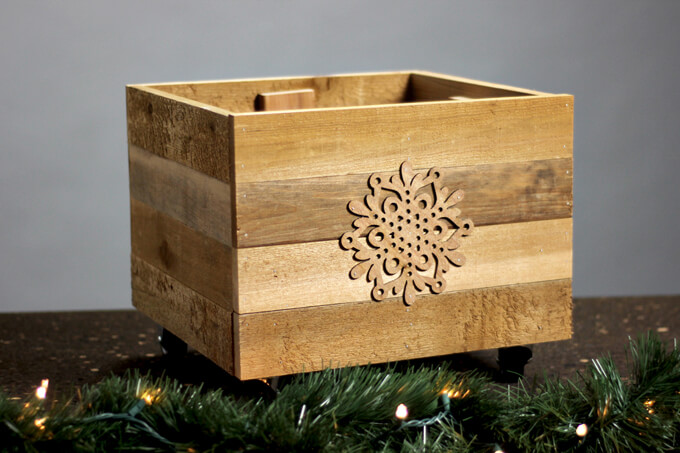
11. For an extra special touch we added wooden snowflakes to the front and back of the box.

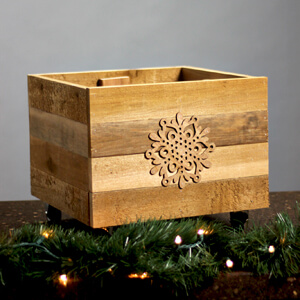
Here is our completed rustic Christmas tree stand box on casters!

We are so happy with how it turned out. It was a very quick Christmas decor project that not only makes a statement on its own but also goes great with our rustic star tree topper.
Maybe next year we will branch out and create some rustic ornaments we can add. Hopefully we will get an earlier start decorating next year.
If you already have the situation under the tree covered, this box could also make for a cute storage solution for blankets.
PIN THIS PROJECT


