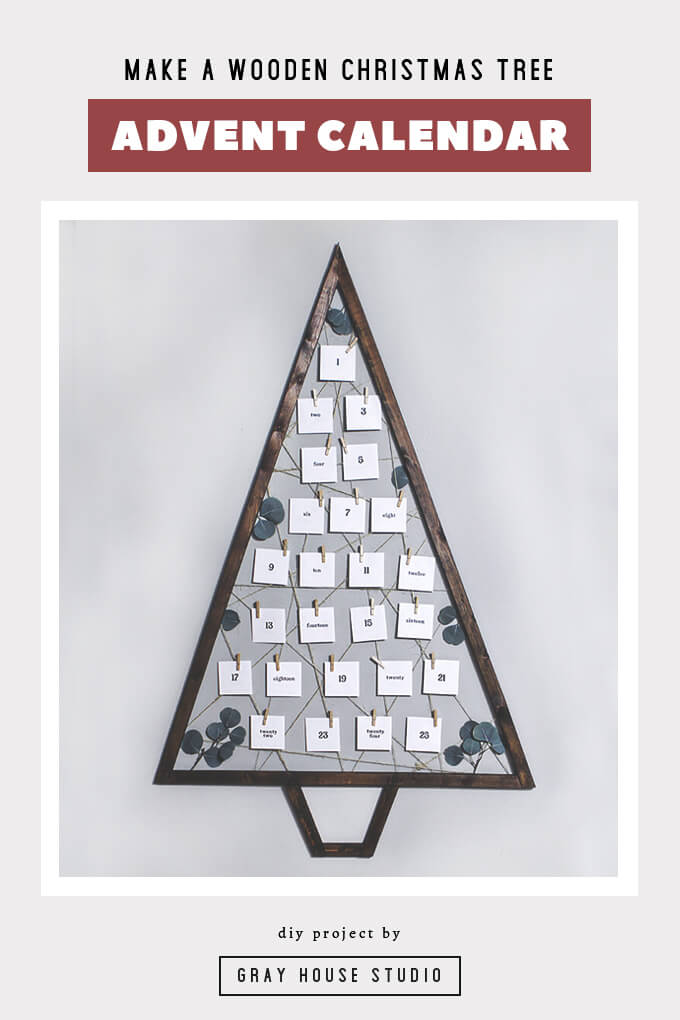
In this DIY tutorial post we will show you how we made a large wood Christmas tree advent calendar with a couple 1″x2″s and twine for our son.
Each year as our son gets a little older the holidays are more fun. Our 3 year old loves opening those toy surprise bags. I don’t get it but I think he enjoys the element of surprise even more than the actual little toys that come inside.
For that reason coupled with the fact that he asks me every day hour if it is Christmas yet, we thought it would be fun to make hime an advent calendar this year filled with family fun holiday activities.
To DIY this holiday decor on the cheap, we came up with a wooden Christmas tree advent calendar using supplies we already had at home.

Watch the video below or keep scrolling down to see how to easily make this wood tree ad.
Wooden Christmas Tree Advent Calendar DIY
SUPPLIES
Shop the products we used for this project in one place.
- (3) 1″x2″ 8′ Pine Boards
- Miter Saw
- 3/8″ and 1/4″ Drill Bits
- Drill
- Wood Glue
- 1-5/8″ Drywall Screws
- Wood Stain in Kona
- Disposable Gloves
- Heavy Duty Stapler & Staples
- Twine
- 30″ Faux Eucalyptus Stem
- Small Envelopes
- Advent Cards Template
- Small Clothespins
- Round Corner Punch
FYI: This post contains affiliate links to products we used and liked for our Wooden Christmas Tree Advent Calendar DIY. As an Amazon Associate Gray House Studio earns from qualifying purchases. This is at no extra cost to you. We appreciate you supporting this site. Read our privacy and disclosure policy.

Wooden Tree Advent Calendar DIY
STEPS
PART 1: Make the Wood Tree

1. The first thing we did was use our miter saw to cut our 1″x2″ boards down to the correct size. The entire tree was made using 1″x2″ boards.
If you are interested in making this Christmas decor piece, you can find the exact measurements and angles to cut in our wooden Christmas Tree advent calendar DIY plans.
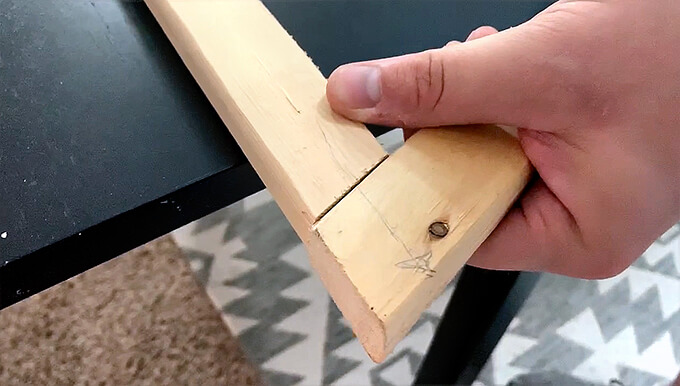
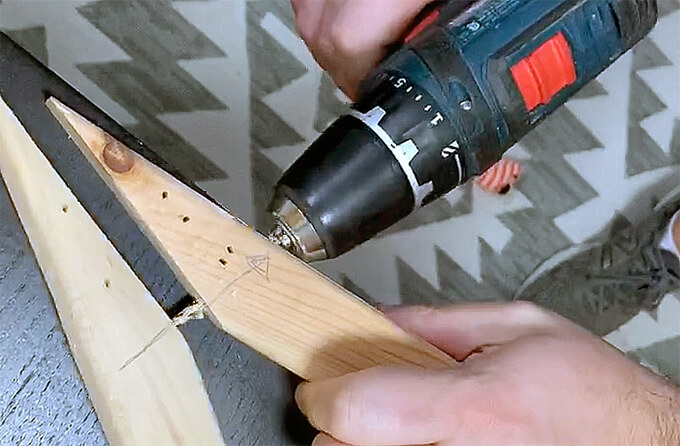
2. We drew an arrow across the two boards that needed to attach together because it helped us see where to drill the pilot holes (parallel to the board).
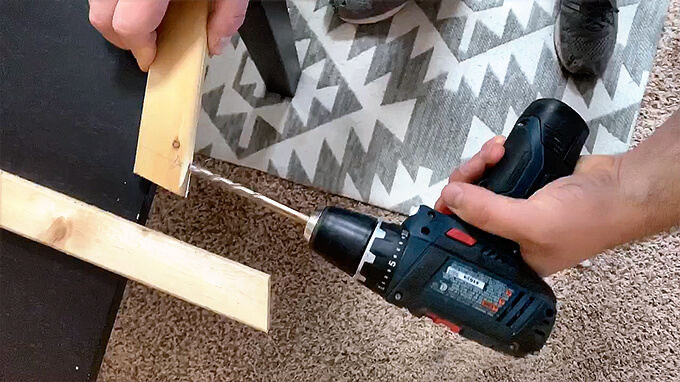
3. Using a 3/8” drill bit and a drill, we drilled a hole about 1/4” deep to countersink the head of the 1-5/8″ drywall screws.
4. Then we used a 1/4” drill bit to drill through the first board. This hole will direct the screw and allow it to pull the boards together as it anchors into the second board.
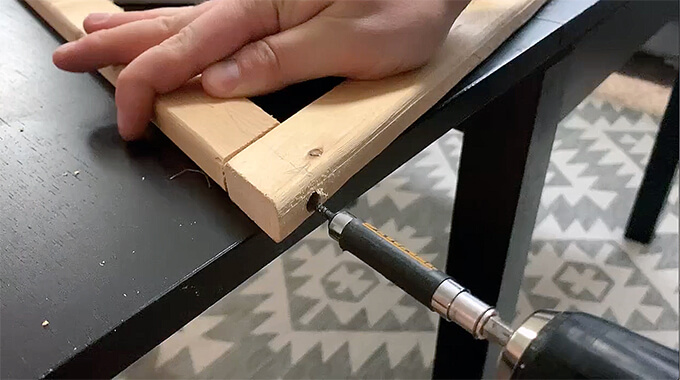
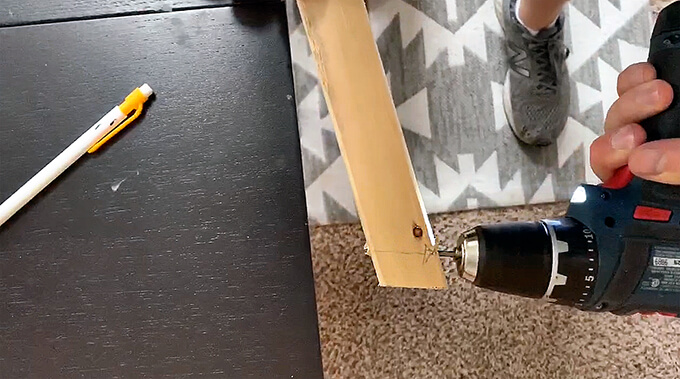
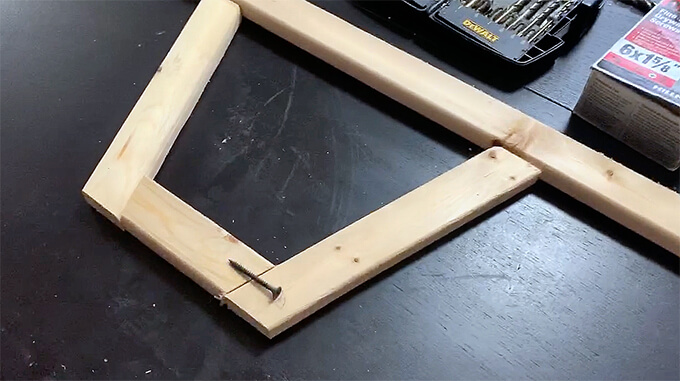
5. We drilled a 1-5/8″ screw in to attach the corners of the tree together. If you need extra strength you could also apply wood glue to the two boards.
6. We repeated the previous four steps for every joint of the tree, including the base.
7. We used a screw to visualize how deep of a countersink hole we needed the 3/8” bit to be. This heled ensure that the screw extends well into the 2nd board without breaking out of either board.

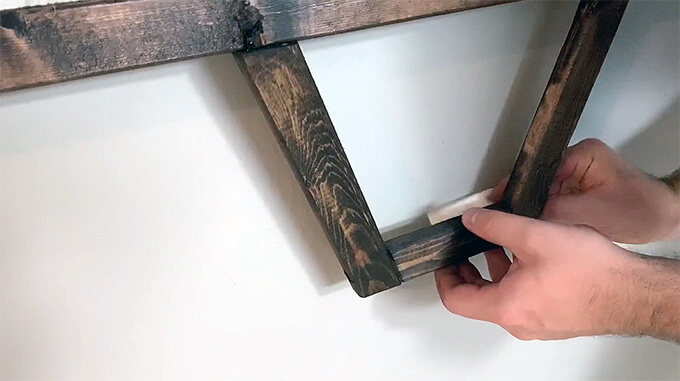
8. Next we stained our wood tree shape with our favorite wood stain in Kona. We also like to use disposable gloves when working with the stain because it gets messy! (And yes, we stirred our stain with a stick)
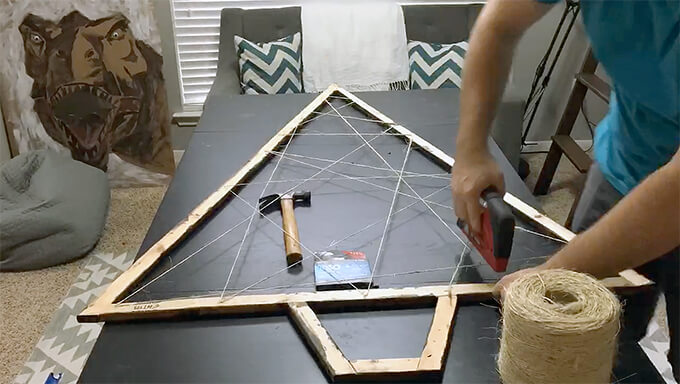
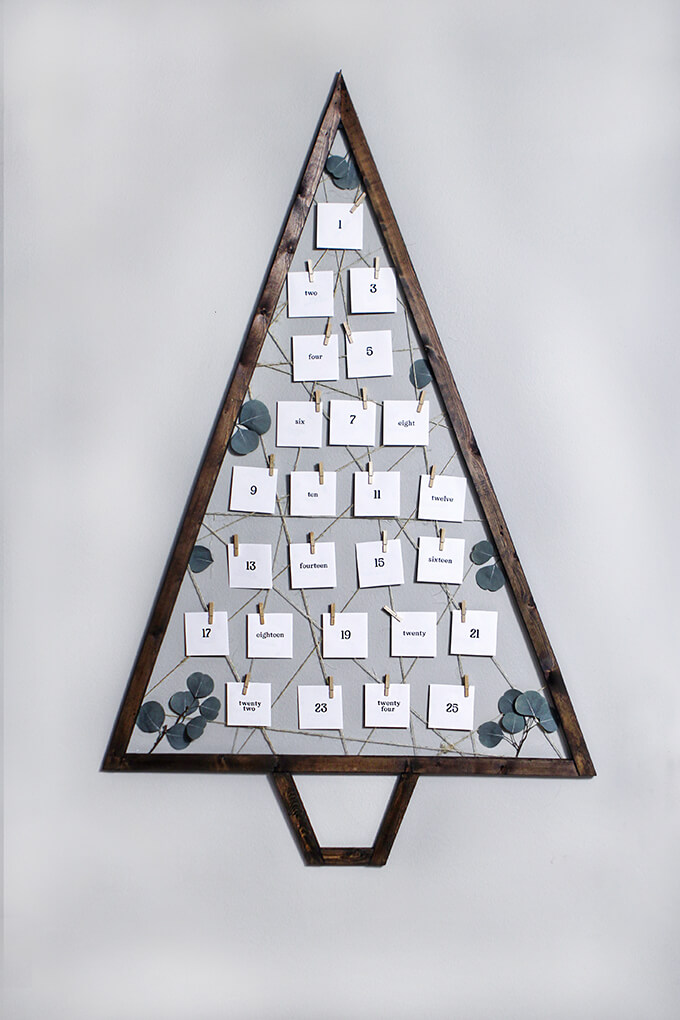
9. Once the stain was dry, we used a heavy duty stapler and stapled our twine to the back of the wood tree. We criss crossed it back and forth to give it an organic look.

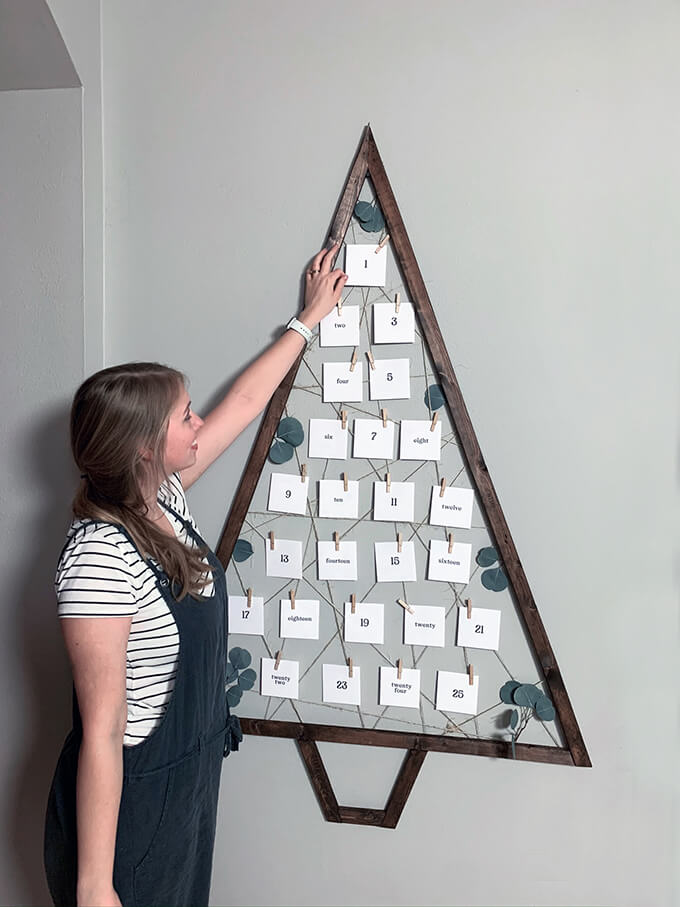
22. We used a 1-5/8″ screw to hang our wooden Christmas Tree advent calendar on the wall.
23. Because our toddler walks by this wall 1,000+ times a day, we added a few command strips to keep it nice and secure to the wall.
PART 2: Make the Cards

24. I designed these advent calendar cards in Photoshop. I just listed out as many activities as I could that we could realistically do. Then, I added a few “get a surprise” cards to fill in the gaps. The “surprises” are just a few of those little surprise toy grab bags. It’s a surprise in a surprise!
We made a blank PDF of my advent calendar cards that you can download, print, and fill in with your own activities.

25. Next, we cut each card out and used our super awesome round corner punch to round the corners on each card.
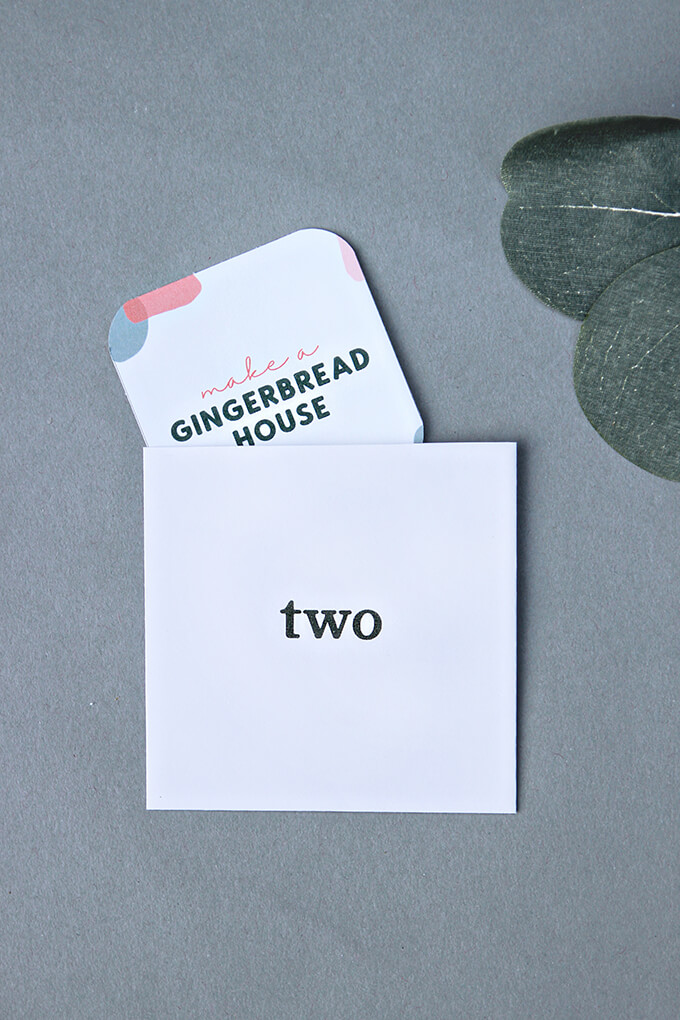
26. To make the envelopes, we just used some small white envelopes we already had and printed numbers on them using our home printer. Then, we sealed them and cut them so they would be square.
We put one of our cards in each envelope. I for real made a calendar so I could plan out all our activities and put them in the correct date envelopes. I didn’t want to risk putting the wrong thing in the wrong day. Our toddler would hold us accountable to whatever the activity was he opened on that date.
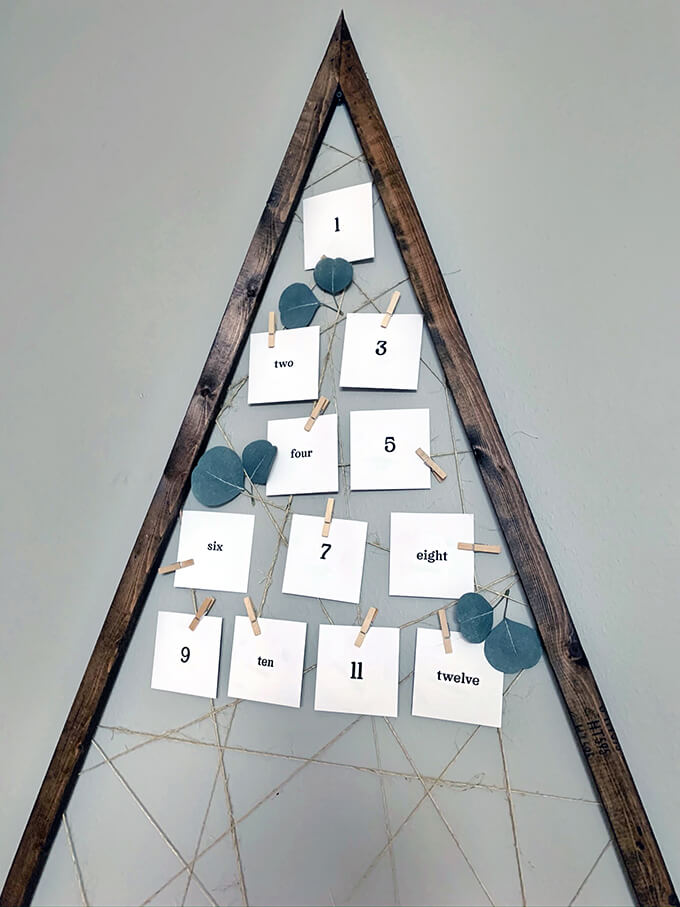
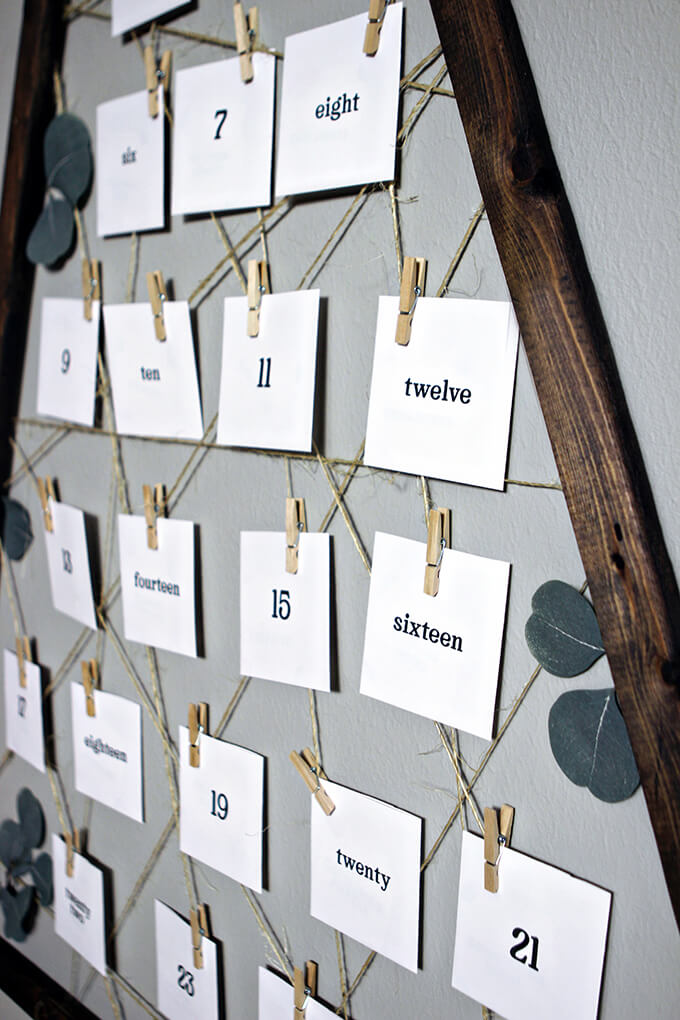
27. Finally, we hung each envelope on our wooden tree with mini clothespins. I also stuck a few pieces of a faux eucalyptus stem we had to add a little greenery.

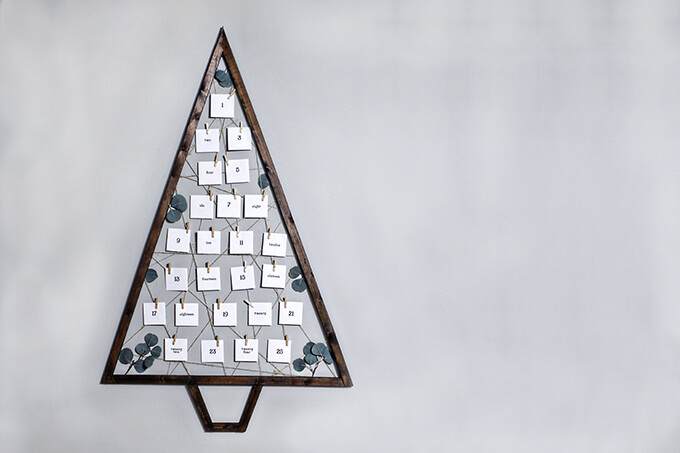
The nice thing about this DIY wooden tree is it is very versatile. It could be used as an advent calendar or to display Christmas cards during the holidays. It could be used year around or at parties to display photos.
After the holidays I am thinking of moving it to our outdoor themed nursery to display our son’s artwork!
PIN IT FOR LATER