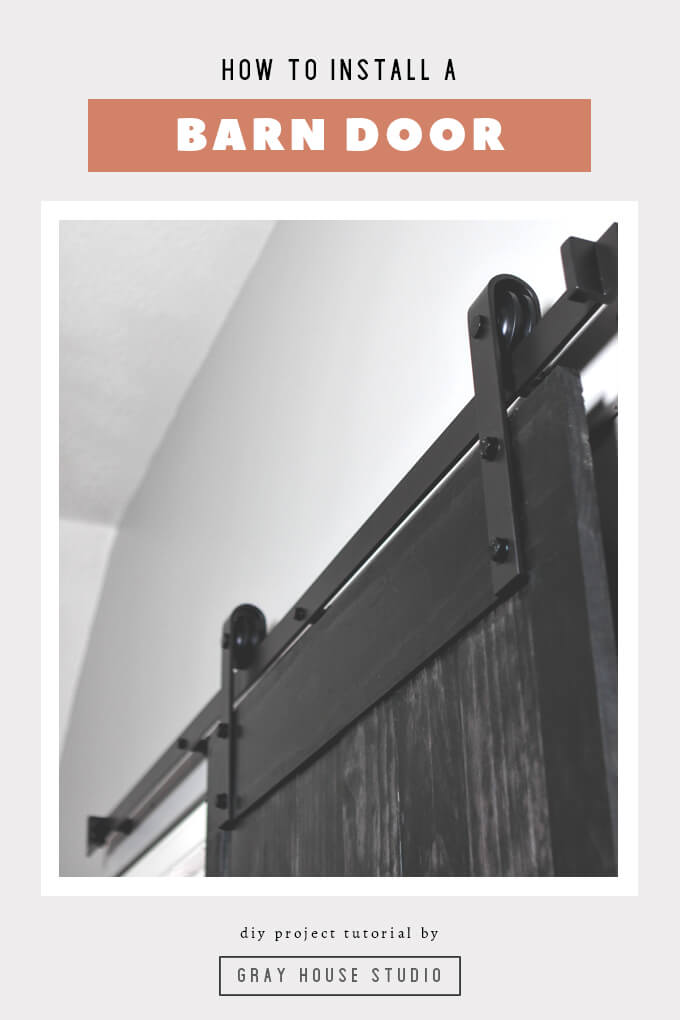
In this DIY tutorial we will show you how to install a barn door using interior sliding door hardware. This post was sponsored by National Hardware but all opinions and content are 100% our own.
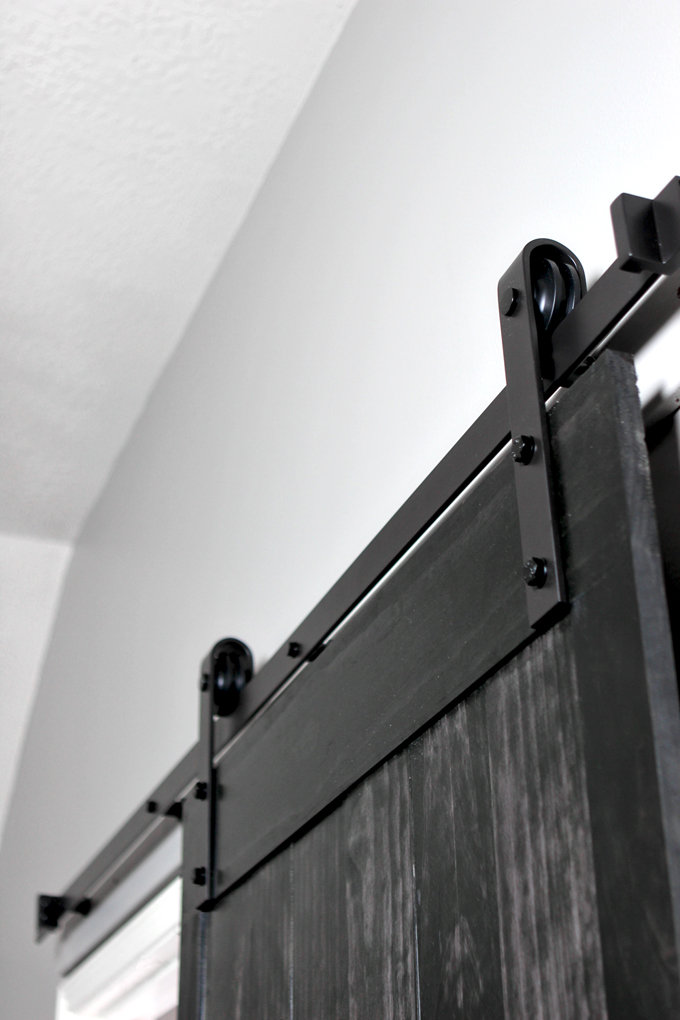
The very first DIY Gray House Studio project we completed in our house over two years ago was to build and hang a wood barn door in our master bedroom. We built the barn door from scratch as well as pieced together the track system.
It was only two years ago but looking back on our barn door project it feels like we were such newbies when it came to deciding on our design style. As we have completed more projects in our home and really nailed down the aesthetic we want our house to have, we decided we needed to revisit this barn door and give it a revamp.
The first part of our barn door refresh was to update all of the hardware and add a door handle to make sliding the door easier. While we are really proud of how we built our barn door and how we were able to create our own sliding door track system, there were a few mirror issues we had with the appearance of the track.
First, the wood spacers had to go. Because they had to be in the studs, they were off center and not spaced evenly which was a bit distracting. Secondly, we wanted to say goodbye to stainless steel hardware and hello to oil-rubbed bronze that would better suits the industrial/rustic vibe we having going on in the rest of the house.
This time around we wanted this to be a quick and easy update that didn’t take all day so we choose to use a decorative interior sliding door hardware kit from National Hardware. We were happy to discover that the hardware is high quality and having all the pieces you need packaged together makes installing a barn door a breeze.
Today we are going to walk you through how to install a barn door using interior sliding door hardware. Note: If you need to build a barn door first, be sure to check out our barn door post and free barn door plans.
How to Install a Barn Door
SUPPLIES
- Tape Measure
- Miter Saw
- (1) 1″x4″x8′ board
- Stud Finder
- Level
- Drill
- Interior Screws
- Wrench + Socket Set
- Soft Mallet
- National Hardware Interior Sliding Door Hardware, Oil Rubbed Bronze
- 10″ Bar Pull
- Pin Punch
- Screwdriver
FYI: This post contains a few affiliate links to products we used to make this project. Gray House Studio does receive commissions for sales from these links but at no extra cost to you. We appreciate you supporting this site. Read our privacy and disclosure policy. You can also easily shop our recommended products here.
STEPS
1. INSTALL HEADER BOARD
1. It is advised NOT to install the track directly into the drywall so we first needed to install a header board above our door opening. The hardware kit does not come with the supplies you will need to install a header board so you will have to get the piece of wood and interior screws separately.
We had a 1×4 that was 8ft. long laying around in our garage so we decided to use that for our header board. The track is 72″ so we needed to make our header board the same length.
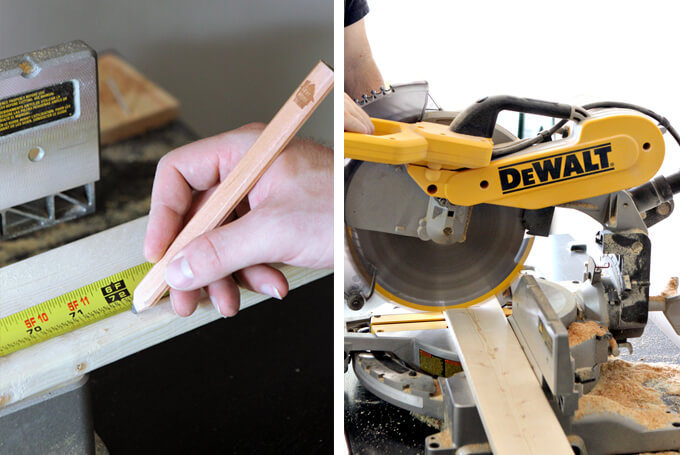
We used a tape measure and pencil to measure and mark 72″ on our board and then used our miter saw to cut the board down to 72″, it was as easy as that.
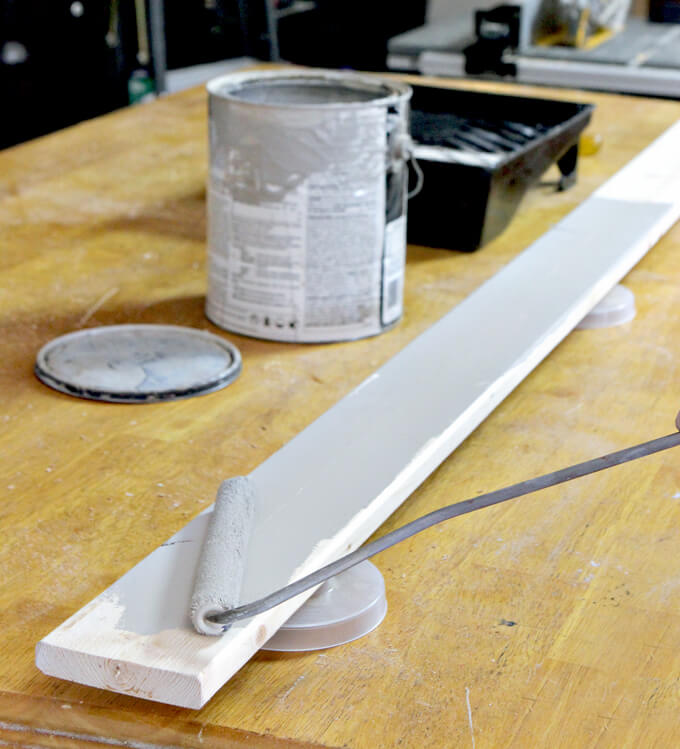
2. As a design preference, we wanted our header board to blend in with the wall and to not be noticeable so we painted it the same color as our wall.
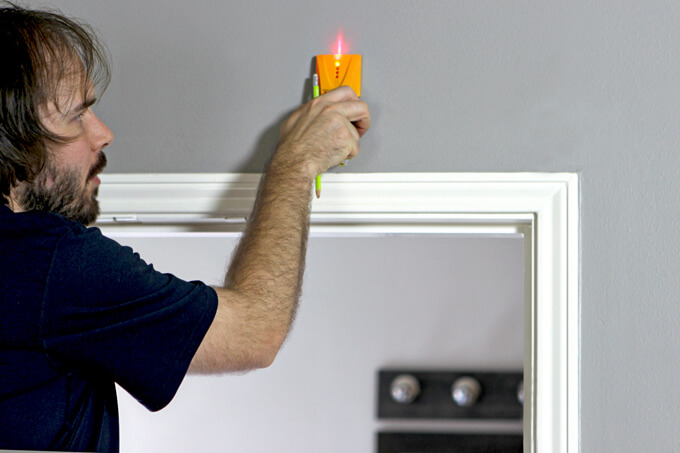
3. To install the header board above the door we used a stud finder to mark where the studs were in the wall.
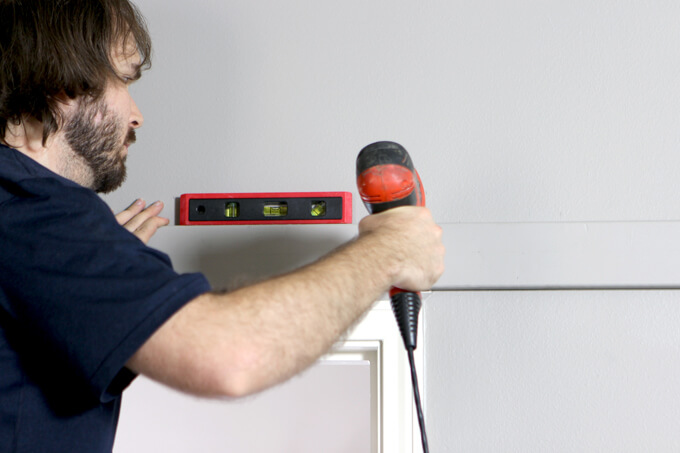
4. We determined where we needed to place the header board above our door frame so it would appropriately cover the door opening and then using a level, to make sure the board stayed straight, we used our drill to drill interior screws into the wall studs to securely attach our header board to the wall.
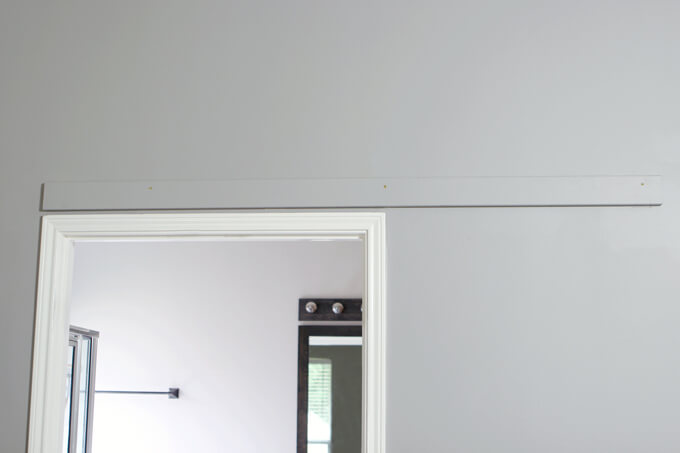
We like the fact that our header board blends seamlessly into the wall.
2. INSTALL TRACK
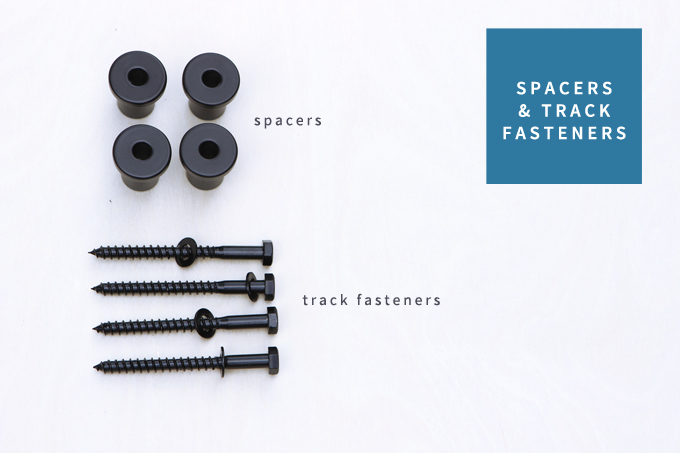
FOR THIS STEP YOU WILL NEED: Track, Spacers, Track Fasteners from the sliding hardware door set, Level, Drill, Wrench + Socket Set
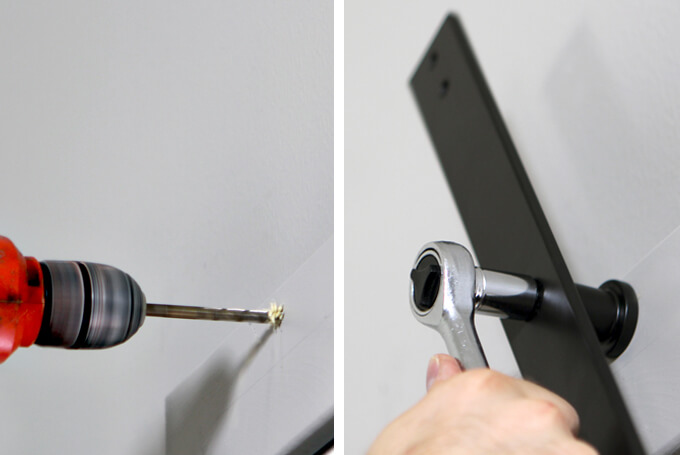
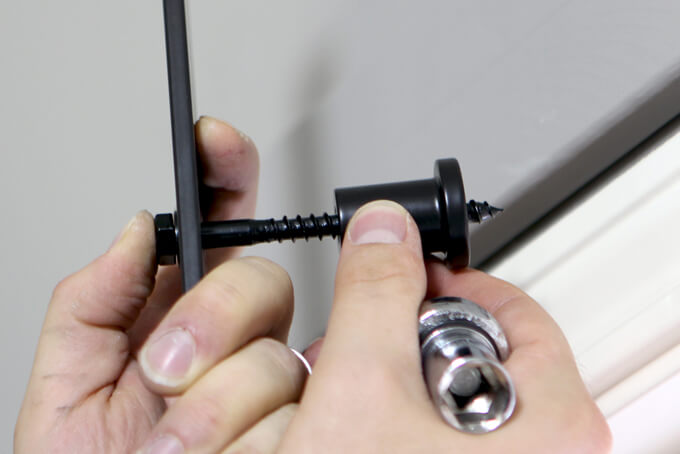
5. We held the track up to the header board and marked in the large hole at the end of the track where we needed to drill. Then we drilled a hole and installed the fasteners and spacer.
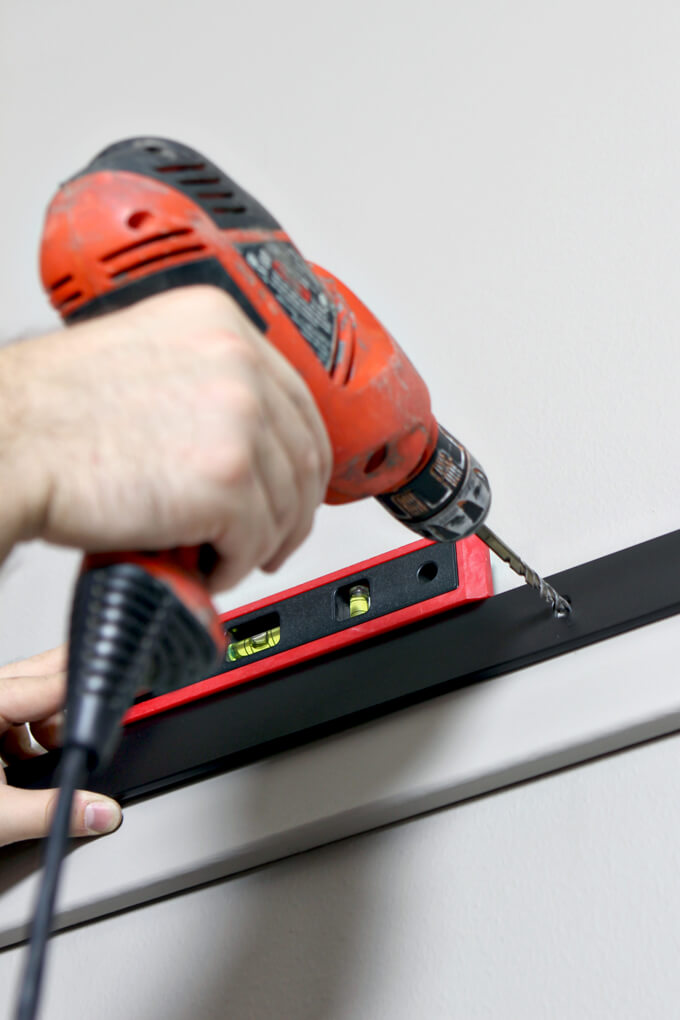
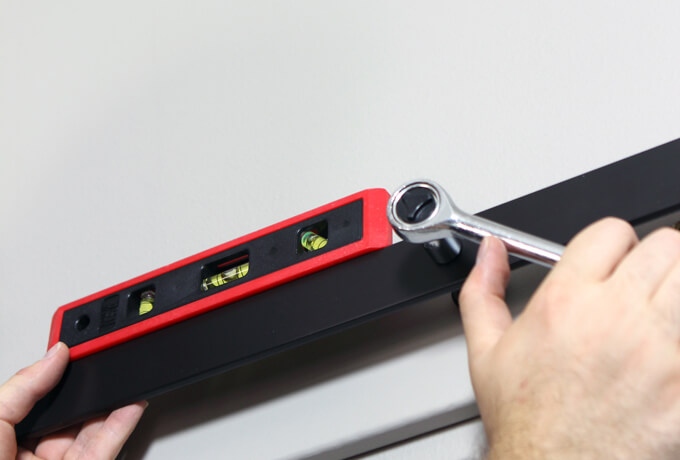
6. Next, we marked and drilled the hole at the other end of the track. We set a level on the track to make sure the track stayed straight while we installed the next spacer and fastener.
Finally, we marked, drilled and installed the spacers and fasteners in the center holes which secured the track to the header board.
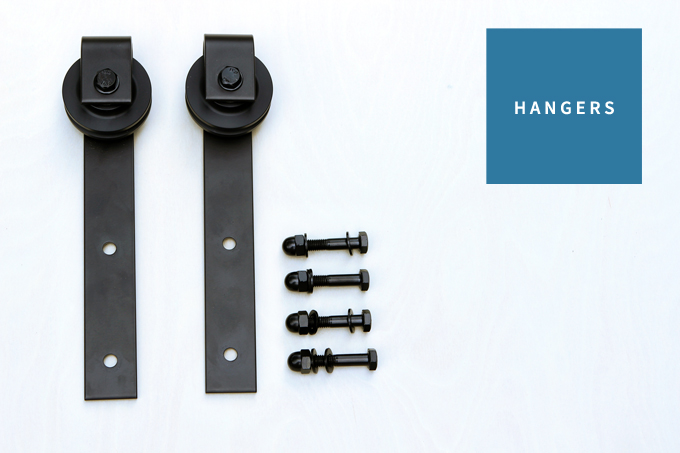
3. INSTALL HANGERS
FOR THIS STEP YOU WILL NEED: Hangers, Hanger Fasteners from the sliding hardware door set, Pin Punch, Drill, Soft Mallet
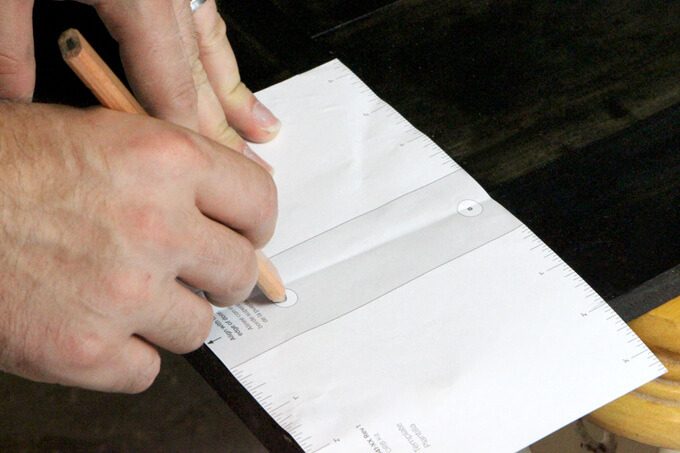
7. We used the supplied template to determine where we needed the holes in the door for the hangers.
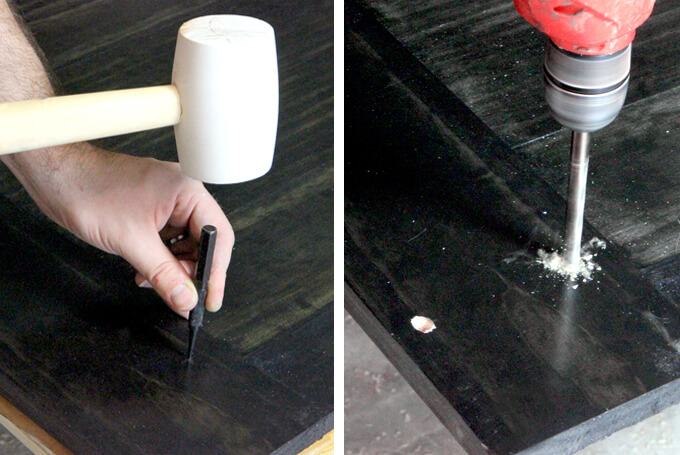
8. Then we used a pin punch to mark the holes on both ends of the door and then drilled the holes.
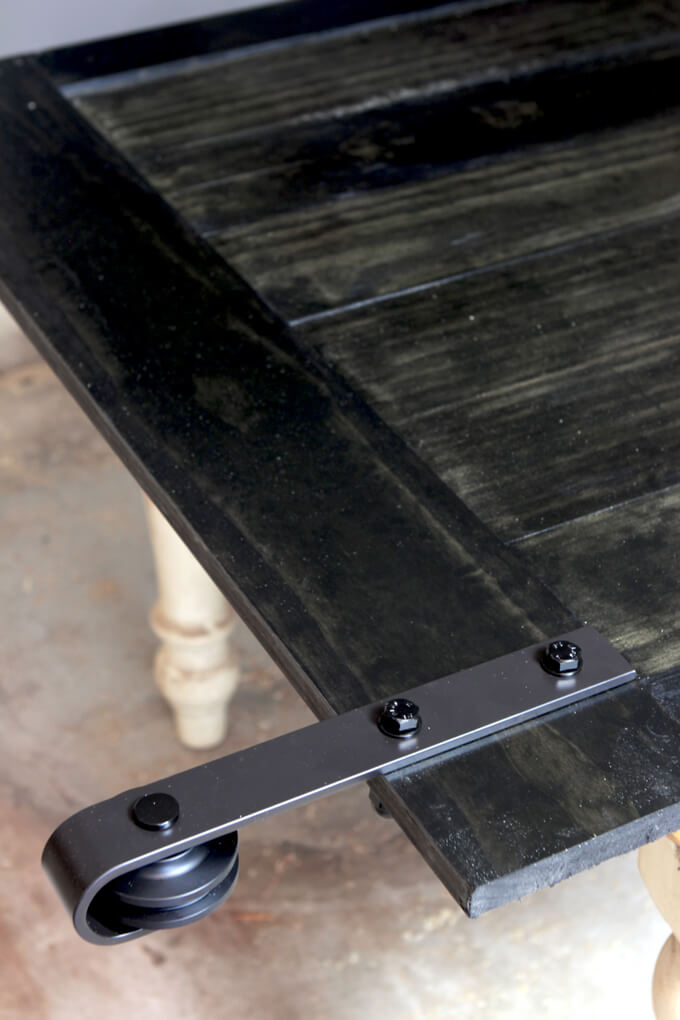
9. We removed the pre-installed fasteners from the hangers. Our door is thin so we used the shorter hanger fasteners to attach the hangers to the door.
4. INSTALL BAR PULL
FOR THIS STEP YOU WILL NEED: Bar Pull, Pin Punch, Screwdriver, Soft Mallet
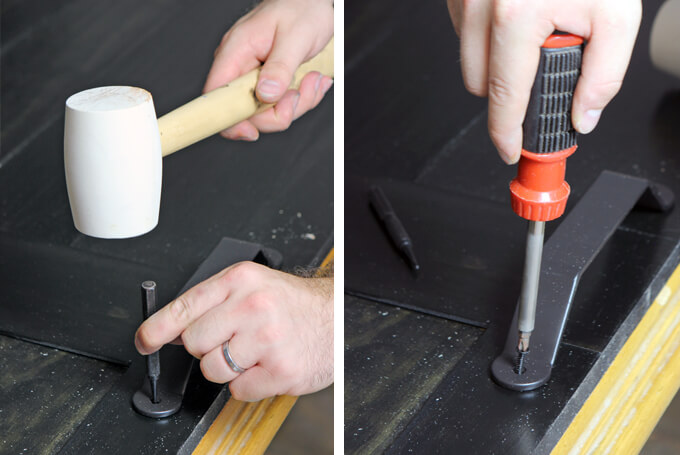
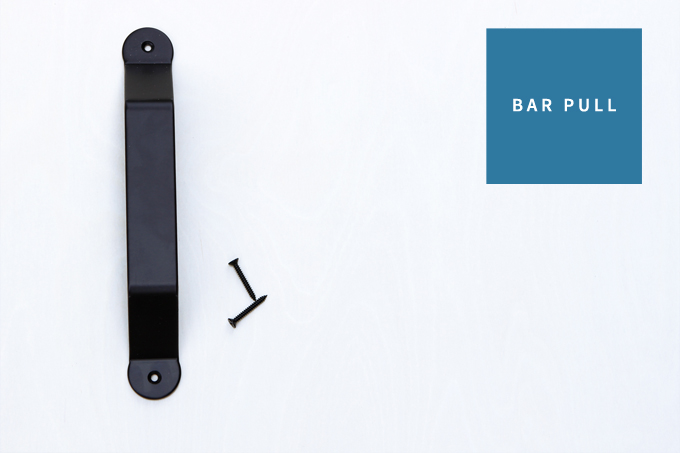
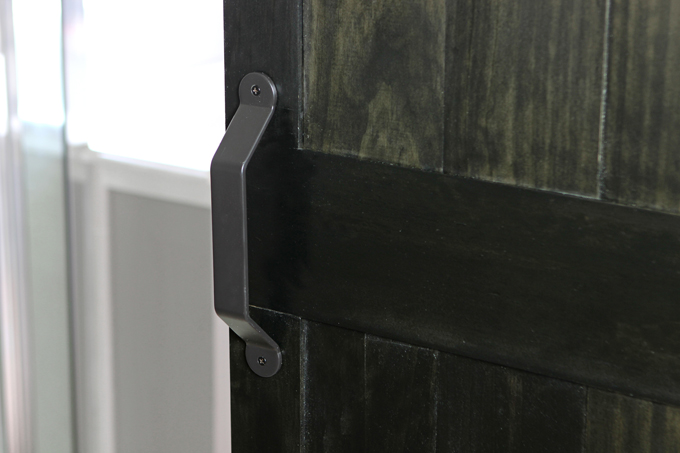
10. To install the handle, we lined up the bar pull where we wanted it on the door and then used a pin punch to mark where the two holes in the handle are. Then we secured the handle to the door using the screws that came with the bar pull and a screwdriver.
5. INSTALL ANTI-JUMP DISCS
FOR THIS STEP YOU WILL NEED: Anti-jump Discs from the sliding hardware door set, Screwdriver

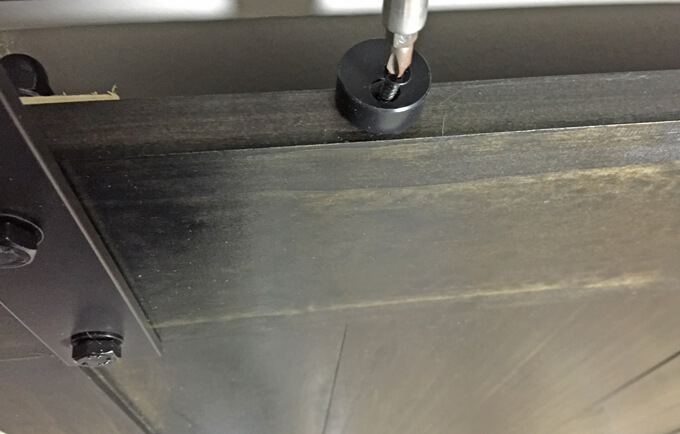
11. To install the anti-jump discs we placed a disc on the top edge of the door on the inside edge of the hanger making sure the hole is facing the front of the door.
6. PLACE DOOR ON TRACK
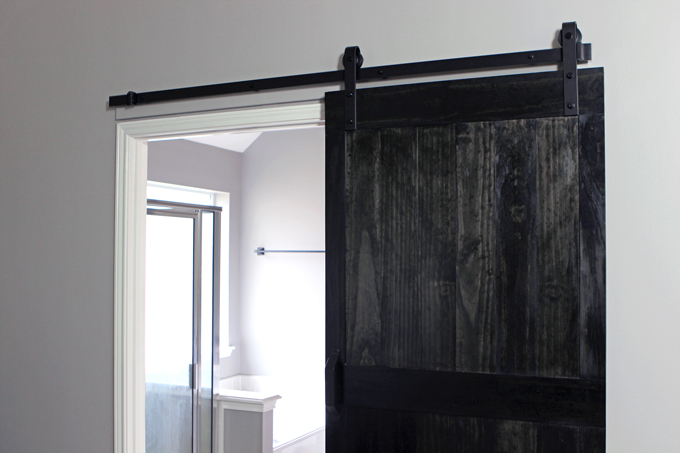
12. After we installed everything on the door, we placed the door on the track and tested to make sure it slid across the track smoothly.
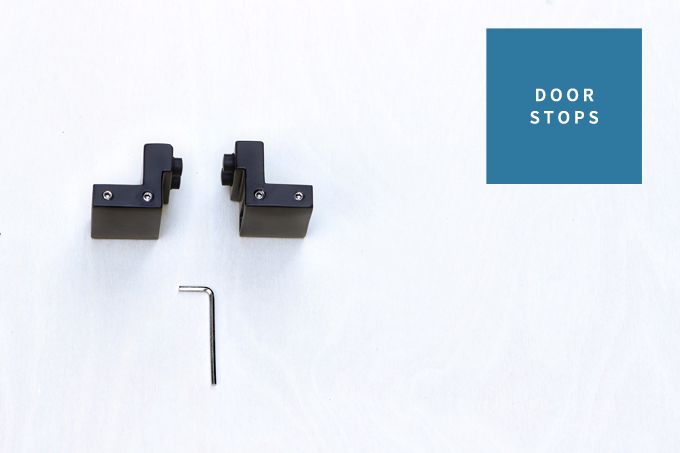
7. INSTALL DOOR STOPS
FOR THIS STEP YOU WILL NEED: Door Stops from the the sliding hardware door set
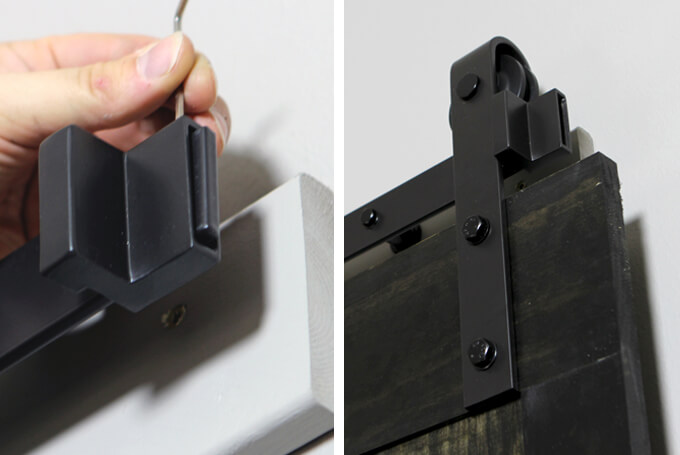
13. Next, we installed the door stops on each side of the track and secured them by tightening the set screws.

8. INSTALL HOLE CAPS
FOR THIS STEP YOU WILL NEED: Track Hole Caps from the sliding hardware door set
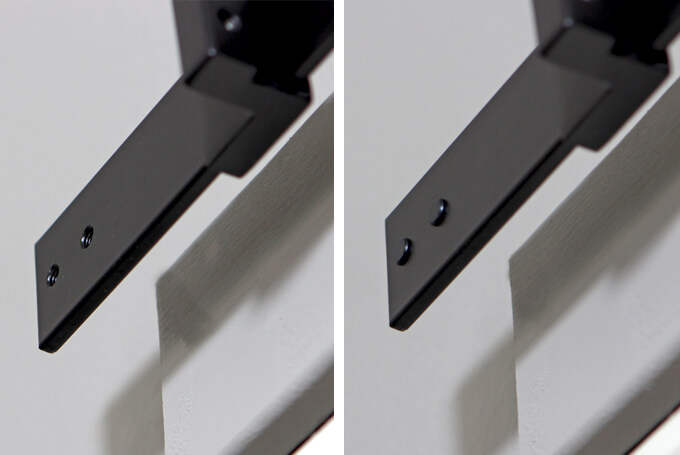
14. Since we did not need to connect multiple tracks we inserted the hole caps into the small holes at both ends of the tracks.
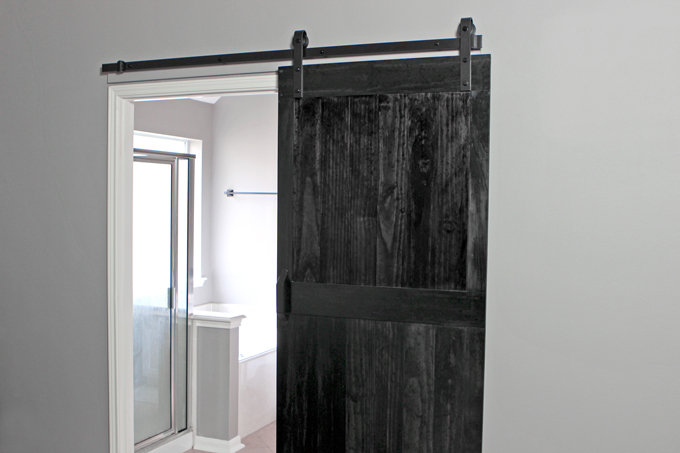
And that’s it! We hope you found this how to install a barn door tutorial helpful.
If you are looking for a simple and nice-looking hardware solution to hang you barn door, we are really pleased with how the oil-rubbed bronze hardware from National Hardware looks and functions.
[adinserter block=”6″]
Our master bedroom still has mostly black furniture which is why we initially stained the barn door black. Working on our master bedroom is at the bottom of our list when it comes to room makeovers but once we get around to it, I’m sure we will update our barn door to be stained Kona. For now, updating the hardware to oil-rubbed bronze has already made a huge difference.
Check out how we built our wood barn door and download free wood barn door plans to build your own.
PIN FOR LATER

Love your door! We installed a barn door, and found with the header board, there is more of a gap than we want between the door and the wall. Any idea where to get shorter spacers to close the gap to what it would be without the header board? I know we could put trim on the door, but we repurposed a rustic door and adding trim would detract from its charm. Thanks!
Beautifully explained and very easy to understand. Thank you for putting this together!
Thanks Sam!
What size interior screws did you use to attach the door header? And how many screws per stud did you use to attach it?
Thanks!
We used 3 inch deck screws to attach the header of the barn door header to the wall studs. We used one screw per stud.
What did you use for the guide on the bottom of the door?
We used this guide because it anchors to the wall and can fit almost any door. https://goo.gl/H2DdAc
Where did you get your door or did you build it?
Hello! We built the door. You can find more details about how we built our barn door here: https://grayhousestudio.com/wood-barn-door/. 🙂
Does the door seem to swing at the bottom a lot?
How do you determine at what height to mount the header board ? What is the spacing between the top of the door and the bottom of the roller ?
FYI: The installation is over a pocket door.
How many inches between the fasteners if you are mounting the rail on a wall with no studs ?
The instructions usually do a good job of helping with the specific measurements since barn door hardware can vary. To determine the height to mount the header you can attach the hardware to the door and prop the door off the ground. Then, mark on the wall where the bottom of the wheels attached to the door hardware are. This is where the top of your rail should go. If you don’t have studs you should use drywall anchors and probably space them every foot at least. Be careful if you don’t anchor into the stud because even with a header board the rail could still pull lose.
Thank you for your wonderful tutorial. Do you install the door guide in the bottom?