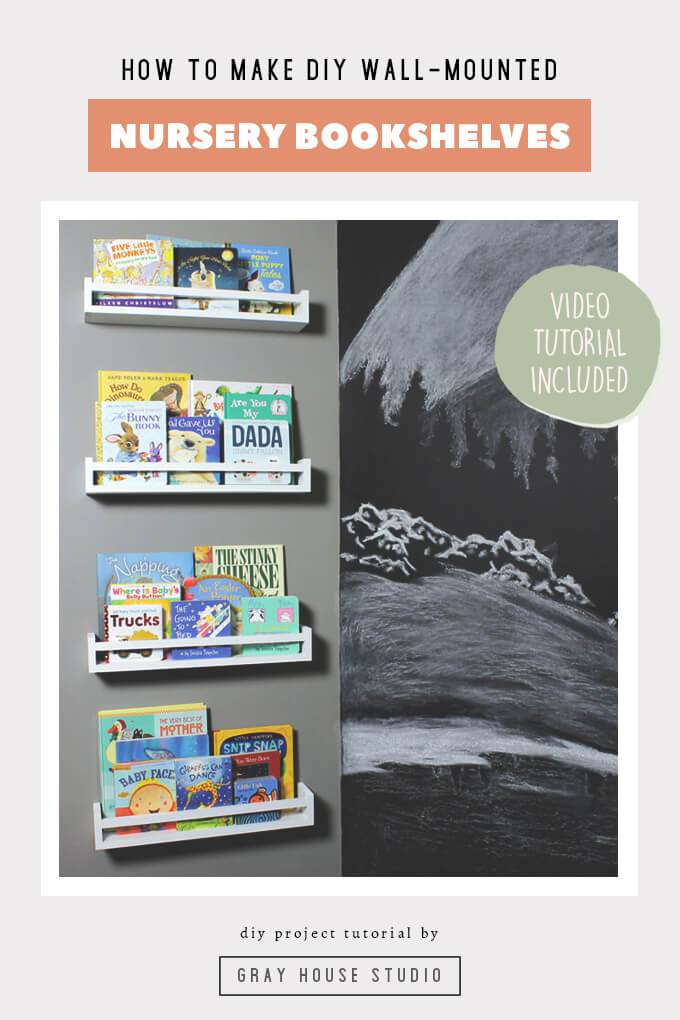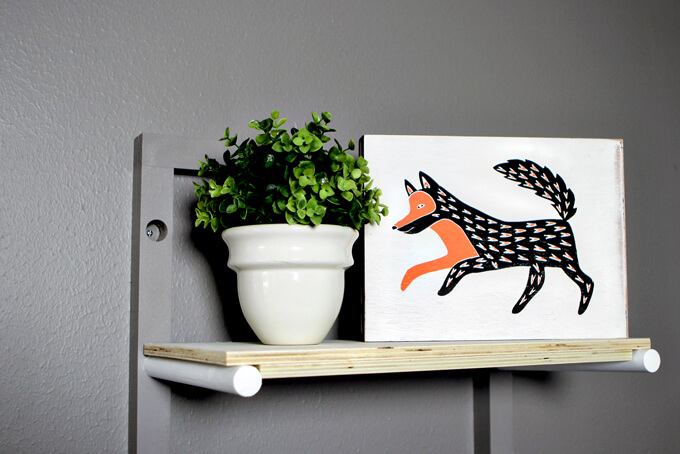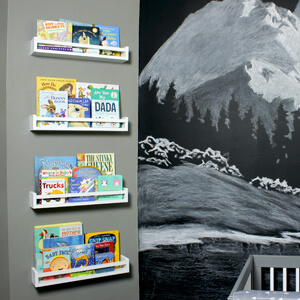
We made a set of nursery bookshelves to store, organize and display baby books.
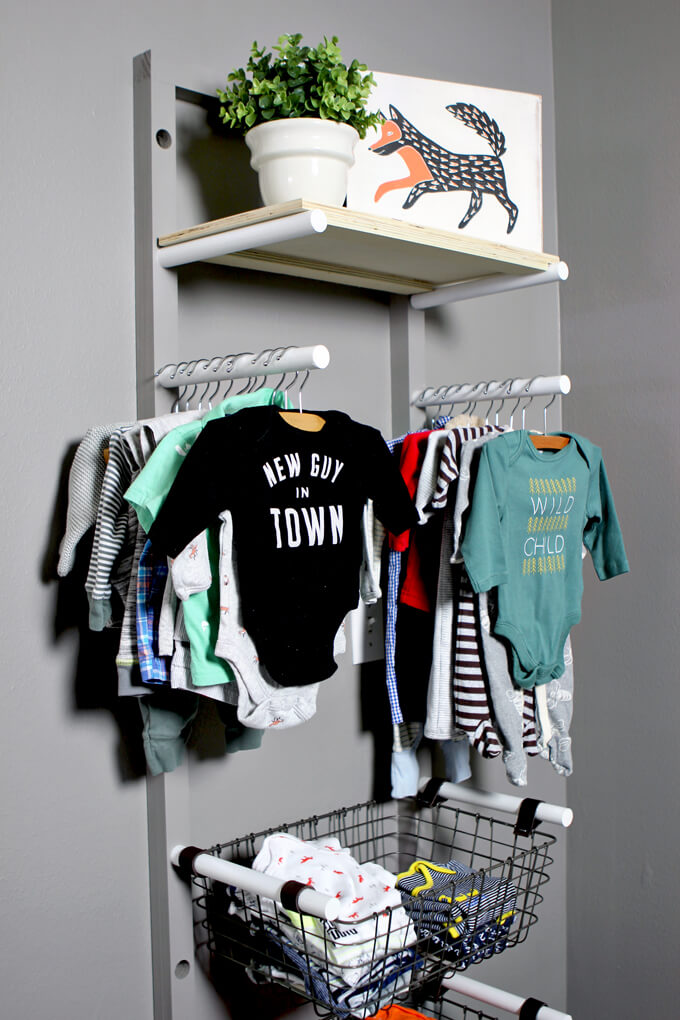
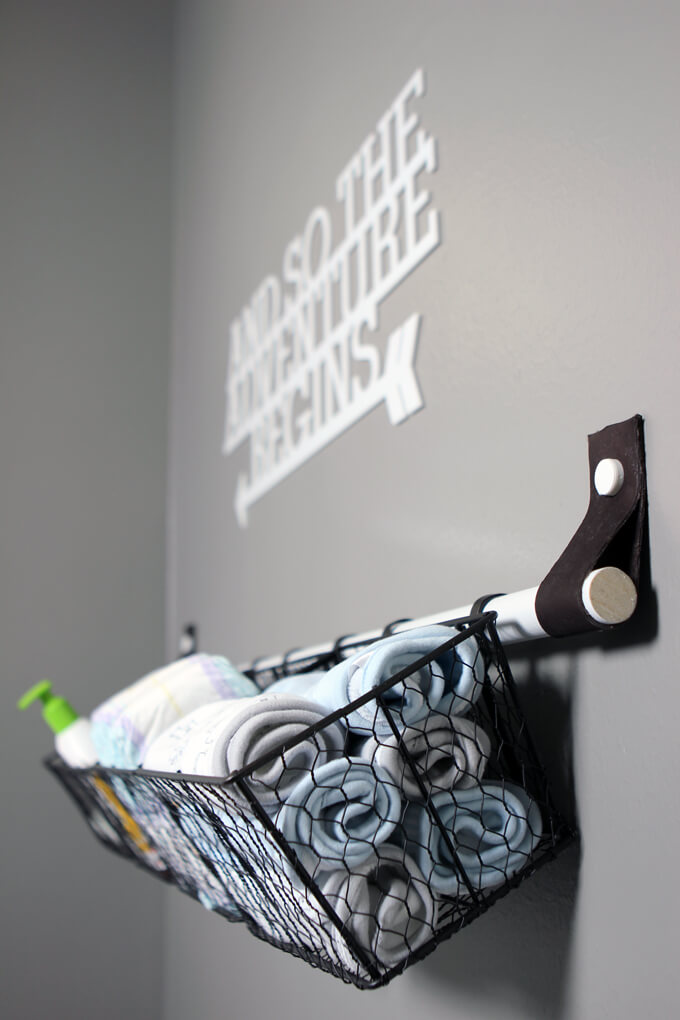
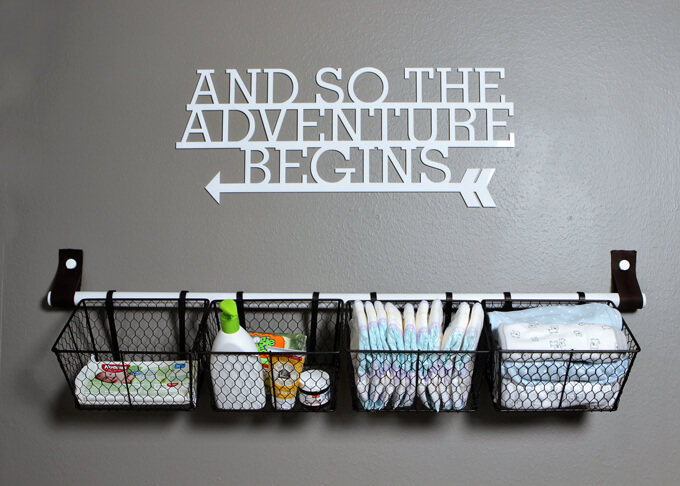
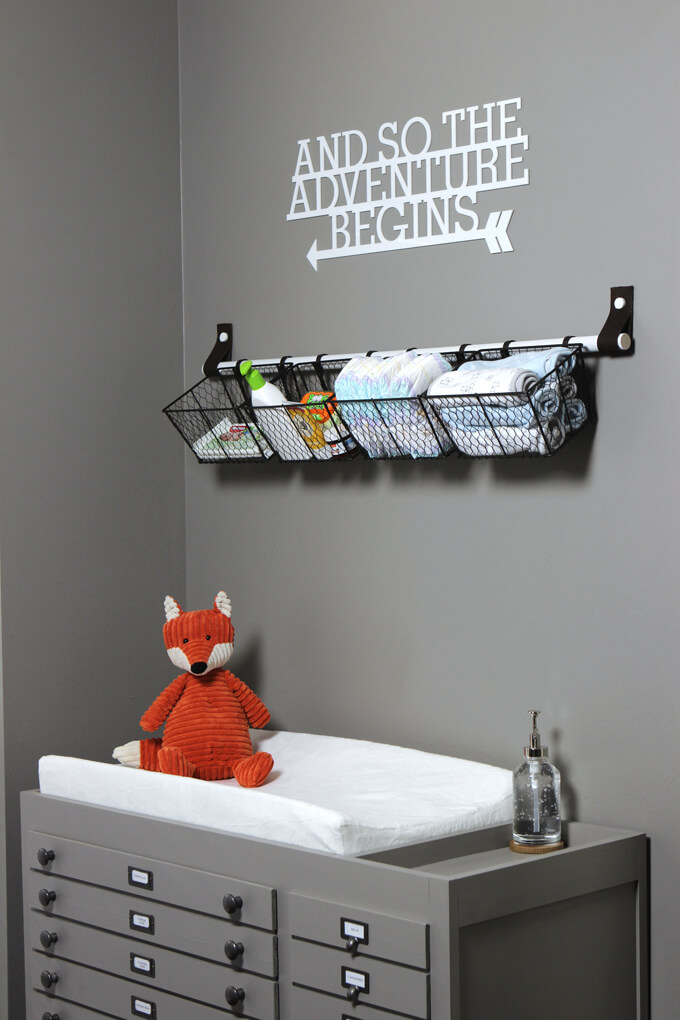
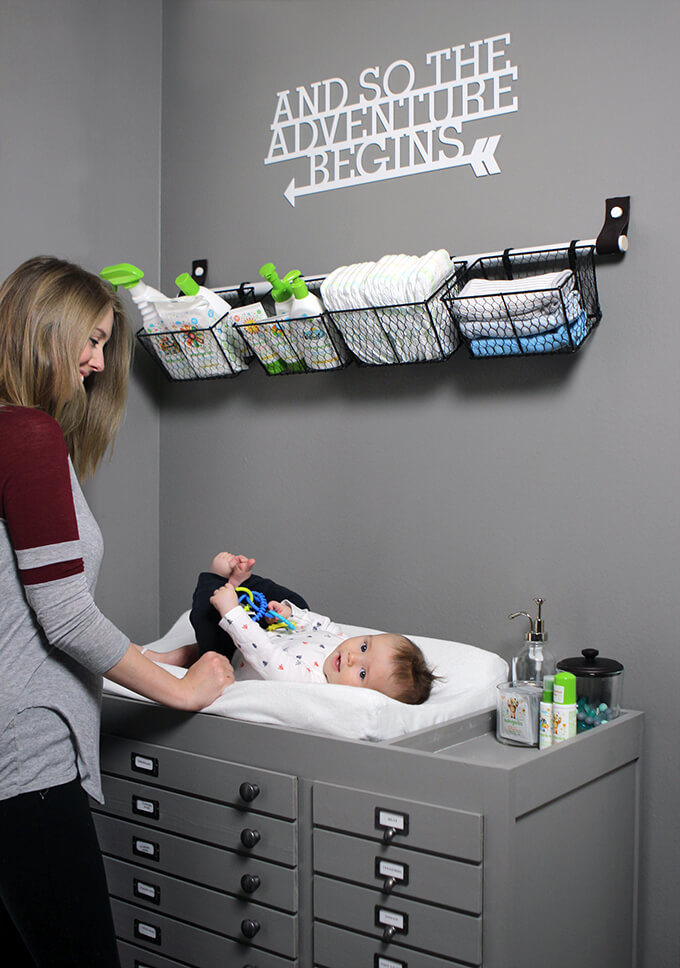
Well, it looks like we are actually going to finish this nursery before baby makes his arrival! It didn’t seem like we were going to make it but he decided to stay put for a little longer and is now four days past his due date which has given us plenty of time to finish all of our last minute projects including the nursery wall storage, baby clothing rack and now our nursery bookshelves. (Plus, we have one more project on the way to share that is AWESOME.)
If you couldn’t already tell by the massive shelves we built in our library, we like to read, a lot. Both Brent and I are looking forward to reading to our son right away, even if he doesn’t understand what we are reading just yet. It was a given we would incorporate bookshelves into the nursery.
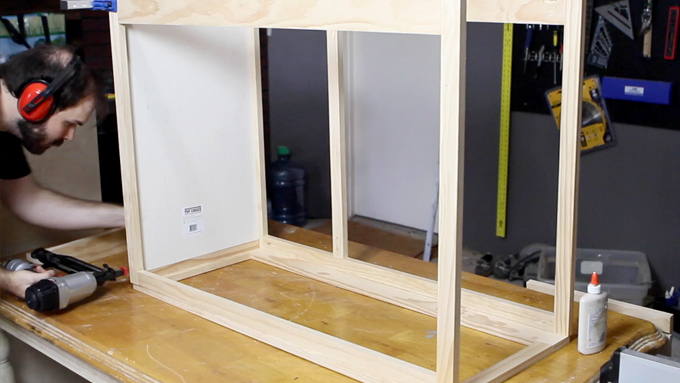
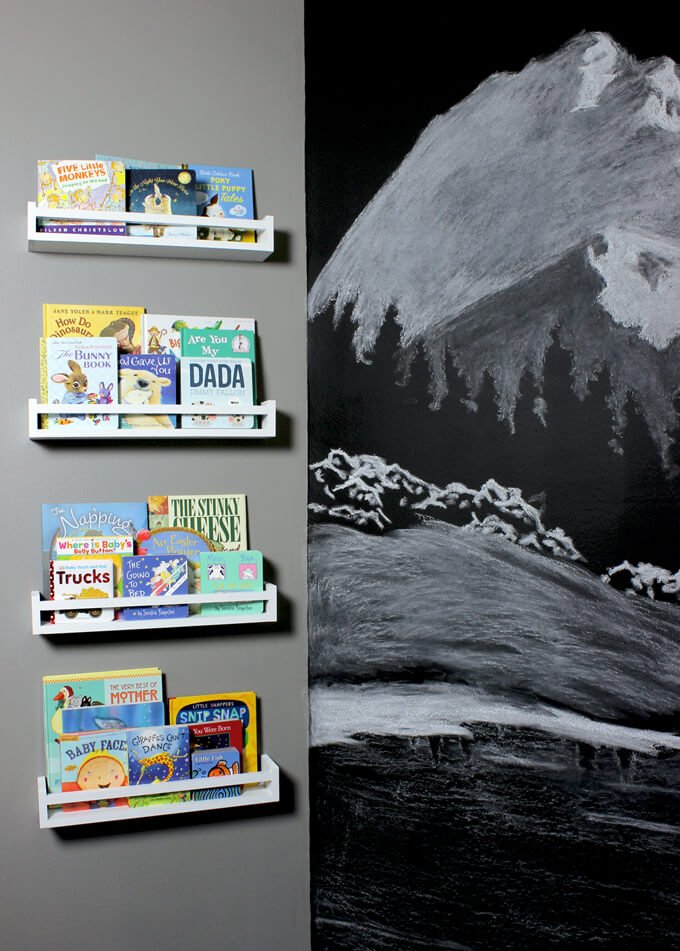
The nursery has two small walls that are at an angle so we thought that making bookshelves that ran vertically up the wall would be a good use of space.
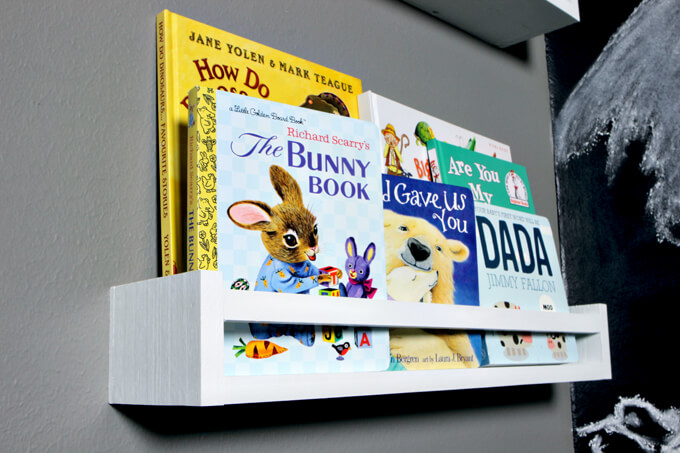
A popular trend right now is using the IKEA spice racks for baby books so we took that idea and built our own larger, beefier version so we could fit more books on them and fill up the wall.
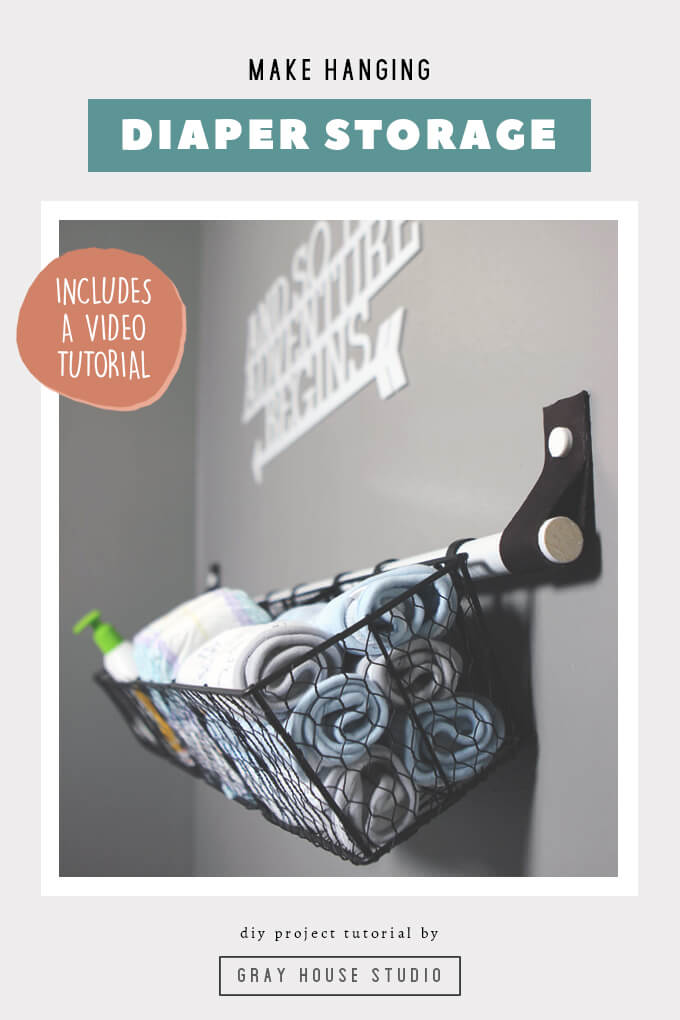
To see how we built our nursery bookshelves, check out the video or follow along with the steps below.
How to Make DIY Nursery Bookshelves
SUPPLIES
Shop the products we used for this project in one place.
- 1″x6″x8′ Select Pine
- Wood glue
- 1-5/8″ Wood Screws
- 1-1/2″ Finishing Nails
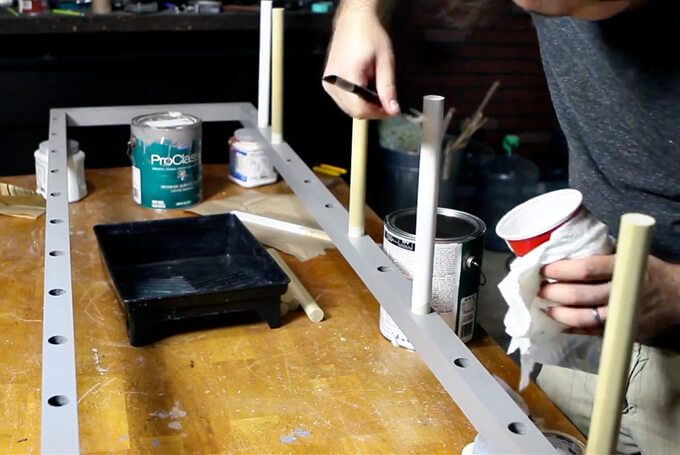
- Sherwin-Williams ProClassic® Waterbased Paint in Bright White
- Paint Roller
- Painters Tape
- 3″ Screws
- Miter saw
- Clamps
- Drill
- Nail gun
- Wood Filler
- Level
FYI: This post contains a few affiliate links to products we used to make this project. Gray House Studio does receive commissions for sales from these links but at no extra cost to you. We appreciate you supporting this site. Read our privacy and disclosure policy. You can also easily shop our recommended products here.
Handmade Christmas 2021 Ornaments

Thanks for supporting our small shop this holiday season!
TUTORIAL VIDEO
STEPS
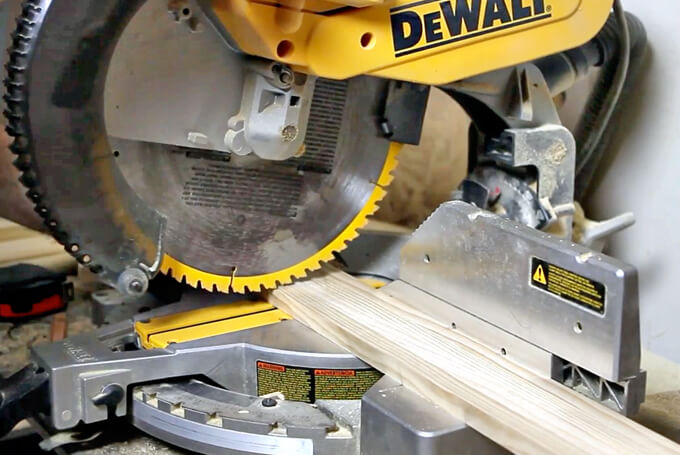
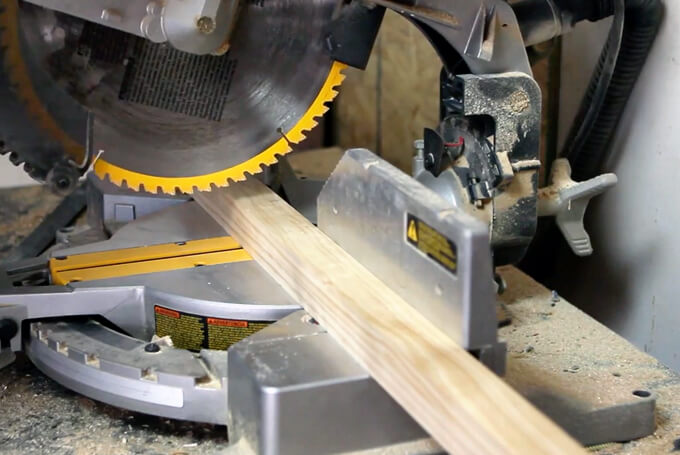
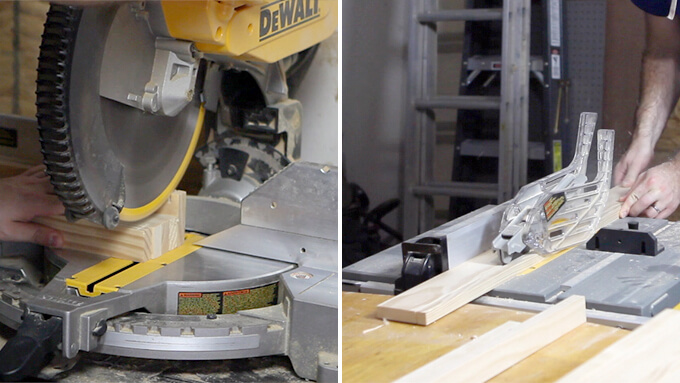
CUT THE PIECES FOR THE SHELVES
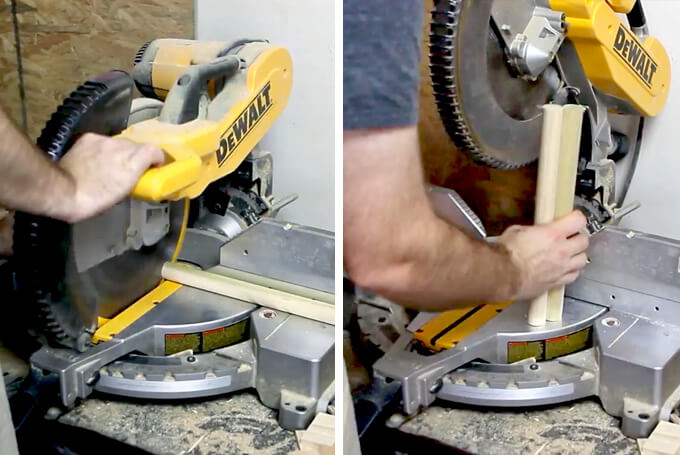
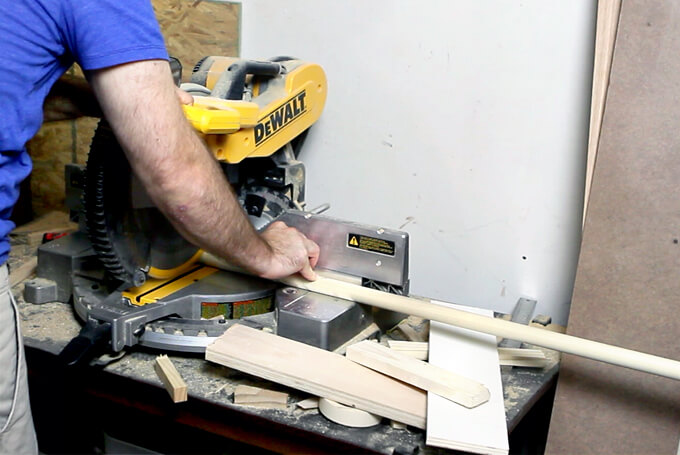
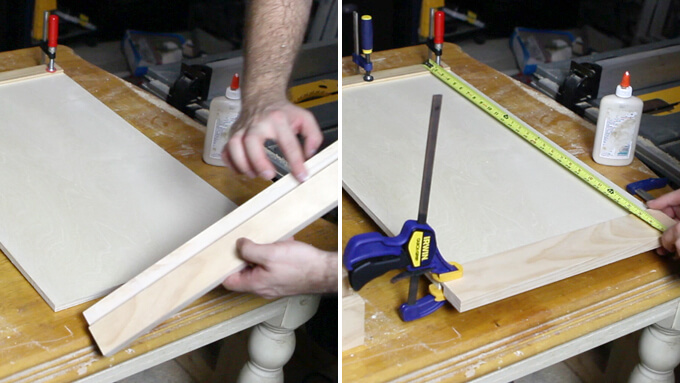
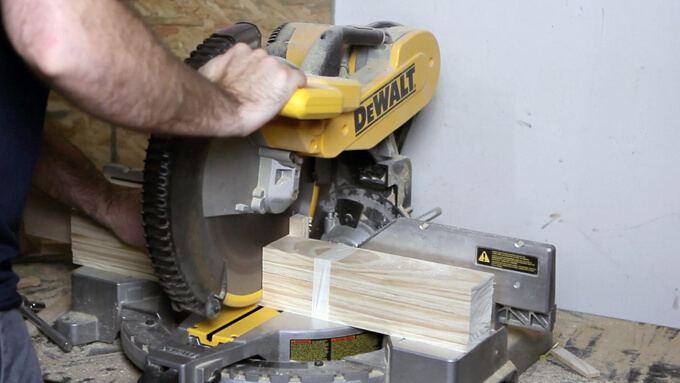
1. To begin making the nursery bookshelves, first we made all of our cuts using our miter saw. We made the following cuts:
The bottom piece of the shelf: 1”x6” cut 20” long
The two side pieces of the shelf: 1”x6” cut 4” long
The mounting plate on the back of the shelf: 1”x2” cut 10” long
The front rail of the shelf: 1”x1” cut 20” long
Because we were making four shelves we cut multiple of the same pieces at one time to make sure they were all the exact same length. We used a clamp to hold a board to the fence of the saw to make the sure all our cuts were the same.
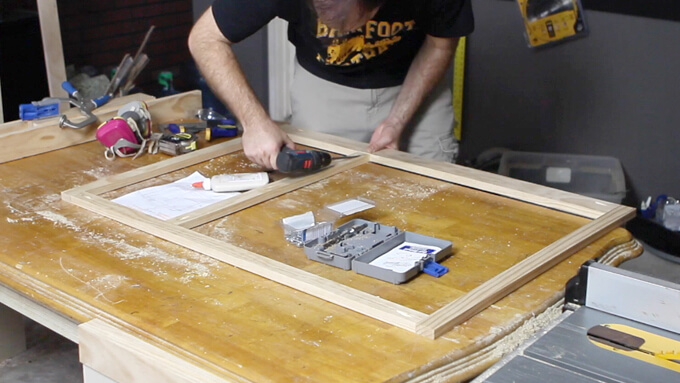
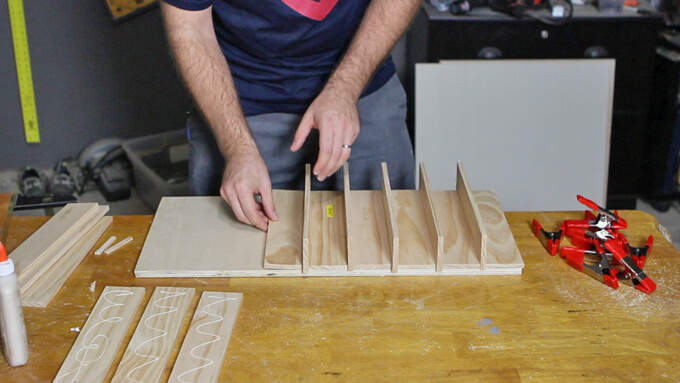
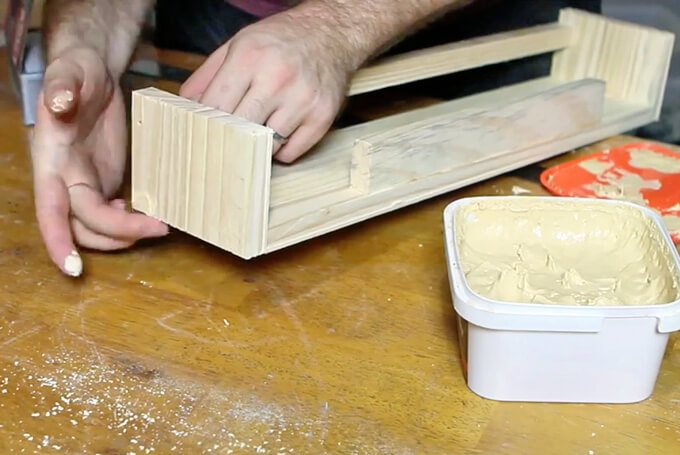
ASSEMBLE THE SHELVES
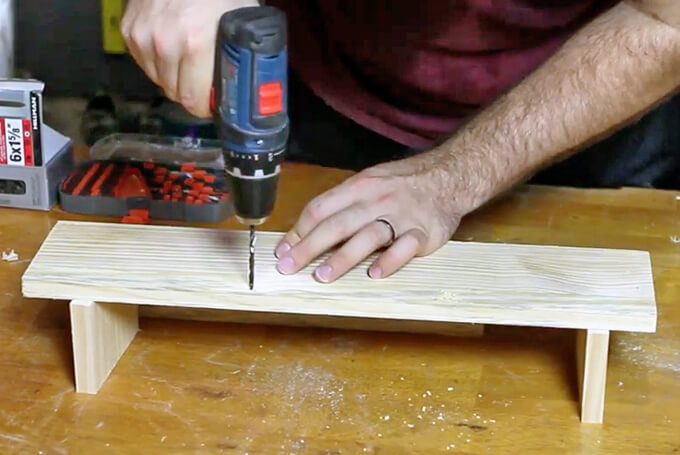
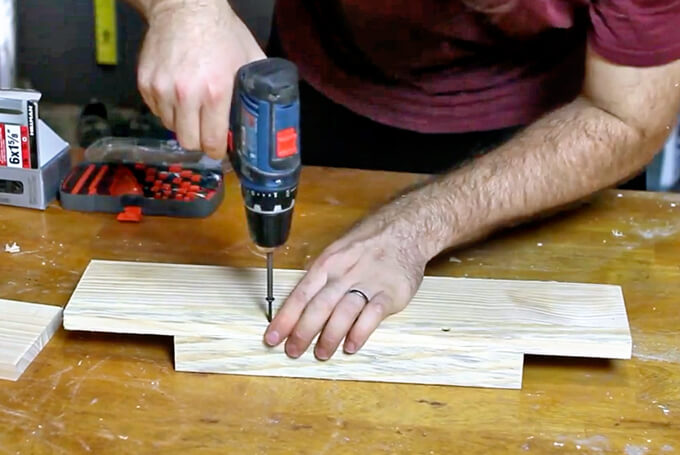
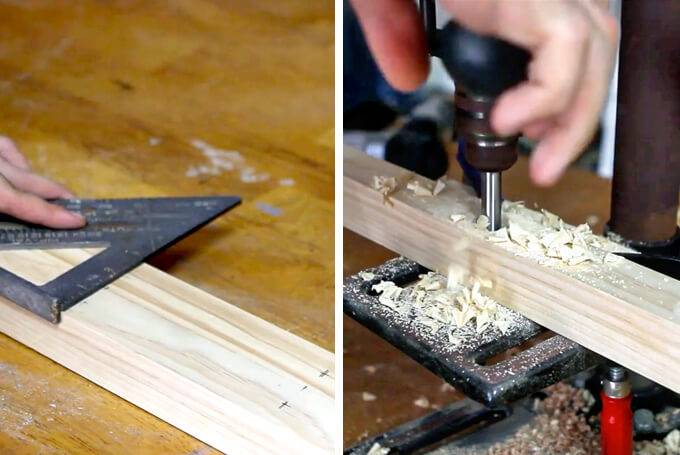
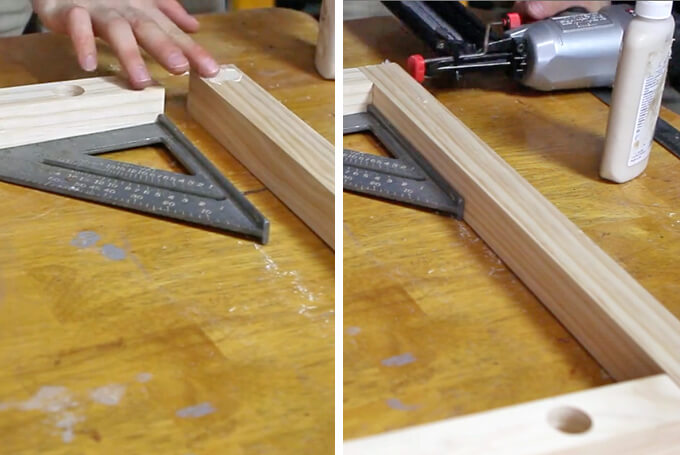
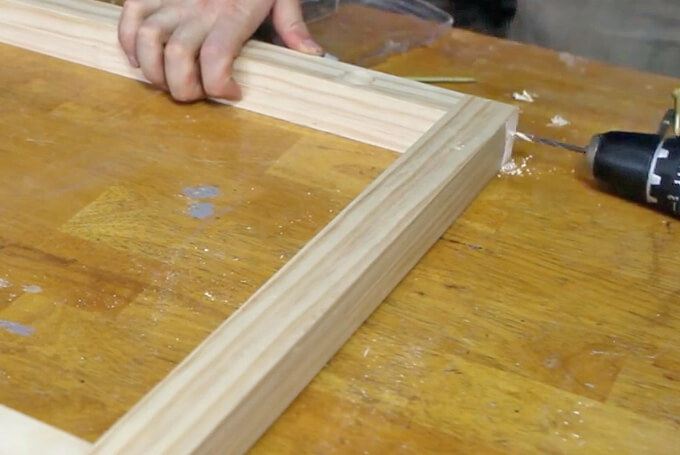
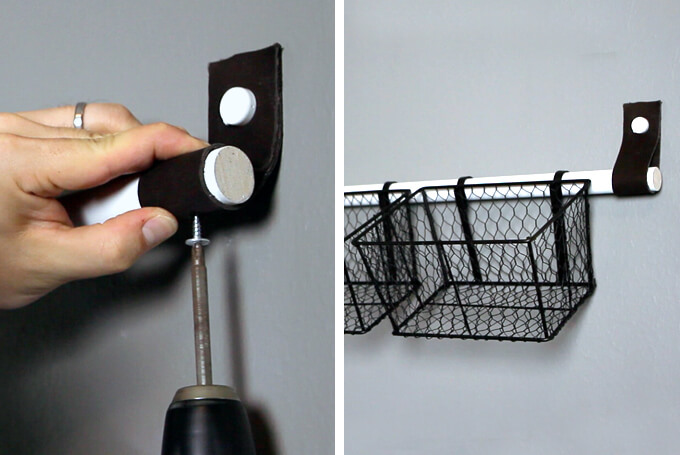
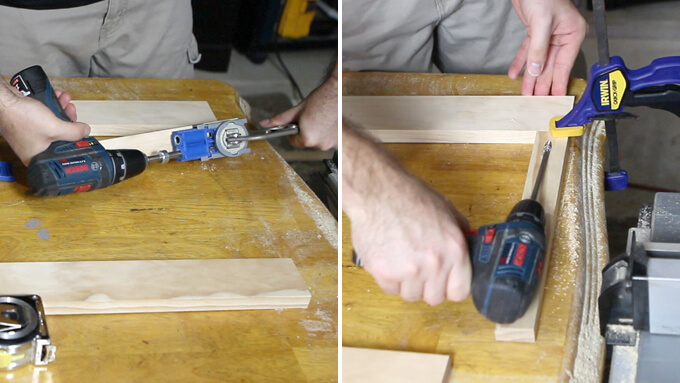
2. To assemble the nursery bookshelves, first we used our drill to drill two pilot holes into the back of the bottom piece of the shelf and attached the mounting plate piece with wood glue and 1 ⅝” wood screws to the bottom piece of the shelf.
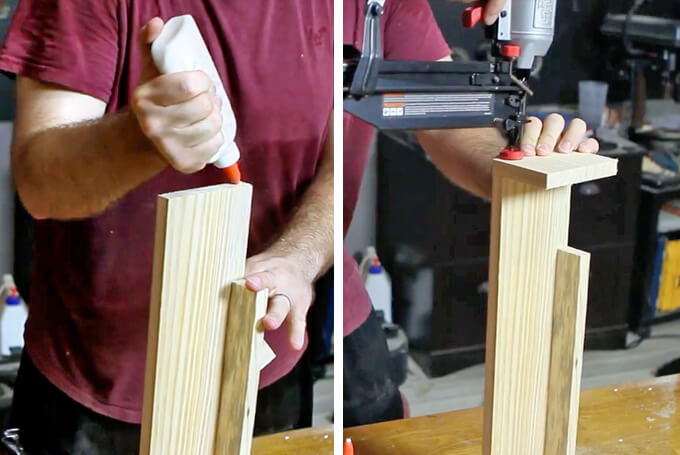
3. Next, we attached each of the side pieces to the bottom piece with wood glue and 1 ½” finishing nails.
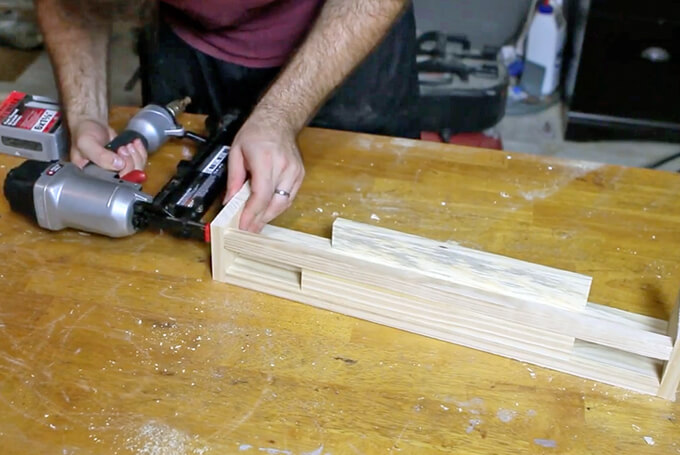
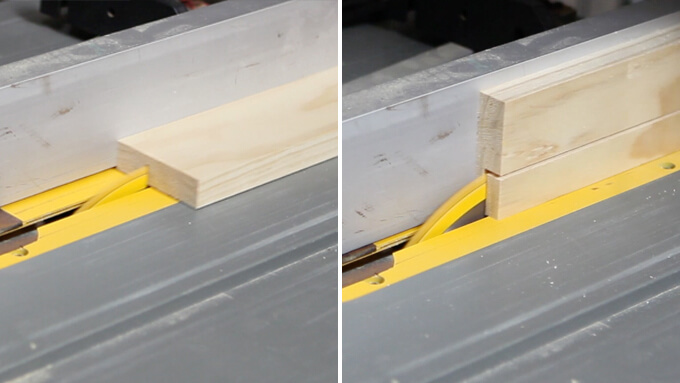
4. Finally, we attached the front rail to the side pieces with wood glue and 1 ½” finishing nails.
We used a scrap 1”x2” to rest the rail on while we nailed it from the side boards with our nail gun.
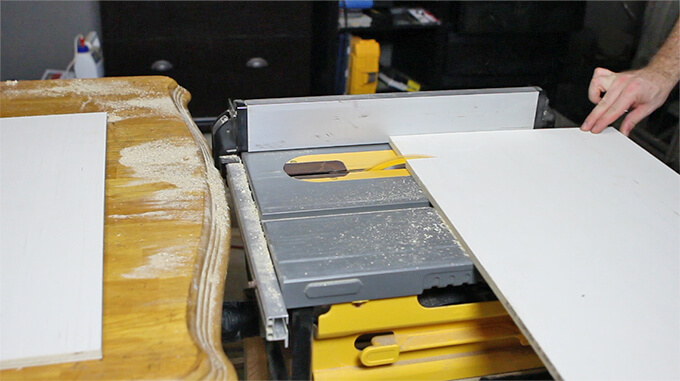
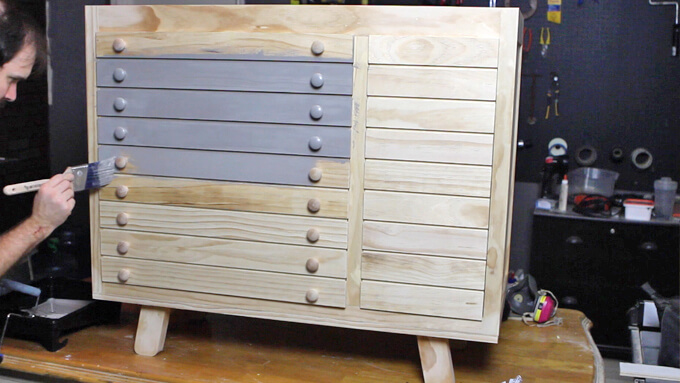
PAINT THE SHELVES
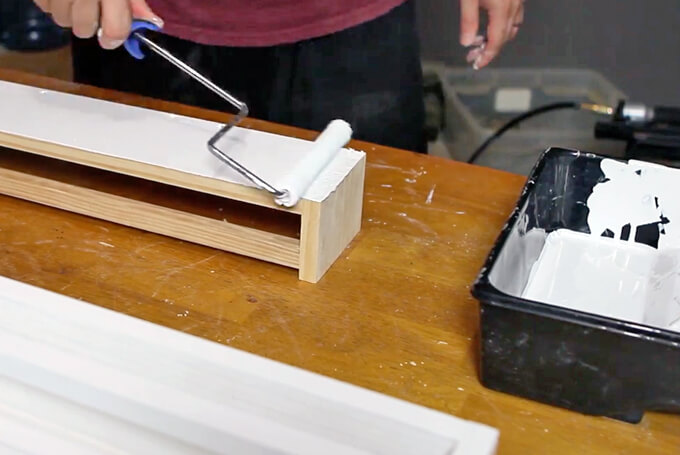
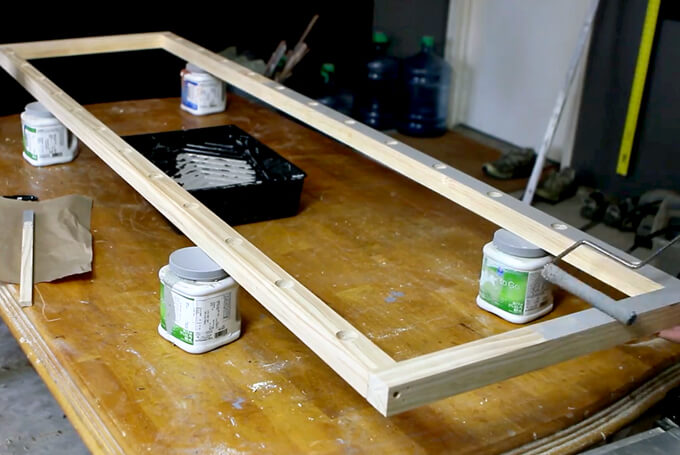
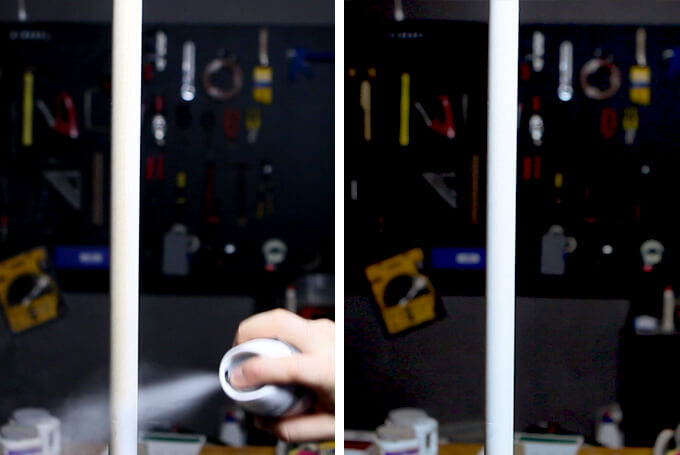
5. Once all of our nursery bookshelves were assembled, we used wood filler to fill the holes and then painted the shelves with Sherwin-Williams ProClassic® Waterbased Paint in Bright White and a nap roller for a smooth finish.
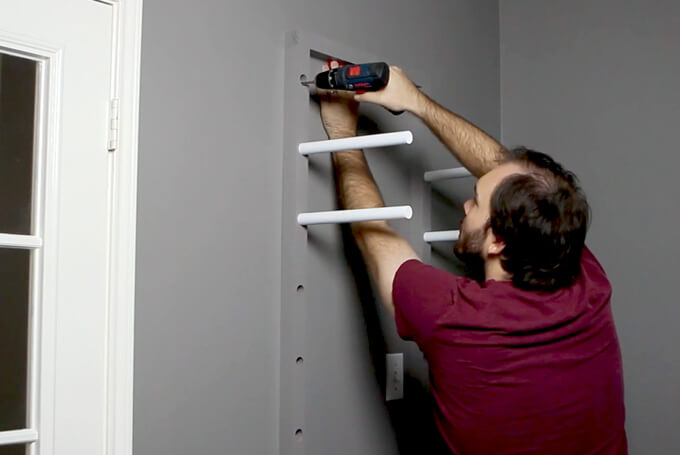
HANG THE SHELVES
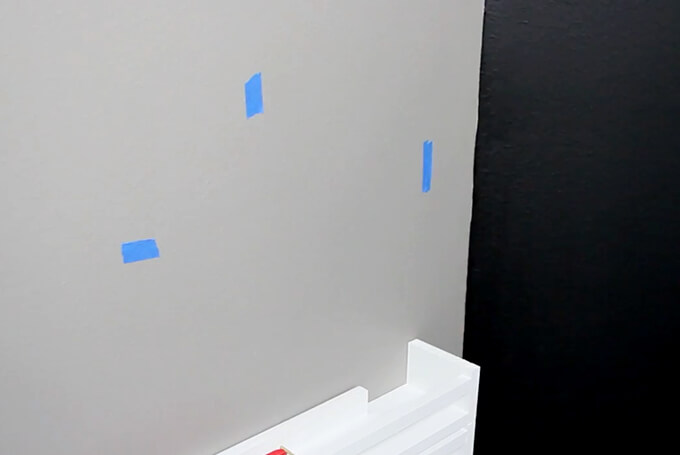
6. Before hanging the shelves, we marked the wall studs with painters tape.
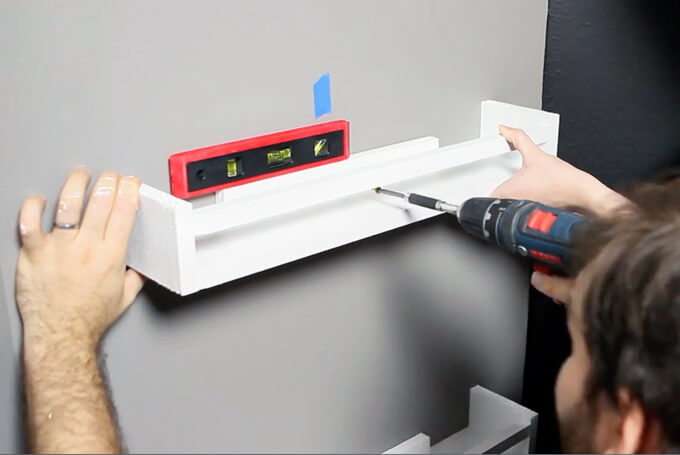
Then we centered each shelf on the wall and made sure it was level (with our level).
Finally, we screwed the shelves into the wall over the studs with 3” screws.
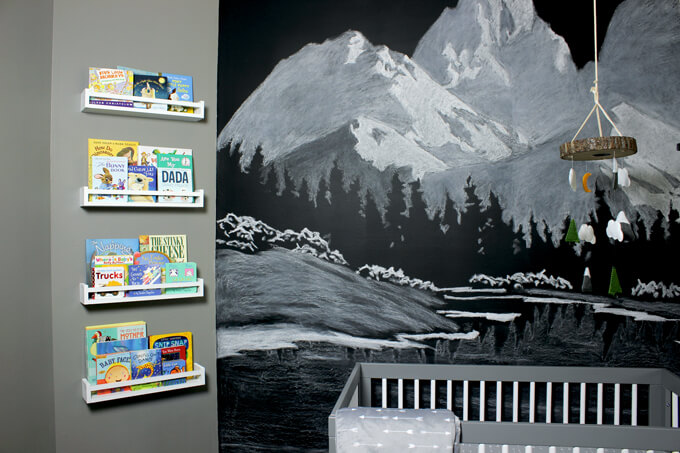
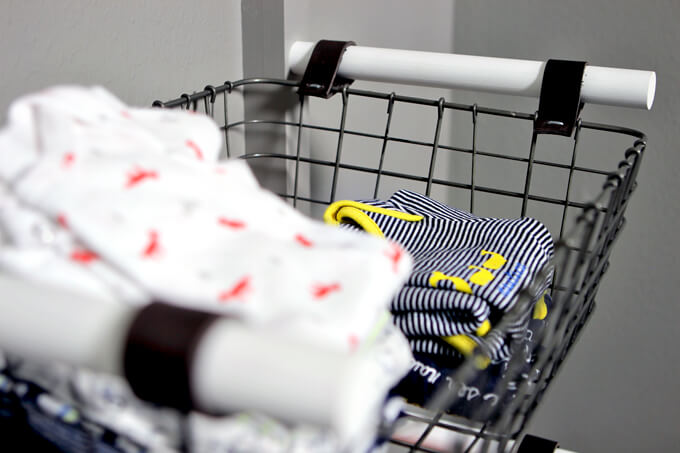
The nursery bookshelves were super simple to build and turned out great. We love filling the nursery bookshelves up with books. We have been receiving books as gifts and it is so fun to add them to the shelves as we start a collection for our baby boy.
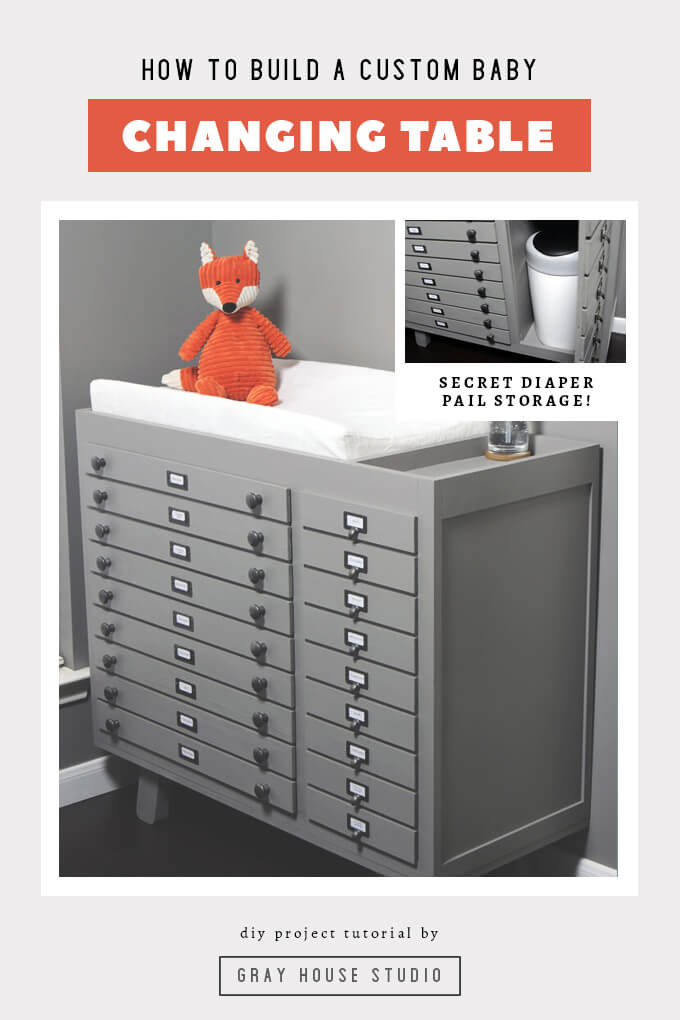
PIN FOR LATER